smh00n
-
Content Count
318 -
Joined
-
Last visited
-
Days Won
11
Everything posted by smh00n
-
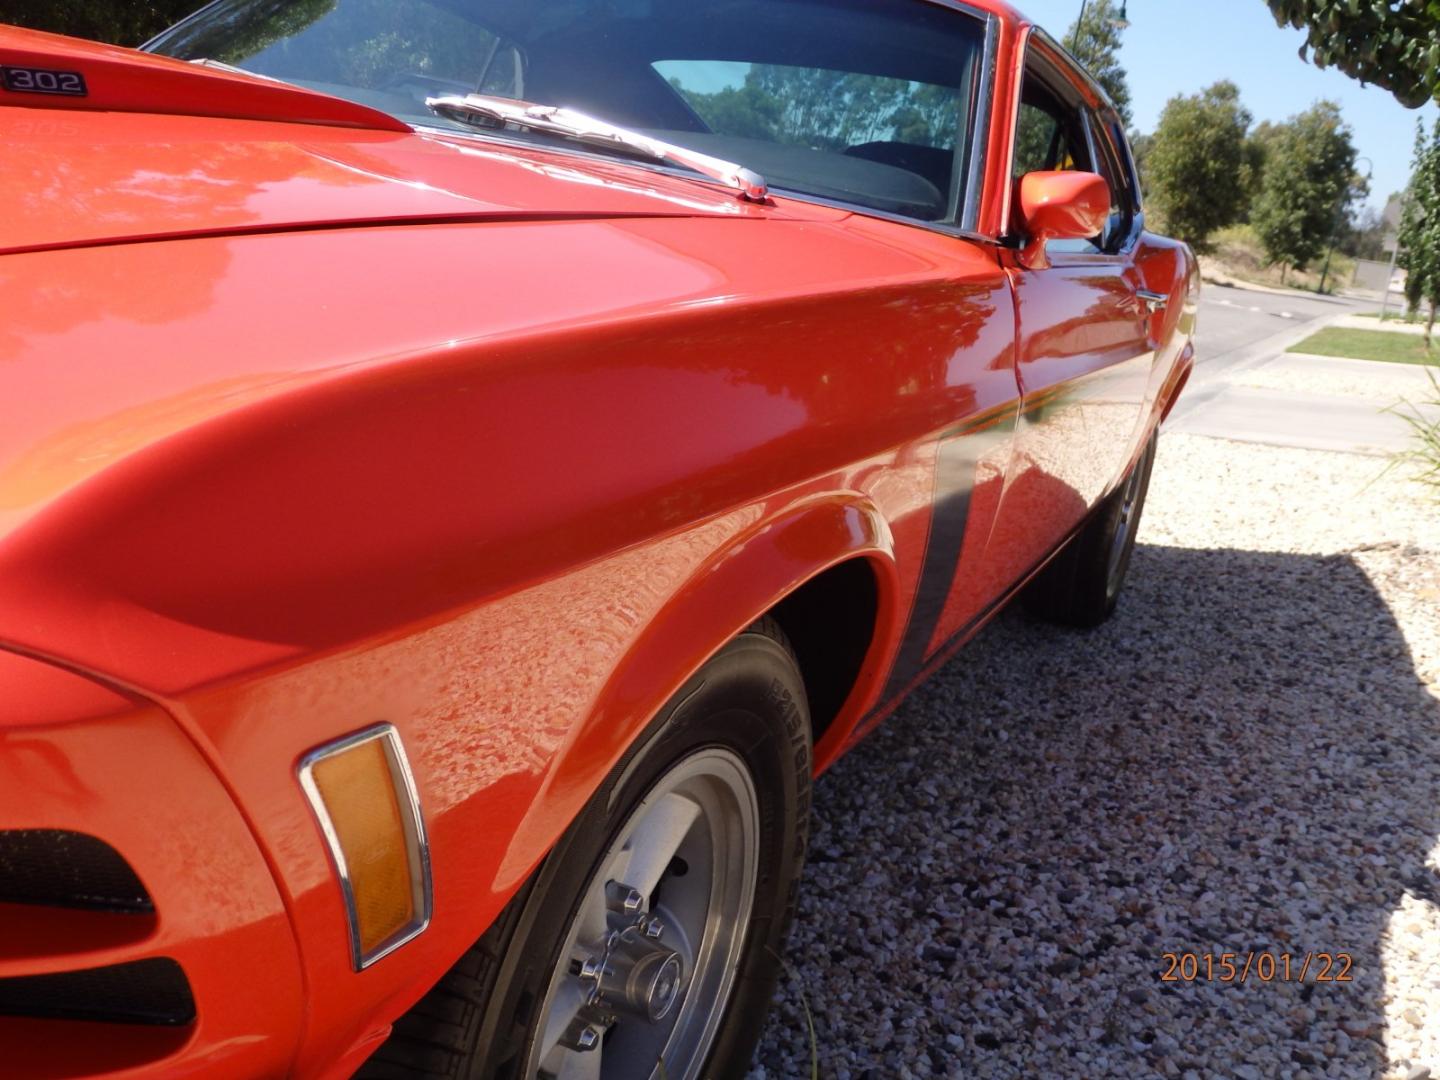
I need the plugs/nuts that go under the stone tray at the bottom of the grille as per the attached shot. Also the clip or bracket that hold the middle of the grille to the centre support that holds the bonnet lock. A real curly one is the 'speed nut' that the headlight bucket screws into, to allow for adjustment of the beam. Looks like it is a part. I've looked at a few parts catalogs but I can't find numbers. Anyone have a link to a supplier or the part numbers for all 3?
-
Go just as big wire size on the body ground. I think I have 02GA for both and no power issues at all.
-
Mine wasn't that out. I'll take a shot tomorrow and put it up. Can you not bend the 70 neck a bit to fit? It's not that far out. I guess its a repro neck so may not be correct anyway, in the angle of the flange to the tube.
-
I used these. Not real bright but enough to see at night. These shots were in a closed garage with a little bit of light https://www.jaycar.com.au/t10-wedge-replacement-led-globe-blue/p/ZD0392 The do white, which I used for the indicators and red which I used for the high beam. Cheap as anything but not sure if the shop would post internationally. They are on ebay I think.
-
I have the same tank, but supplied in a Holley Sniper box. The filler fitted my 70 fine, nowhere as misaligned as that. I used a repro filler tube and hose and no issues.
-
70 Sports roof. From Dearborn to Downunder
smh00n replied to smh00n's topic in Project Progress Forum
Radiator and electric fan upgrade I started driving the car for real during February which is our summer. Not really driven it far before then and for only short trips to check things like the brakes, so putting about 100 miles on it in traffic showed that the cooling was not great. It overheated after about 15 minutes and wouldn't cool down until it got a good run, which is hard to do in the 'burbs. The car had a 20" radiator with a 5 blade steel fan and no shroud. So I turned to my spares shelf and plucked off a GPI 24" alloy radiator that I had bought some years back. This came with 2 x electric fans included. The quality is questionable as the whole kit cost $240 Australian (about $200 US). The radiator looks to be decent quality, the welds are nice and it looks like it should. First issue, the opening for the radiator was just a tad too wide to bolt it in comfortably: Even though I used rivnuts in the radiator there just wasn't enough room to get a bolt in, so I welded in a couple of 1" wide strips so the opening was now as wide as the core. The height of the new radiator was as big as you could get in there. I removed the (1) original lower mount and out a 15mm spacer under the radiator and bolted it in. First test had the driver side tank touching the hood, so that had to go down a few mm. This was tight as the lower hose inlet sat right above the strut bar cross member. But, get it in I did and it looked like this. Note the lower hose inlet location, we'll address that later. Next, mount and wire the included electric fans. These were 10" diameter and could be run as push or pullers. For reasons only known to me I decided to mount them in front of the radiator. Probably to keep the engine bay clean looking and to be able to run the relay wiring neatly, although in the shot above there is plenty of room. This shot shows the welding insert, the relay mounts and the fans. I am running a Holley Sniper which allows for 2 fans to be controlled with on and off for both fans adjustable. I set this at 190 on and off at 180 for the first fan and 200 on 190 off for the second one. Now the problems started. I had bought a new hose set from Summit and the lower hose didn't fit. It was for a radiator that had the inlet right at the very end of the bottom tank. Remember how this car has been put together from random parts? After looking and researching it appears that the hose that was fitted was from a Ford Falcon XW & XY with a Cleveland engine. For all of those who have this issue this is the part number you need: No thanks to the parts jockeys at all our major parts shops. Half of them are kids who asked me what a 302 Windsor was. I need to start my own parts shop I think. Anyway, cooling now fixed, whats the next issue? Oh, they have used one belt to run the alternator and the power steer, not two. Now, I don't know what the exact set up is, but it appears to me that the alternator is driven off the water pump and the power steer off the crank, based on pictures I have seen. So the pulley lined up with the alternator and the power steer, so I ended up spacing the power steer pump out about 30mm to run the two belts. Still not happy but it's running. First drive, we get up to about 190 degree's quickly.Easy I think, I just dial up fan control and drop them 10 degree's on run temp. No difference, we still hit 210 and climbing. Dammit. I research fans and find Spal, Mishmoto and all variations between. You have to use a shroud, no you don't. Use a BF Falcon set up seems to be the solution for most Aussie's, but that needs cutting, trimming, modification. Then I find Aussie Desert Coolers in Melbourne. Over-engineered they promise. We'll fix it. So I call them and tell them what I have. Easy they tell me, give us the width of the radiator core and the width of the mount tabs and we'll do the rest. How much? $295 delivered for 2 x 12" 1,000 CFM fans, mounted and wired. Shut up and take my money I says. A week later, look what turns up, (and in the meantime I have spaced the power steer pump, aligned all the belts and made it nice): Damn if that's not good product. 220 watts each motor, pisses on the 80W supplied with the radiator. But that means more improvements, more power to the relays and bigger wires from the relays. So I have run 8 AWG wire across the front of the car to a junction block and have put the fan relays there with the headlight relays, and put new 5mm wire to the fans. A decent body earth and nicely tied in. Now all is sorted, test run it in the shed and let it get hot. 185 degree's, first fan comes on. It is quiet and powerful. I had the radiator cap off to burp the cooling system and it was pulling the steam down into the fan. I let it get hot and the second fan comes on. The temps are dropping nicely, brings it back under 190 and holds it. I go to take it for a test drive and I have no brakes!. FAAAAAARRRRRK the repop booster has failed after less than 100 miles driving. Folks, I did say I had no issues with a repop but now I have the original Bendix in with the shop to rebuild. The old saying goes buy the best first time because it will cost you in the end of you don't. To be continued.... -
70 Sports roof. From Dearborn to Downunder
smh00n replied to smh00n's topic in Project Progress Forum
Tail light upgrade I saw on another forum an upgrade to 3 lights for the tail lights, instead of the single light. So about 50 bucks later I had the kit. It's a Scott Drake kit and is pretty simple These sit under the tail light lens and are held in place by the lens locating screw. Fit was a bit ordinary; the lens sat a bit proud of the base and despite trimming the front and back of the vertical separators I was never happy with the fit, but they are done. As in Australia we must have both tail lights showing when the brakes are on, most cars get converted to have the reverse lights as the indicators and the brake lights both work at once. So I joined all 3 light's wiring into a single plug, and also ran a earth direct from the plate insert. All 3 bulbs now work for park and stop lights. I changed the main harness to accept the same plug and ran an earth wire from each light. Even though the Scott Drake catalogue shows a grommet mine didn't have one but my trusty spares box had one. I bought a set of leather punches just for this sort of purpose, to be able to cut a nice clean hole. I need to get an 'after' but this is the 'before' shot of the brake lights on: This is the 'after' shot of just the tail lights (it was taken in the middle of the day so not real indicative) -
My new 1970 M-Code Mach 1 Project
smh00n replied to Rich Ackermann's topic in Project Progress Forum
I'd try it. Most resellers would possibly only order 1 or 2 kits to get wholesale pricing so 3 kits is not a bad sale for them. I used to get at least 20% off RRP when I ran my shop. -
Pffft you guys need to come here and pay AUD$1.23 a litre or AUD$5.59 per gallon. That's USD$3.35 a gallon based on todays exchange rate.
-
^^^ Thats what I wanted to do but couldn't find anything suitable. I guess you built this from scratch? I like the fuse block with the LED lights - is that a shelf item or you made it up?
-
I bought a 2 pole connector and ran a power wire from battery positive to it, then pulled all power from that. I used like a 8GA wire into it so plenty of capacity. The starter relay, MSD, fuel pump relay, Sniper, radio amp all come off it with no issues. I also put the alternator wire into it. This one has 8mm studs. Worked so well I did the same thing on the other side of the car and hooked light and fan relays into it. This one has 6mm studs. Neat and tidy, well kind of. Not show car but all I have on the battery terminal is the main power to the starter (large cable in picture) and the power to the block (smaller cable coming down the strut tower)
-
70 Sports roof. From Dearborn to Downunder
smh00n replied to smh00n's topic in Project Progress Forum
Stereo Install So now the car is running well, next step is to out in some decent music. As much as I like the sound of a V8 there are times I need to rock out. Looked around at various options like Sony, Kicker, Rockford Fosgate, etc. My wife has a kicker system in her toy but it's not that impressive. I went to a local specialist to buy Rockford speakers and amp and ended up buying a Hertz system. Never heard of it, was a bit suss but pricing was good and the salesman reckoned for what I wanted - just good decent clear music with some bass - it would do the job. So, I bought a 10" subwoofer, 4 channel amp, 6x9 3 ways and 4" for the front as I wanted to keep the original factory speaker locations in the doors. The head unit I bought a Kenwood media player as CD's are so last century. Bluetooth, Pandora, USB input and pre-outs. Along the way, I found a new Hertz 5 channel amp cheap so grabbed that. So, the start was to pull out the parcel shelf and mount the sub (which was in an enclosed box) and the rear speakers. I centered this on the parcel shelf using an existing hole that was there. Using rivnuts into the box it's a nice clean mount. Next was the 6x9's. There was 2 holes already there so I put these where I took the least amount of metal out. They ended up right on the ends of the shelf which I was happy with. The finished shelf. I trimmed the cut in the parcel shelf with some U channel rubber so it looks clean. Then, the amp. Not much room to place one in the boot of a Sports roof and I decided to place it horizontal right behind the rear seat. I wanted to be able to access it easily if needed and taking the rear seat back off it not too much hassle (this is not a fold down seat car). A piece of 20mm MDF did the job. Some black spray paint and 4 rubber insulators had it mounted. I screwed it to some brackets on the wheel arch side and in a moment of brilliance (?) I used hook and tongue 3m tape to hold the inside edge down. The Amp pretty well done, with speakers and Sub Woofer box shown. Then, running the wiring back to the amp from the head unit was fun. More like spaghetti at the start, until I had them all in order and ready to run. One D'Oh moment was not matching the pairs at the amp end, but a multi meter when wiring them up sorted that out. I used coloured wire matching the head unit positive and plain black for the negative. I put the bundle through the driver side sill, as the power went through the passenger side. The bundle had the pre-out RCA cable for the sub, all 4 speaker out wires and the front speaker wires as well, so was quite a fat item. I used Summit cable sheath to protect it at critical points. As an aside, I love that stuff. It is easy to work with, tough and doesn't fray and looks good. My trusty pal wasn't much help during this work. The front door speakers caused me a lot of thought. I started with 4" ones but decided they would not be much good. Some of the forums I looked at about car stereos said that 'front of stage' is where you wanted your sound, not at the rear. Made sense to me, so I went about bought a pair of 6.5" speakers with separate tweeters. I have this set up as factory in my Falcon and once I started playing with the settings I could tell the difference. But, that meant cutting into the door panels and trying to mount the tweeters on the A pillars. So, more research showed that Hertz actually do make a 4" x 6" speaker. I had been searching for a 6" x 4" speaker so Mr Google failed me. Now a much happier speaker owner, I went to work. I had to make up some mild steel backing plates to mount them, but once done they fitted into the holes like a dream. I couldn't use the original plastic mounts as they would have spaced the speakers out too far. The car had Ken Harrison speakers fitted: The Hertz ones are pretty identical with lots of choices to put screws through. I wanted to use the original speaker covers as they were new repro. Lots of clearance, factory look. Now, the hardest part - fitting the head unit into the factory bezel. I have a bent to make cars look original but they hide a sledge hammer. This is a base model and there are single DIN bezels available but they look crap in my opinion. I think it was on here someone cut up and original black and chrome bezel to fit a single DIN, so I bought a repro one for that use. First task was to make up a housing for it. Some scrap black plastic did the job. I don't have pictures of it being done, but I cut it in half just above the bottom opening, chopped out the amount from the sides to match the height of the radio box, then glued it all back together with plenty of support. The radio is pretty light so I can't see it busting. For the wiring into the head unit I used Narva plugs so there are 2 connectors for all wires. I also have the pro quality ratchet crimper so every connection is good. The finished product: The cable above is for the Holley Sniper which I ran through a gap I made at the top of the bezel. So, how does it sound and was it worth it? Hell Yeah!! The sound - and especially from the fronts, for the size of them - is damn impressive, clear, beefy and loud. I can get the side mirrors shaking without any distortion. I think it all cost me about $1,000 Australian for the bits and around 4 weekends or more to put it all together. I took my time, making sure things were right. The Hertz stuff is quite under rated - Although the front speakers are only rated at 40 watt continuous (80W max,) they pump some good sound and I have the front of stage effect I wanted. The other smaller speakers I found were only 30-35 watts. I ran the power wiring direct off the distribution block shown in the MSD posts so it is 'clean' and the earth for the amp I tapped an existing bolt hole and put a bolt in there. All the power wiring I crimped but also soldered. Been out and about in it for a while, radio is clear, bluetooth phone works well and the doof doof (aussie slang for a kid in a shitbox car with a mega stereo) makes heads turn. -
My new 1970 M-Code Mach 1 Project
smh00n replied to Rich Ackermann's topic in Project Progress Forum
Mine is a grabber so the tail panel is black but trunk body colour -
My new 1970 M-Code Mach 1 Project
smh00n replied to Rich Ackermann's topic in Project Progress Forum
Not for me. I have a Calypso car and I'll be doing mine flat black. But, I always tell people I build my cars to suit me not them so if you like it do it. I think it will stand out from the chrome and black ones for sure. -
Need advice on buying Mustang
smh00n replied to christopherjuarez602's topic in 1969-70 Technical Forum
It's priced high but looks like it's been loved. The small details like the trans cooling hose routing and the trunk metal work looks to me as if someone has spent time on it and not rushed whacking it back together. I always ask myself can I build a better car for the same money? -
Well down here we are so restricted in what we can do to cars now it's annoying. Cops will pull you over for 5km/h (about 2mph) over the limit. We have speeding camera's everywhere. You spend more time watching the speedo than the road. A Hoon used to do all the Wikipedia stuff, now it's just someone in a ricer with a body kit and a 4" polished muffler. Although some of us keep the tradition alive: https://www.summernats.com.au/
-
Damn straight. I have a brand new AED 650 double pumper here I was going to put on, but couldn't be bothered with either trying to learn how to set jets or taking it to get tuned. And now I can adjust most parameters from the driver seat.
-
Another 70 Grabber :). Welcome to the club. I have Sniper on mine too, great system drives like a modern. Only hassle is waiting the 2-3 seconds for the system to prime and boot up before you start it. I followed the instructions to the letter and from first start have never had any issue with it.
-
Explains the 4 sales/discount emails I got this month alone.
-
Wow, why are they shutting down? I thought the Trumpster had got the economy rocking?
-
I run all my cars at 36-38 psi. My wife pulled 70,000km (40,000 miles?) out of a set of Bridgestone Potenza 18" on her daily drive. Most others struggle to get 40,000 km out of them. I got 120,000km out of a set of Goodyear cargo, which are a commercial 1 tonne tyre. Running them at 30psi or around that just wears them out. On my Hoon cars it doesn't matter what pressure I use, the rears don't last as long as the fronts.
-
I hassled them by email and they finally extended my current Hot Rod subscription. Too some effort, but my renewal date has been extended. A reminder to always save emails and receipts.
-
Bad news on the fires here. A Canadian C130 Hercules with a USA crew crashed on Thursday 23 with no survivors in the 3 man crew. Pretty shocking, we've had helicopters and fixed wings crash but nothing this size. At this stage nothing is known why it went down. I am part of fire aviation and the flight trace looked normal until it went down. It dropped retardant for 2 seconds just before we lost sight of it. We have had a lot of US and Canadian aviation people over this year and they have been some of the best people we work with. Their level of expertise is very high and they all hit the ground running. They found that the word 'mate' has many variations from positive to negative but can be used in every social situation. It's bad enough to loose people in fires, worse still when they are miles from home and away from family helping out strangers. RIP B134 and thanks.
-
Grabber I realised I've already written up about the MSD instal on my progress page.
-
Grabber, yes I have it controlling timing. I did this after I installed it with the Ford distributor as even Holley recommended to get it running first then do timing control, just so you don't have 2 issues to chase if you have a problem (which I didn't and was a bit surprised after reading all the drama on the Sniper EFI forum). The MSD distributor can be locked out pretty easily and in my box the parts were included. I have pictures at home with the mods. Basically the obvious - remove the vacuum advance and lock the base plate. The info on using timing control I found confusing. One manual for either Sniper or the Distributor (I can't recall which) stated you needed to use an adjustable rotor, the other one said you didn't. When I started installing it, I'm pretty sure the Sniper manual said you didn't need to install the adjustable rotor. 60 bucks down the drain. The problem was I think both Sniper user guides had different stories about how to set it it and only 1 is correct. The Sniper kit has the cable to run from the distributor output to the 6AL. I recall you have to set the distributor at a point (15 degree's??) but that is all in the Sniper manual. You then change the handheld to set it as timing control and away you go. On the handheld you can see the timing in one of the gauges as well. Was a pretty simple process in the end. I have pics somewhere, now it is all finished I'll add to my build post with it all.