


Mach1 Driver
-
Content Count
2,138 -
Joined
-
Last visited
-
Days Won
86
Posts posted by Mach1 Driver
-
-
The doubled-over seams in the bottom and sides of the doors are obviously a concern for rust accumulation. The best solution I’ve seen is by a well known character named Woodchuck on Vintage Mustang Forum. Woodchuck has apparently done this many times, and what he suggests is building a wood tub, line it with a thick plastic tarp, support the door off the bottom, fill it with water, add 1/2 cup of washing soda (Na₂CO₃), then run some DC current though it for a couple of days. He uses an old computer power supply, but a battery charger should work just as well. Note: here is a link to Woodchuck's post for more details: https://www.vintage-mustang.com/threads/best-way-to-arrest-rust-inside-doors.1197220/#post-10579417
Of further concern is that paint will not stick to any metal treated with Soda. According to the popular paint company SPI, you must first neutralize soda by the following technique stated on the SPI Technical Data Sheet: Thoroughly wash every square inch of the affected metal with Dawn original formula, Purple Power Degreaser, or Simple Green mixed with water and clean towel. Wash off with clean water then dry.
According to Barry (who owns SPI and is the formulating chemist) on neutralizing soda: “What some of the soda blasters are now doing is washing the car with Holdtight 2, so that neutralizing and changing the PH of the metal, at $150 a gallon you are paying for it but it does save some work.”
Woodchuck then uses Mastercoat Silver primer to seal the area inside the door so oxygen can’t get in and allow more rust. I’m a believer in Mastercoat. This stuff will last 15 years on bridges over salt water. I have used it on some sheet metal light boxes I built that are outside in hot, humid, rainy, cold and snowing Georgia weather year round with no sign of rust.
-
-
Keep spreading the word for early detection. My daughter-in-law's father recently found out that he has terminal prostate cancer. He was the sort that rarely went to a doctor. He's in his mid 70s and this probably could have been prevented. Now its chemo and radiation just to prolong his life. Its taking quite a toll on their whole family.
-
You can get and send messages using the little letter symbol up at the top right. You would have to give someone your actual email address to communicate that way, but since it isn't secure you probably don't want to be sharing it with the world. The message symbol above will allow you to message within the confines of the 69Stang site and stay safe.
-
-
6 minutes ago, jmlay said:It’s my understanding the smaller crimp joint are “correct”.
Yes, that's what came new with my car and used to come from Ford (I've replaced them many times), but they aren't available anymore, as far as I know. Bob seems to have the current best option. I like how his seem to stand at attention, off the hood.
-
-
-
-
Since the amp draw is unknown, I wouldn't connect anything but a relay directly to the regulator. There are 6v and 12v chokes. The 6v is best connected to the Stator terminal of the alternator, while a 12v choke is best connected to a relay on #87 as shown above, with #30 connected to battery +.
-
Ivo, good luck with that spiffy distributor. Here are some examples of how to connect it schematically (these are not wire diagrams):

If you need a wire diagram, follow this link: https://drive.google.com/drive/folders/10FqYlsGT1XXr8B5TCF9WAASkU4vdPtuJ?usp=sharing
-
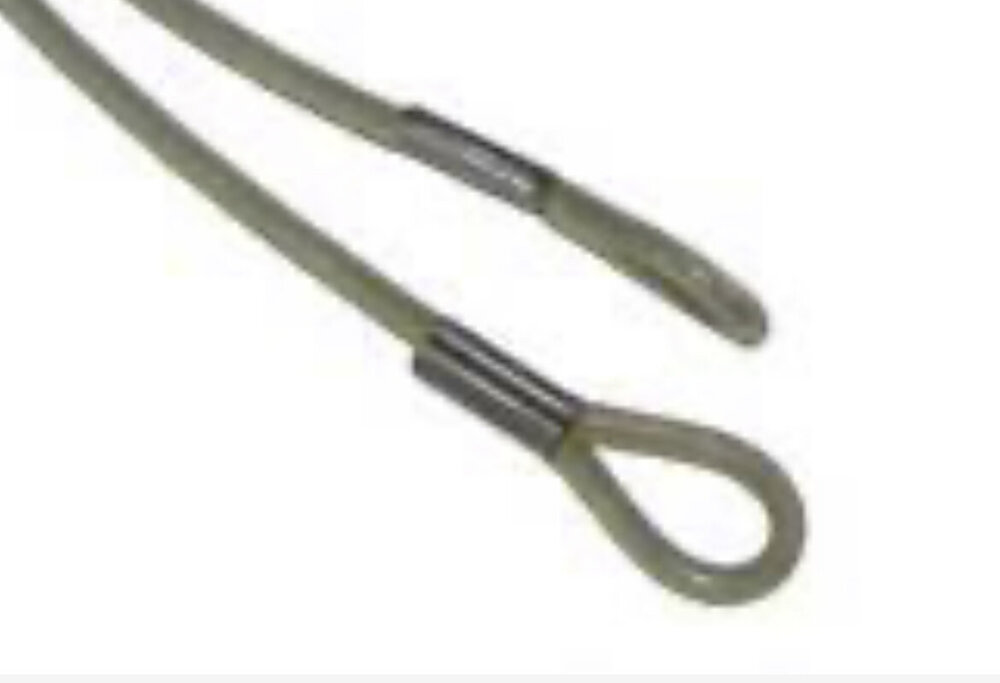
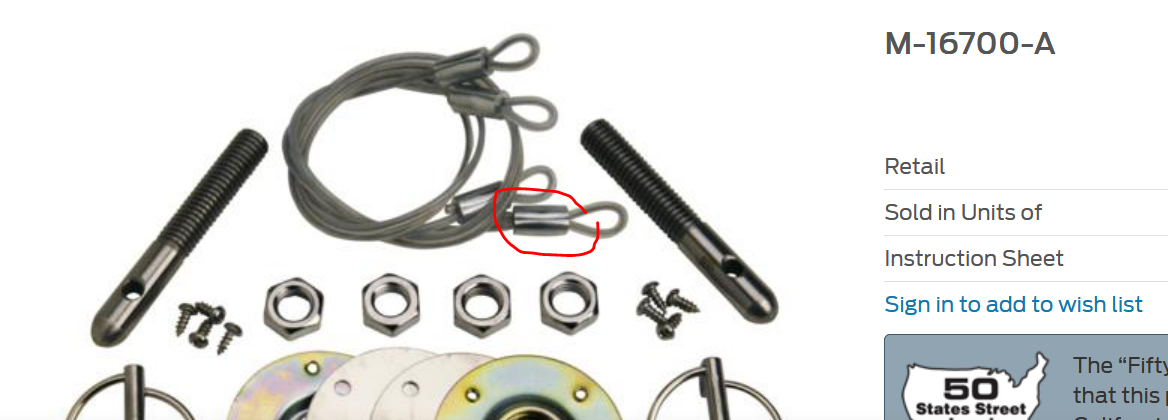
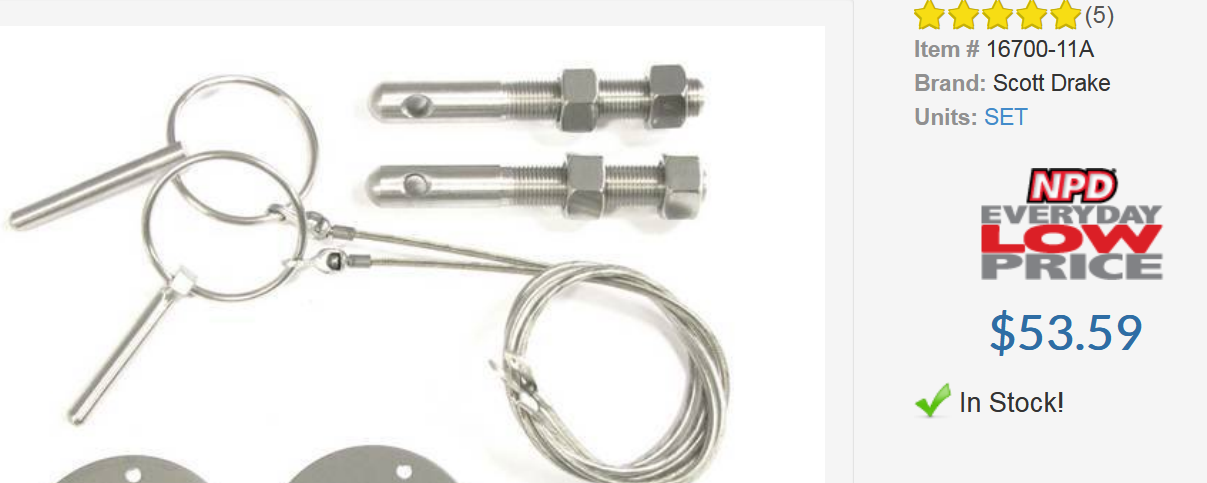
Nice, we have brother cars! I have the same issue with the hood pin cables, and others claim they don't...I think it was Ridge Runner- maybe he'll explain his secret knot or handshake.
-
-
1 hour ago, det0326 said:I have done a lot of silver soldering in my time, yes it would work but you would have to be (as elmer fudd would say) vewy vewy carful
-
15 hours ago, Midlife said:I'm the one who claims silver solder would work, as it was told to me by a salesman who specializes in various resistor wires. I have no experience with silver soldering.
Ya, me either. Maybe you could take the harness to a jeweler- wouldn't that be a hoot!
-
8 hours ago, Ivo said:If I cut the resistor wire 2 inches from the switch and connect it to a new wire, would it work? Or I have to connect the new wire directly to the switch?
Be advised that the resistor wire is made of a material that is un-solderable. The only way to connect to it is a crimp type connection. One person suggested using silver solder, but I've seen no confirmation that will work. The best way is to remove the terminal from the plug and "daisy-chain" the new wire together with the other wire into the correct terminal and put it back into the plug. Try Randy at http://midlifeharness.com/ for the proper connector.
-
Ivo, this is the suicide hot line calling... can I talk you down from the roof? Please step away from the edge!
First, why do you want to put a GM distributor on a Ford? You profess that "I'm completely new to the electrical stuff". The new distributor and coil won't make any noticeable difference. It won't make your car run better, and frankly is probably a waste of time, money and effort. The stock OEM system was used in racing these cars back in the day, and the new parts will not improve on that. I'm an electrical engineer and know from a lifetime of experience that every step away from stock is a step in the direction of generic and unproven parts (in your application) that will lead to unintended consequences. The HEI was developed in 1974 by GM because of mandated emission policies. A 69 does not have those issues. It is true that the HEI is able to deliver more spark thanks to the electronic ignition-control module, but so what? It simply isn't needed. Send the stock distributor out to be re-curved if needed, and learn how the weights, vacuum advance, and timing affect engine performance. This can make a huge difference.
Second, since you are "completely new to the electrical stuff", don't change to a one wire alternator. The alternator of choice for a true upgrade to these cars is a 3G. That's the third generation of Ford alternators, and it will charge at a lower RPM. I understand that ONE wire sounds easier to install, but it is not an improvement. Check PA Performance alternators, and keep in mind that more amperage is not necessarily better. If you go over 95 amps it will take more power to turn the alternator- more power than a single v-belt can apply. You will need to go to a dual v-belt system, or a serpentine system. The serpentine will require dumping the old fan, using electric fans, and changing all the pulleys and mounting brackets on the front of the engine. The electric fans drag a ton of power and require an even bigger alternator. This increases cost and is unneeded if you go with a moderate but true upgrade of only 95 amps, which is probably 3 times more than the stock alternator. You would be surprised how many people complain about issues with their aftermarket serpentine belt system. Yes I know that some people will say that they use a single v-belt, but PA Performance deals with the complaints on a daily basis, and insist that it should not be done.
Just my unsolicited two cents.
-
Its still a gorgeous car Bob.
-
Interesting responses. I agree it looks great and I would do it before painting. The squeaks and rattles probably would annoy me, but man that car looks good with the slats, and its the only car that does. Since mine didn't come with the added rear wing, they just won't look good to me. The chin spoiler is a must! One thing that car needs is a good backup camera. I put one on my C5 and it helped immensely.
-
1 minute ago, aslanefe said:Thanks Terry, looks like my understanding was correct.
No problem, what is intuitive to me may not be to other people. Initially I made the schematic just for my use, but once I started visiting 69Stang, I decided it could be useful to other people as well. I also made one for the 66 since that year had the most cars sold and it pretty well covers the early years. Some other possibly useful stuff is parked on Google Drive for anyone's use:
https://drive.google.com/drive/folders/10FqYlsGT1XXr8B5TCF9WAASkU4vdPtuJ?usp=sharing
-
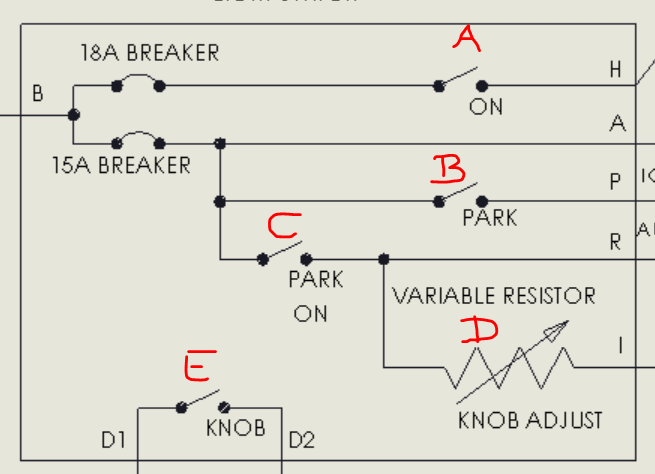
2 minutes ago, aslanefe said:Hey Terry, got a question on pages 2 and 3 about the light switch. Switch has "ON", "PARK", "PARK ON" and "variable resistor" functions (if you call them functions).
"ON" function is when switch is pulled fully and power goes to headlights. When you pull the switch to first indent, parking lights come on but what is "PARK" and "PARK ON" ? Does "Park ON" switch close when parking lights are on and the headlights are either on or off, and "PARK" close when parking lights are on but headlights are off and stays open when parking and headlights are on?
Hi, Park is the first detent, and when it is pulled all the way out with the headlights ON. I tried to keep the abbreviations as short as possible.
Looking at the switch, A is only on with the switch pulled all the way out to ON, B is on only when the switch is pulled to the first detent (park), C is on when either pulling to the first or second detents, D is turning with high dash lights CCW, or low to CW, E is turning the knob CCW all the way:
-
The Mustang Steve version requires welding. His method may be superior, but I'll never own the car long enough to destroy the hinges a second time. This video by Don at WCCC shows how to rebuild a Cougar or Mustang hinge. Don't buy new hinges, they are cheap knockoffs, rebuild the originals:
-
I haven't used one yet, but recently saw a post by the owner of NPD on VMF that complained how the dimensions from other vendors for the graphics are all over the place. Apparently a license from Ford doesn't mean there is any quality control, its just a way for Ford to keep making money. Now that I know that, I would only buy from NPD.
BTW, the owner of National Parts Depot goes by 69bossnine and his name is Rick
-
Did you do the graphics for the switches? Spiffy!


What, If Any, Bolt Goes Here?
in 1969-70 Technical Forum
Posted · Report reply
The first thing that goes is the memory. I can't remember the second.