
Rich Ackermann
-
Content Count
362 -
Joined
-
Last visited
-
Days Won
30
Posts posted by Rich Ackermann
-
-
Really nice work! The battery in the trunk with the quick disconnect looks great! The overhead console looks great and appears to fit nicely with the MTF hard shell headliner. . I decided to go with the stock OEM Moon-skin headliner as I was worried about how to mount the overhead console behind the hardshell headliner and would the two meet up cleanly. How did you mount it with the MTF headliner?
Love the color! Is the blacked out trim painted or powder coated?
-
Its a nice car... mostly original, but its not a low miles car. As mentioned before it has some visible rust issues. At the very least, it is in need of a major cleanup. I suspect as you dig in to it, you will likely find issues needing somewhat more work than a cleanup, or repair, may even need replacement. That will lead you down the money pit and work effort rat hole, and finally the fork in the road ....do I clean it up and leave (un-restored) as is, or do a quality factory restoration or upgrade with some mods as I restore it. The car is a desirable 428 big block, but not all that rare. Just my two cents...
-
-
On 4/15/2020 at 11:19 AM, Machspeed said:I have a 69 Mach 1 with OEM power disc brake system of front discs and rear drums. I'll be needing to replace and/or rebuild what I have, this to include the master cylinder and booster. As such, was thinking that I might just upgrade a bit and go with a four wheel disc set up. I will be keeping with 15" Ford factory Magnum 500's. I believe the rear are 8" while the front are 7", not sure on the offset. I'm not going to be road racing the car and frankly, it's just that if I need to replace all this, I might as well upgrade a bit. Moreover, I do prefer discs over drums. If I go with a four wheel disc set up, what changes will need to be incorporated to run it? The other thing is, I'm converting my car over from an FMX auto to a TKO-600 so things need to fit. Advice on parts or a kit would be most appreciated.
Thanks,
John
Hi, I converted my 70 from all drum to all disc. Have not driven the car, so I can only speak to the conversion and installation.
I bought the whole thing from CPP and the brake lines from inline tube.. I used Granada front spindles/disc. The install was straight forward. The Granada flex lines required a adapter to connect to the stock hard line. The 69 disc/spindle not as strong as the stock 70-73 or the Granada units. Both will require changing the outer tierod ends and the Granada hub diameter is larger (70mm) and will not fit stock wheels. The 70-73 stock setup will connect to the hard lines without an adapter like the Granada brakes and works with 14" wheels. Converting the rear complicates things a little more. These kits commonly use a GM Eldorado rear brake caliper. It comes with brackets to adapt them to a Ford 8" or 9". Depending on rotor size they require a 15" or larger wheel. They typically require cutting the drum hard brake lines to connect to the flex lines in the kit. If you have stainless steel lines, you need hydraulic equipment to re-flare them after cutting. I chose not to use the flex lines and avoided needing to cut the lines and just had to bend them. The big challenge for me was what proportioning valve to used. If you stay with a disc/drum setup, a stock 70 valve and stock brake lines will work fine, but if going all disc a GM PV4 valve is needed. With this valve there will be master cylinder lines, brake line, brake light switch, and valve mounting modifications, as well as line adpters needed. Also, the parking brake cables will need to be modified or partially replaced with a Lokar type kit. So rear disc brakes are a nice upgrade but cost, and installation effort is greater than staying with a stock rear drum setup. The cheapest and easiest is disc/drum for all the reasons stated above.
One additional comment, you mentioned converting to a Tko or tremec 600, if you also convert to a hydraulic clutch, i believe a small (7"-8") brake booster is needed for clearance reasons.
-
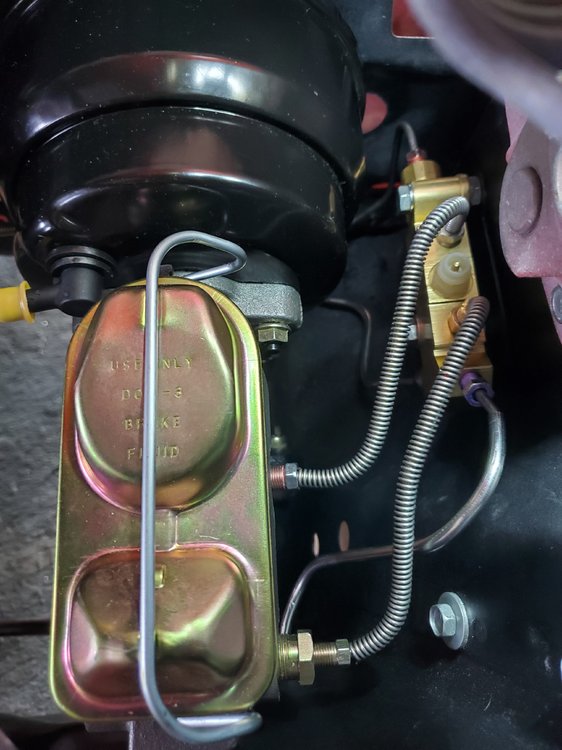
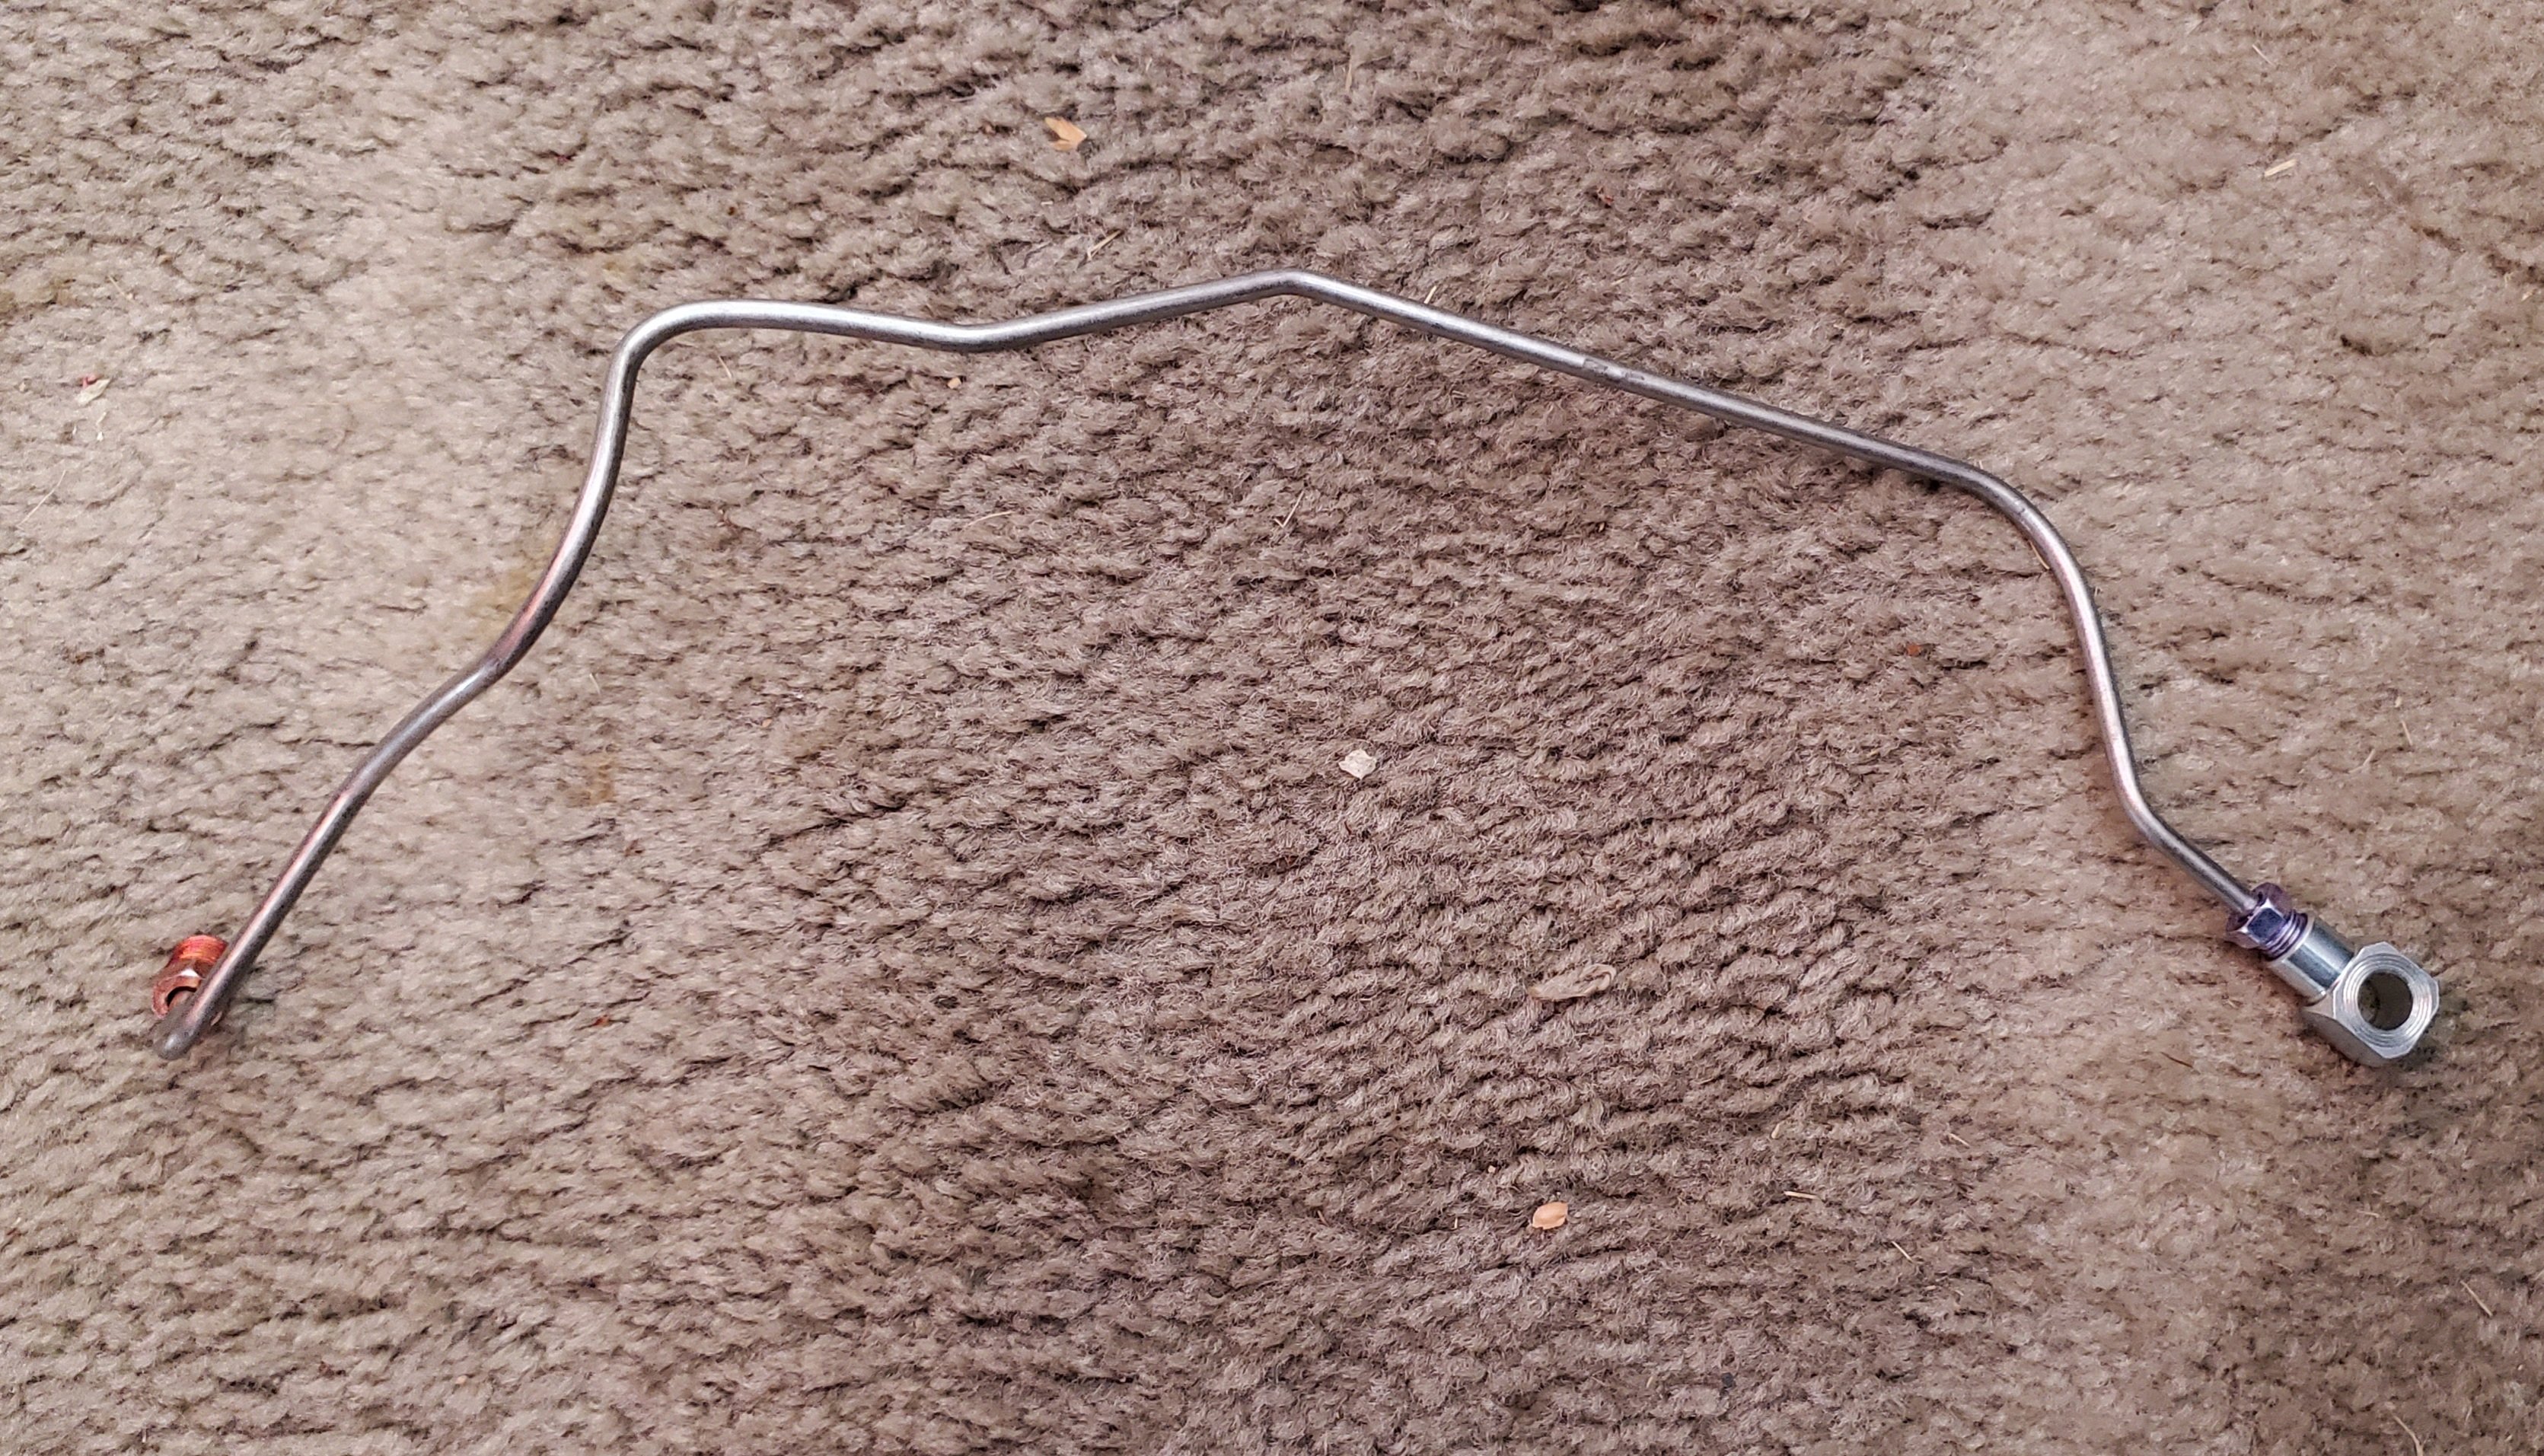
8 hours ago, barnett468 said:you should not have the front line running upward because it can trap air and not bleed it out.
I'll have to figure out how to eliminate the big bend in the left front line. The rest are fine. Thanks
-
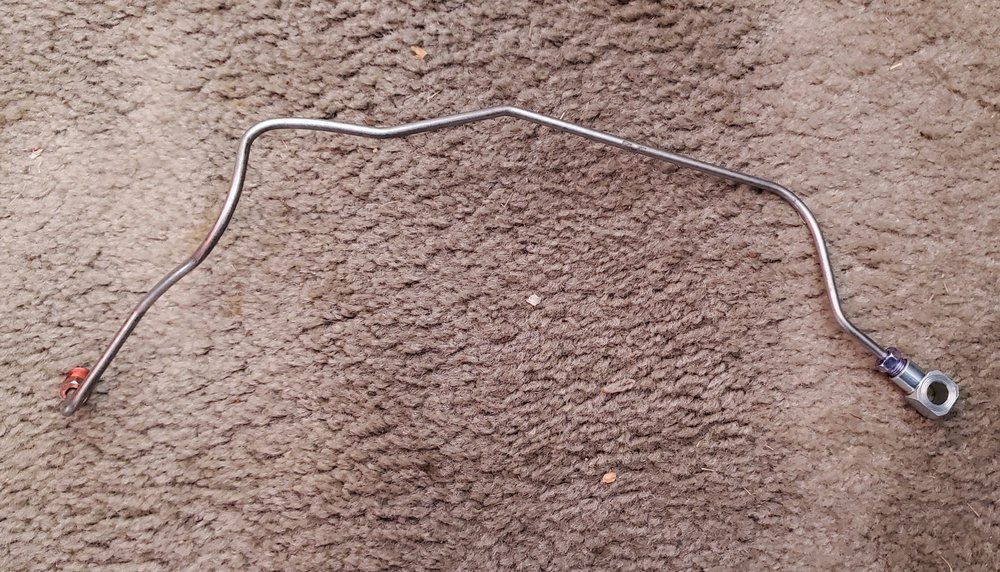
My new GM Style discs to disc Proportioning valve came and I spend Saturday evening bending and fitting the brake lines. I am using the stock inline tube kit. What I discovered is you need a bunch brake line adapters of various sizes... well actually two adapters if you are making your own Master Cylinder to Prop valve lines. That was the second aha moment, the two Inline tube stock Master Cylinder to Prop valve lines that come with the kit are useless. The rest of the kit will work with some bending and the aforementioned line adapters. The front LH line needed the most reshaping and is hard to bend because of the outer (double) tube on the section that needs bending.It a short line, so in hind sight I could just made my own there too.
Also, the rubber brake that came with my Front Granada discs also need an line adapter to mate up with their respective stock inline tube brake line.
Now I need to tackle the rear line across the axle. I don't like the aftermarket setup much as it requires cutting the tubes shorter at each end. So I am going to use a Banjo to 3/8" female inverted flare, instead of the rubber hose and straps in the kit. This way I will only have to bend the brake lines at each end and not cut them. It will also look more like the stock brake line setup which I like. I realize that removing the rotor and or caliper with require me to disconnect the line from the rear calipers and then bleed the lines when I reassemble, but I can live with that. I would be a frequent occurrence. We will see how it goes.

-
3 hours ago, unilec said:Also a good idea to get the piston locking device you see in this short youtube clip.
Good info. Thanks
-
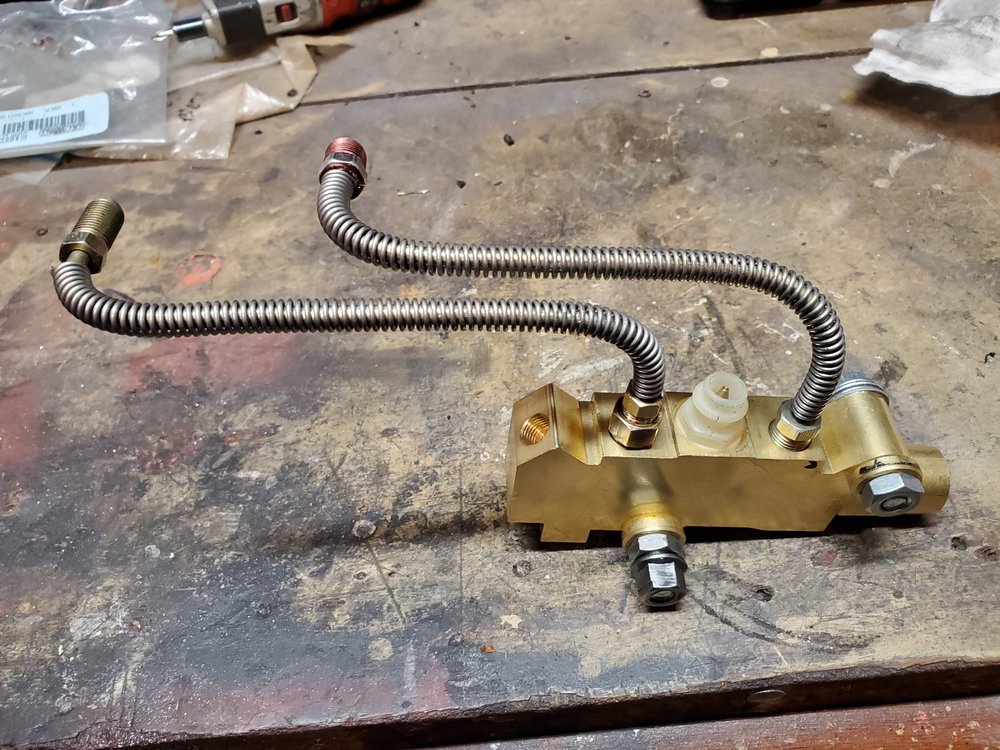
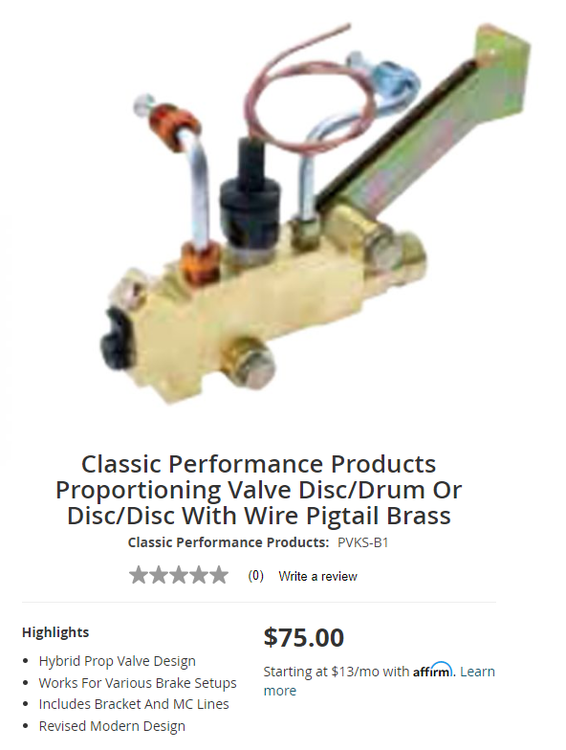
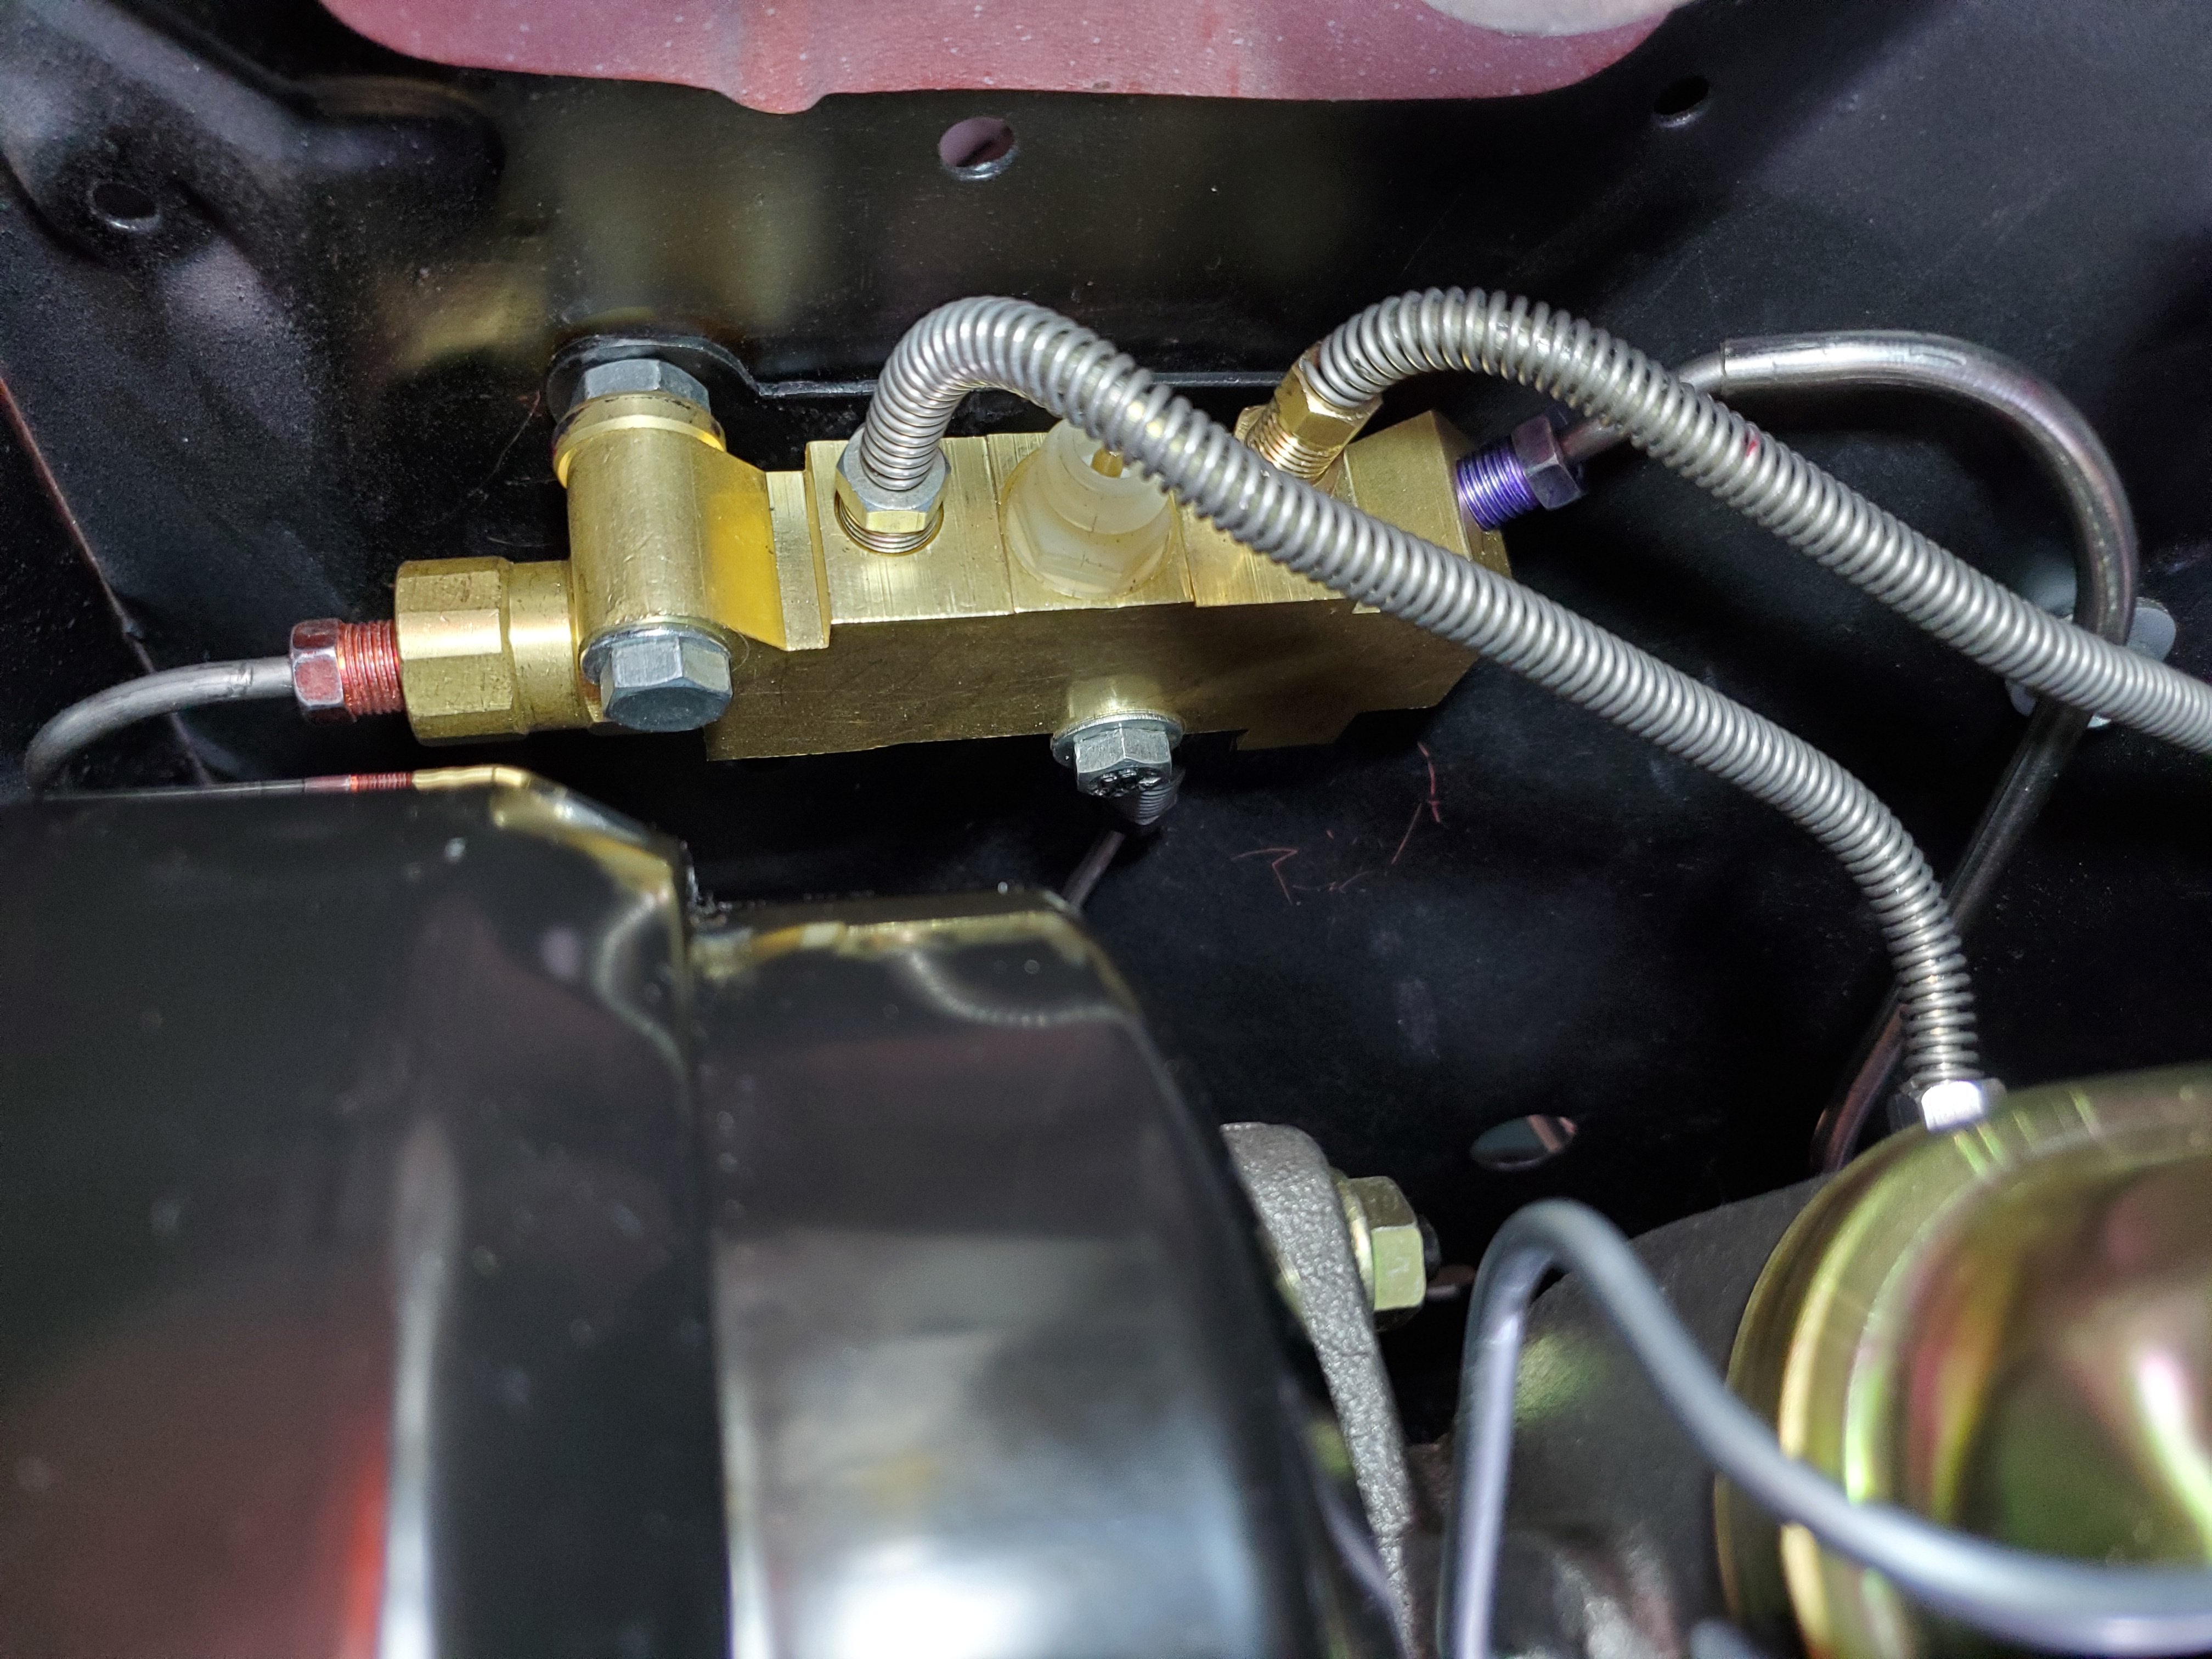
2 hours ago, barnett468 said:The prop valve in your photo looks like it is for drum rear brakes. The prop valve for rest discs should not have the check ball/black fitting on the end.
Here is a picture of the one I ordered. As you stated it does not have the check ball on the end. .
Thanks for pointing that out.

-
On 4/7/2020 at 8:01 PM, Rich Ackermann said:I am in the process of hooking up my parking brake cables using a generic aftermarket rear disc brake cabling system. The instructions a not worth the paper they are printed on. I am using the stock e-brake LH & RH bulkheads, J hook location, and a stock front brake pedal cable.
Any instructional help and/or pictures of your similar setup would be appreciated.
Thanks,
Rich
Thanks. No need to reply. I got it all working.
-
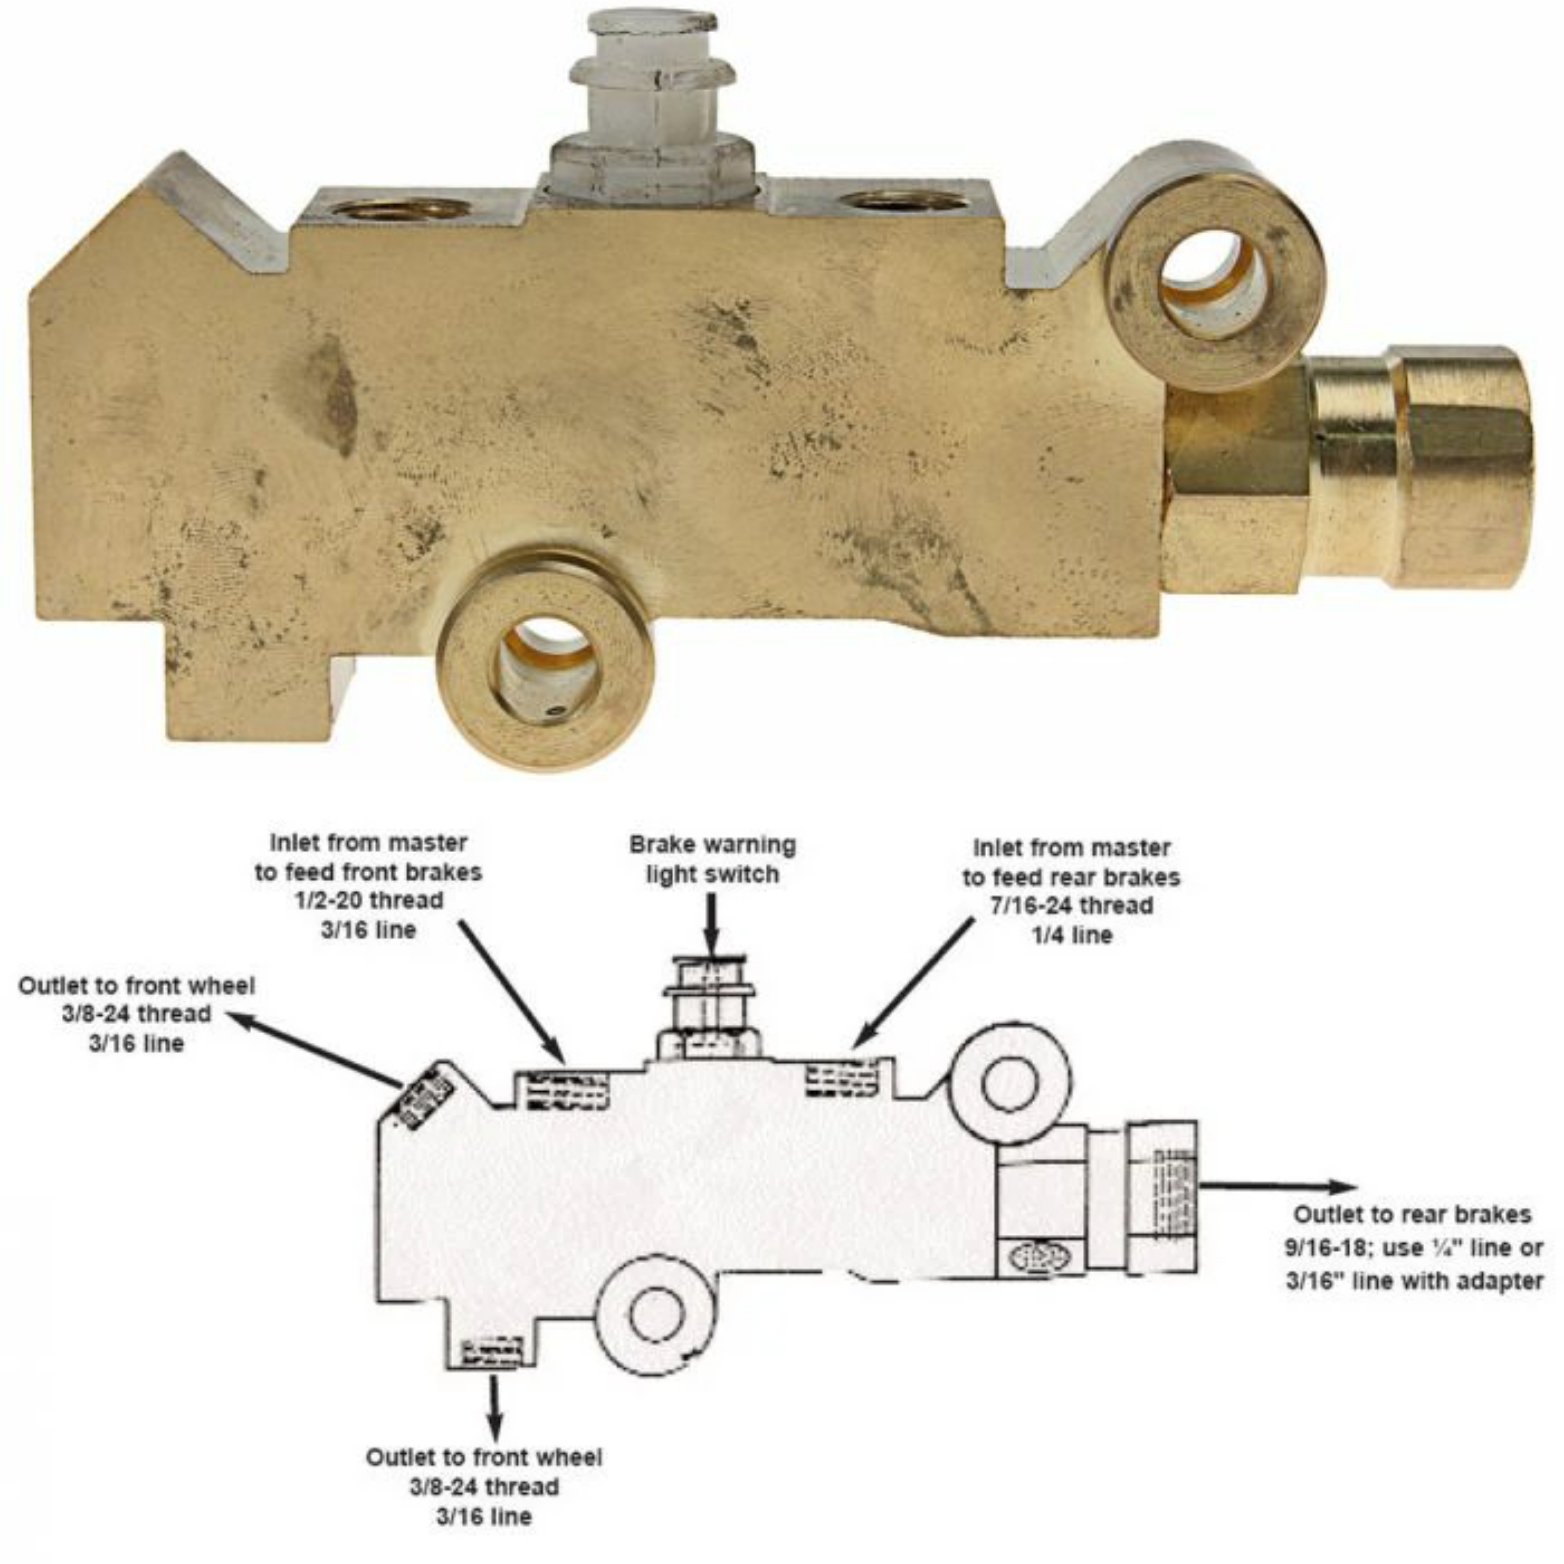
On 4/8/2020 at 12:01 AM, aslanefe said:I used the GM style prop valve for disk/drum when I converted my 69 to front disks. Summit and other vendors sell a disc/drum and a disc/disc GM style prop valve (different part numbers) that makes me think that there is a difference inside the valve, maybe a different spring. I made a bracket to mount the prop valve to stock location on fender well. Had to bend the original lines to rear and front brakes a little bit to attach them to the valve (but did not have to cut or make new lines). Bent premade lines from mc to prop valve. Brake warning switch connection was easy, the original plug to switch has 2 pins and wires but they are jumped on the original switch ( if you look at the pins on the original switch closely, you can see the jumper inside) so I jumped the pins of the original plug and attached it to the one wire from the GM style prop valve.
Perfect. Thanks for the info. I'll check for the jumped pins.
-
6 minutes ago, barnett468 said:Many older cars that cam stock with ft and rr discs, do not have a prop valve, but their caliper sizes are designed so they don't need one.
You will have to do brake line mods.
C J Pony parts is lying to you.
Thanks. I would not be the first time....
-
I am in the process of hooking up my parking brake cables using a generic aftermarket rear disc brake cabling system. The instructions a not worth the paper they are printed on. I am using the stock e-brake LH & RH bulkheads, J hook location, and a stock front brake pedal cable.
Any instructional help and/or pictures of your similar setup would be appreciated.
Thanks,
Rich
-
5 minutes ago, barnett468 said:you don't run a disc/drum prop valve on a disc/disc system, and in fact, you may not need a prop valve at all. you could try it without one, then if you need one, add it then. irregardless, a basic prop valve from wilwood "should" have enough adjustment for your app.
.
Thanks Barnett468. I did not think I could do without a Proportioning Valve entirely. I always thought i would need disc to disc valve, but I am hoping that I can find one that mounts and connects like the stock disc to drum valve does to minimize the brake line mods. I found that CJ Pony Parts lists a GM style Proportioning Valve from CPP (see pic) that claims it can work with either disc to disc or disc to drum. It look similar to a stock valve, but it still will require mods to the lines, switch, and mounting location..
-
I have installed front and rear disc brakes (Granada up front and CPP setup in rear) on my originally all drum 70 Mach. I have a 7" (Bendix like) booster with a dual master cylinder. I am starting with Inline tube Disc to drum brake line kit, knowing it will need a little modification at either end.
All that said, Ideally I would like to get a 1970 disc to drum style Proportioning Valve for a Disc to Disc application to minimize the modifications needed to the valve mounting location, line mods, and brake light switch plug. I have found NPD and CJ selling a GM style disc to disc/drum Proportioning Valve but it will need mounting, line and brake plug mods to work.
What are you using for your conversion?
Thanks All!
Rich
-
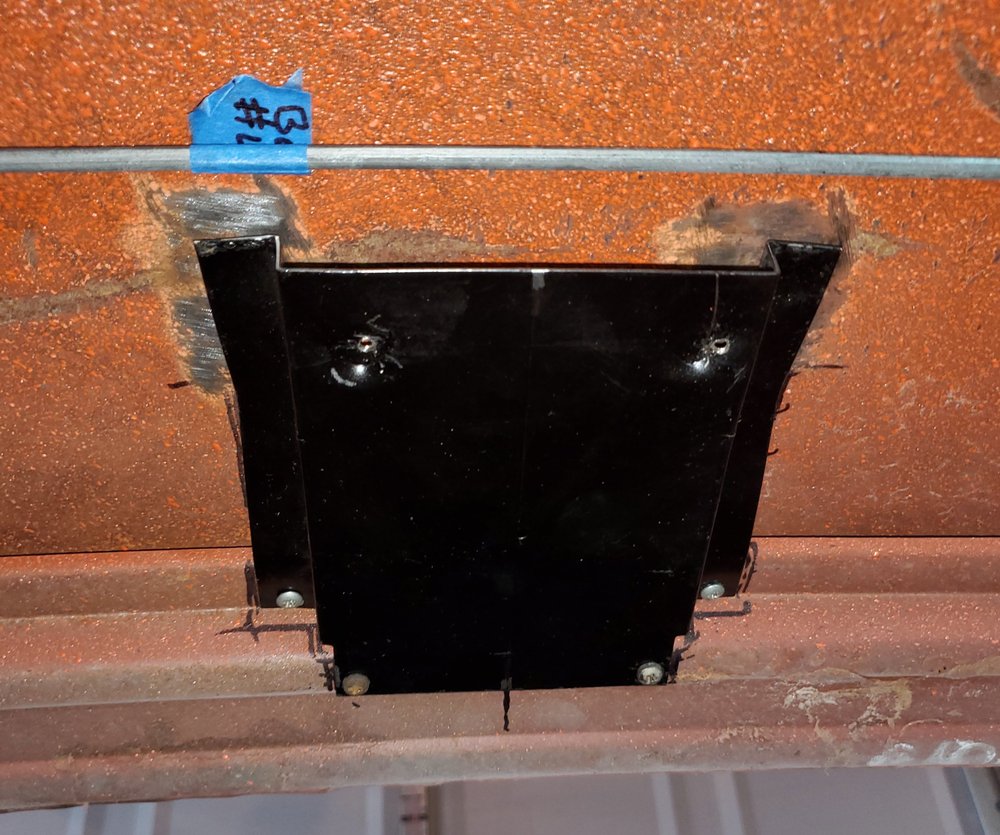
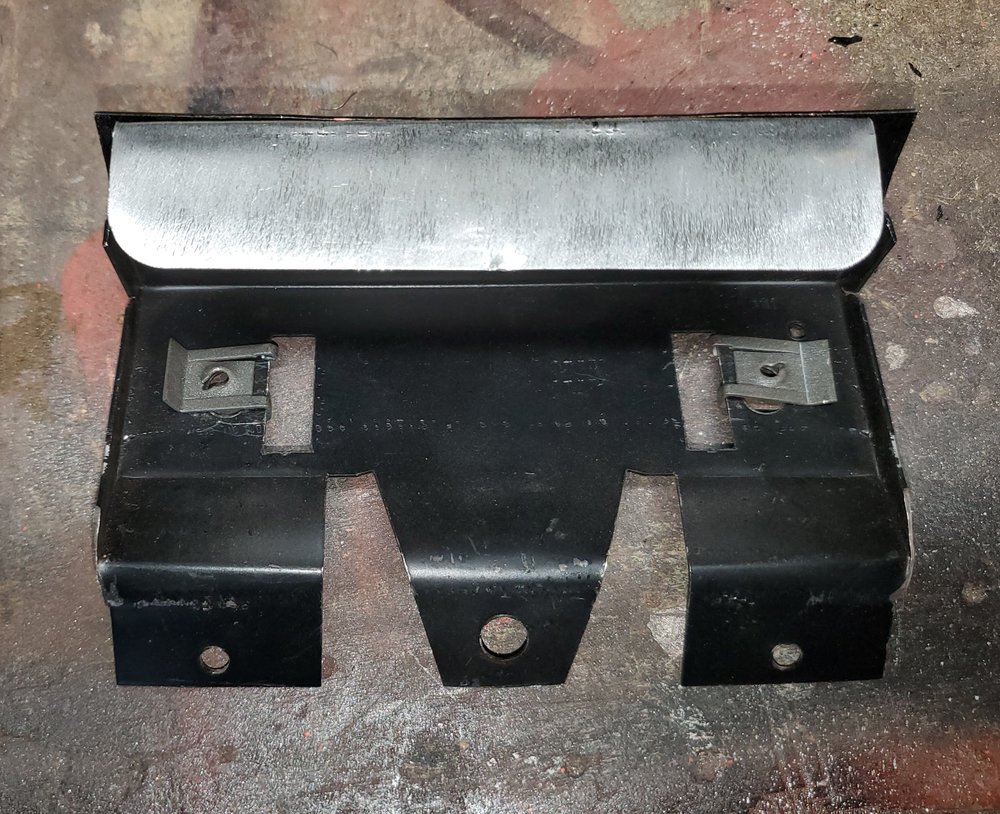
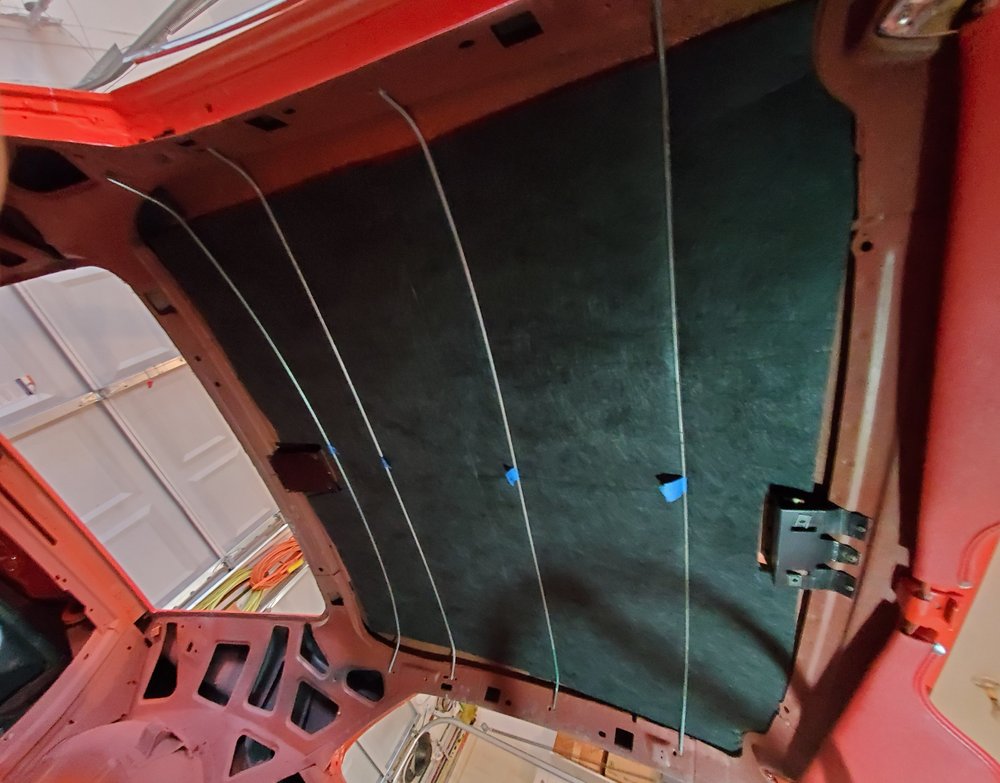
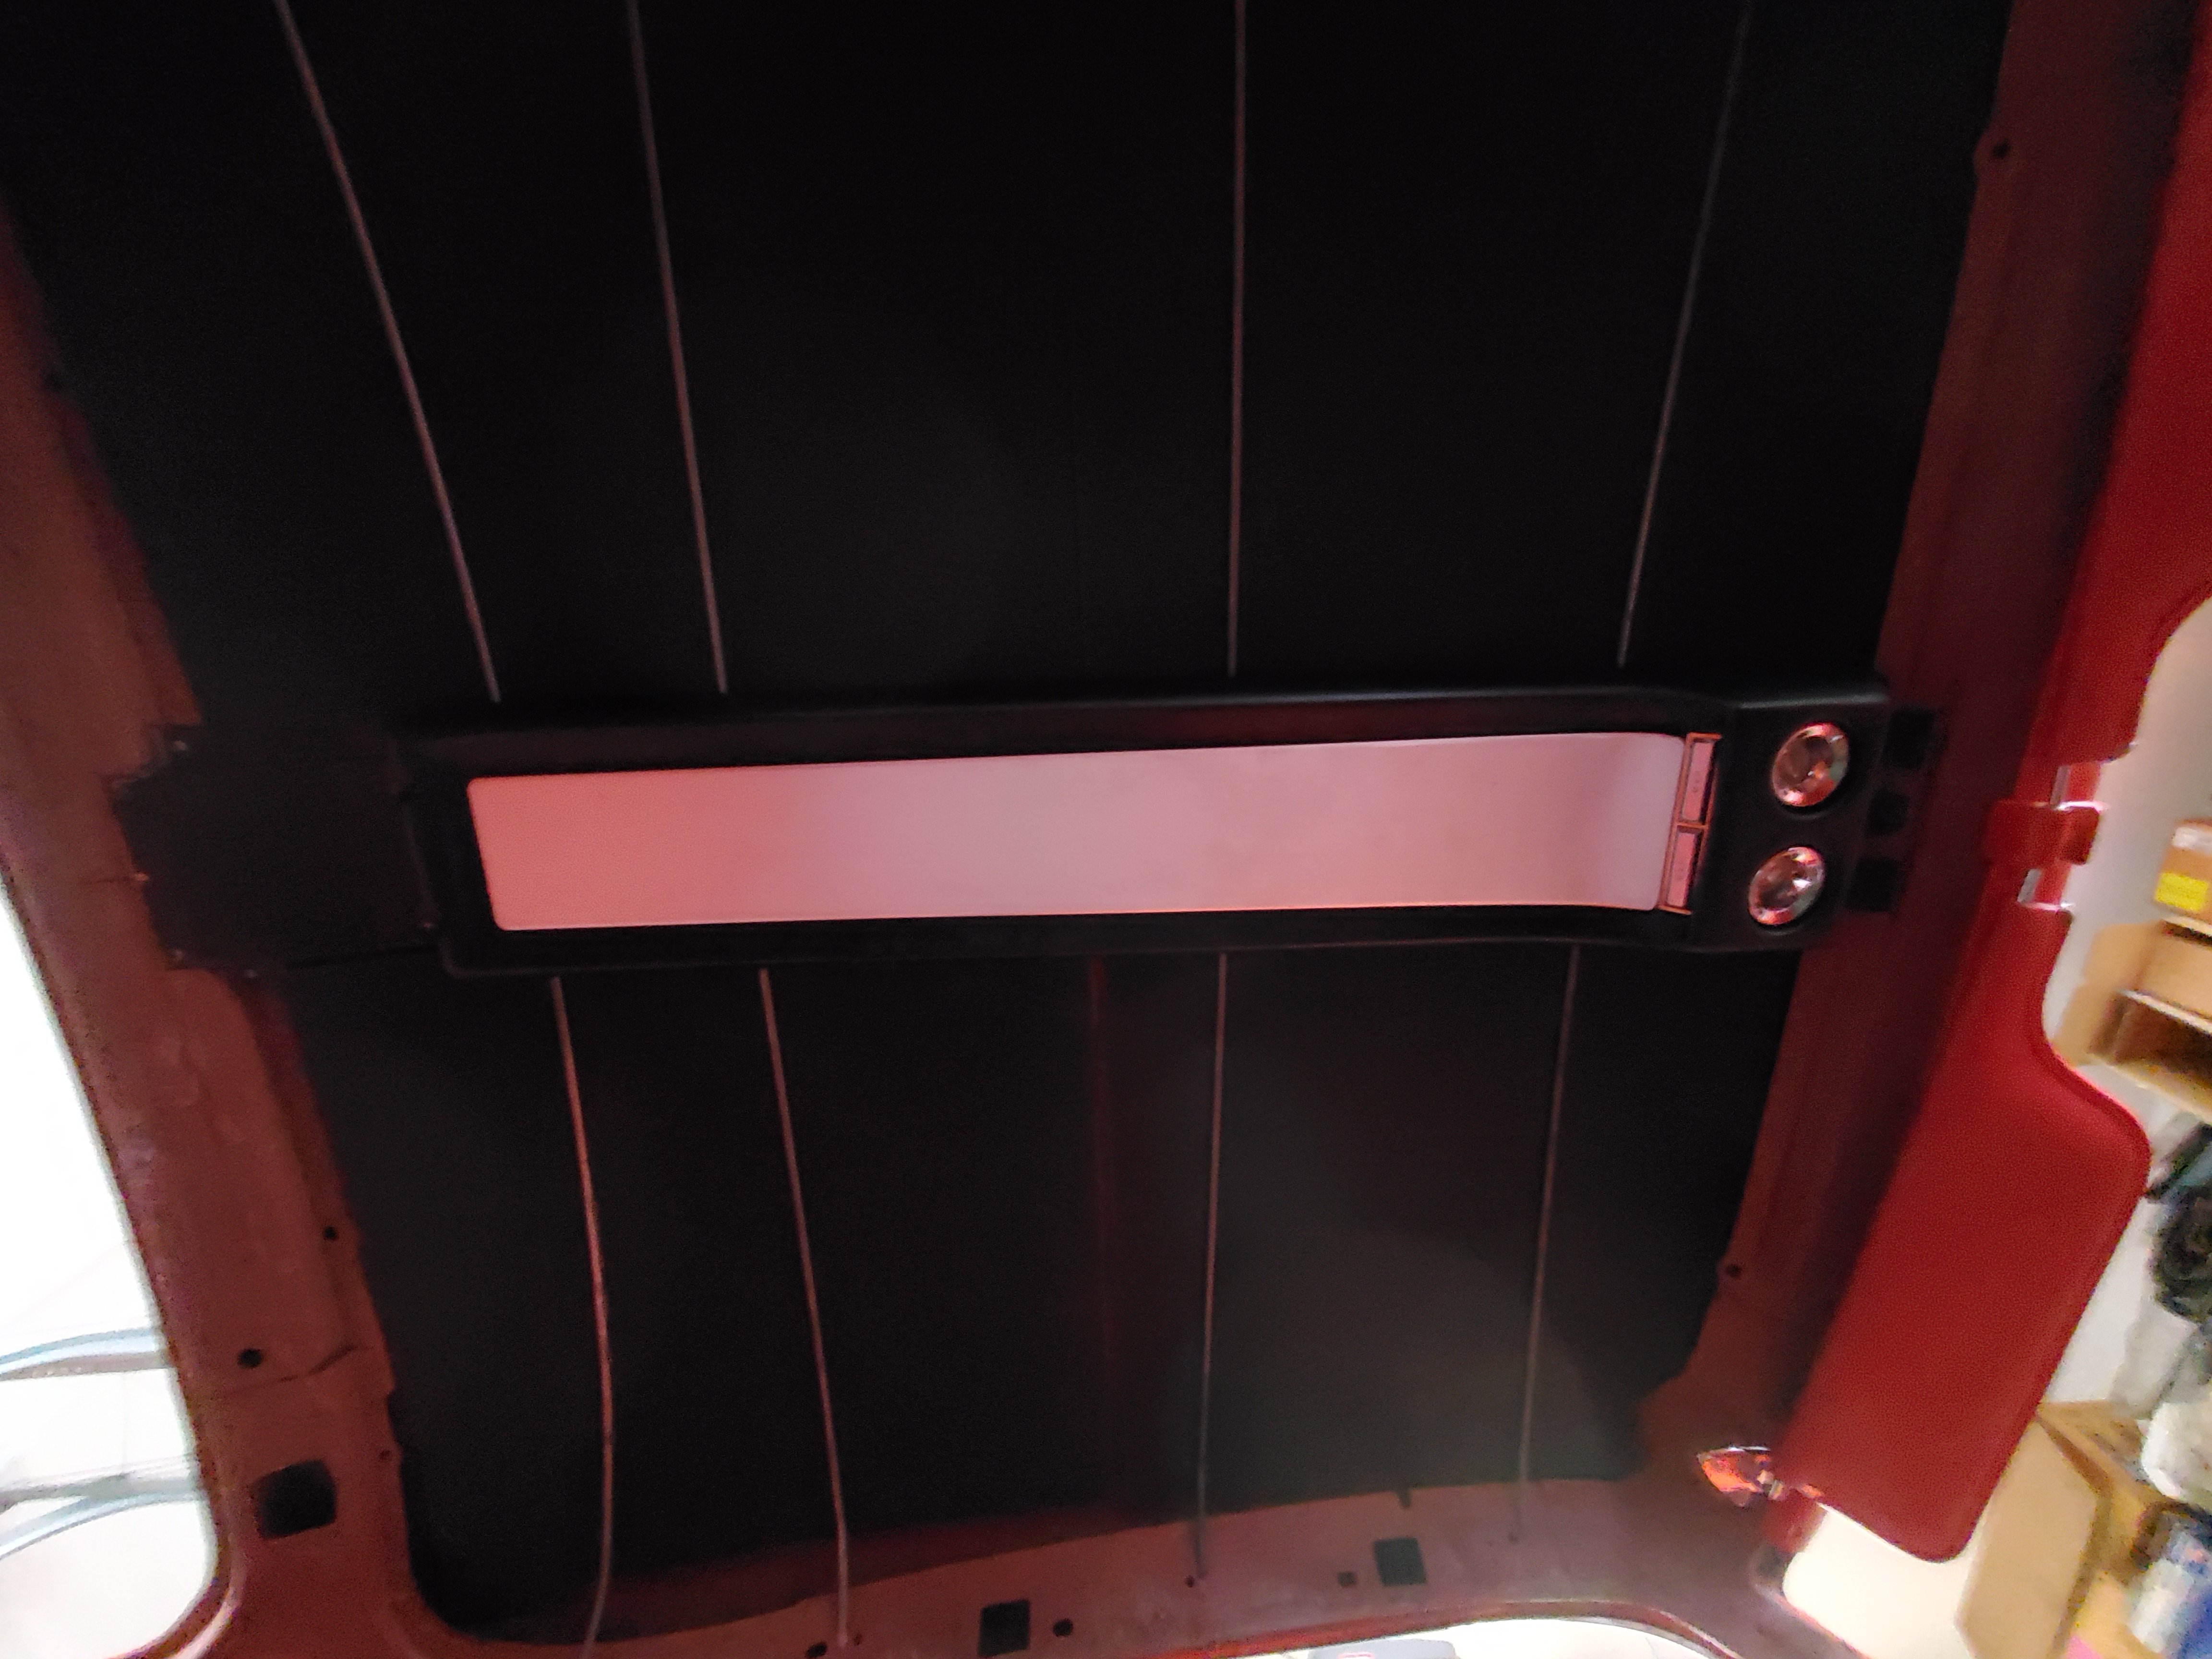
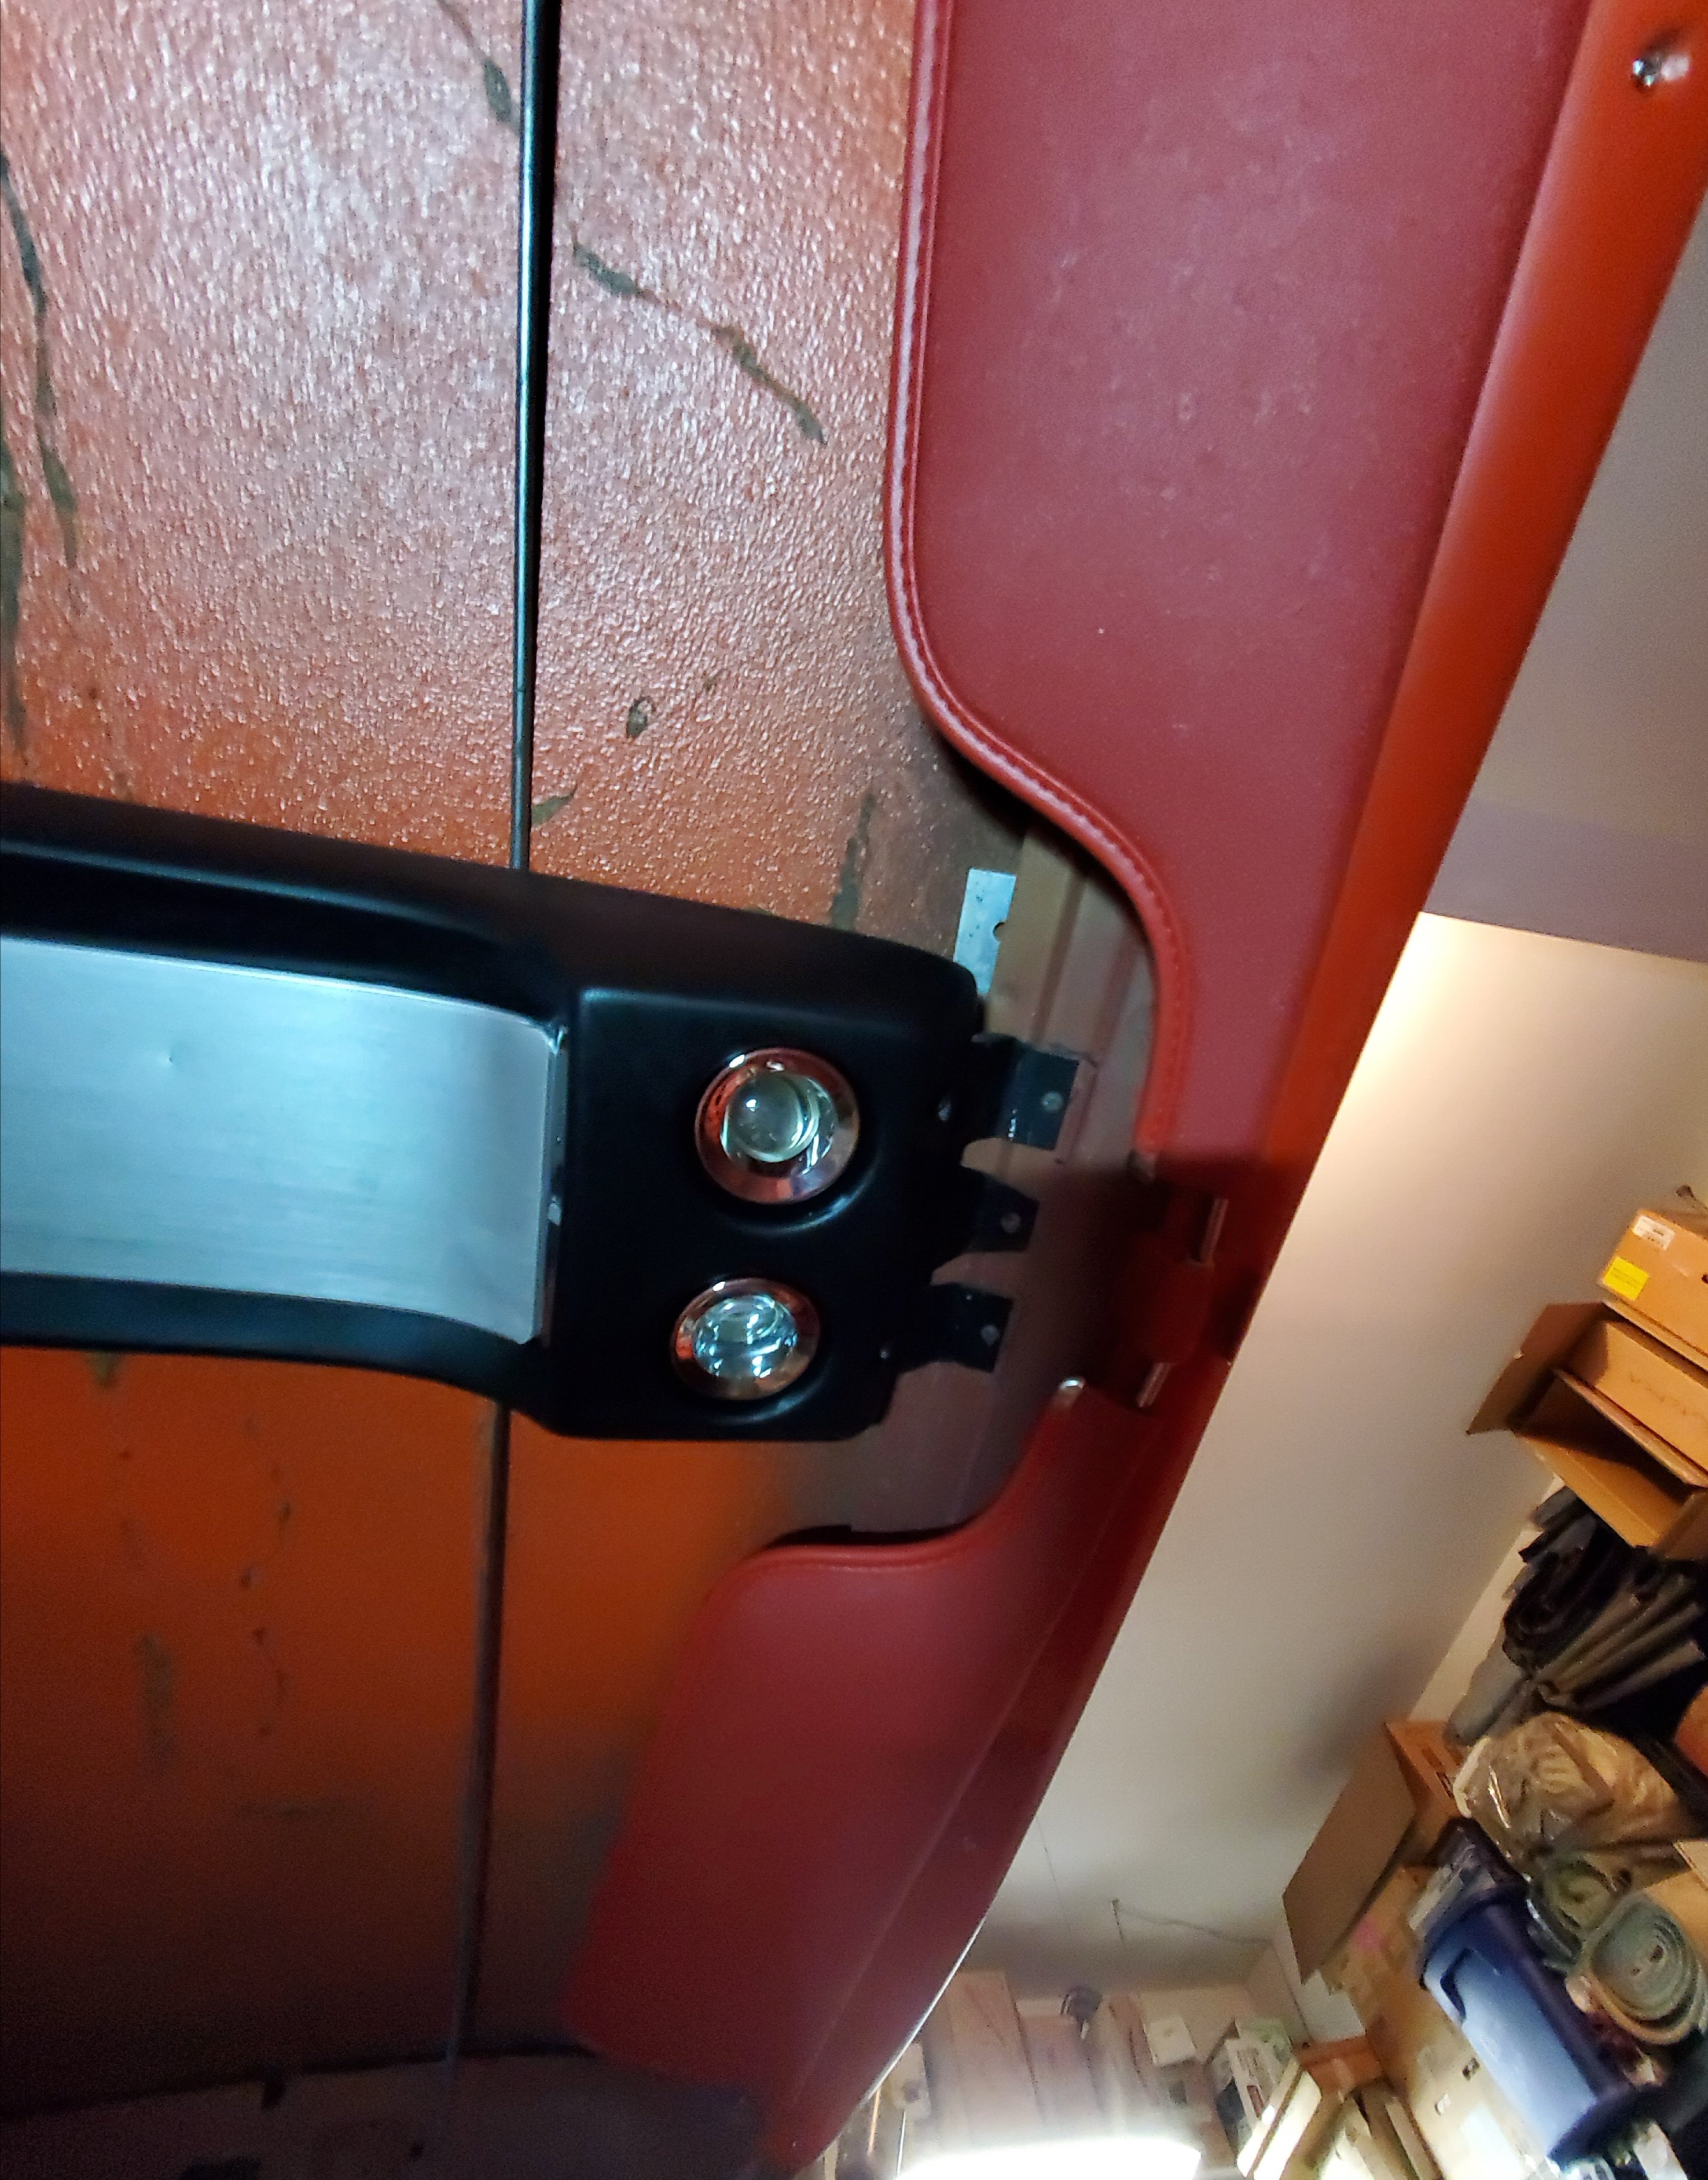
Getting ready to install the rear brakes and all the lines. In the meantime, I have always loved the look of the 67-68 overhead console. I looked at the dimensions of the console and how it mounts to the roof brackets. So i decided to buy one and give it a shot. It worked out. BTW: I plan on installing the stock type moonskin headliner, not one of those hard shell versions.
The rear bracket worked as is and is held solidly in place by 4 screws to the roof cross member. but I had to modify the front bracket. First I made an "L" bracket and body glued it to the roof. I reshaped the stock front bracket to attach to the "L" bracket and the windshield frame by 5 srews.The console held by 4 screws to these two brackets. There appears to be no clearance issues with the the headliner wire supports (whatever they are called).
The overhead console has two on/off buttons on it and is designed to only work with constant unswitched 12 volt power just like the hood and trunk lights (the stock green wire with the yellow line). I rewired the console to also work with the interior lights with the door jamb and headlight switches, like the stock sail panel lights (stock blue wire with a black line). This required adding a couple of one-way diodes to prevent the constant unswitched circuit from feeding 12v back to the interior switched light circuit. Now the lights work from the on/off buttons or when opening the door or turning the headlight switch.


-
Nice work. I am planning to convert my non-A/C 70 mach to A/C. So I'll be following your progress closely.
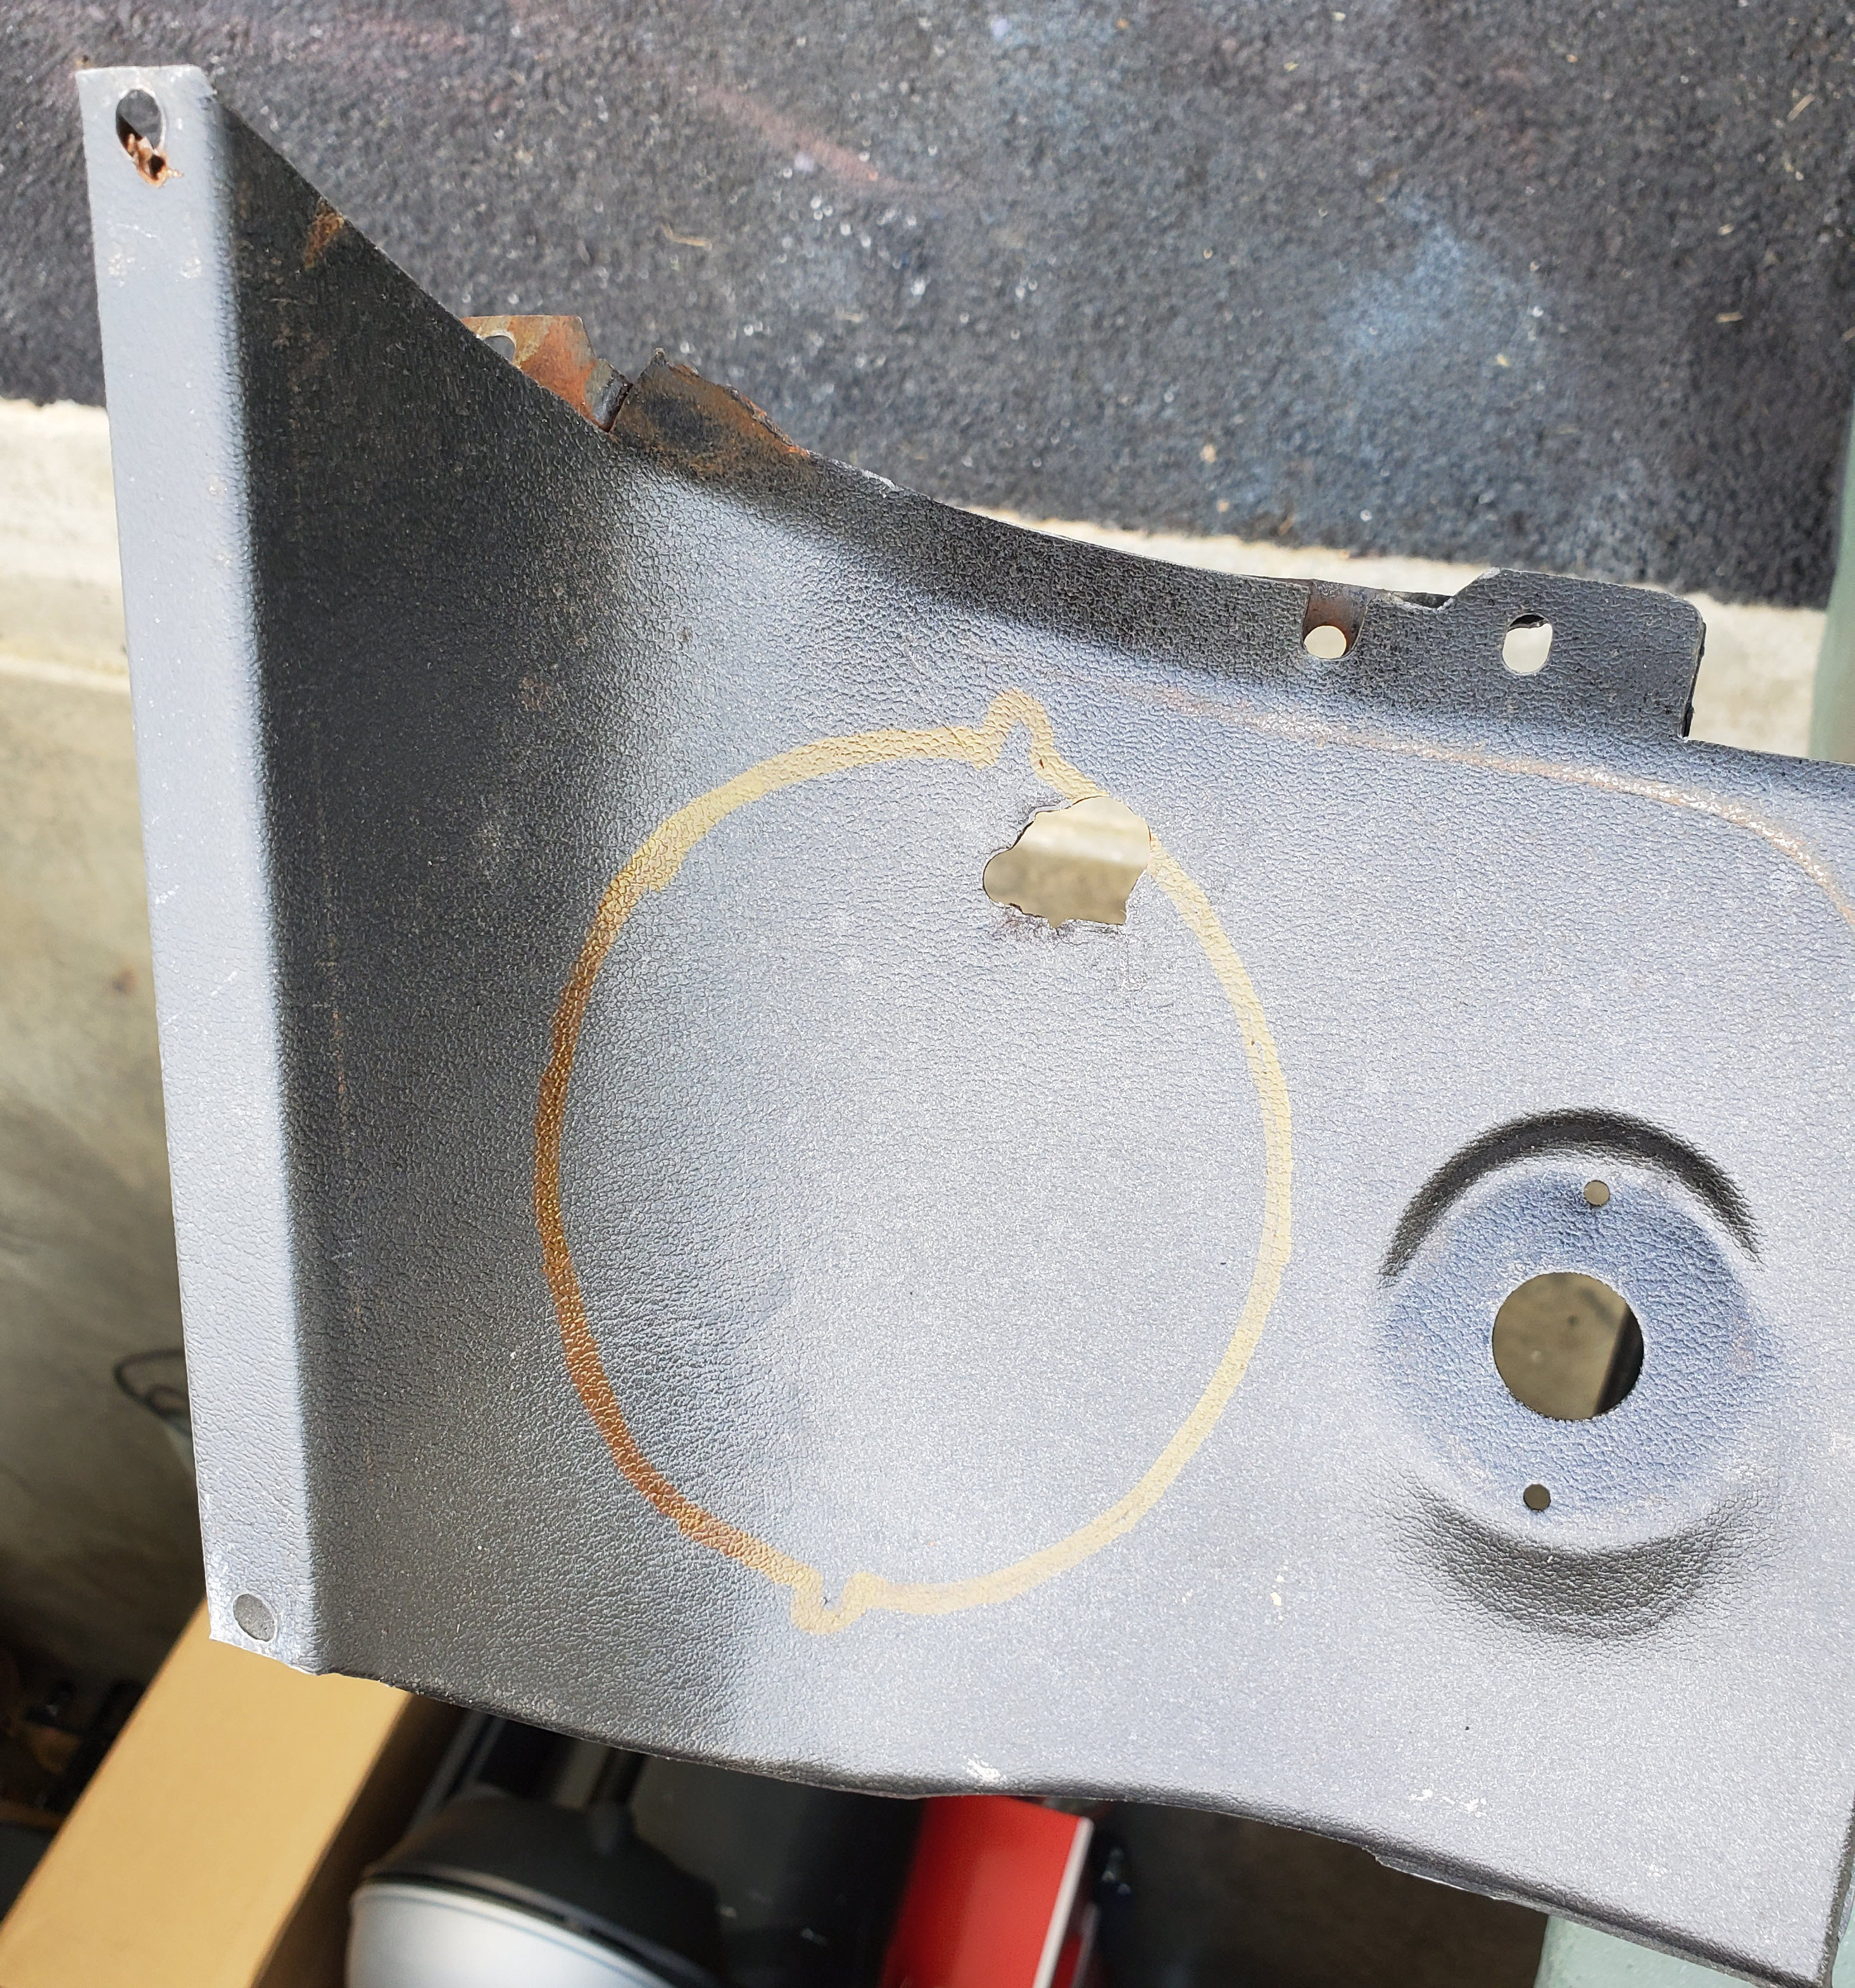
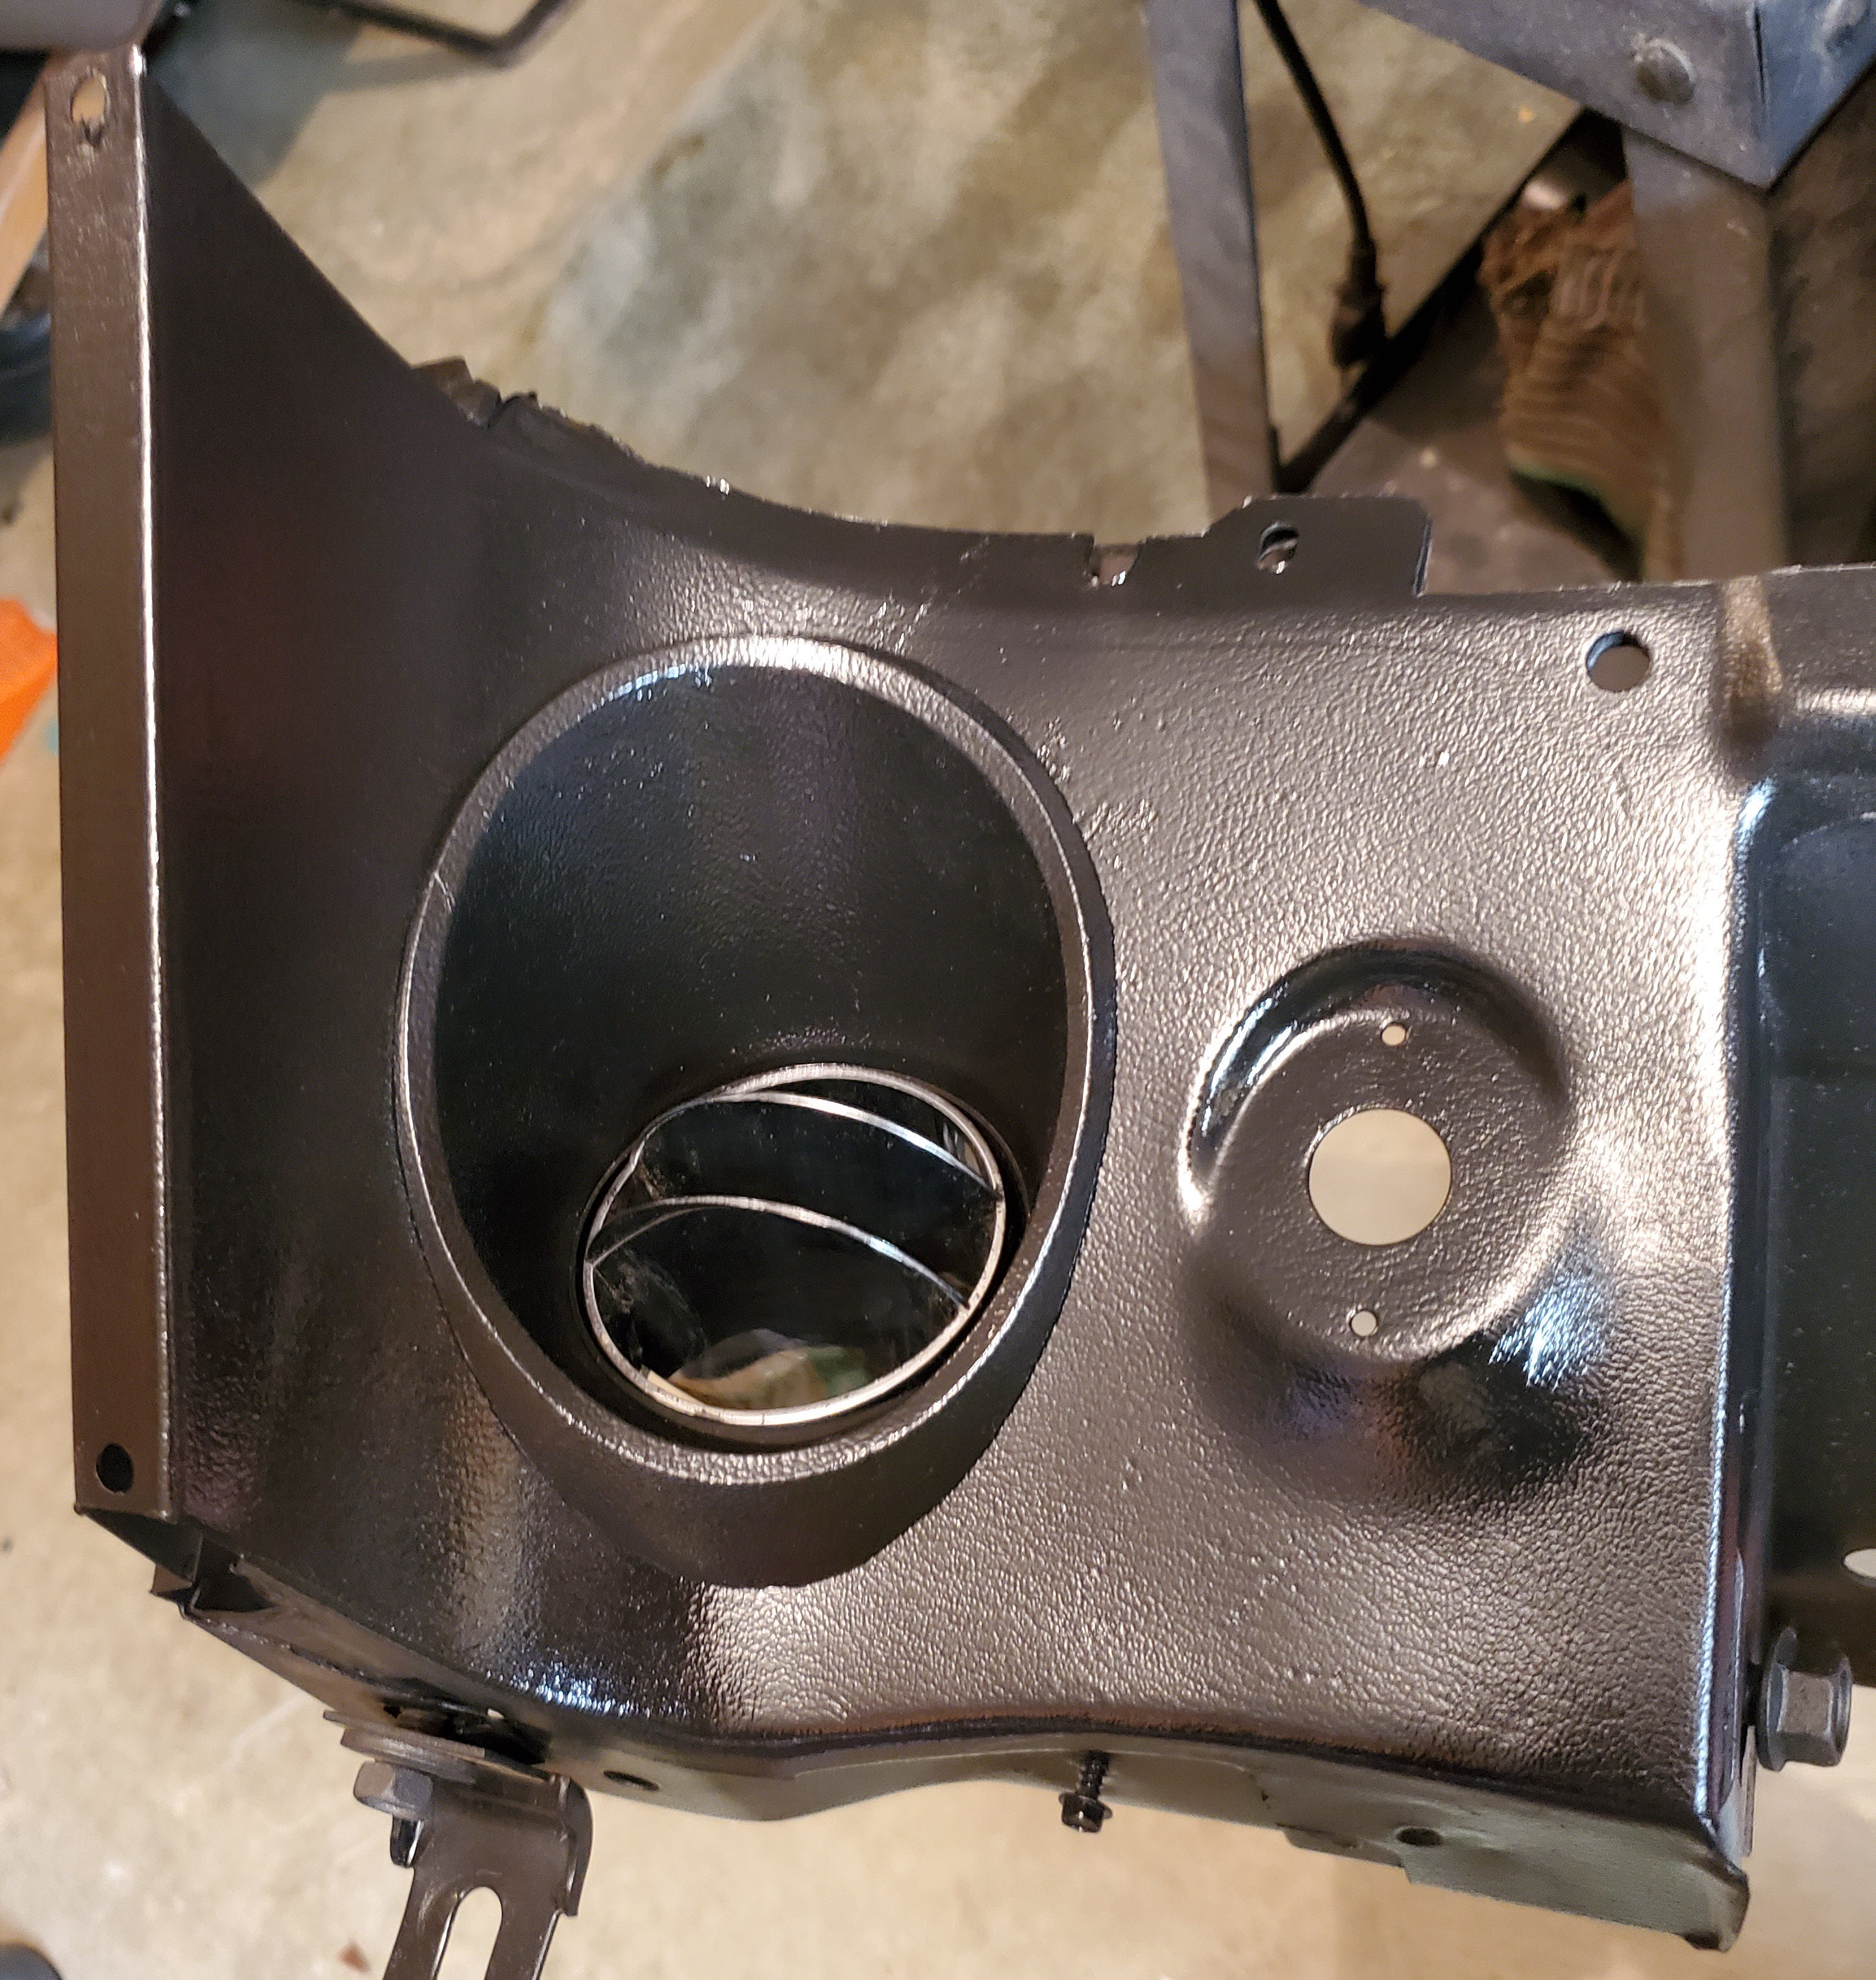
I am using A/C original vents. So for the lower dash vent holes I made a template for the holes from an original A/C dash to get the size and position right and cut them out on my non-A/C dash. I used a clear plastic mylar for the template so I could see the dash thru it. I cut it with a nibbler on a drill and then filed it. Not easy with the contour of the dash.
My dash has a nasty hole in it where the drivers vent is, so I had little to loose by doing it. It turned out perfect.

-
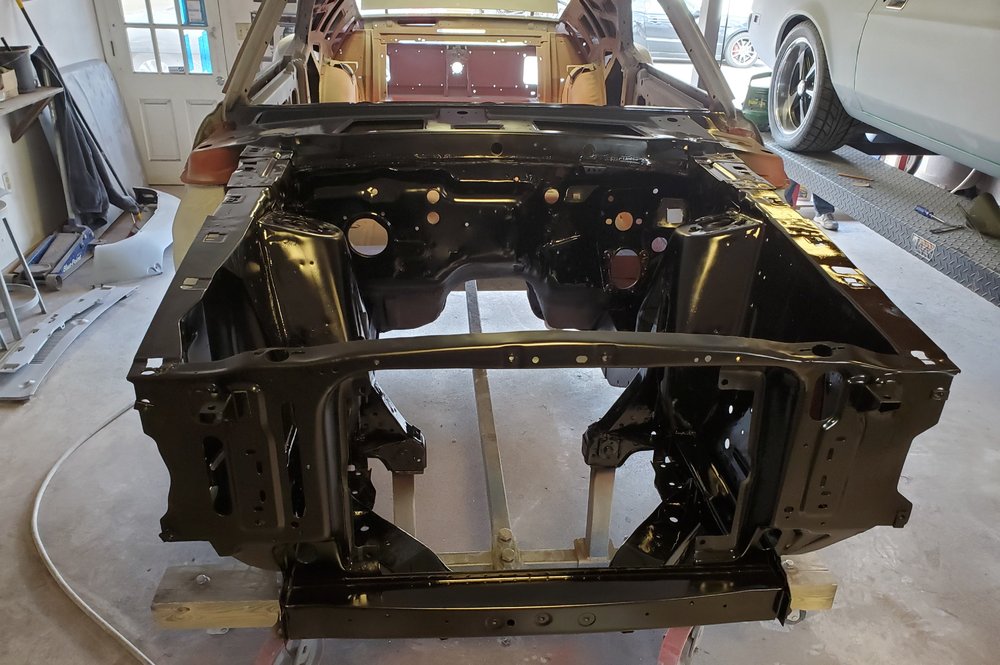
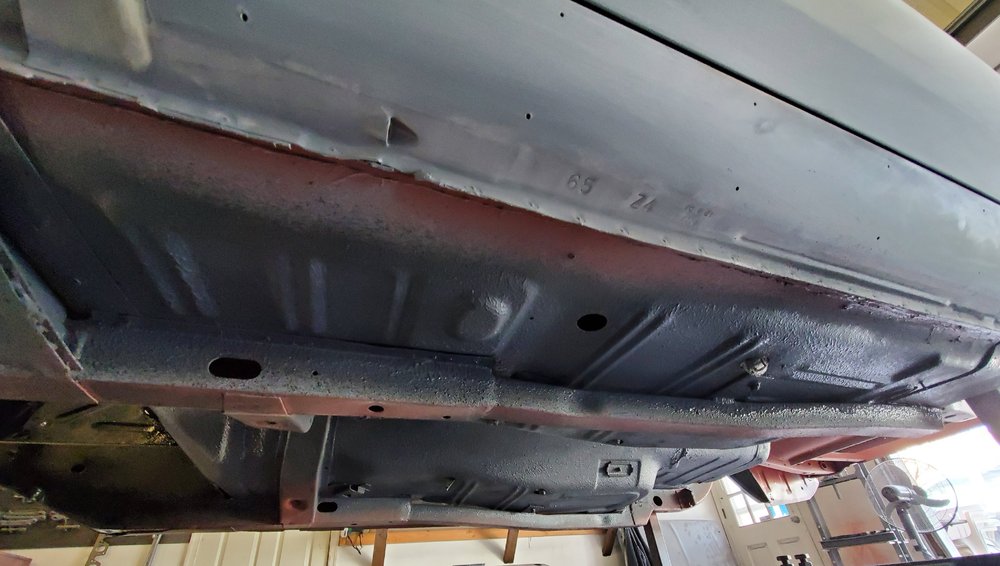
Spray an epoxy primer over bare cleaned metal. I sprayed SPI red epoxy on the engine bay, undercarriage, floors and trunk, but they have gray and black as well. The epoxy is impervious to most things that remove other paints. Then spray your eastwood chassis black, or your sound deadner over it, or you can leave it exposed. I used Eastwood chassis black over epoxy on the engine bay in the pic below.
-
I could use them. So I will get in line after GypsyR.
-
5 hours ago, Grabber70Mach said:I serious about seeing if they will give us a discount if we buy three setups at once. Let me know if your in. I'll call and talk with them to see what they would do, just need the specifics of what setup your looking at.
Ok I am in if the discount is good. I might be able to get a buddy of mine who has a 71 mach 351C with aftermarket a/c and p/s to go for one too. So that may make it four.
Grabber70Mach reacted to this -
1 hour ago, 69Stanger408 said:Fyi on CVF, I bought and installed a CVF front runner for mock up. A year later, still in the build process I decided to add AC as it's now or never. I contacted CVF about adding the compressor and bracket that matched what I had, and eventually decided to swap out the installed, mocked up system for the top of the line Wrapter. CVF credited my system for the upgrade and took it back, verified it was as I described and shipped me the new one. Don't know of any company that would do that,take back an installed product and give full credit for it, they are awesome to work with.
I never heard of nor personally had a company backup their products that way. Most give you 60 to 90 days at most to return uninstalled stuff. I bought a set of del-a-lum shackles from global west in late November. Discovered they would not fit my Eaton stock leaf springs. I never installed them. They still refused to take them back since it was over 90 days. So now I am selling them on ebay and Craig's list, facebook marketplace. Any takers?
-
1 hour ago, Grabber70Mach said:Thanks. They look nice, albeit somewhat pricey. May be the best, if not the only way to go.
Grabber70Mach reacted to this -
16 hours ago, Vicfreg said:Got it, sounds like a good setup. I used a CVF serpentine pulley system, they provided the GM pump. Came out good. Check them out.
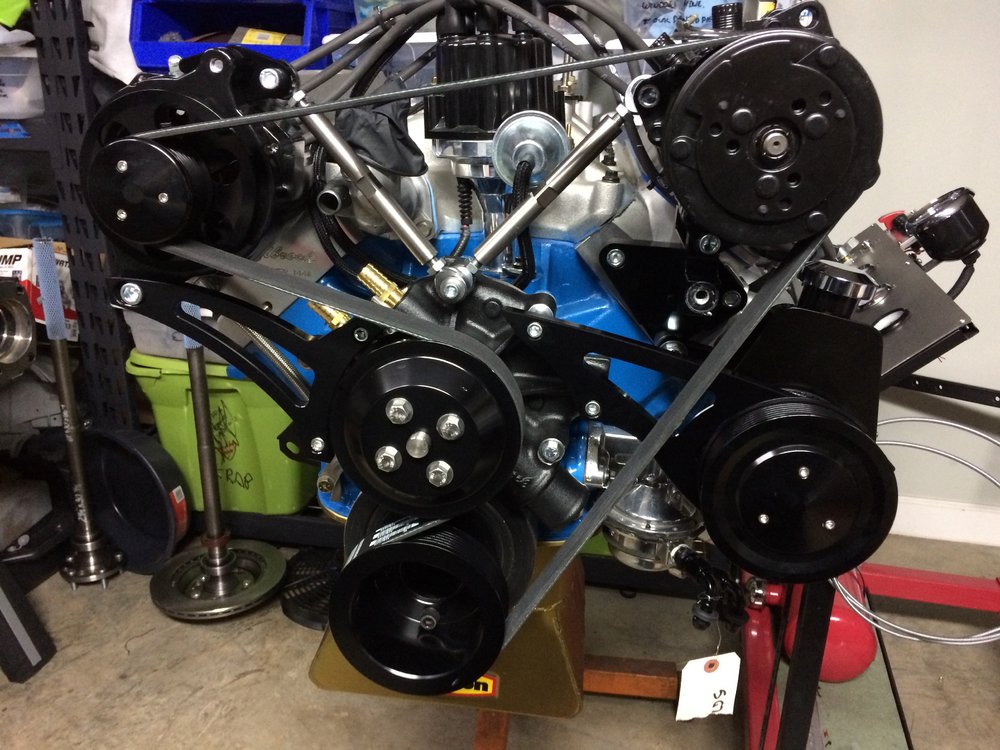
That looks fantastic! You have the aftermarket (Sanden?) A/C compressor and the Saginaw P/S pump mounted on a Windsor block. I have had no luck finding a similar pulley setup for Sanden A/C and Saginaw P/S on a Cleveland block.
-
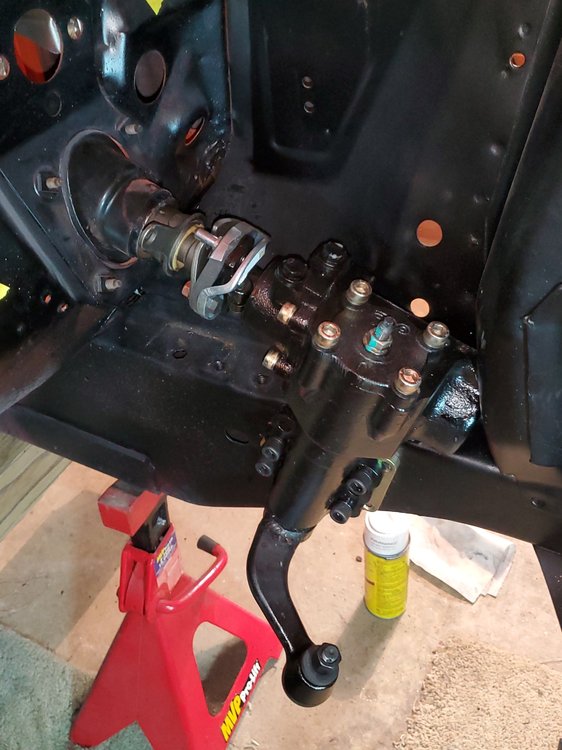
3 hours ago, Vicfreg said:Nice wheels. Noticed the spacer plate on the steering box, is that box from a Granada also?
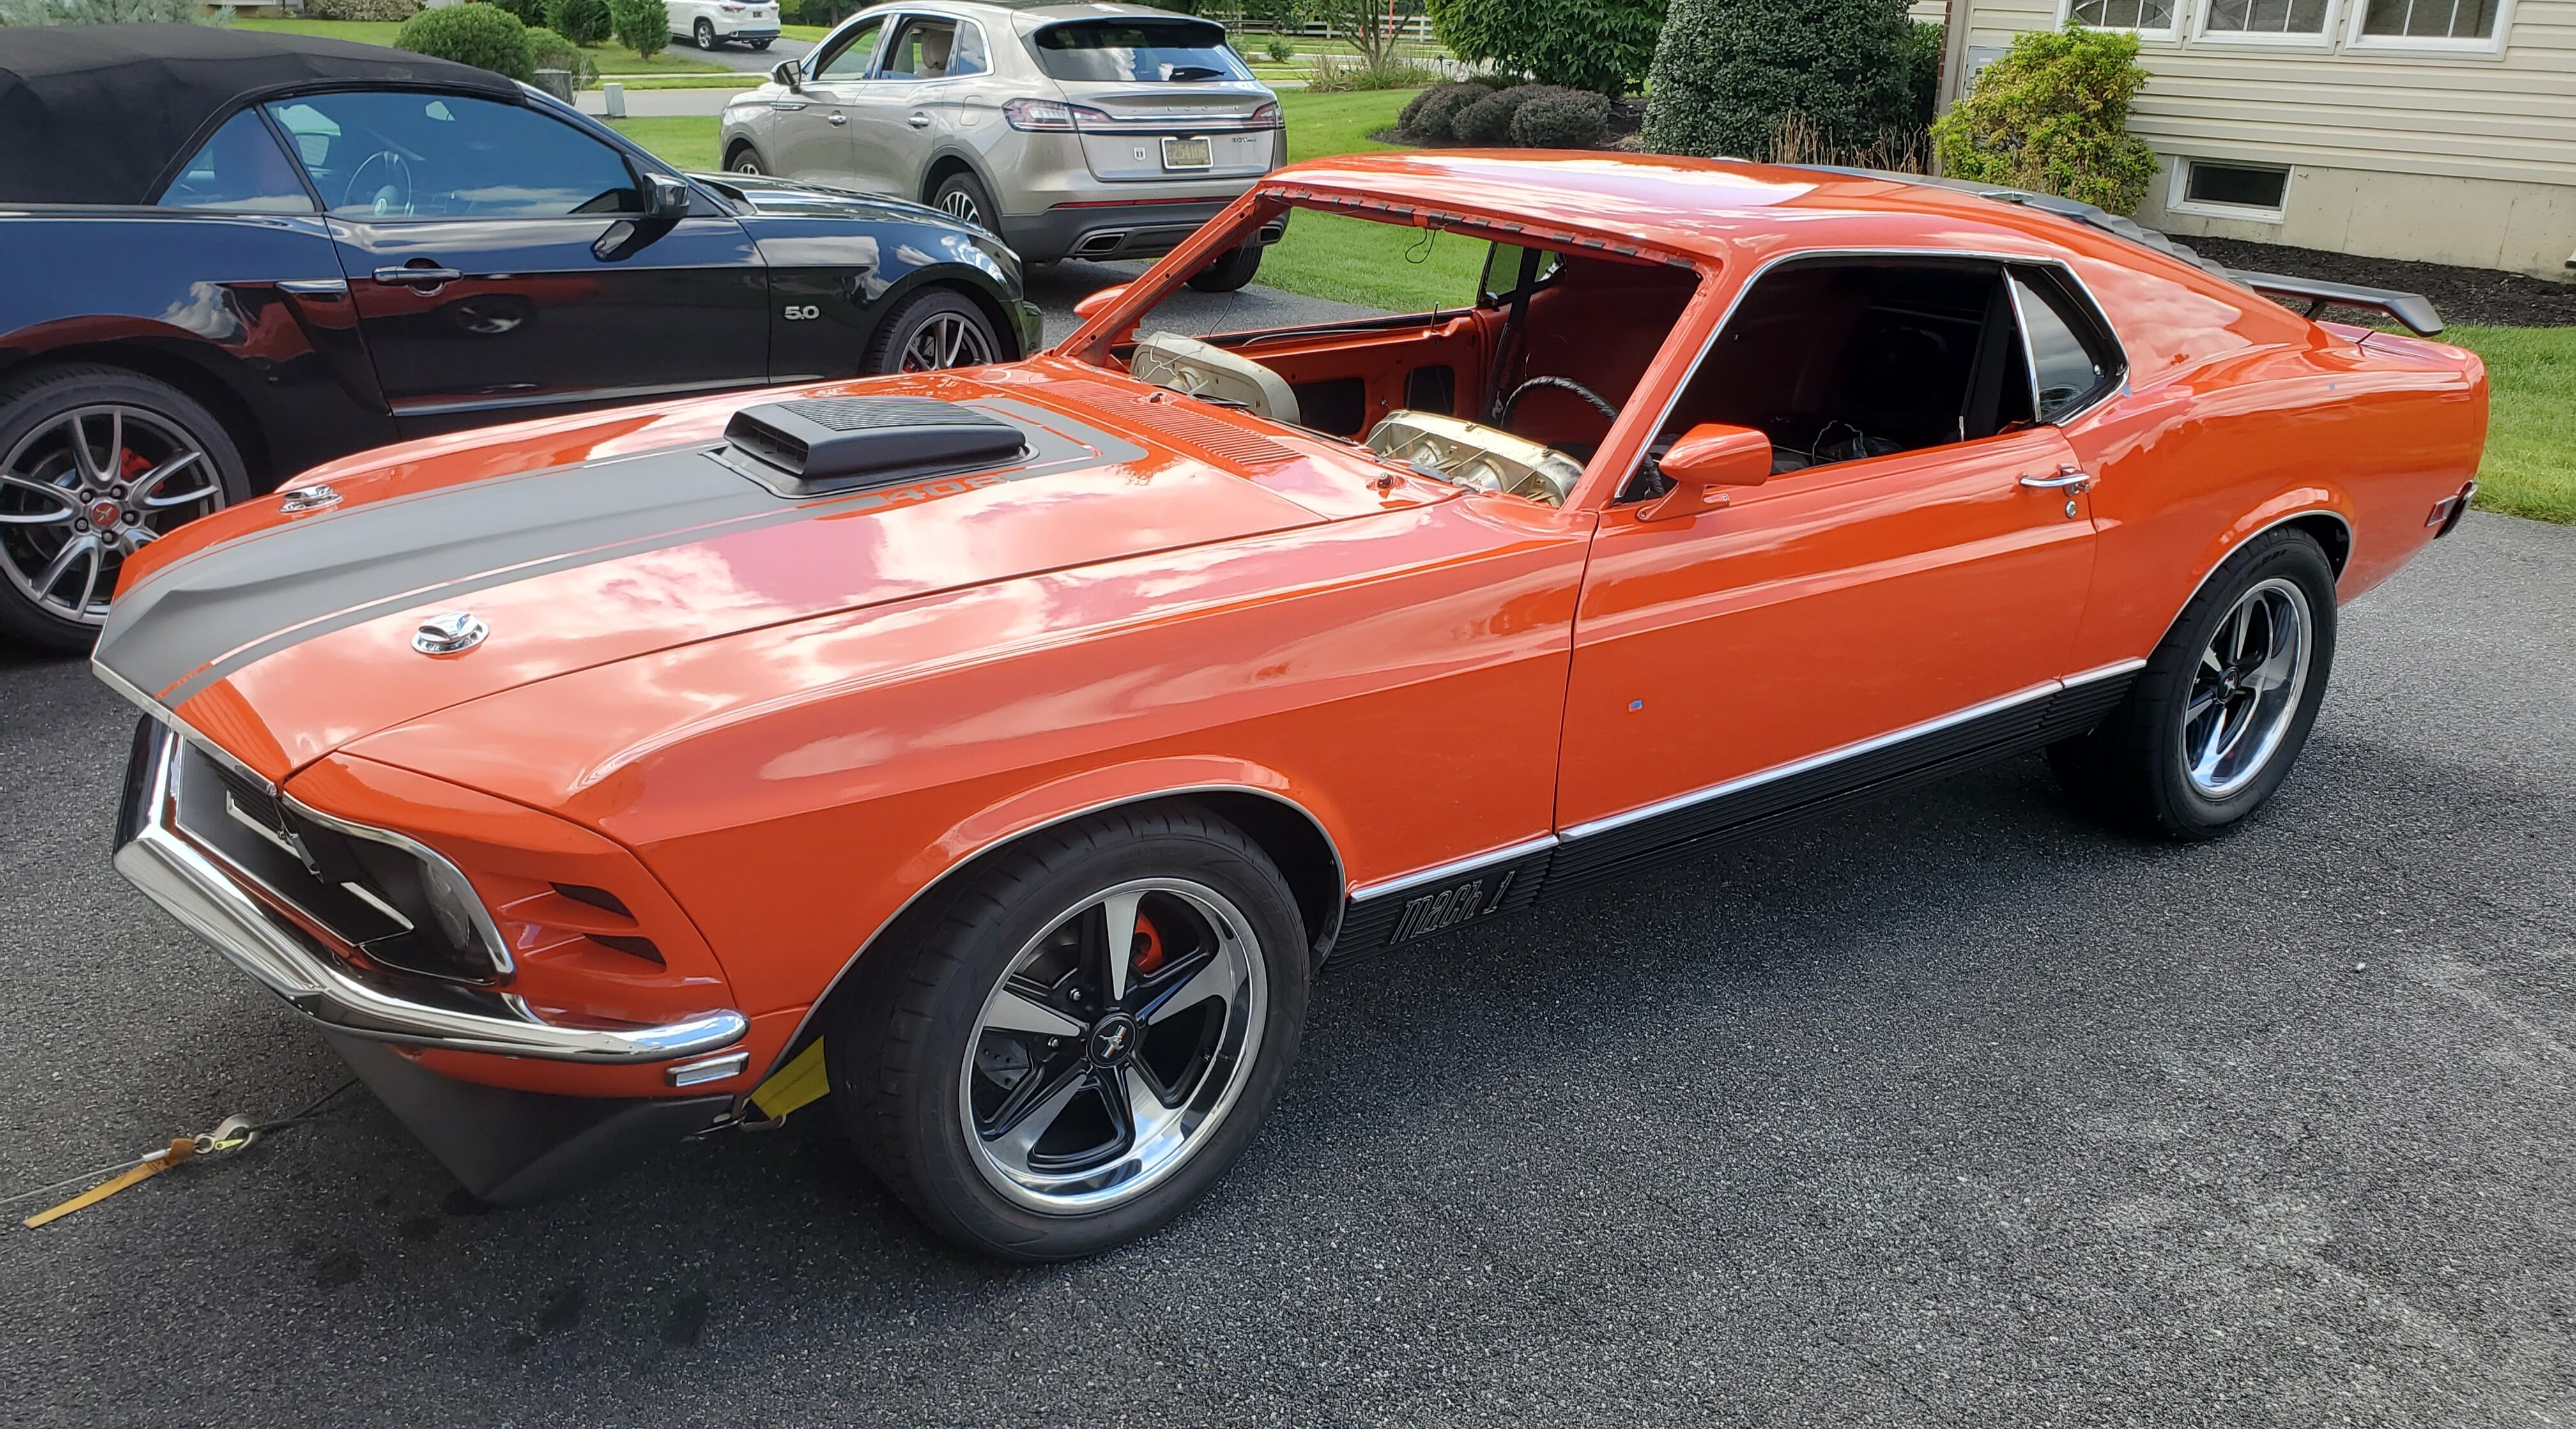
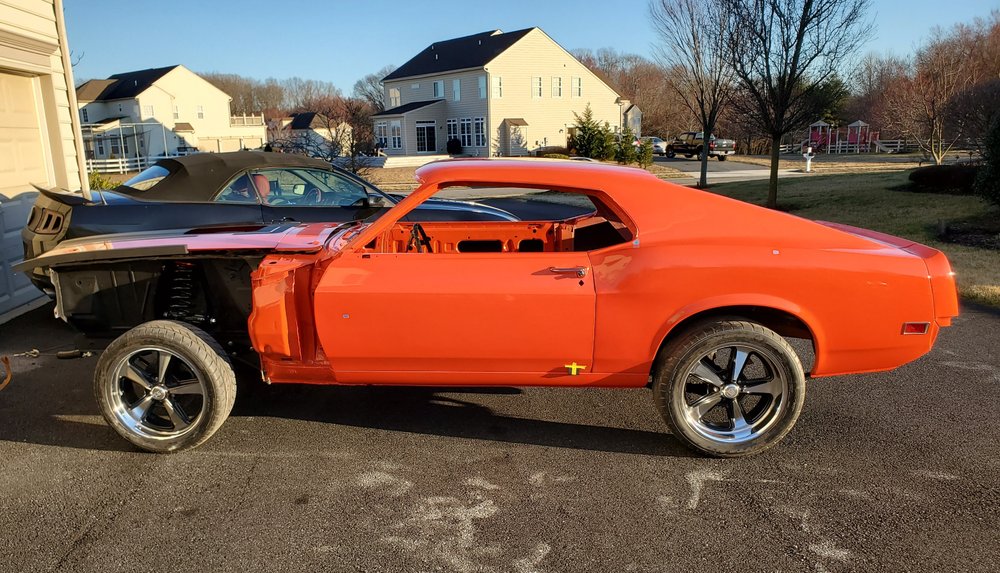
I blasted and powder coated my tail light housings, so they are all black. But the Orange is kinda cool.....
Hi Vicfreg,
My car originally had manual steering. The GM Style steering box, Custom Pitman Arm, Rag Joint are from CCP. The "spacer" is actually the mounting plate that adapts the GM box to the original Ford mounting holes. There is a counterpart mounting plate on the other side of the frame. It will be paired eventually with a GM Style Saginaw Pump. The setup is similar to what Ford used on the 71-73 Mustangs with power steering. I never like the 69-70 hydraulic P/S setup Ford used. I looked at a Borgeson conversion kit as well, but decided to go with CPP.
I only needed to use Granada outer tie rod ends with the Granada front spindles/brakes. The rest of the linkage is the original Ford Manual linkage.
I like the orange accent around the taillights. Kinda gives it a modern look. Some folks don't care for it and I understand that.
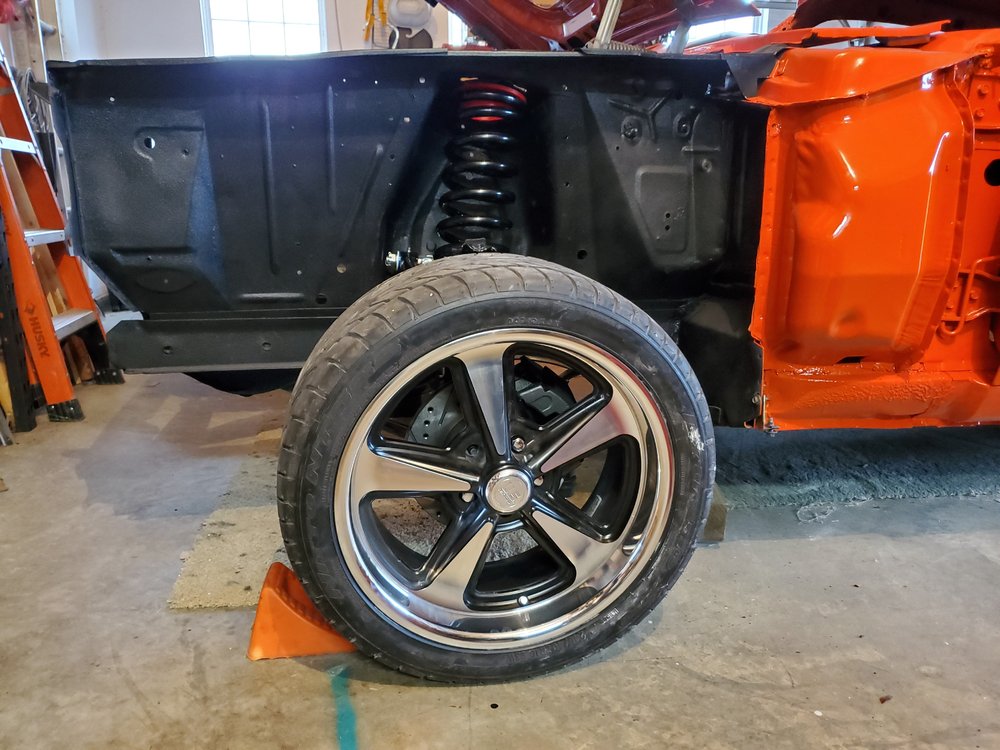
BTW: the wheels are borrowed from a friend of mine's Mustang. They are US Mags Bandit U109s in 8 x 18 and 9 x 18. I am using them to test fitment. I like them too and have decided to get the same ones for my build.
-
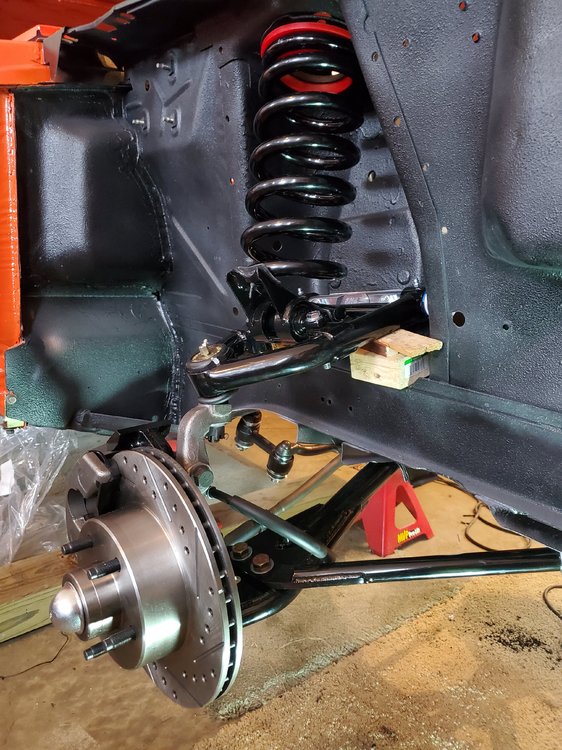
On another topic. I have installed my Global West front suspension, CPP Granada front spindles disc brakes, power steering box, and stock linkage with Granada outer tie-rod ends. Also the rear is in with a Yukon center case, and Eaton TrueTrac with 3.70 gears in the stock nine inch with stock 28 spline axles. Also partially installed the CPP rear disc brake conversion kit.
Borrowed a set of 18 inch US Mag wheels with tires from a friend to check clearances before I buy my wheel and tires. I think they look great on my car. I might just have to keep them...Lol!

 MorganLeBlanc and mikee reacted to this


Morgans 69 Mustang
in Project Progress Forum
Posted · Report reply
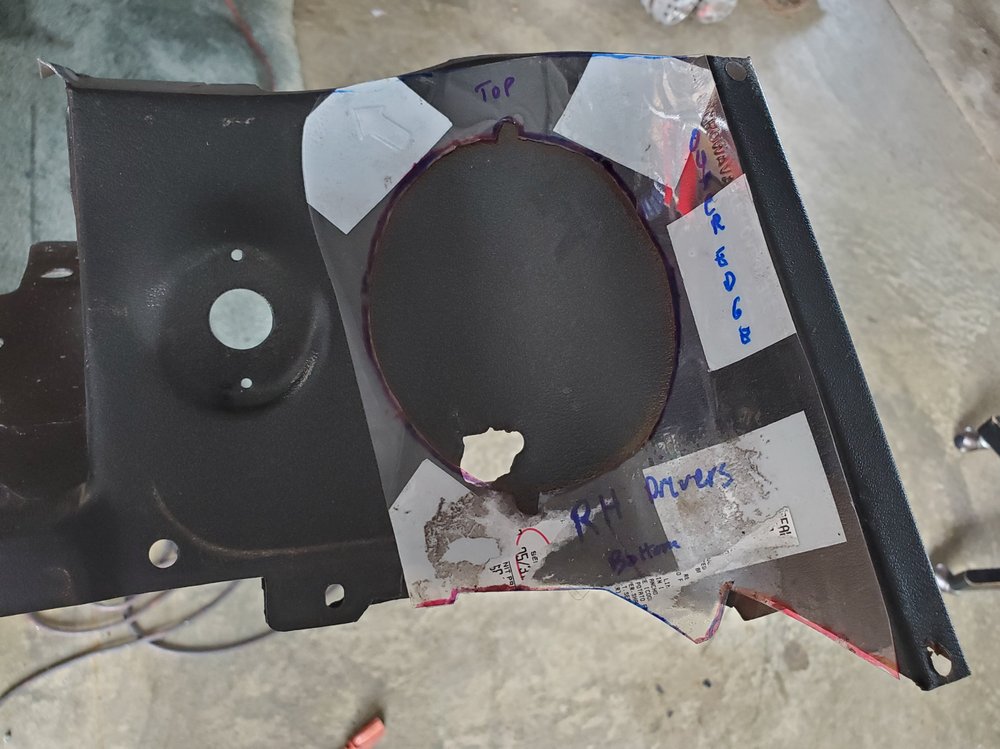
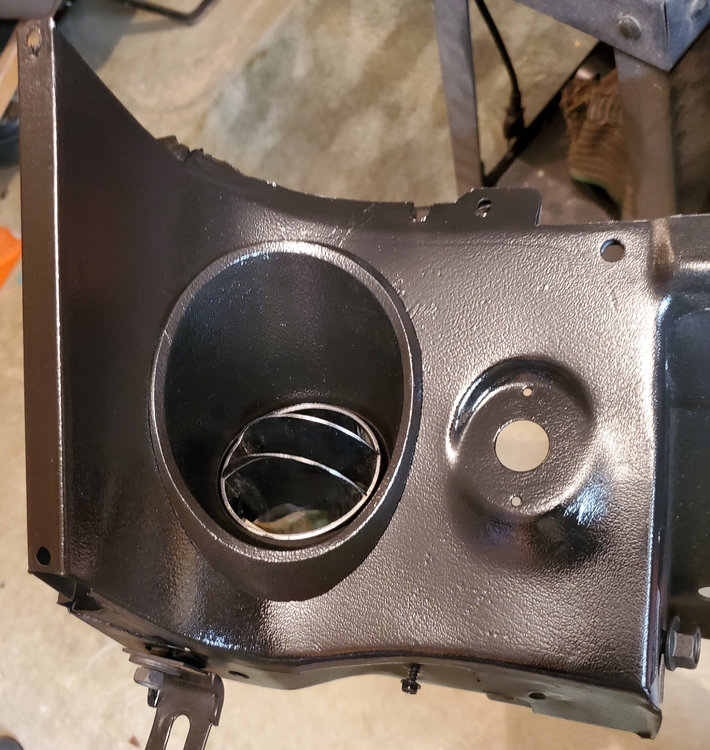
Nice work. Like the attention to detail... the paint marks, etc. I added the the first reinforcement plate, but I have never heard nor seen the second oval plate added before. Does the oval plate make it hard to get to the eccentric bolt?