


69Stanger408
-
Content Count
233 -
Joined
-
Last visited
-
Days Won
10
Posts posted by 69Stanger408
-
-
Don't see an issue as long as you have clearance. I prefer to have it in a location. I can access fairly easy. Behind the horse shoe would be a major PITA should the module fail. Just a thought, but hey, what's not in a PITA when doing this stuff?
-
-
46 minutes ago, nickjames138 said:Oh and I wanted to say....I didn’t lose my glove box with VintageAir. I have no idea how the shop did it, but I’ll take pics if you want while my dash is off.
Nickjames, not because of the vintage air evaporator, it was the Digital Dakota gauge module that was attached to the front of the evaporator. Mounting it there allows easy access but prevents the actual glove box liner to be attached.
-
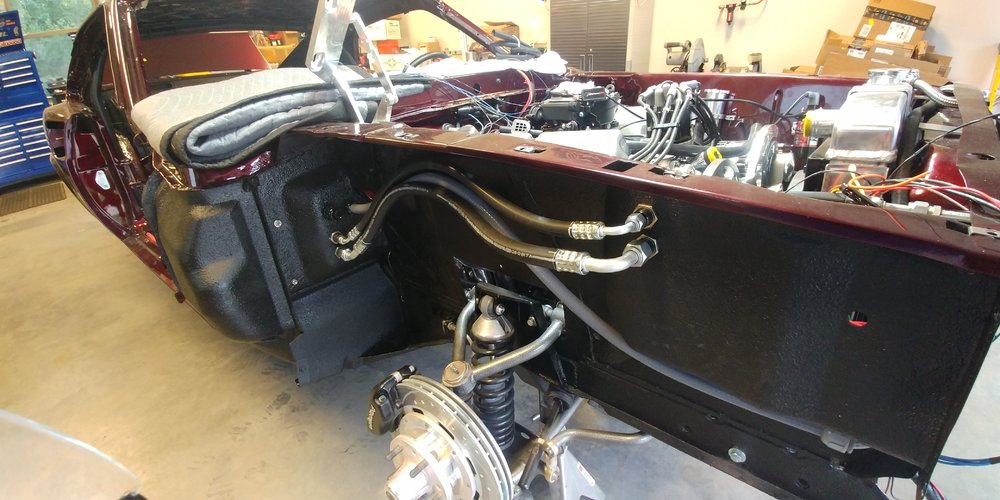
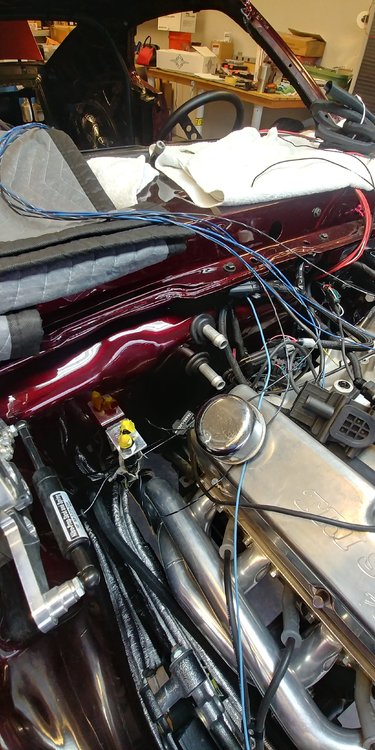
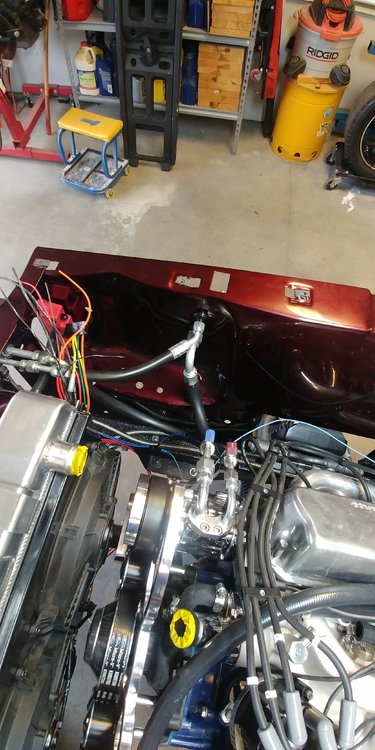
Vic - I used two of the the vintage air bulk heads ( http://www.vintageair.com/hose-kits-fittings/?subcat1=Bulkhead Plates&subcat2=2-Way ), one for the firewall/wheel well and the other for the wheel well/engine compartment. I purchased the hose crimper from Amazon ( https://www.amazon.com/Mastercool-71550-Black-Manual-Crimper/dp/B000WBQ4U2/ref=sr_1_1?keywords=mastercool+crimp&qid=1566866011&s=automotive&sr=1-1 ). Left the heat in the firewall as the lines run across the intake anyway.
-
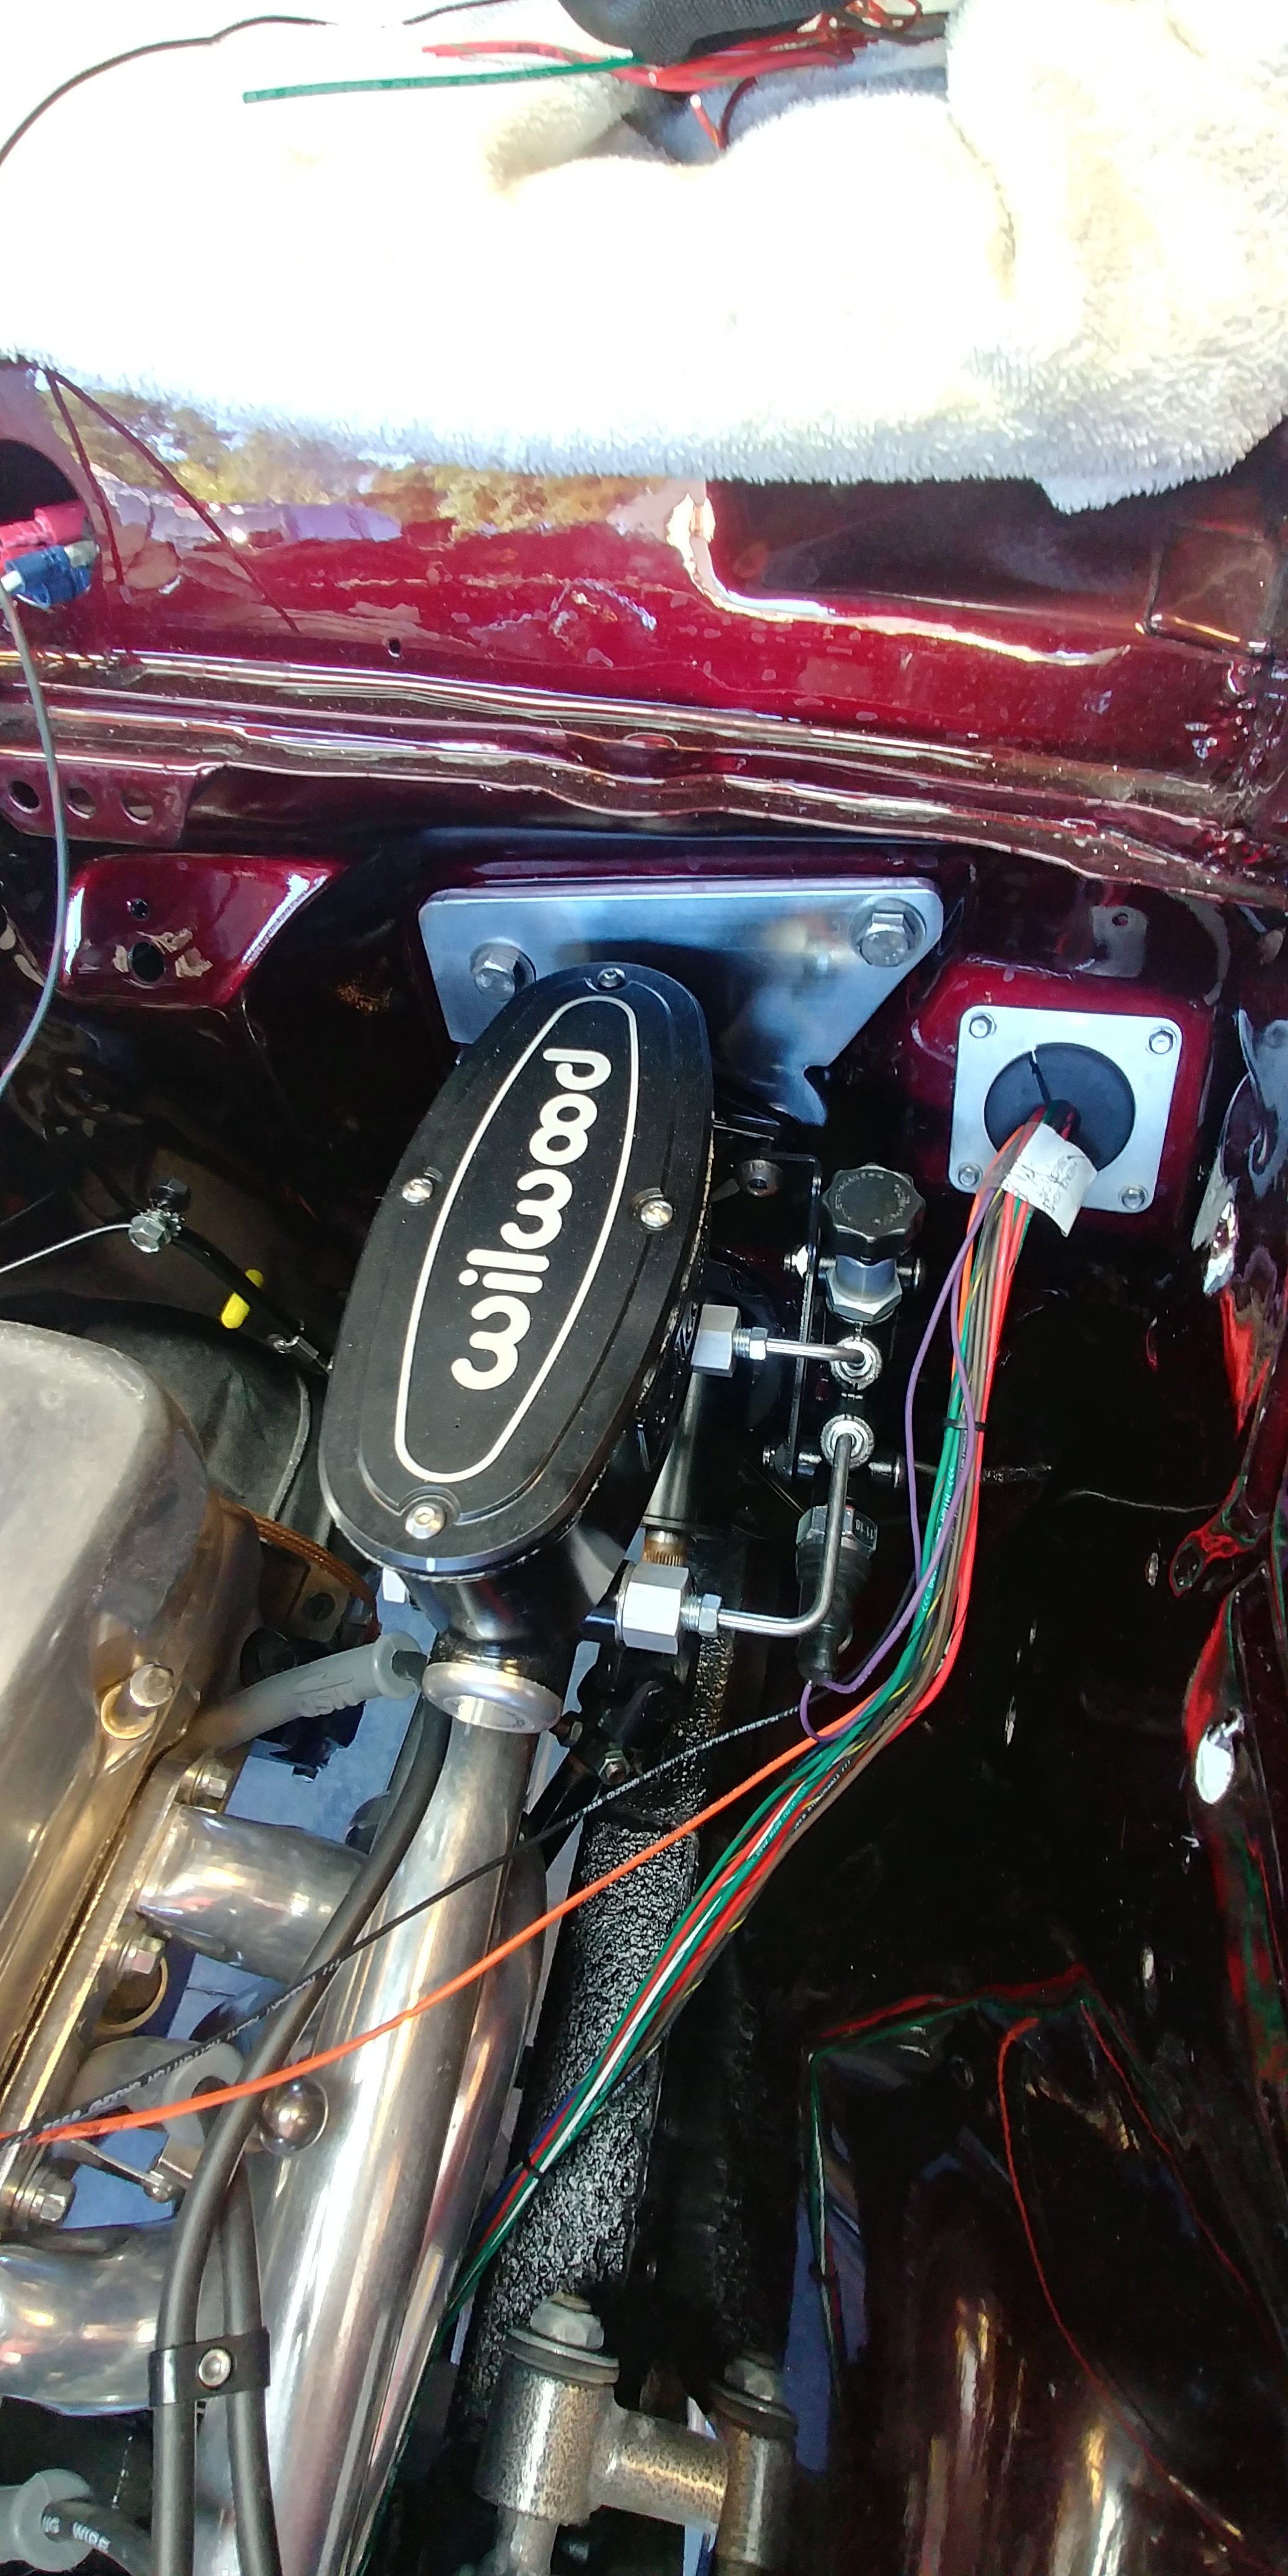
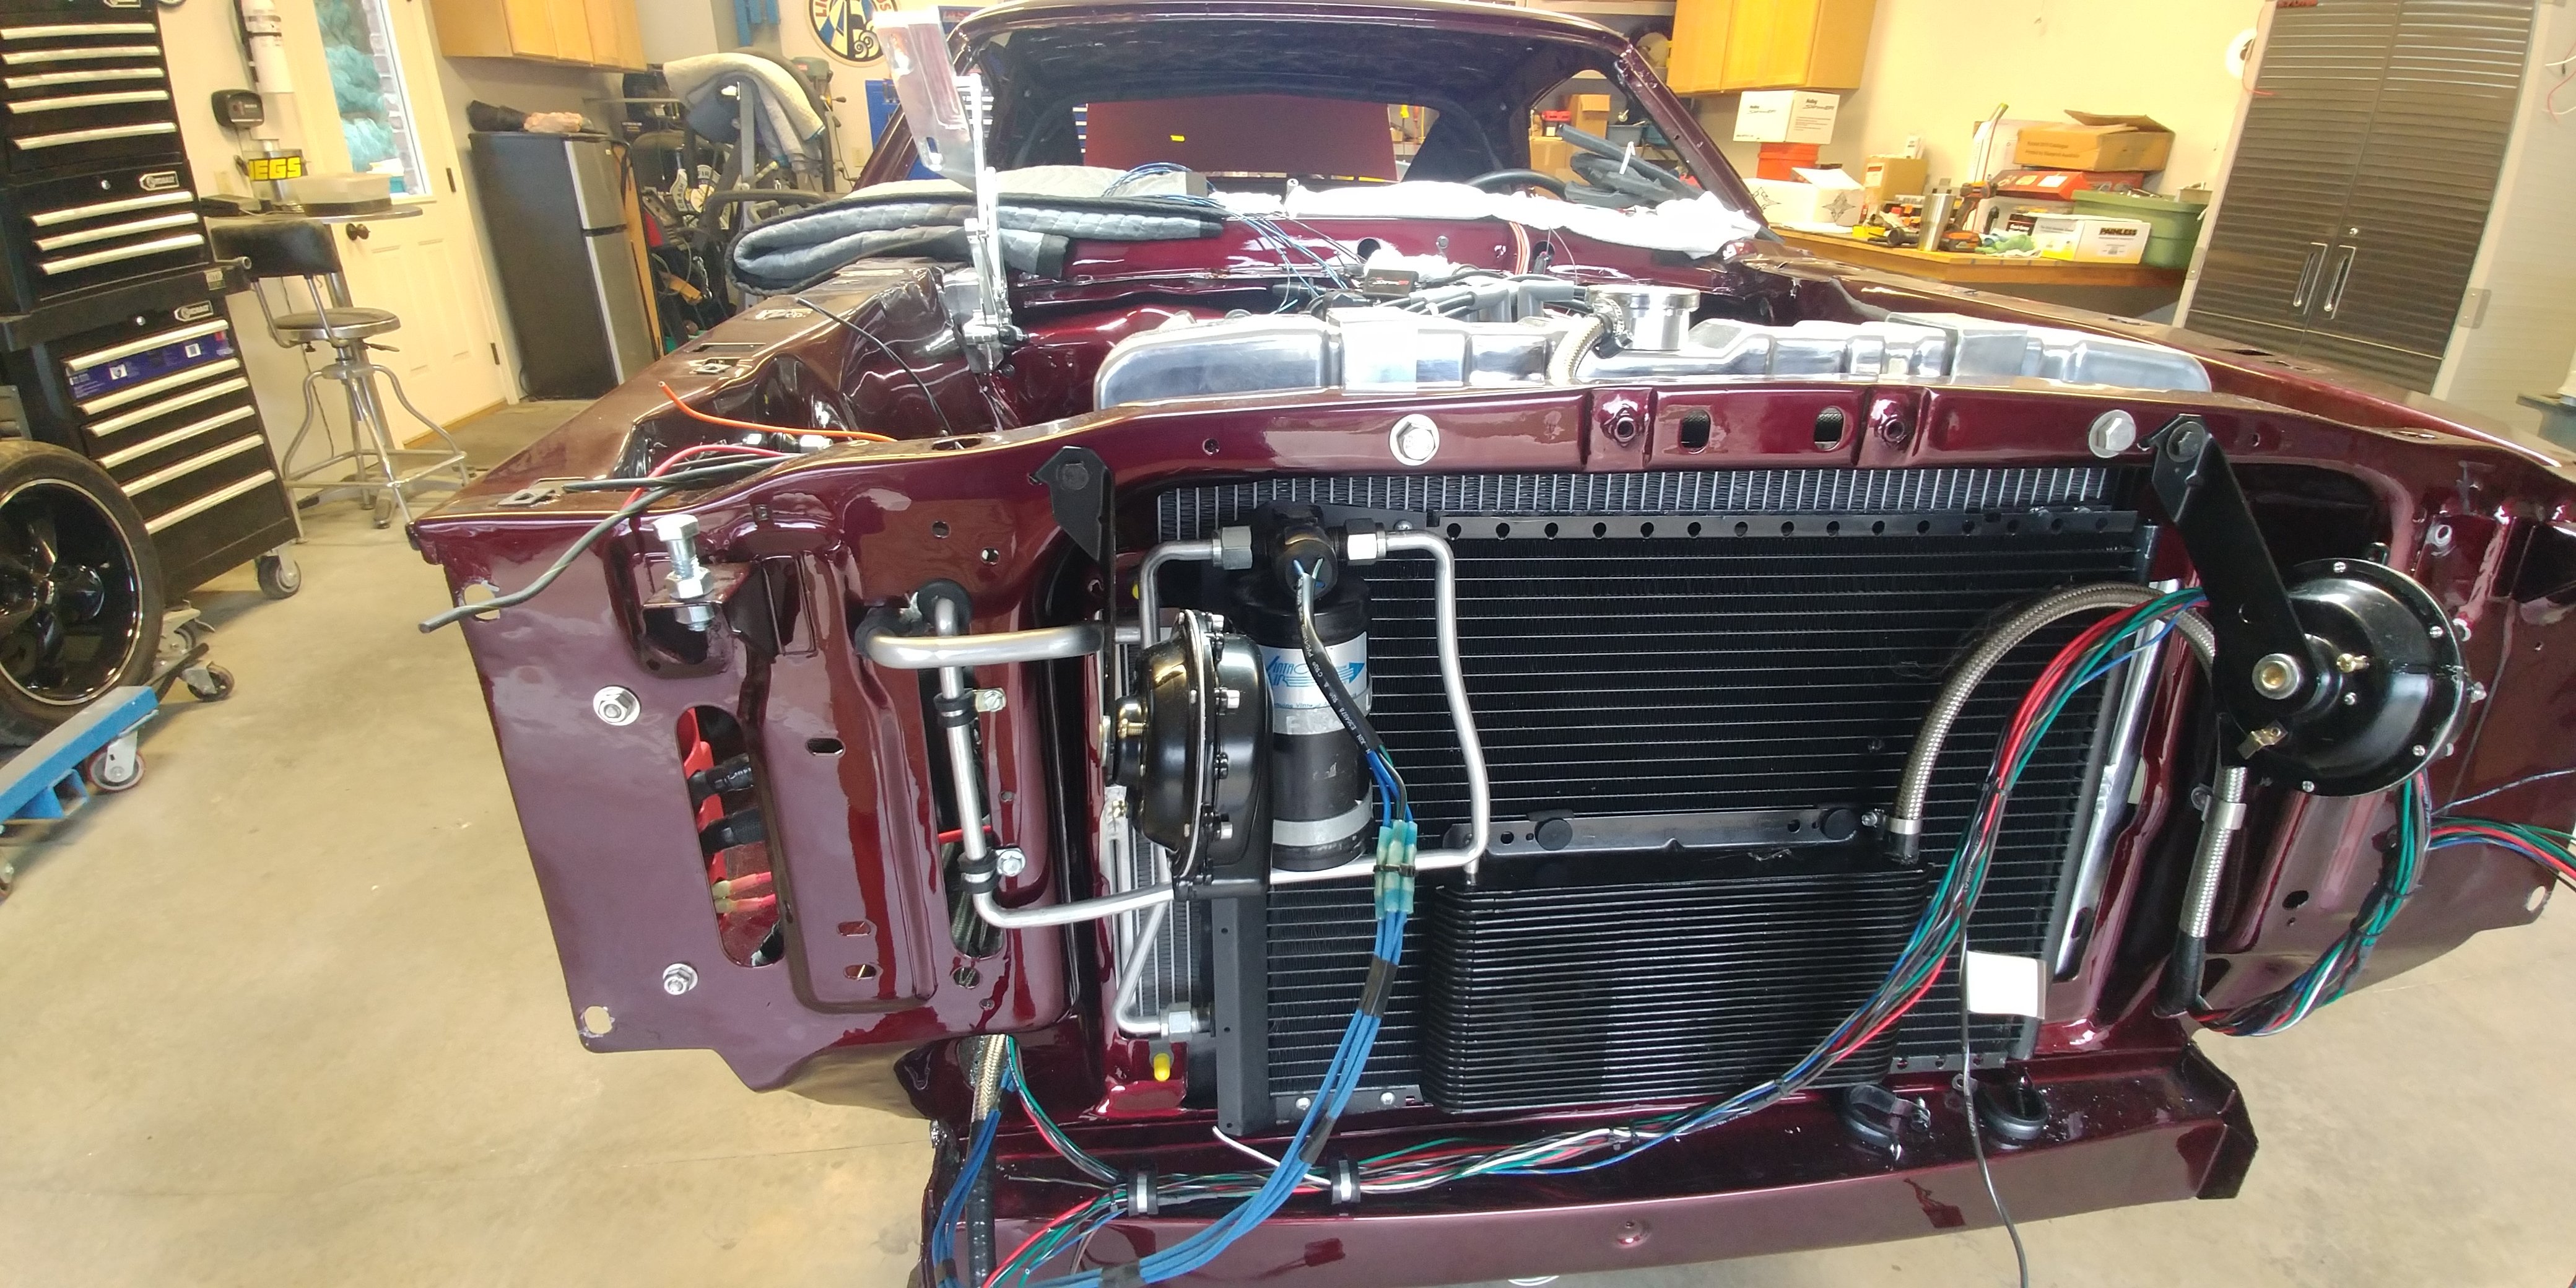
Pics of modified vintage air setup, went through wheel well, GM peanut compressor on pass side.

-
28 minutes ago, Vicfreg said:Correct, I am losing the glove box
Copy that, weigh the pros and cons, center console wins!!
-
Does this help?
-
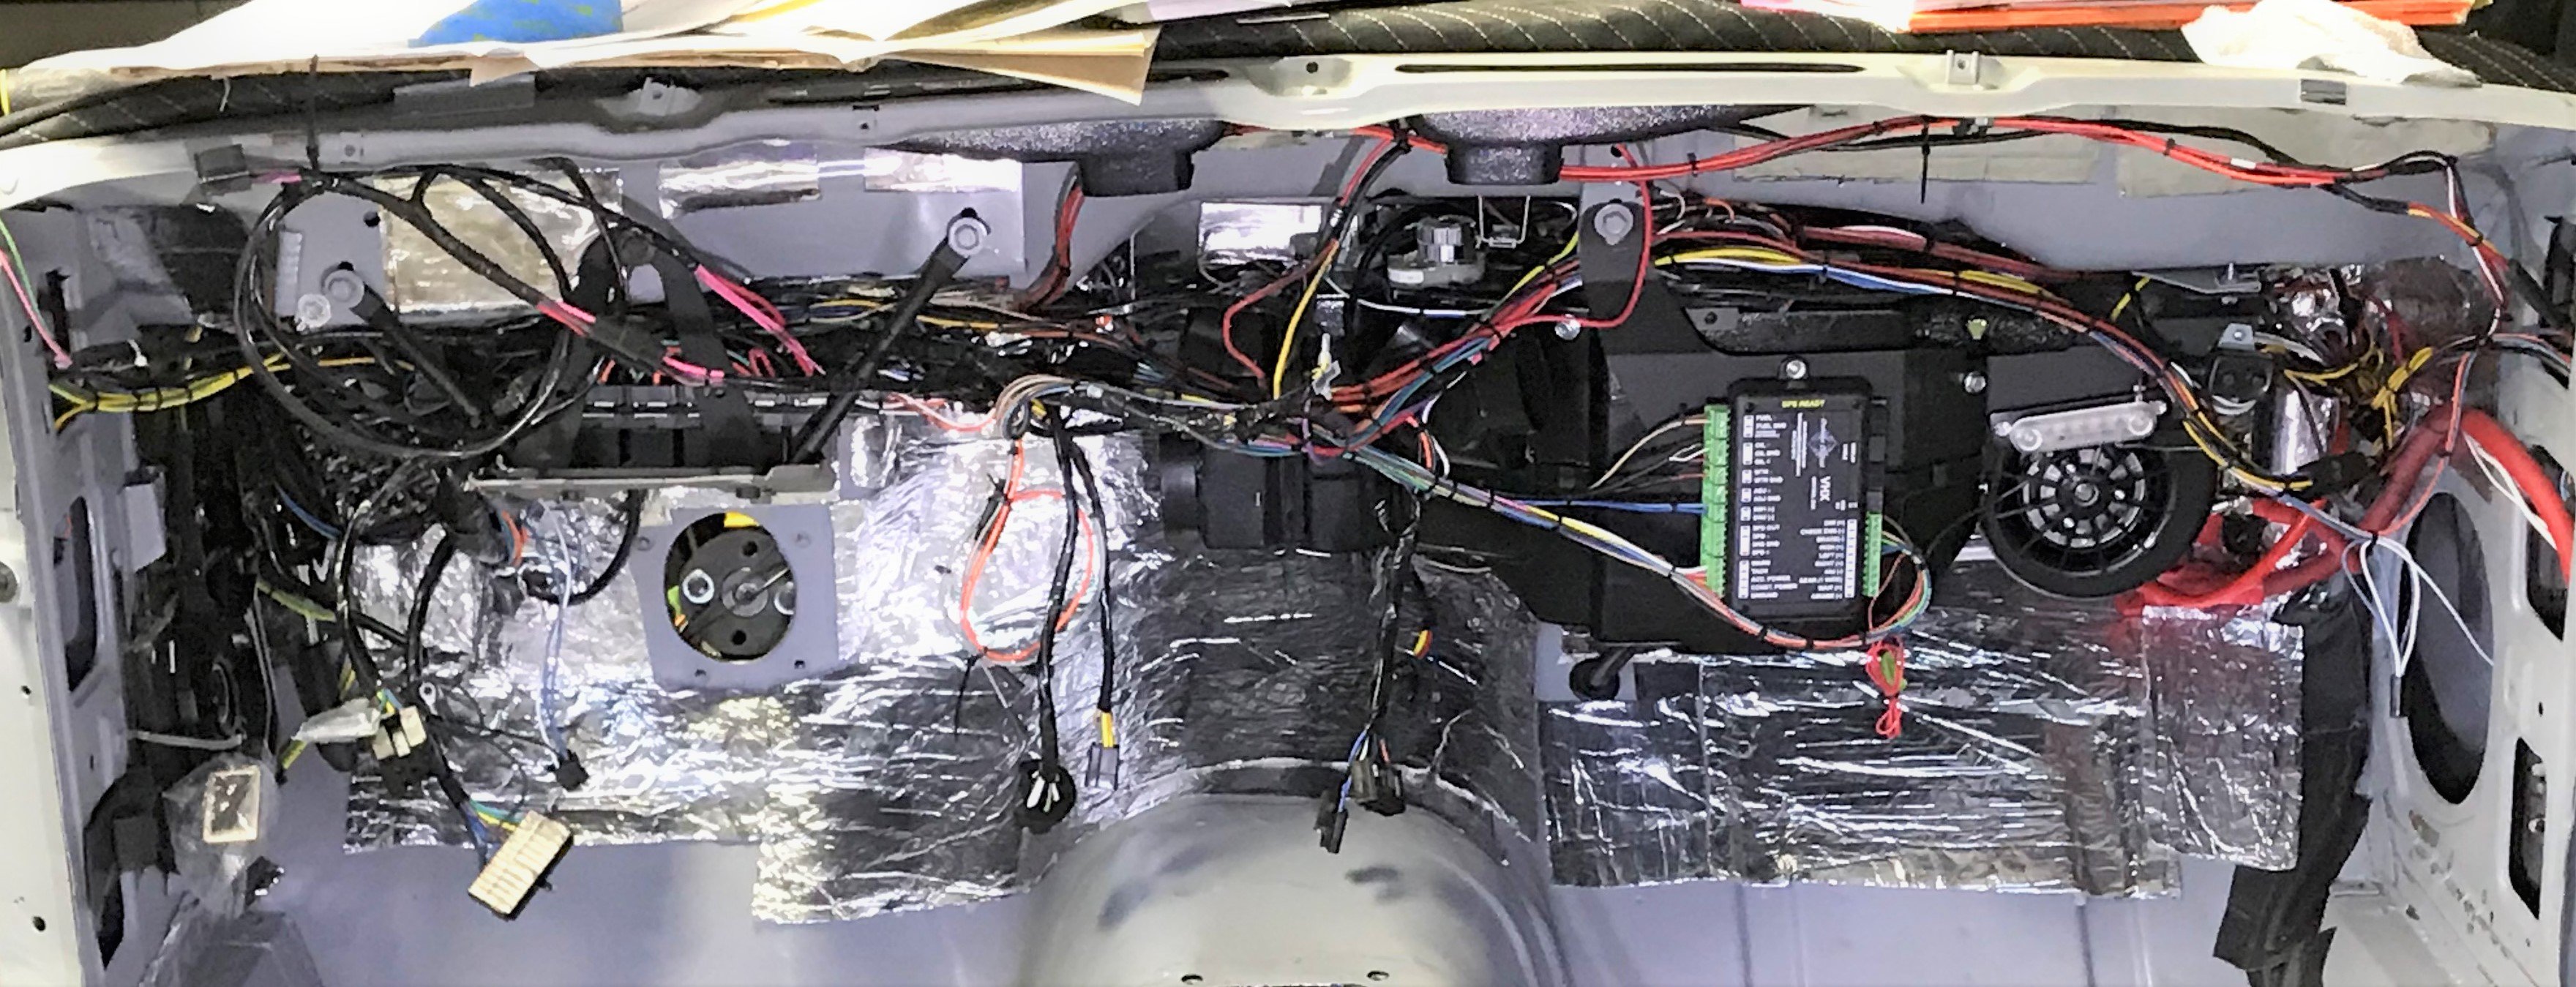
On 8/20/2019 at 4:43 PM, Vicfreg said:Here is my VHX box installed. I am using AAW wiring harness. The box is mounted to my Vintage Air system.

Vic, did you check the glove box fitment with the VHX module? Was going to mimick your set up but won't work with glove box, no clearance.

-
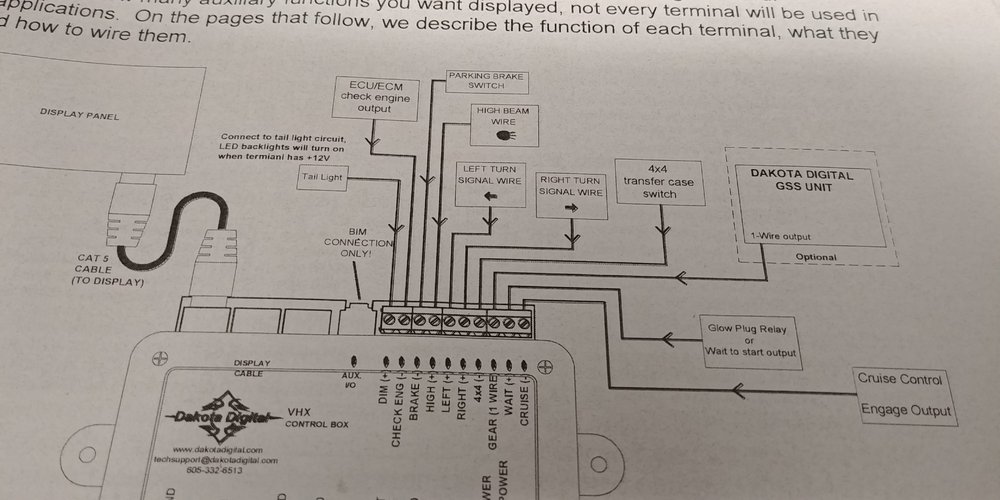
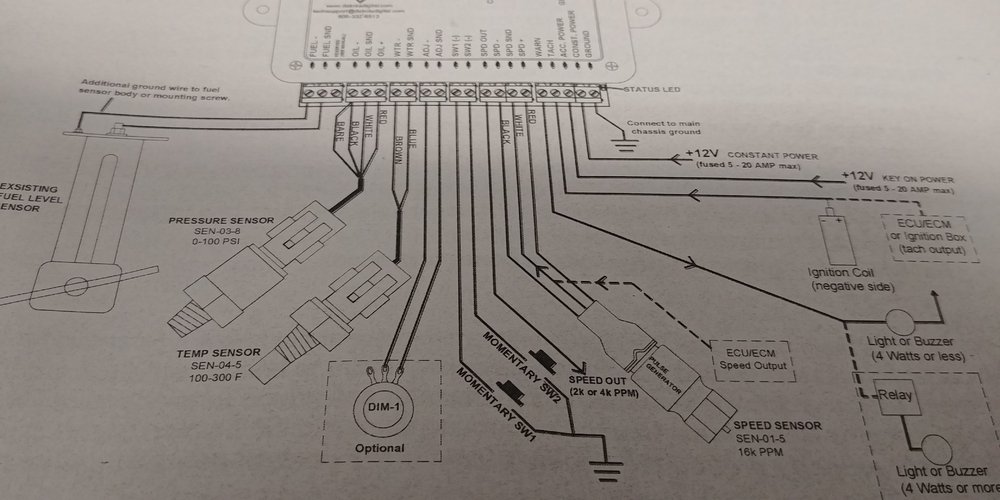
On 8/20/2019 at 3:29 PM, nickjames138 said:69Stanger, did that BIM show you your fuel tank gauge? I don't think it shows fuel, speed (obviously), and dim the dash lights. You had to wire those into the brain box right?
Working that now, failed to see you had the BIM. I am working with a new Painless Harness, Holley Sniper w/Dual sync distributor, Digital Dakota VHX, and Performance Automatic controller for 4R70W. Plus battery relocate to trunk along with solenoid (similar to Vic's conv), and Vintage Air. Lots of WIRES!!!! This is last part then back to the the body shop panel/door installs, glass, and exhaust.
-
Vic, for the Vintage Air, which wire did you use from the harness for the 12V ignition source? Assume one of the AC wires would work from the harness as I have plenty available (new painless harness).
-
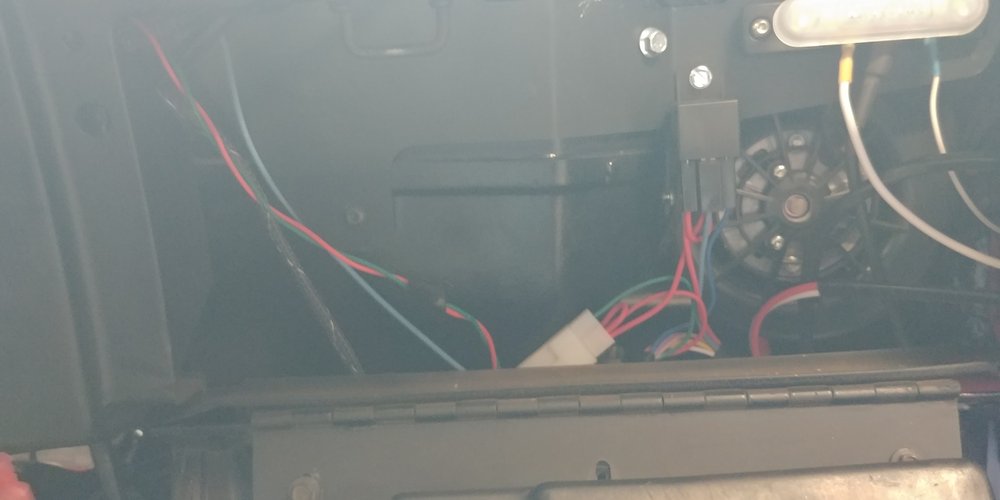
Use a flat head jewelers screwdriver, slip it in the opposite side (180) of the split opening of the connector. Looking down, you'll see the spit I'm referring to. Once it is slide in (between the plastic side wall and connector pin), angle it out so the tip will push the retaining tab in. All that is holding the pin is a small tab that is bent out to prevent the pin from being pulled. Once you successful do this you'll need to pry the tab back out prior to reinserting it.
-
Ready do to same, you connected it how?? Also, I replaced the switch but found the bezel piece that screws into the switch from the face does not work, had to go back to original switch. Did you run into same? The bezal piece would only grab the last thread, tried two new ones, maybe the switch has a bad thread?
-
-
I got the same setup, Dakota digital has a harness that connects to the snipper, done. Unsure the part number as I'm on the road however you can search Google for same. Bought mine through either Jegs or Summit
-
Found one at a local mustang graveyard
-
Thank you, this is much appreciated. Way more detailed than the shop manual
-
Putting together the lower dash and I only have the upper "horse collar" bracket. Believe there are a couple more brackets? And I can only find the upper bolt mount on each side, believe there should be attachment points on the bottom sides as well. Manuals are worthless as they only discuss dash pad. Any helpful info, pics would be appreciated.
-
Anyone know where one can find a re manufactured plastic cover for the wiper motor? I have a crack in mine and would like to use a new one if possible.
-
17 hours ago, mustangstofear said:Fit any tranny.

4R70W?
-
Ditto on the parts list
-
On 5/23/2019 at 8:50 PM, danno said:Fiberglass bumper from MTF, but I did have to modify it for a tight fit
Grabber70Mach reacted to this -
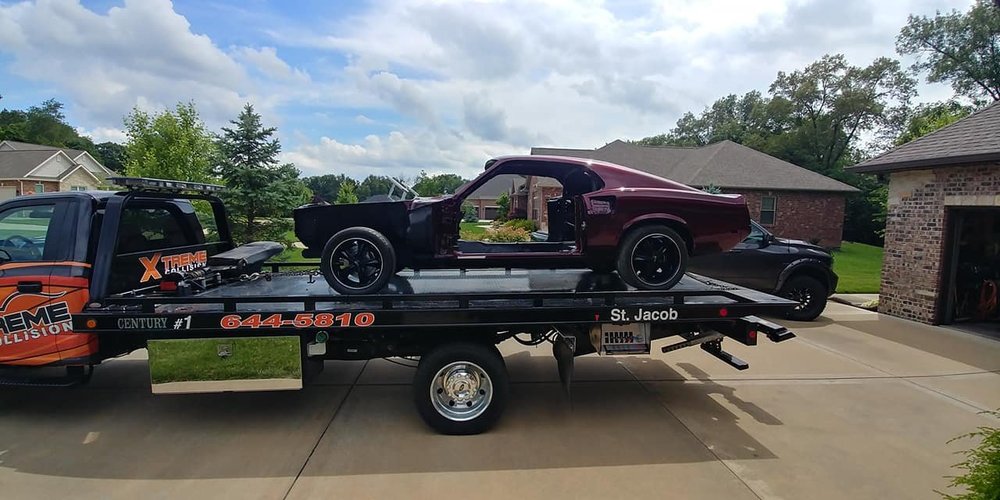
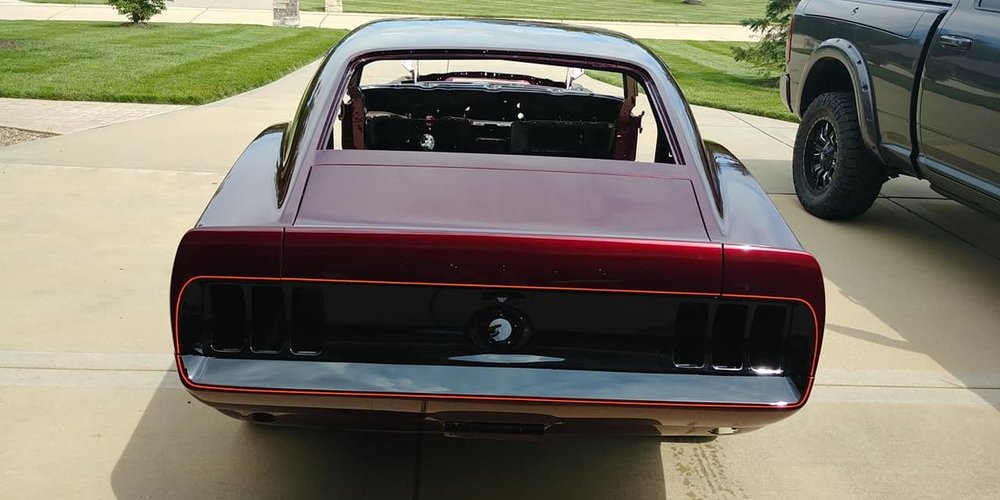
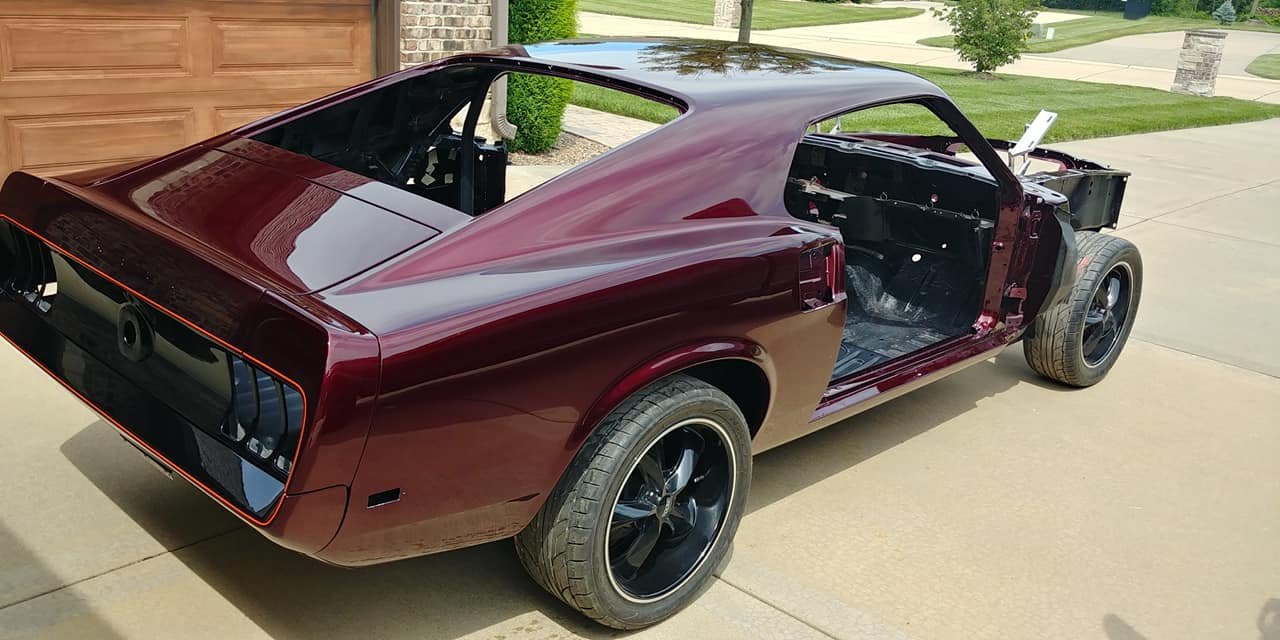
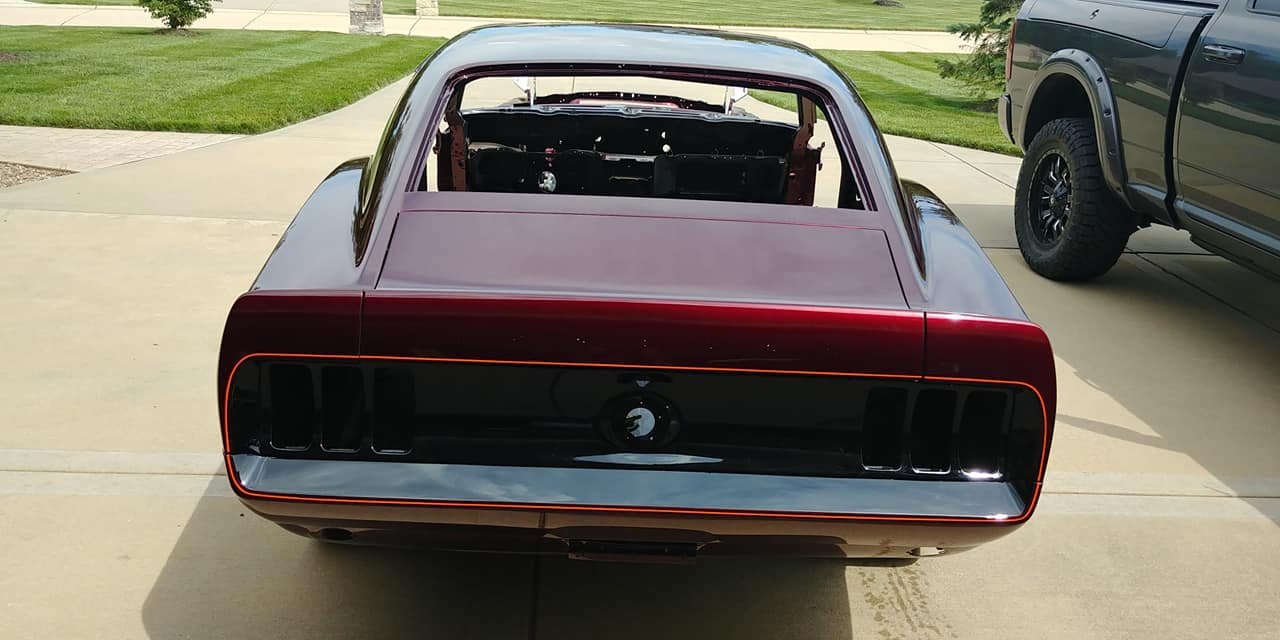
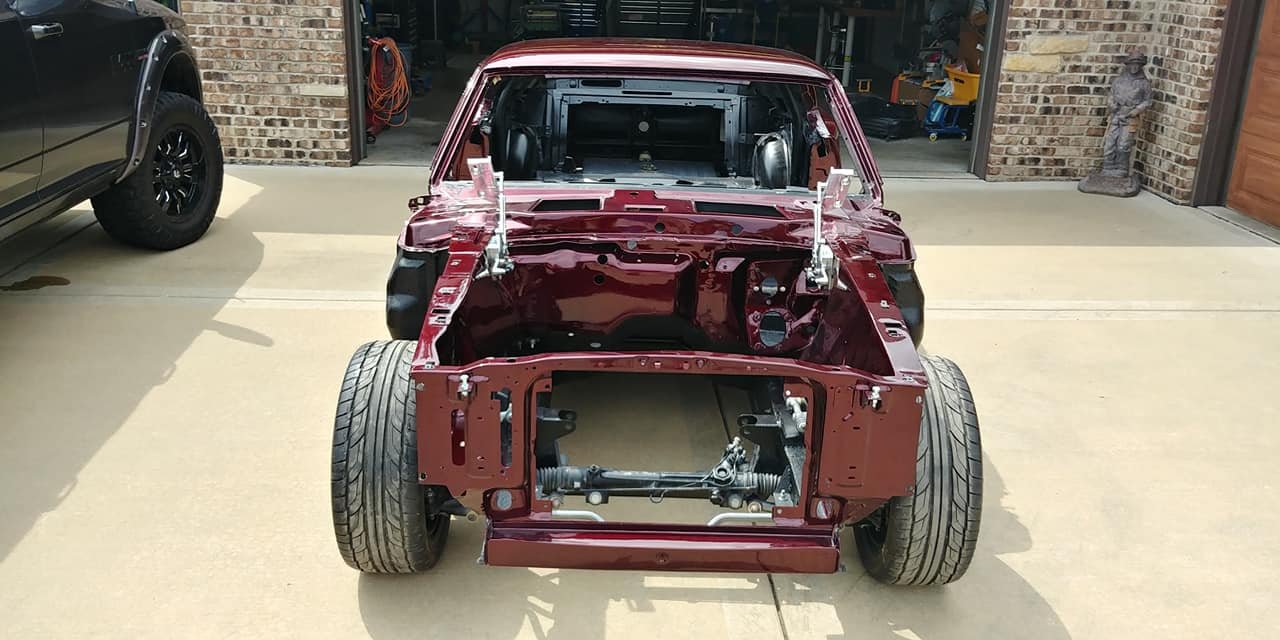
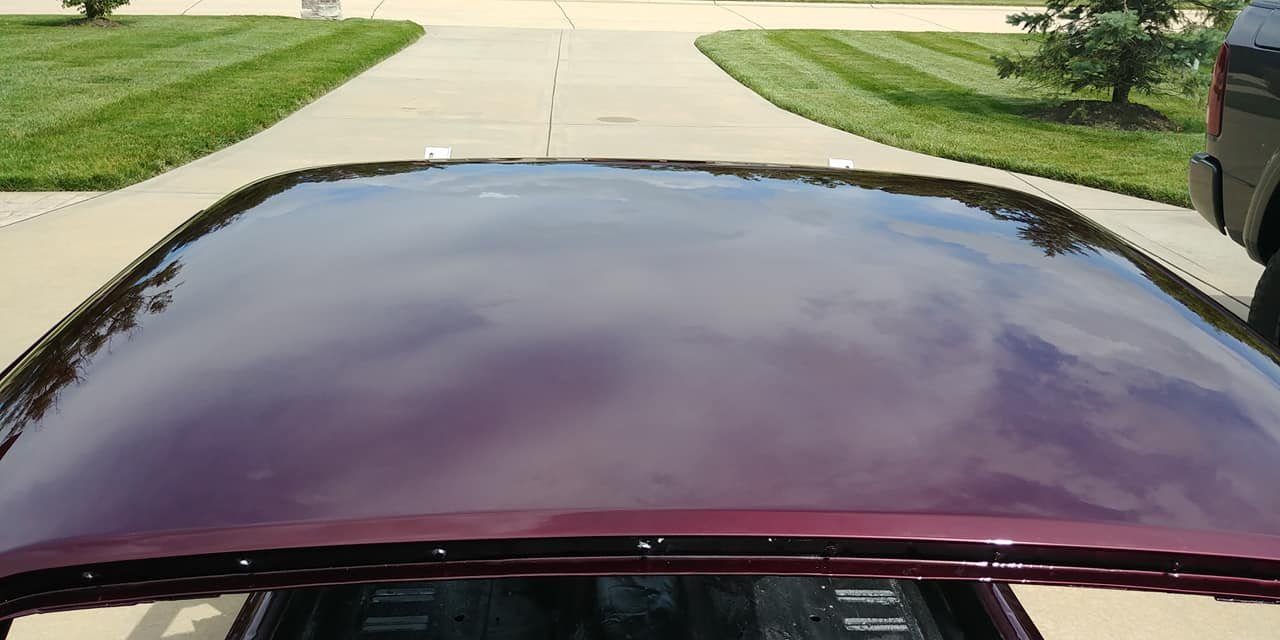
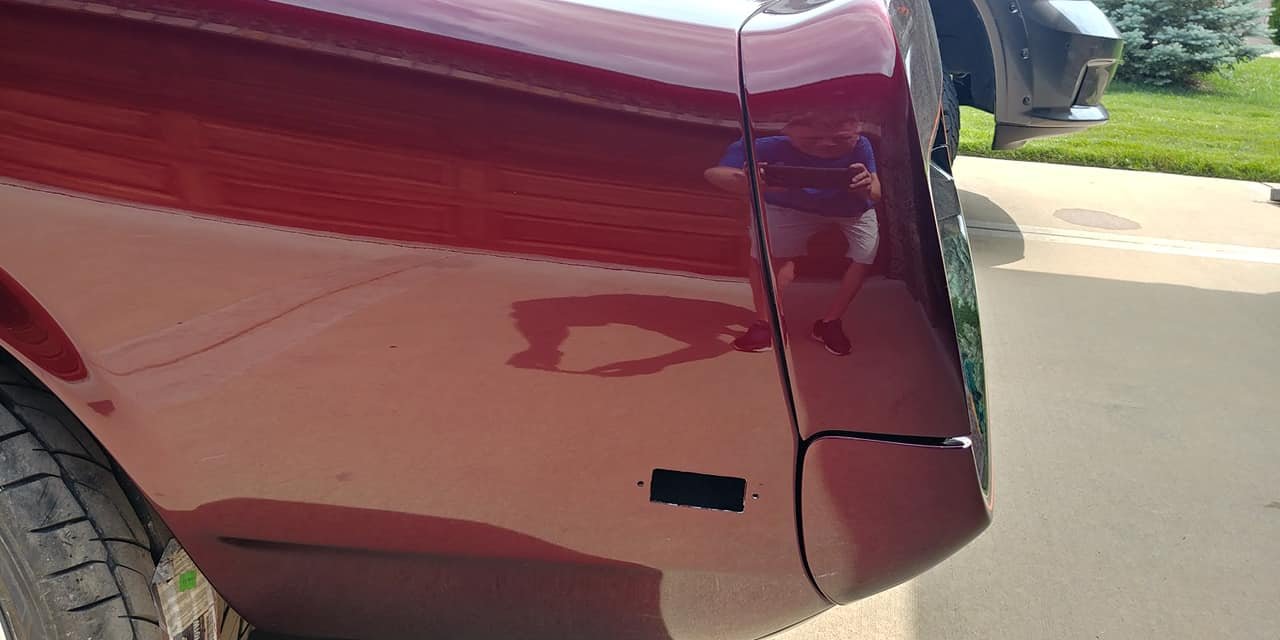
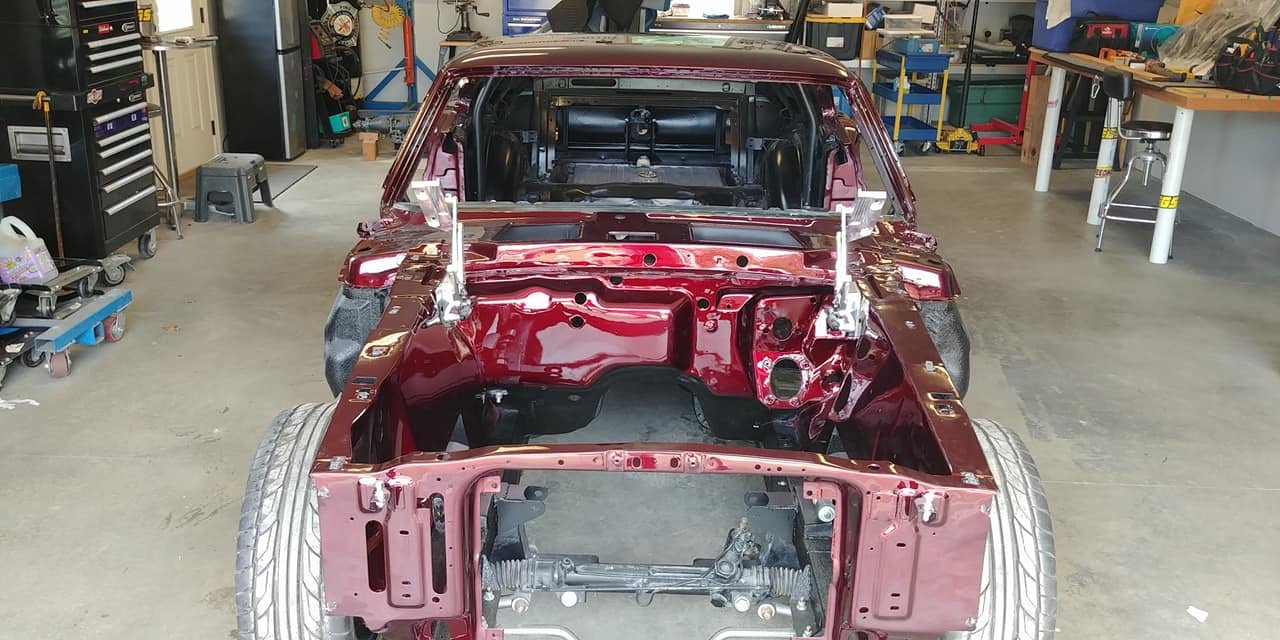
Got her home from paint, time to reassemble for good.


-
As an FYI - I sent my wood grain 69 interior inserts (door panel, radio bezel, instrument cluster) to a hydrographics shop that sprayed the body color, applied a carbon fiber hydrographic followed by a clear. Will post pics once the items are received.
-
what seats did you install?


Under dash courtesy lights
in 1969-70 Technical Forum
Posted · Report reply
May I get a picture of the driver and passenger under dash courtesy lights installed? Trying to figure out how these go back in.