

smh00n
-
Content Count
318 -
Joined
-
Last visited
-
Days Won
11
Posts posted by smh00n
-
-
I have a Sniper but with MSD Pro-billet. Wiring that one component caused me more hassle than the entire carb/tank/wiring process.
Holley really need a better instruction writer, as I found their instructions wrong too. Sniper instructions said wire this way, MSD said wire that way. Can't remember the answer now but I'm sure the MSD instructions were right and Holley wrong.
You'll like the Sniper, just works when wired right. Cold starts are like a new car, no hesitation at all. Heck, all starts are like a new car :)
-
Late to the party but I used Hertz 6x9" which didn't need much cutting to the steel panel. Little bit of trimming to the original square holes.
Sound is good and they sit nice and flush. I had pictures somewhere of fitting them but can't find them right now.
-
Thanks. So, do the stop light wires go through the turn signal switch? Would it be easier to run a new wire to the stop lamps?
I was thinking that I could put in a divider inside the bucket/housing for the outer lens of the lamp, and use the outer third lens as the indicator light (I can use a red indicator lens) and use the inner two for stop lamps, again with a new holder to brighten them up. Would that be less effort?
I'm a bit sick of idiots nearly rear-ending me due to being on their phones and dim stop lights not really indicating when I am stopping.
-
Being in Australia, we have a crazy law that requires both stop lights to be illuminated together - so the red indicator function needs to go.
Where in the loom does the indicator/stop light happen? I'll try to split the wires and put in a separate bulb for the indicator.
-
High first gear every day. Unless you're running a 2.75 gear you'd be lucky to get to 6 mph before you started bouncing off the limiter with the lower first. And then the thing will fall off the cam into 2nd.
I went with the 0.81 5th in my TKO600 as I don't see me doing a road trip in it. And if I do, I'll make sure my credit card is empty so I can gas it up each little town.
-
Search Touring Car Masters on you tube. Also the track is Bathurst, THE best race track in the world. Tv and video don't show how steep it is going up and down.
-
I have the Holley/Tanks Inc tank.
I bought this before Holley released the stock tank pump/sender unit and if I were to do it again I'd go that way. But, my car had a virtually new tank fitted before I bought it and I didn't actually need a tank. For looks without a false floor I'd go the sender entry option.
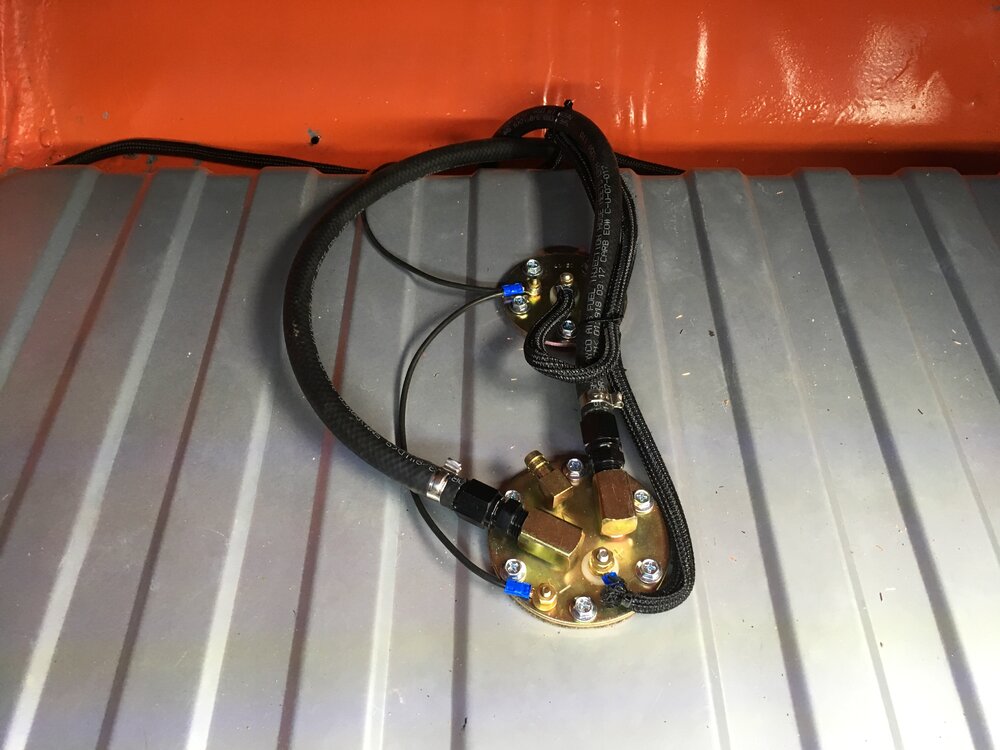
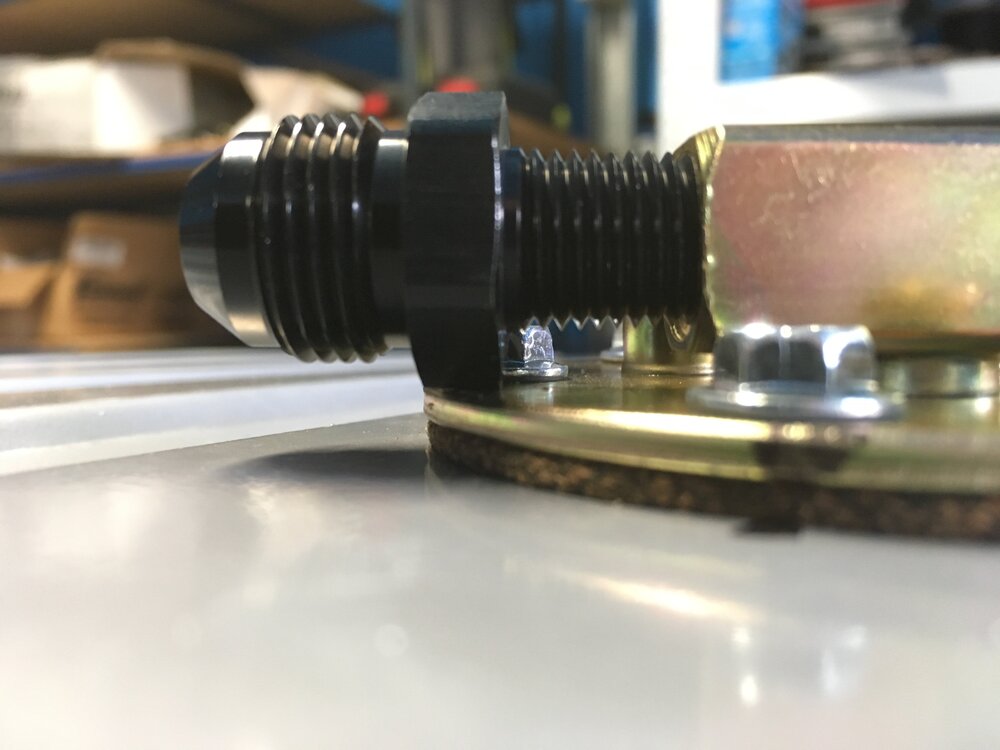
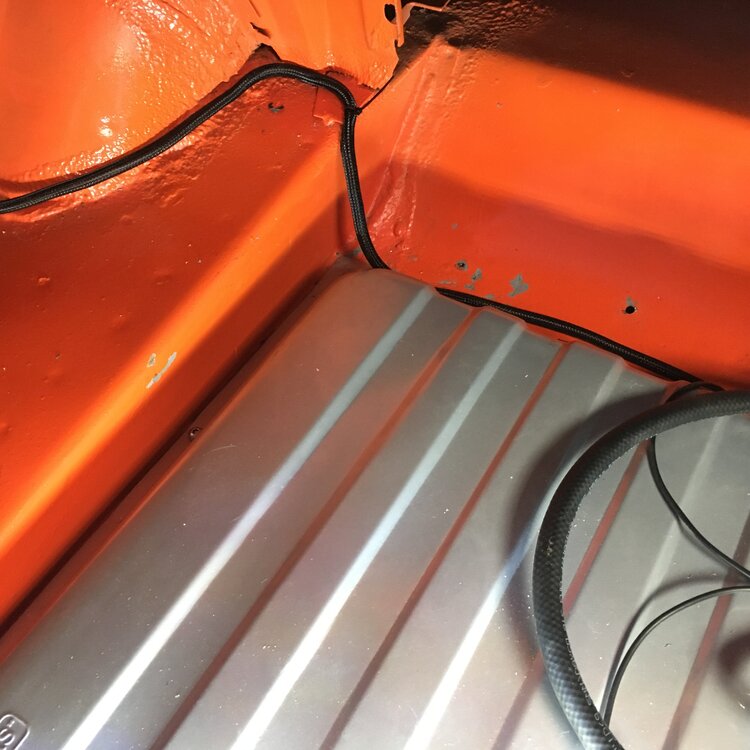
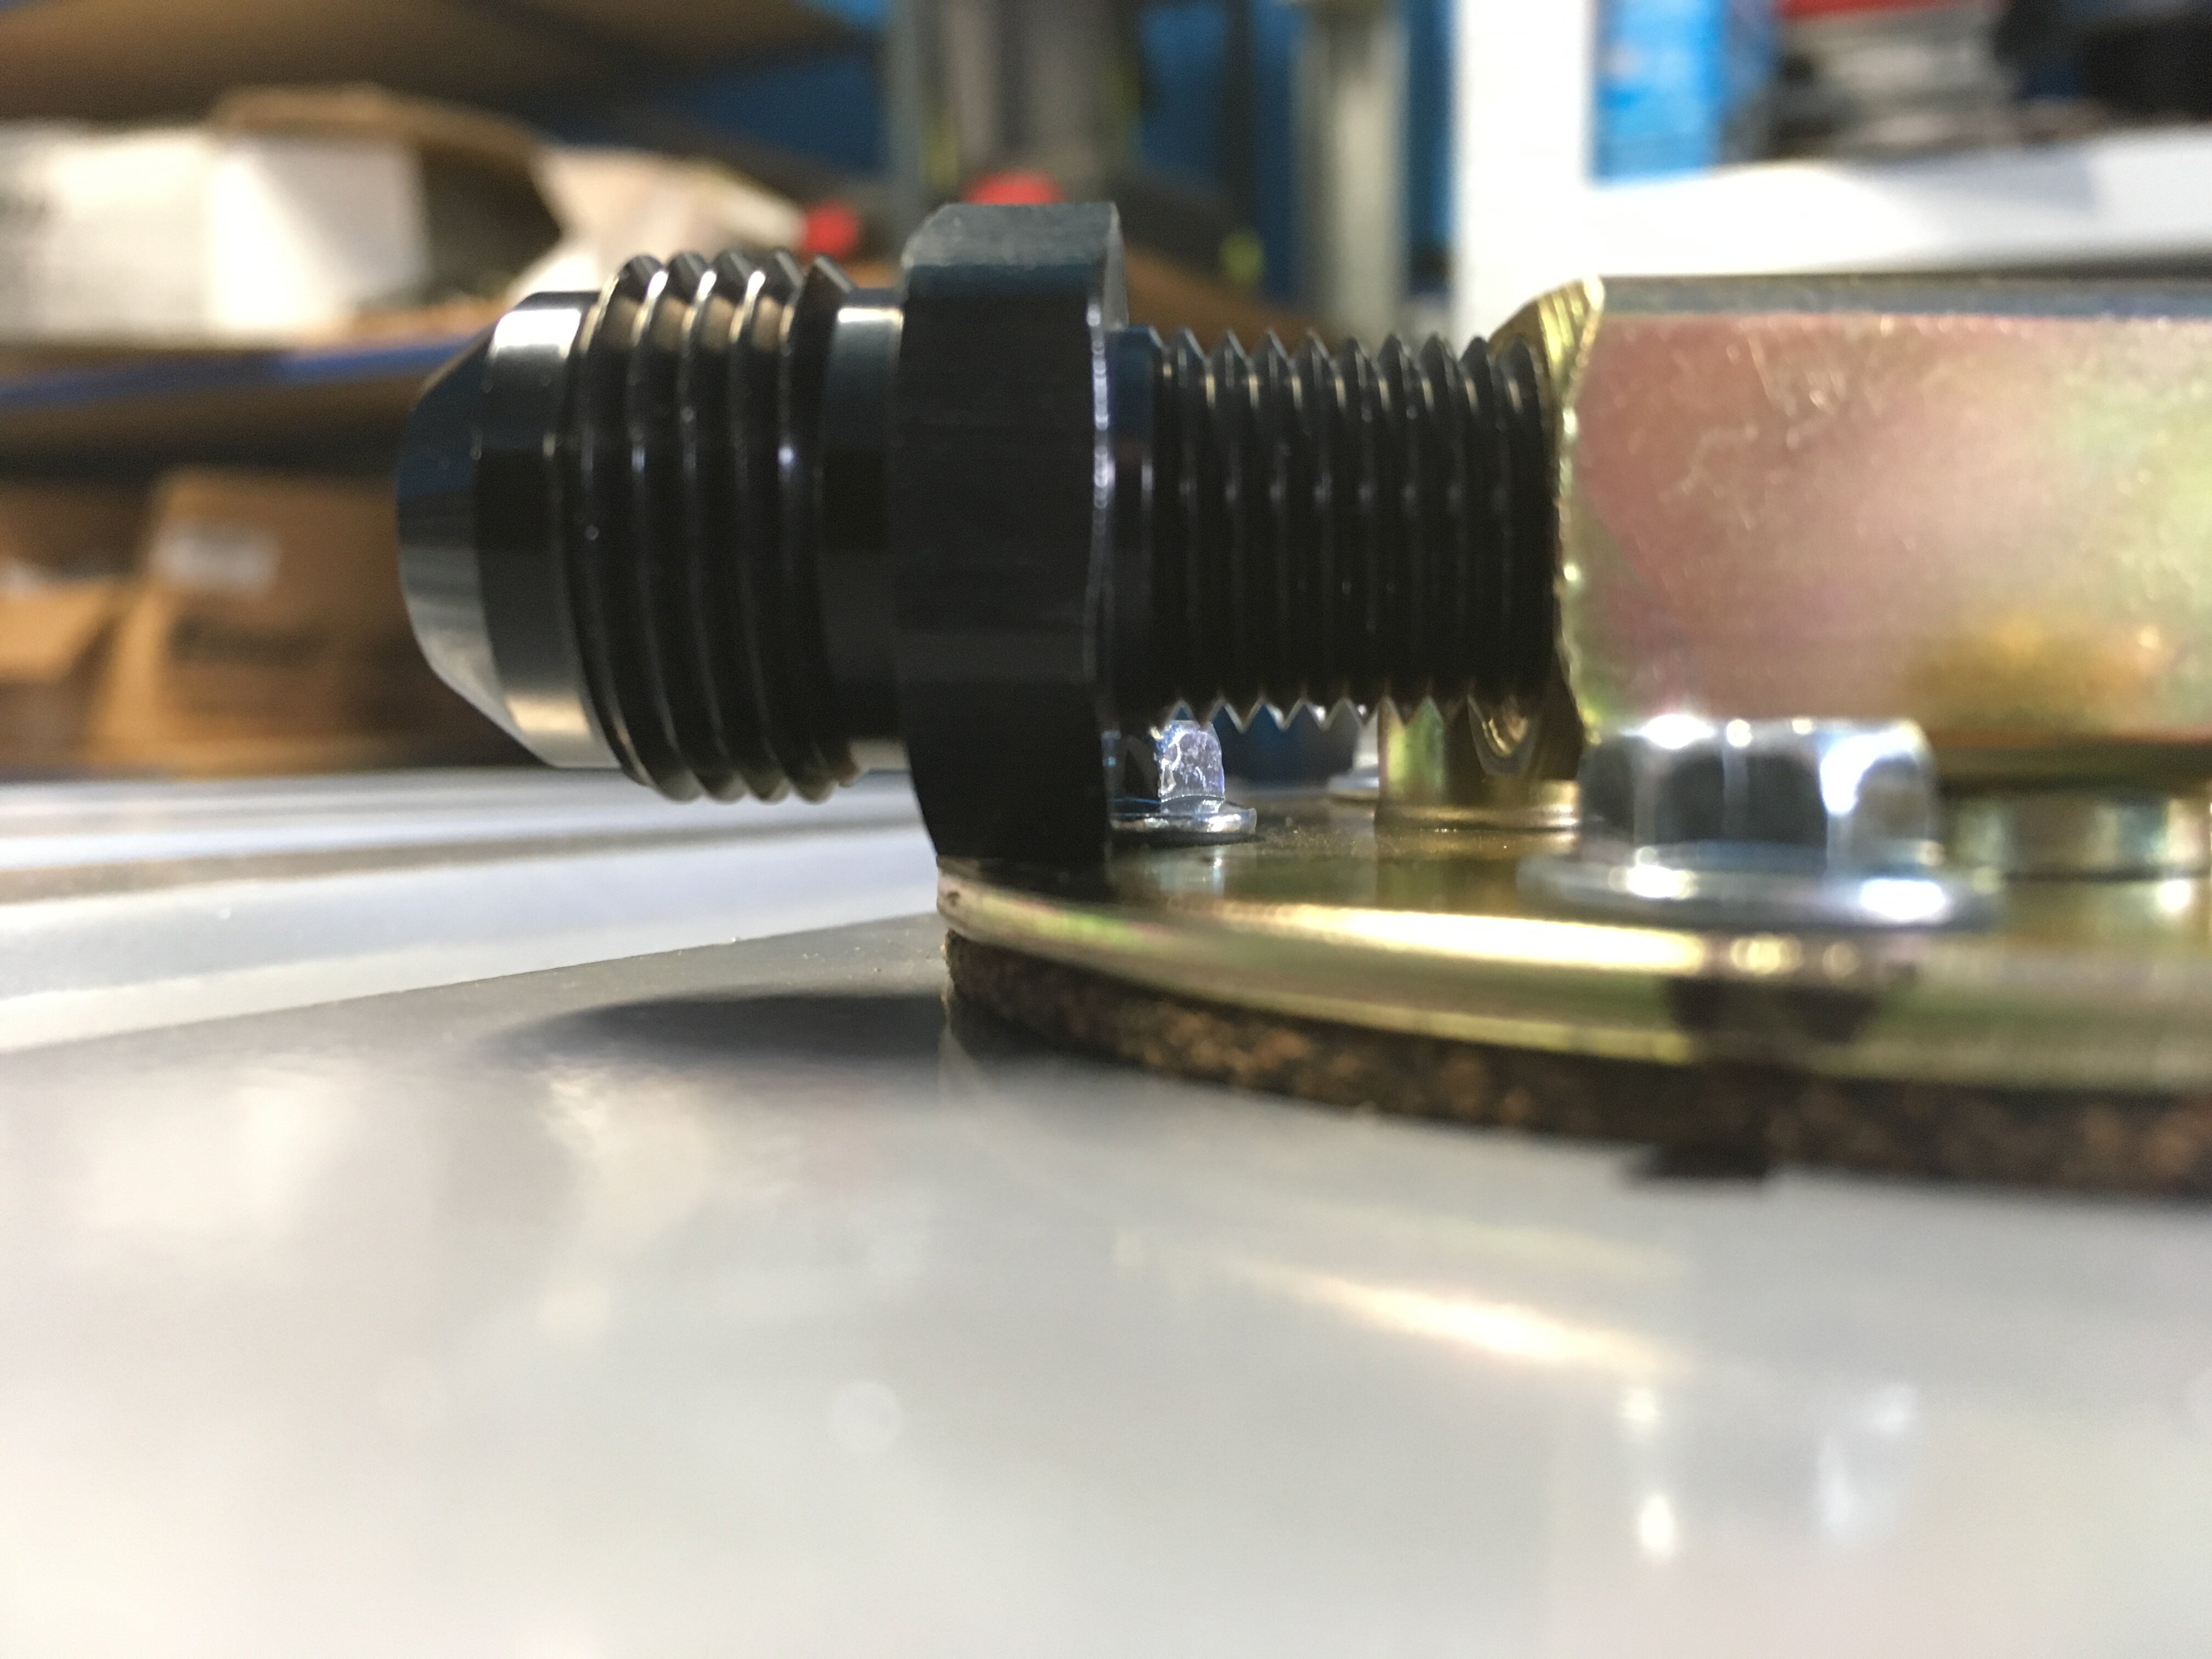
The Tanks gas tank has the hoses and fittings at tank skin level, so you do need to protect them somehow. I think a false floor on top of the tank is the answer as it is close to the frame rail height. See the pic (you also cannot use -8 fittings from the tank, it only takes -6. That's a -8 in the hole and you can't turn it ). You have to cut 2 holes to fit the supply and return hose.
The pump is noisy regardless of fuel level but mainly noticeable at idle.
I have not had any experience of the baffle as I don't corner this hard. The baffle itself is like an upside down cup that the pump sits in. As it has holes in the corners and the tank itself is reasonably flat I can't see it holding gas like a reserve pot would do. It would be good at a 1/4 and above but once you get real low in gas I don't see it doing anything outstanding.
I had to run a vent tube from the tank as it just stunk the inside out. I also used a fuel-compatible gasket goo on all the cork gaskets.
The sender - man, the sender. It is NOT plug and play and you need to spend some time getting it right. Somewhere on the interweb someone has posted the actual Ohm value for the gas sender, and it is like 50 Ohms at empty, not zero. I placed the sender on the bench, ruled lines for the tank top and bottom and used a multi meter to check readings. But it took a lot of time playing around. I have it just about right for Empty - about a poofteenth of an inch above E it runs out (I ran it to empty testing it) so it's close. But, full reads full too early but I'd prefer to know when I run out of gas so focussed on the Empty setting. Tanks Inc told me the only way to fix it is a new sender for 100 bucks but when you read the way the sender works I didn't trust that.
The tank itself was great, fit really well, no issues fitting it and the bits went together easy.
-
The Sniper fan wire green and blue are ground wires.
You have to have clean, dedicated power and ground to a Sniper other wise they give you hassle. I would not link in anything to the power wire, nor would I take power from another source. Direct to battery for both, big fat wires.
Mine booted up immediately on install, the Holley forum is full of sob stories and most of them relate to power and interference. My fan relays have a separate power circuit and only the ground relay wires are seen by the Sniper.
-
I'm no expert on the subject, but I am building one right now.
I had to buy pistons so the 347 versions were no dearer than 302. And the crank and rods were also not a lot more, especially if the rods come with ARP bolts.
Everything else is the same as a 302 build.
For me, Pro's:
- No replacement for cubic displacement
- A bigger cam will be less lumpy with bigger cubes
- More torque
- Virtually the same cost as a 302 rebuild, just the crank and rod cost
- Set the compression at your will, lots of choices out there for pin height on stoker rods. Mine will hit 10.5 easy
- 8.2" deck means no issues with fitting, different extractors, etc compared to a 9.2" 351
- If I leave the 302 badges on it who's to know?
Cons;
- Extra $$$ for machining to clearance the block and buy the crank and rods
- My Scat crank has a lot of variation in journal size. Not enough to worry a street motor but too much for decent power. That could have meant more $$$ for grinding and bearings (I bought std bearings with the crank)
- Oil consumption remains to be seen. I am told with oil ring lands the oil is not a problem (the gudgeon pin sits through the oil ring land on a 347).
My combo is a HO roller block, fitted with main studs, windage tray and HP oil pump. In there are Scat cast crank and H beam steel rods with a .927 pin, pistons are Sportsman forged with -4cc bowl. Dart Pro 1 alloy heads - 2.02. 1.60 and 195cc runners, an old Edlebrock Torker single plane manifold (I have an RPM airgap but with Holley Sniper they seem to run lean in the end cylinders) and a shorty set of headers. Cam currently is a Lunati Voodoo @ 223/224 with .550" lift, but today I spoke with the engine guy who said it could use another 15 degree duration and .050" lift so I'll probably go that way; but I want a lopey idle and I'm not worried about spinning it to 6,000rpm most gears. The current cam would be just fine if I wanted to keep it. MSD 6AL & pro billet distributor means it boots up instantly, especially with a hi torque starter. I'm using ARP head studs just because I can and all critical bolts are ARP too.
I'm not chasing power and would be happy with 400 at the flywheel. Depending on what expert you talk to it will make 450-500-550. The biggest issue with the Ford block is at decent power - say 500 or more - they fail and split. I don't want nor can afford that so what ever it makes, it makes (but I did spend another $500 on cleaning the ports up). The Sniper is a big ticket item but I am a convert. It starts everytime hot or cold, no hesitation when cold, timing is integrated with the MSD stuff, gas consumption seems to be good and I can set the idle and when the fans come on from my seat. For what it is, at the price it is, I think it's great. Plus when I install the new motor I change the cubes, the cam type and it will adjust fuel to suit. No going to the dyno for me!
Dollar terms this will owe me somewhere around $5,000 US when done but the only part that is used is the block - everything else is new.
One thing - beware of crate engines. A certain blue coloured brand has been making waves down here for some real dud assemblies. My engine guy has done a lot of value-added stuff; bearing checks on the crank, decking the block to suit compression, checked valve springs, skimmed the heads for flatness, balanced it, and generally taking pride in his work, I doubt a crate engine would see all that effort. Plus, I know exactly what's in it as I bought it and I will screw it all together.
-
Dave - spoke to him this morning, very helpful.
rwc - I'll investigate that but they might get tripped up with the complex bends into the valve.
-
My 70 302 needs all the hoses replaced, including the bracket. Has some awful mess under there all hanging down.
What company makes the best ones? It's a resto-rod so concours is not a factor. And do I need the split hose system the 70 had? Or will 69 do the job for less $$$?
-
Build it yourself. Then you know what parts went into it and you choose the quality.
So many stories around about crate motors that are junk.
-
Mine are dual pattern. Dart Pro 1
That's good to know
-
Thanks. Might not be an issue with a manual
-
What modifications? I looked at PH4010 but the small primaries are not ideal
-
What's the options for full length headers for this car?
FPA are beyond my budget so am looking at Dougs, Patriot, JBA, etc.
I see Patriot H8403-B around $225 which suits my budget. Dougs D623-R are $482 which is at the very top.
What's the options in between? My main concern is fitment with this combo as I cannot find any reviews on any header for this combo.
I do have Patriot shorties H8433 but again I cannot confirm via reviews if I will have fitment issues. I'll also pay about $500 to get pipes made to suit so spending a bit less than that on new headers is OK, as I am only using drop pipes so the rest of the system is simples straight pipes.
I am not really chasing power on this car. It has an HO roller block, Dart Pro 1 heads with dual bolt pattern, Sniper EFI and I have the option of either a Torker or RPM airgap manifold. Compression will be around 10.6 or so, depends on where the machining takes it. Won't be lower than 10.5 I'm sure. Aware of the limitations of a stock block I'll probs keep it to 6,000~ which fits with the Voodoo 20350711 cam which tops out at 6,200. From what I read a main girdle won't save it from splitting so I'll work to what I have and accept it.
-
Nice. Gets my vote. Is that Acapulco or something else?
-
My sister beat this. She's been over 5 years cancer free. But, she took a double mastectomy straight up. Your wife can do it, don't be afraid to take big leaps. It won't be easy for both of you but stay positive.
Fresh, unprocessed food will be your friend from now on as well as anything not natural. You will find an amazing support network once you get further in. Keep smiling mate, you can do this.
-
-
I went to put an aftermarket kickdown cable on as it was missing.
I have the shaft coming through the neutral switch but no OEM lever but the kit has a lever.
However, I cannot get the kickdown shaft to rotate. One way it has a positive stop and the other it just tightens. It can move in and out slightly about 1/8" or a bit more.
Having nil experience in automatics what could be the issue? It is leaking from the shafts and my searching today reveals there are 2 different length kickdown shafts which causes the oring to leak. It's not the original trans to the car and based on the way the whole car has been put together I would not be surprised if it was some hybrid thing put together from parts bin leftovers.
I guess not too much force is needed to move it? I am thinking perhaps whatever plunger it moves may be stuck due to no use?
-
The fuse box is a relay and fuse box, which I was going to put into the loom. My only real option is to cut the harness and run the original headlight and horn wires into the relays, then all new wiring from the relay box to the headlights and horn. The new box will be on the drivers inner guard.
I'm not keen to cut into this loom as it seems to be good. I have previously pulled the original fuse box and not seen any issues there and theres no other wiring issues on the loom except for dull headlights and horns that are very sick.
I need to run relays to the headlights as I have halogen lights and I figure replacing the wiring to thicker core will only future proof it.
70 Mustangs are not common over here so even finding a used harness would be hard let alone one I could hack up. If one of your looms has dud headlight and horn wiring but good elsewhere I could make use of one :)
-
-
So I was chasing an issue with high beam today along with going to put in a horn relay.
Found I had a power supply issue to high beam which I don't fully understand why - possibly the connection through the firewall was a bit suspect.
I stripped back the loom to chase it and wanted to know if this was the original loom. It has the washer hose running through it. The first layer against the wiring was wide black insulation tape, then the bright yellow cloth/gaffer tape and finally another covering of black insulation tape, about 3/8" wide.
I have a fused relay box I can install so was wondering if I should cut up this loom so I can put new wiring in from the relay box. I was thinking of putting it in front of the drivers strut tower (image 2422 just in front of the sticker).
So options are:
-
Hack this harness and replace wiring
- What gauge is the original wiring?
- Buy a new repro replacement harness and hack it splicing in new wire
The connectors won't be original if I replace the wiring but I can add new weatherpack type plugs easy enough.
Or, is there an easier way?
![IMG_2421[1].JPG](http://1969stang.com/forum/uploads/monthly_2020_07/888330016_IMG_24211.thumb.JPG.56a398d6216016a45d4aa588c366ec6b.JPG)
![IMG_2424[1].JPG](http://1969stang.com/forum/uploads/monthly_2020_07/504007634_IMG_24241.thumb.JPG.c09947b2c4e386546b3488c442a28072.JPG)
![IMG_2423[1].JPG](http://1969stang.com/forum/uploads/monthly_2020_07/1100036857_IMG_24231.thumb.JPG.35521b154e7e3449e4273892d350c9a8.JPG)
-
Hack this harness and replace wiring
-
I forgot to check the voltage. Probably because of the gas issue.
I have to do the horn relay too...
My car has 6,235 problems it seems, everytime I check something it needs replacing. Like the headlight bucket that was put in sideways because it was from another car. Or the construction screws holding half the car together.


![IMG_2421[1].JPG](http://1969stang.com/forum/uploads/monthly_2020_07/156989533_IMG_24211.JPG.d999cb07ce84641158f669364dd93b6a.JPG)
![IMG_2424[1].JPG](http://1969stang.com/forum/uploads/monthly_2020_07/818028400_IMG_24241.JPG.ea5824b40d5f053bd0ff13953dce0c4b.JPG)
![IMG_2423[1].JPG](http://1969stang.com/forum/uploads/monthly_2020_07/916224542_IMG_24231.JPG.fe7a15848a3d3c48b73fac4b7130a118.JPG)
Stop light and indicator wiring on a 70
in 1969-70 Technical Forum
Posted · Report reply
Pgold that's similar to what I was thinking. I'll have to get time to look at the whole set up and see how I can change it. I'm thinking maybe change the side lights to just marker lights.
The whole 70 alternating indicator and side light thing has stumped me, and now may explain why the repro front indicators I used seemed to not work properly. The indicator bulb was on at park and the side light bulb flashed (basically, reverse of what should have happened) so now I need to spend some time thinking this through. One of the joys of buying another mans project :(