

Machspeed
-
Content Count
739 -
Joined
-
Last visited
-
Days Won
17
Everything posted by Machspeed
-

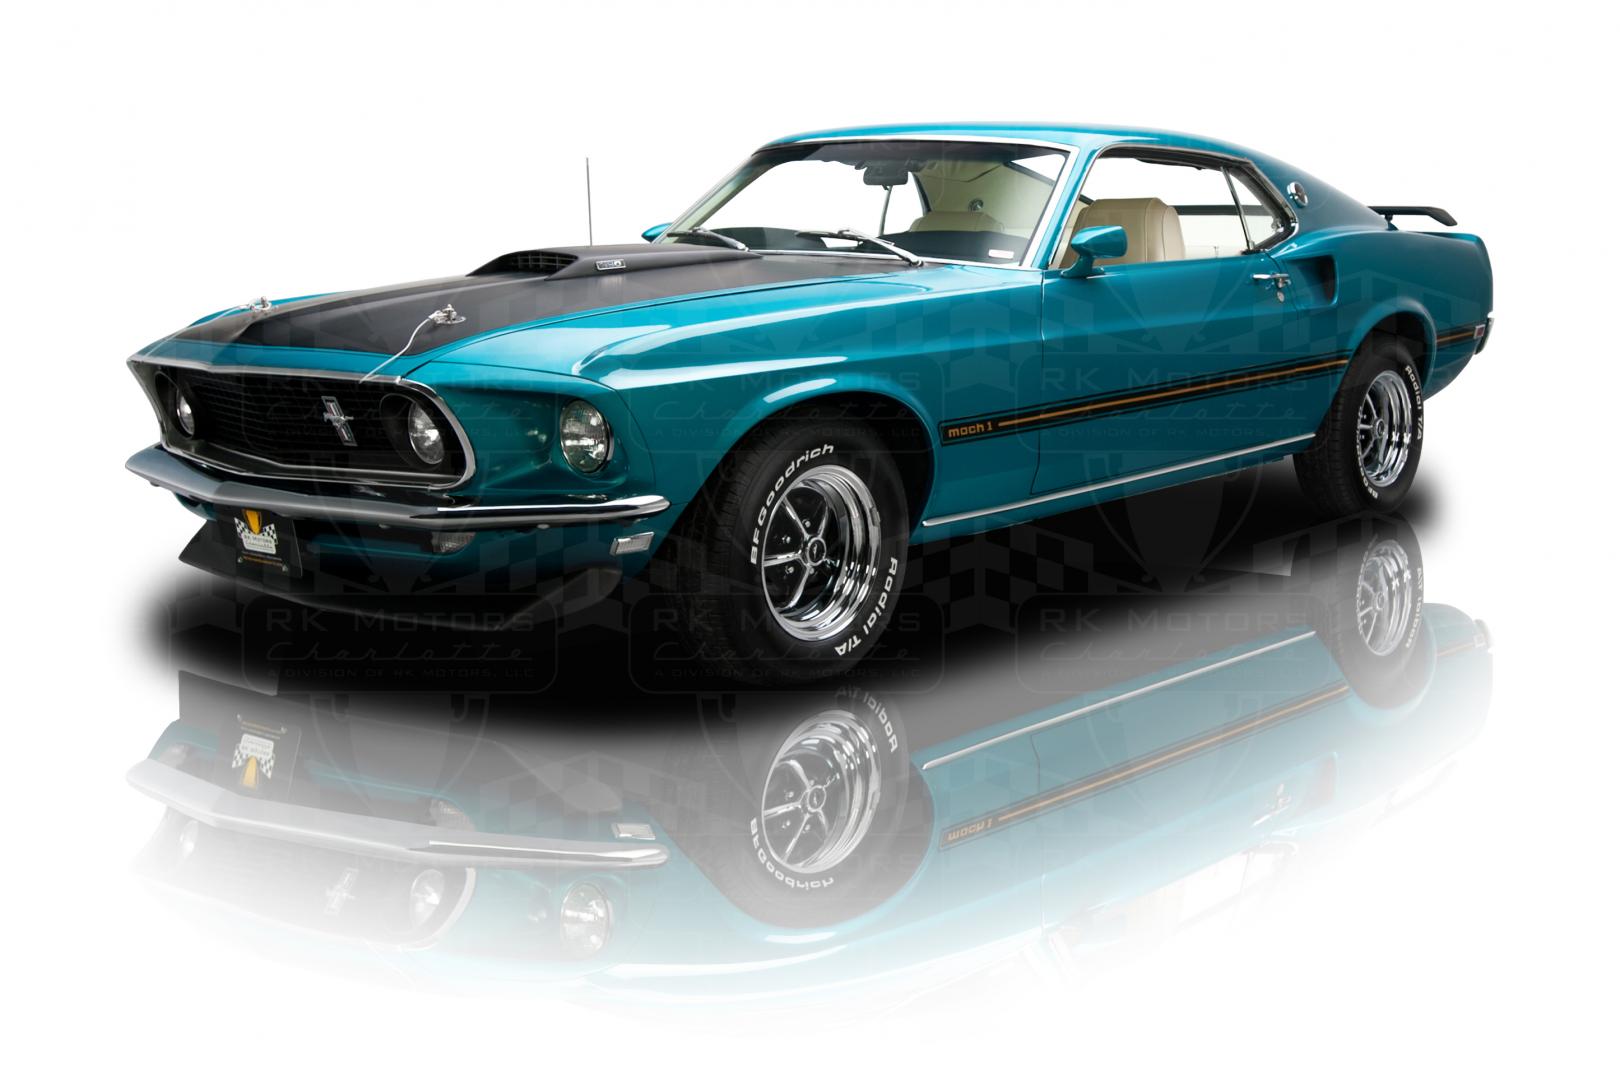
Meet QUEENIE.... 69 Gulfstream Aqua Build
Machspeed replied to Machspeed's topic in Project Progress Forum
As I will never sell the car, he knows that it will probably be his someday...lol! He's a good kid, too! I am blessed. -
Major Forum Technical Issues (Pictures)
Machspeed replied to Vicfreg's topic in 1969-70 Technical Forum
Good input but thinking it's temp and will go the same way as photo bucket. I'm one of those whom lost some pics in my build thread. However, I don't find my build thread to be as knowledge packed as others. Still, I want to post on my build. We have a half dozen or so build threads on here that I think are of absolute importance and would hate to see them loose anymore pictures. Those threads bring people to this site seeking out wisdom and "how to" info. Some use the site, in part, for advertising their business's. If money is a fix, can we not just take up a small collection from the regulars, or maybe just those posting in the build threads. I would gladly contribute. How much do we need on a yearly basis? -
New '68-69 Rolled Lip Exhaust Tips with 2.5" Inlet
Machspeed replied to stangs-R-me's topic in 1969-70 Technical Forum
Yes, I have a set that I purchased off ebay a few years ago. In fact, I posted about them here and a few members also purchased them. They were very reasonable in price and appear to be high quality stainless. I think they are 2-2 1/4. Regardless, they will require an adapter for my exhaust. -
Thanks fellas.
-
New '68-69 Rolled Lip Exhaust Tips with 2.5" Inlet
Machspeed replied to stangs-R-me's topic in 1969-70 Technical Forum
Those look really good! Was hoping they would also produce a 70 version but unless I missed them, don't see them.b Thanks for sharing -
This is rather trivial, but I'm really anal about things. Last night I was going to repair one of the hood hinge mounting nuts on my 69 Mach. It had broken out of the rear apron causing some issues with the hood hinge. I got to looking at the orientation of the nuts and comparing those on the driver's side with those on the passenger side and the nut that requires repair appears skewed. Based off how it fit in, I would have sworn it was correctly positioned but now I'm thinking it may not be correct. Was hoping someone could provide a picture of the driver's side rear apron to confirm my suspicions? Pictured below is the driver side and passenger side hinge mounting nuts. The top nut on the driver side is the one I'm needing to fix. Thanks
-
That's slick. Tail panel needs the black or something. Compared to the rest of the car, very plain. Looks like it has wheels on it now, how bout a side shot?
-
Yep, those will need to be replaced. Are the pins still in the B pillar?
-
If they are both on backwards, you need only to swap them in the correct orientation but to the other side. Somebody likely flipped them intentionally, possibly jacking with you or the previous owner. Ridge is right, place a block of wood at the bottom of the medallion and hit upwards.
-
That's just beautiful! Tastefully done too. Hood is awesome. With the headlight buckets blacked out, think I'd black out the tail panel too.
-
Checked it out, very informative. Thank you! Man, I'd sweep the floors, take out the trash, and clean the bathrooms in that shop just to learn and be a part. Need some help...LOL!?!
-
Rich, thanks again for the windshield tutorial....awesome!!! Now, how bout one for the rear glass? Doesn't look like the rear glass is in yet, be a good time to make another quality MTF tutorial....lol! Seriously, I've read in various postings where people had to do some serious trimming to the gasket. It was very ill fitting and the trim would not sit down correctly. Can I ask what specific gasket you use and if it has been your experience to routinely trim said gasket? Thanks, John
-
Understand on the headliner. Suspect that console adds some support to the unit. Great video, Rich. Materials, details, etc. Thank you so much for that! Jeez, I love the project car too! Looking forward to seeing it in completed form! Spectacular!!!
-
Rich, not just the grain, but the headliner bow look seen in the factory headliner. I guess if you did that, you'd have to pull the console, assuming it is molded into the headliner. Personally, I'm not a fan of the overhead console, though. Most probably are and that is who you need to address. Still, I'd love to see a one piece that looks just like the original. Thanks for posting the video!
-
Been looking for a good video on the windshield install, Rich! Where can I view it at? Also, I like your one piece headliner, really do. However, I really wished it had more of the OEM look to it, texture and such. Any consideration to that?
-
I know I know what you mean but understand my car is completely apart, on a rotisserie, and fixing to go to the media blaster. If the cowl leaks, now is the time to find it and I don't know of any other way.
-
Was inspecting the cowl on my project last night and it appears to be okay. There is, however, a lot of superficial rust in there and I probably should check it for leaks. From what I gather, I should poor about a gallon of water in the center of the cowl and see if it leaks onto the floor board, correct? Lastly, how would you address the superficial rust within the cowl?
-
Car will be going to media blaster in a couple weeks. Last week, my son and I spent the day scraping the factory sealer and undercoating. Two Questions: 1. What product would you use for seam sealer? I've been reading, just want opinions here. 2. While cleaning up the engine compartment and other places I found this white putty like stuff that the factory used to fill large voids between panels. What is this stuff? See photo. Thanks, John
-
Indeed it does! I love the Magnum 500 wheel!!! Car looks good. When I first got my car back in 76, it had the OEM chrome styled wheels. I longed for the Magnums back then but they were somewhat hard to find and very expensive. Eventually found me a set of 14" Magnums that I could afford back then.
-
Thanks fellas! I'll weld them up then. My OEM hinges are shot and have purchased some heavy duty hinges from West Coast Cougar. Suppose to be better than the OEM. Guess we'll see.
-
One of the hood hinge "Captive Nuts" is slightly damaged on my car. See photo.... top nut. I could weld it back in but this just seems like a week and poorly executed method for attaching the hinges and I'm certain it will fail again. I'd like to just reinforce the area but the contour of supporting panel area does not make this easy. I've done a healthy web search but not finding much. Is there something out there that I may be missing? Thoughts? Thanks!!!
-
Meet QUEENIE.... 69 Gulfstream Aqua Build
Machspeed replied to Machspeed's topic in Project Progress Forum
Thanks, Bob. Really enjoyed having my son's presence and help here. -
OMGOSH......LOL!!! That's funny....you're having fun now!!!
-
So Rich, I'm assuming PPG VP 2100 is an epoxy primer and PPG NCP 271 is a urethane primer, which differs from a 2k primer? I'm curious, have you had problems with a 2k primer over epoxy? I'm a fan of SPI products and unless things have changed, they recommend their 2k primer over their epoxy. They provide very detailed instructions on application of their products in an outline by SPI, titled "The Perfect Paint Job". I've spent a lot of time researching this and reading comments from people on the Autobody forums that are very pleased with this combination. I'm no painter, so I have no input into this. Those like you whom work in the field know much better, however, we do tend to also go with what works for us. I'm just curious if you have had issues. And, I don't want this turning into a pissing war, as I've seen threads like it. I just desire the input. Thanks!
-
Dying to see those wheels!?! Pic, please???
