

Flanders
-
Content Count
483 -
Joined
-
Last visited
-
Days Won
1
Posts posted by Flanders
-
-
I was looking at wilwood too:
this particular kit has the hub in the rotor (similar to OEM). It doesn't include a new master cylinder though, so it's not quite as "complete" as the Chockostang kit.
Conversely, I could get a wilwood kit with a hub:
(still need to add a master cylinder).
Is is really that much of an issue, having the hub in the rotor?
-
I'd go with Dan at Chockostang because he's a nice guy and his reputation.
thanks, and I agree as well. I was about to pull the trigger with Chockostang just over a year ago when other priorities stepped in the way! I figured I'd check again here!
-
It looks like there are several good options to chose, for going from manual front drum brakes to disc.
I'm not too interested in power brakes so I don't need to worry about a booster.
that said, are any kits superior than others? I can't really differentiate what makes one better than another:
-chockostang is $700
http://www.chockostangclassicmustang.com/discbrakepowersteering/discbrakeconversions.html
-SSBC is $1100
-MustangSteve has parts
-Scott Drake (via CJ pony parts) has a kit as well ($700)
why would SSBC's kit be $400 more than chockostang?
-
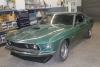
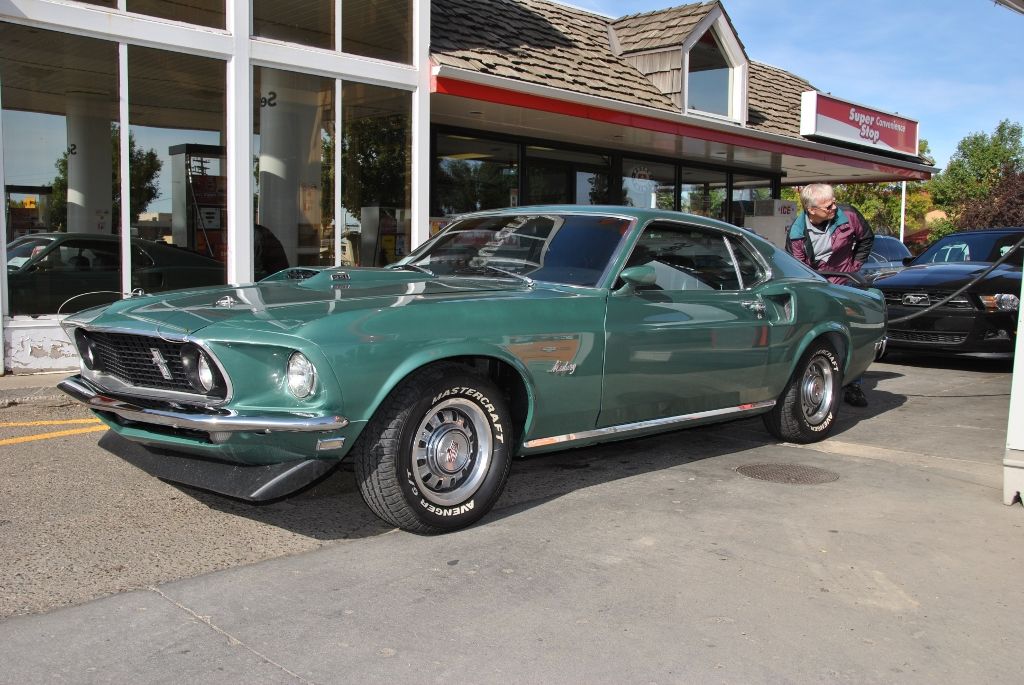
Nice color!!
I finally put my GT stripes on my fastback, it took me 2 years to finally do it. Now that they're on, I love 'em :) I have chrome rocker trim, and I really like the look of it. This lousy cell-phone pic makes it seem really shiny, but it goes really well with all the other chrome trim on the car.
-
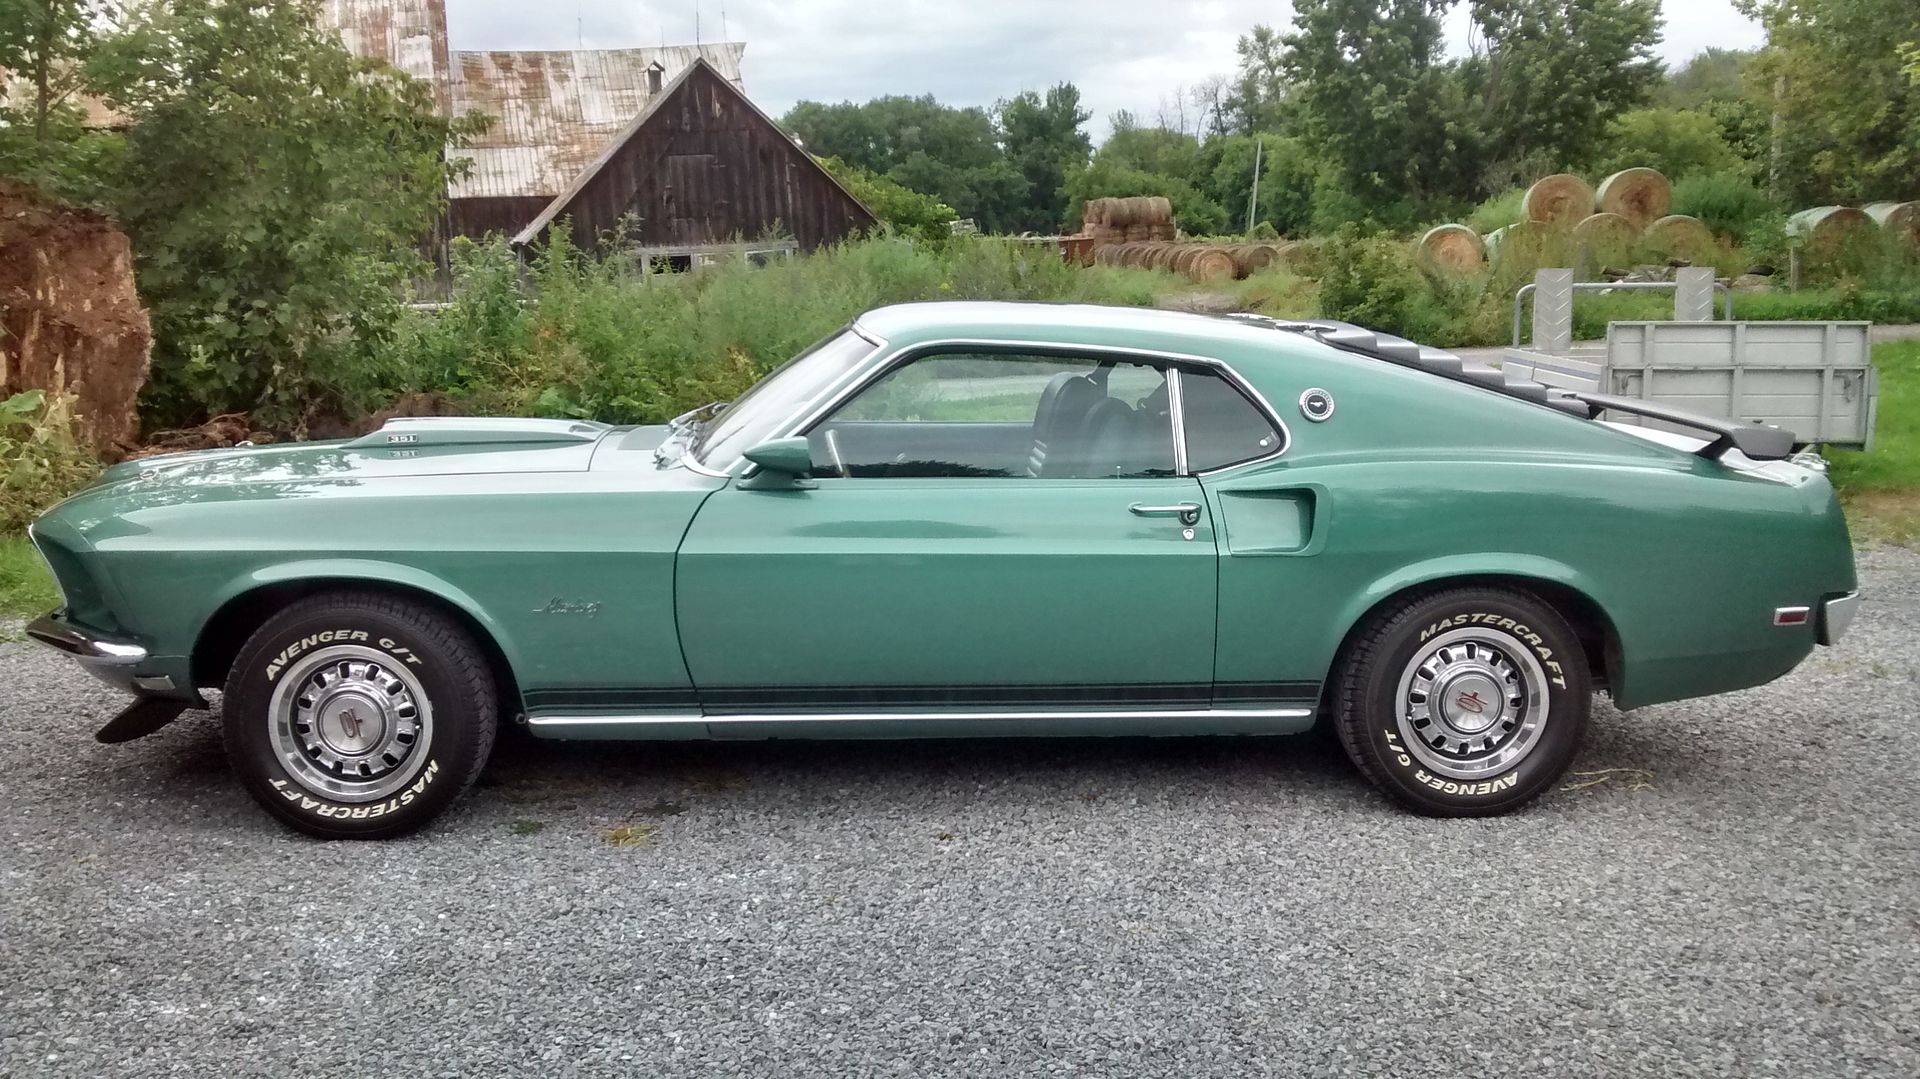
yep, the rocker panel chrome was a decor option that was factory installed (rivets!) Spoiler and louvers were added by me, but yes they were a dealer option.
I've had the rocker moldings on for a while, but ya these stickers really finish it off! Thanks for the kind words everyone.
-
I've had my GT stripes in my basement for far too long. I finally got them on the car!
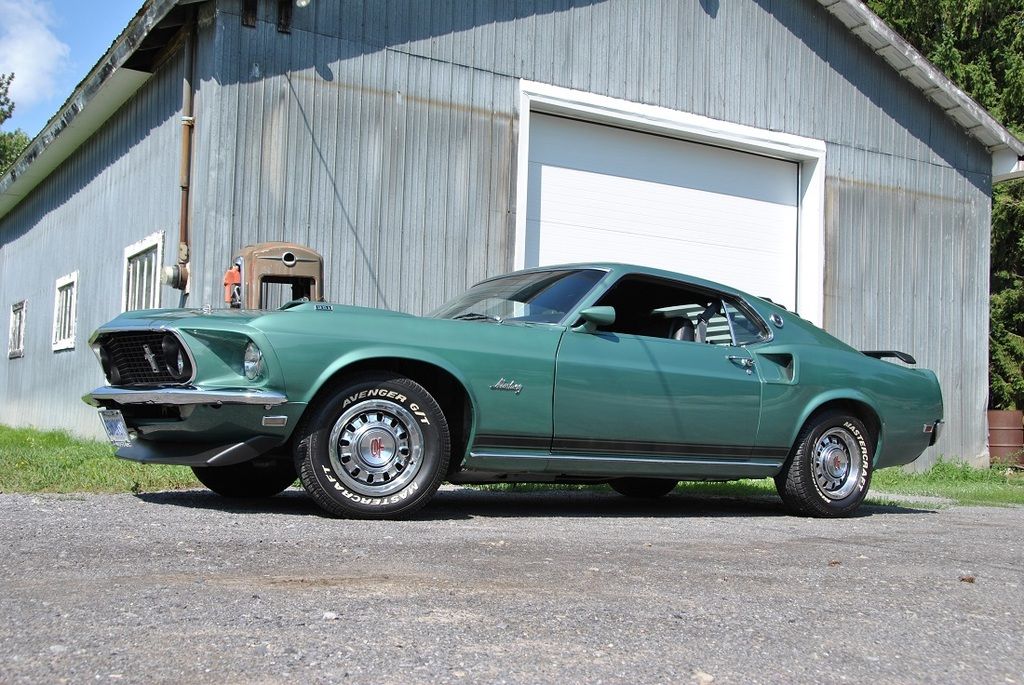
Not earth shattering, but a nice subtle difference compared with no stripes :)
Black_69_FB reacted to this -
I 2nd Rsmach1's opinion. A low voltage caused drivability issues (when warm) and ultimately pooched my module.
-
My car is currently still under wraps in the garage so I can't zip out and check, however that picture is not correct. The "new" retractor uses the one hole © in the diagram. In this picture, you can see the hole is closer to where your (A) is:
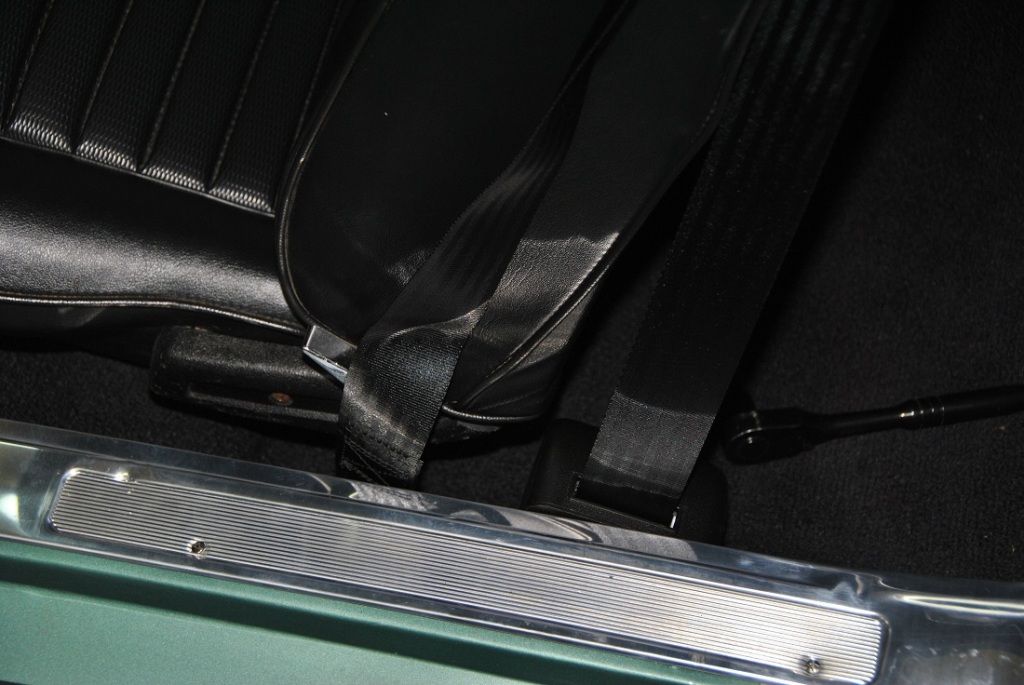
I don't think I've had my seat retracted all the way back, so I'm not sure about clearance. I'm just over 6', so I've got my seat back maybe more than most people.
-
what year/truck should I be scavenging the latch from?
-
Mine took many, many cranks to get fuel up to the carb...
-
-
I used the long sash. Otherwise the shoulder strap went way up high. With the long sash, it brings it right behind my shoulder (I'm 6'). The 11" sleeve works just fine.
My wesco order, for my '69 fastback:
Retractable Seat Belts: 3 Item # WELR-L 2 80.90 Add Mounting Hardware =
Point Retractable Seat Yes(+$10.95)
Belts with Long Sash Color = Black-02
Guide Style = Bucket Seat-11 inch Sleeve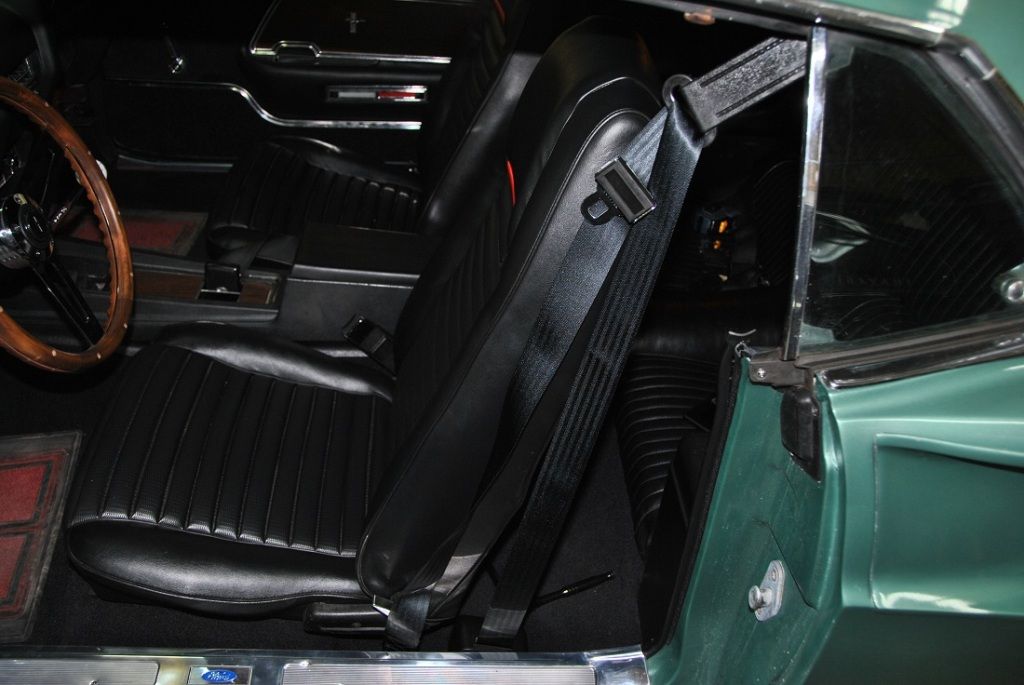
-
I couldn't get my rope one out with the engine in the car. The "pin" (mentioned above) was preventing the rope to come out and I couldn't get that pin out without the engine coming out...
-
yep, Silver Jade.
-
ok, I see what you mean now. That's cool!
-
Thanks! That's exactly what I needed.
-
I've got GT stripes for my '69 sportsroof. Can someone provide a measurement on where exactly the GT stripes go on a sportsroof? Having difficulties finding this information.
-
As an alternative, I've had these sequential LED lights on my car for well over a year now:
http://www.mustangproject.com/ProductDisplay.aspx?ID=4b22eb3c-1505-4fc2-8209-2734f257fb46
Fantastic product, very bright lights, very easy to install. Just put them in the old bulb sockets, and change the flasher to the one that comes in the kit.
-
-
I went with Retrosound.
I don't have this exact model, but my old model2 blends in nicely with the dash:
-
what were you saying? You completely lost me after "I just gotta figure out how to mount that Female" :)
-
I'm wondering if "while you're in there" you make a little USB port on the front or side of the console for charging up various devices. It's small and discrete, and probably easier to do now rather than after it's all wrapped up and done. Above you mentioned you're putting in a 12V outlet, but a USB would be smaller and prevent you from needing a 12V car charger thing. Looks good though!
I think I'm a fan of smooth vinyl (leather?) on the sides that match the dash, rather than carpet. Otherwise, that's a lot of fuzz down there :)
-
I typically order from http://www.themustangshop.ca
Still need to pay for shipping (unless you live in Calgary) however I've had nothing but good fortune from ordering from these guys.
-
i had two plugs that were visibly oozing coolant, but I figured I might as well replace all of them while I had the engine out. As it turns out, *all* of my core plugs were rotten...but you couldn't tell from the outside.
I'm not sure how keen you are on replacing all of your core plugs at the moment, but keep in mind that the others may be on the verge of needing replacement too.

Front disc upgrade: good spot for proportioning valve?
in 1969-70 Technical Forum
Posted · Report reply
I'm currently installing the chocostang front disc-brake package (although I'd imagine this is similar for any front disc conversion) with the K/H 67 Shelby style calipers . No power brakes, manual trans.
Aside from being slightly annoyed that my new stainless OEM-sized hoses don't fit in the new Master Cylinder (I'm on the hunt for some adapters as the threaded holes in the MC are much smaller than the hose fittings), I could use some advice on where to put the proportioning valve.
The valve is supposed to go between the distribution block and the rear brakes (somewhere in the line that goes to the rear). It's pretty tight around the distribution block, and bending the rear line while it's in the car seems like a pain in the arse.
Where have folks put the proportioning valve? Or is there a replacement distribution block I should get instead that has the proportioning valve built into it? It would be nice to reuse my existing front stainless lines...so hopefully I'm not delusional.