Sign in to follow this
Followers
0
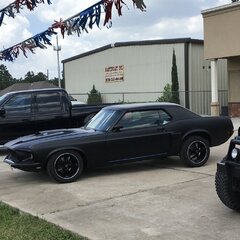
69 Coupe Father/Son Project
By
rodbrady, in Project Progress Forum

By
rodbrady, in Project Progress Forum