


TheRktmn
-
Content Count
77 -
Joined
-
Last visited
Posts posted by TheRktmn
-
-
The MSD 8920 wired for a 'Current Triggered' tach.
-
The ammeter is battery voltage. Only the Fuel, Oil and Temperature gauges use the regulated voltage.
-
Not much to the internals, it is a simple meter consisting of copper wire wrapped around a loop. The ammeters I bench test here are VERY responsive. I hook 12V to one side and a sealed beam to the other. The pointer pegs in the direction of flow. I think the problem is not in the meter but in the wiring to it.
-
It looked like you were switching it over to 'joombla!' Is that right?
-
Not the magazine article asked for, but a couple of How-tos from the Cougar world that may prove helpful:
http://www.cougarclub.org/pdf/1969-cougar-door-window-glass-repair.pdf
-
Is this what you're looking for?
http://www.cjponyparts.com/scott-drake-ignition-switch-wiring-pigtail-1968-1969/p/HW3125/
-
Is this what you're looking for?
http://www.cjponyparts.com/scott-drake-ignition-switch-wiring-pigtail-1968-1969/p/HW3125/
-
Make sure the little braided ground wire is connected to the points as well.
-
Always check the obvious:
Did you forget to install the rotor?
What ignition? If points, are they gapped correctly?
You checked for spark at the plugs and power to the coil, did you check the spark from the coil itself?
-
SA69mach has given a very good outline of how to clean and rejuvenate your factory clock. If you are not comfortable doing this or you have but the clock still doesn't run, please consider my clock service.
I clean, lubricate and adjust the mechanism as well as replace the points and repaint the hands and buff the lens for $40.00.
If your clock needs a part I have acquired a large inventory of parts over the years and can usually repair the movement.
Repairing the set mechanism is usually more difficult and expensive since most times another clock has to be sacrificed to repair yours.
If your clock is completely shot it may make more sense to replace the movement. I have repaired OEM movements I can install for $60. I have a few NOS movements as well, those are $100.
If you send the clock in for service and it turns out it is not worth saving then I can convert it to quartz for an additional $85, or return it to you with a $30 refund - I keep $10 for return postage.
Clock repairs have a two year warranty.
If you just want to convert the clock to quartz I do that for $125 - this includes painting the hands, buffing the lens (when applicable) and a lifetime warranty.
-
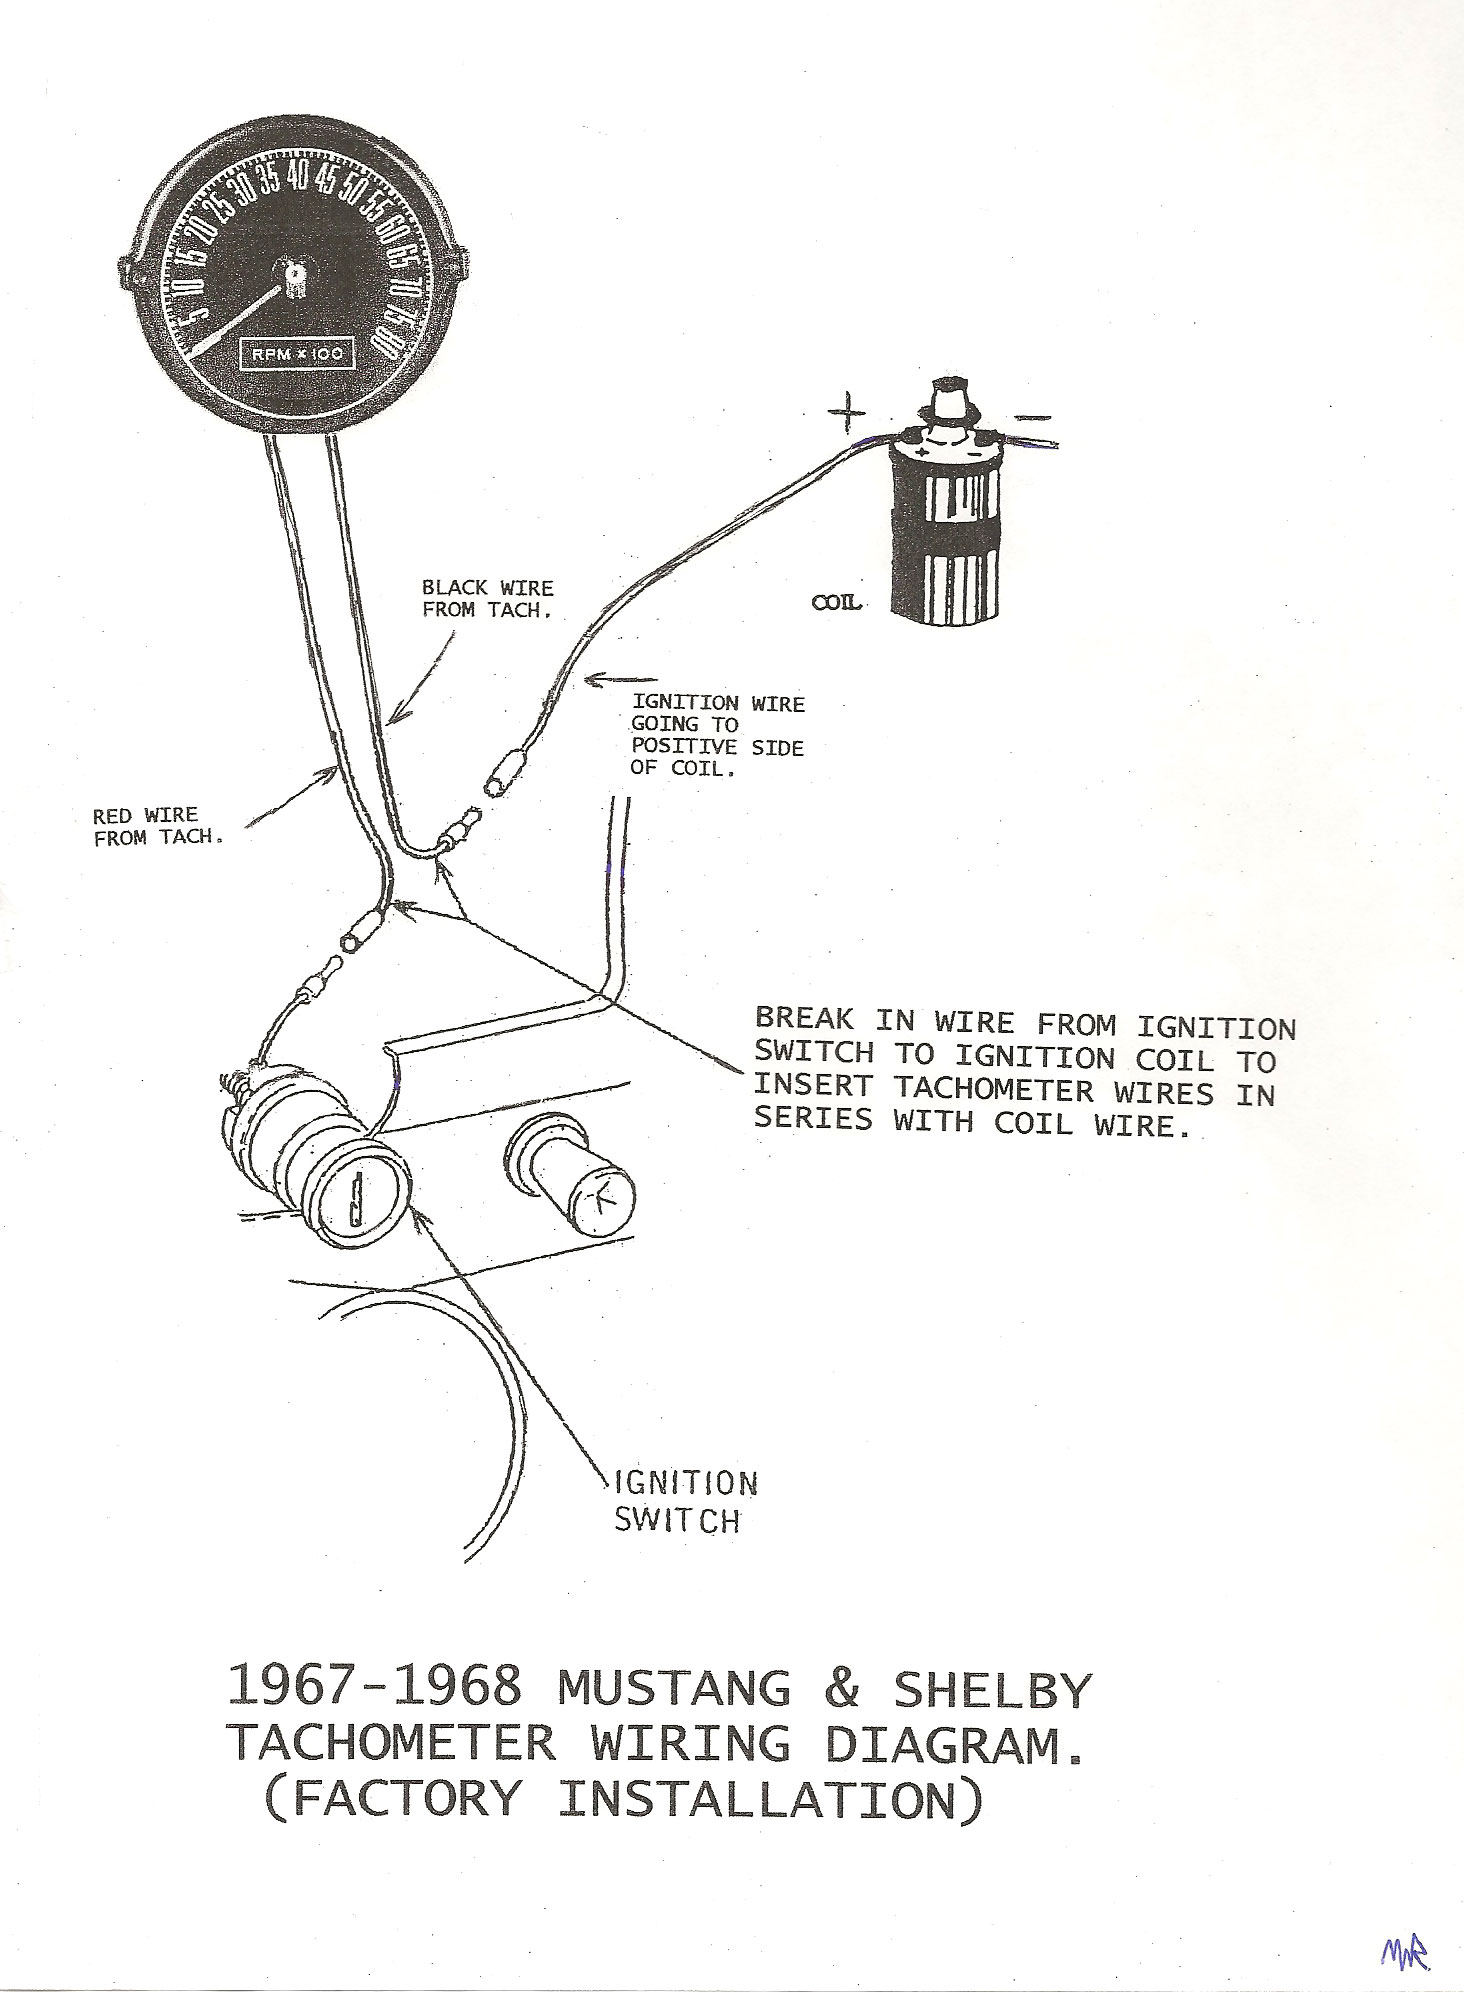
OEM wiring for 'two wire' tachs:
Ignition switch 'ON' to tach red.
Tach black to coil + terminal (by way of 'pink' resistor wire).
FoMoCo used this style of tach for many years.
-
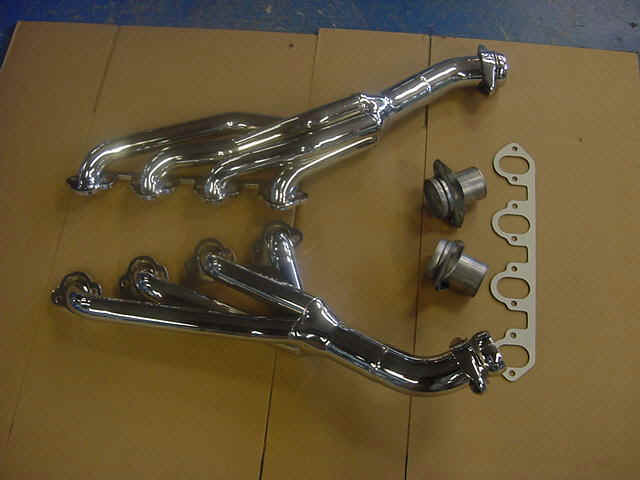
I installed shorty headers on my 69 w/ power steering.
http://www.fordpowertrain.com/FPAindex/Mustang1.htm number 12 on list.
-
For those PMing me for a cluster shot:
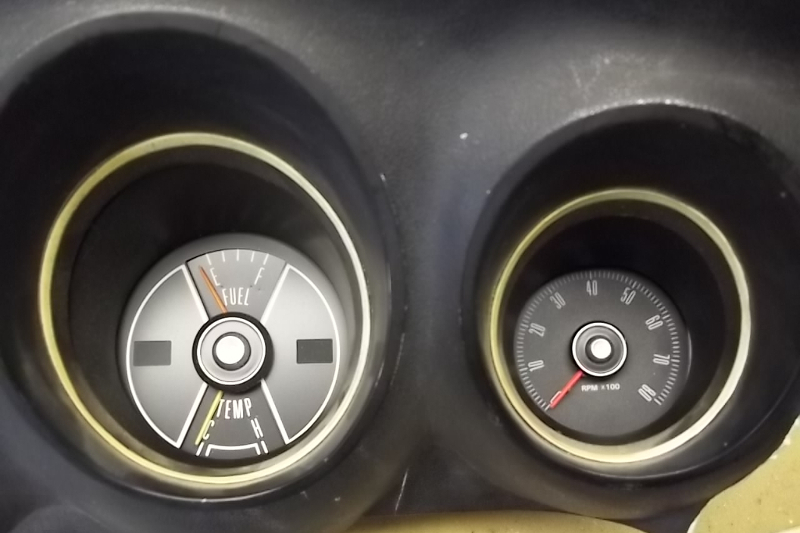
Sorry I don't have a nice '69 cluster to display it in, but the fuel/Temp gauges should give you a sense of size. The tach is slightly larger than the oil gauge it replaces and slightly smaller than a full size tach.
-
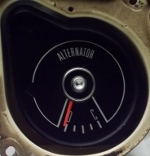
That would be the M6970V - Volt Meter for 1969-1970 Ford Mustangs.
-
Here's some sneak peeks of the M6970S mini tach protype:
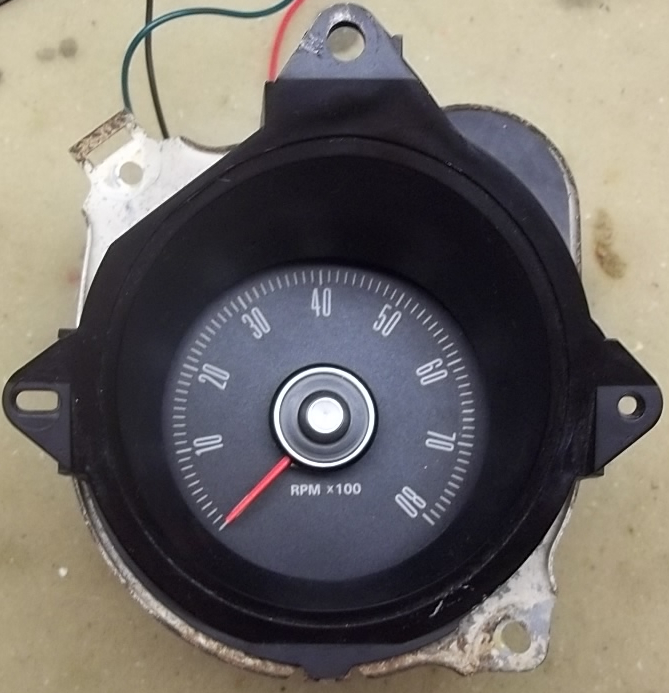
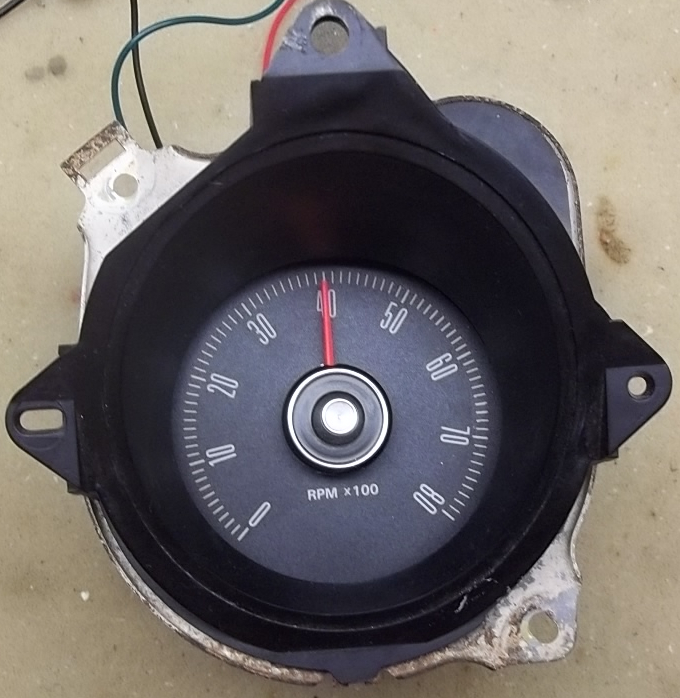
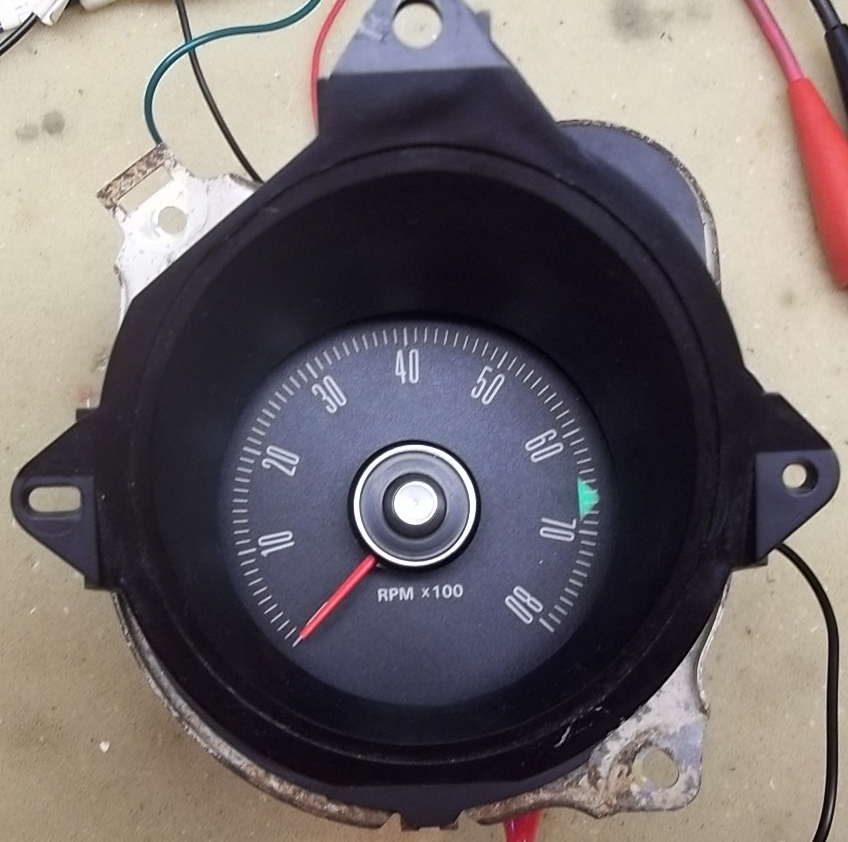
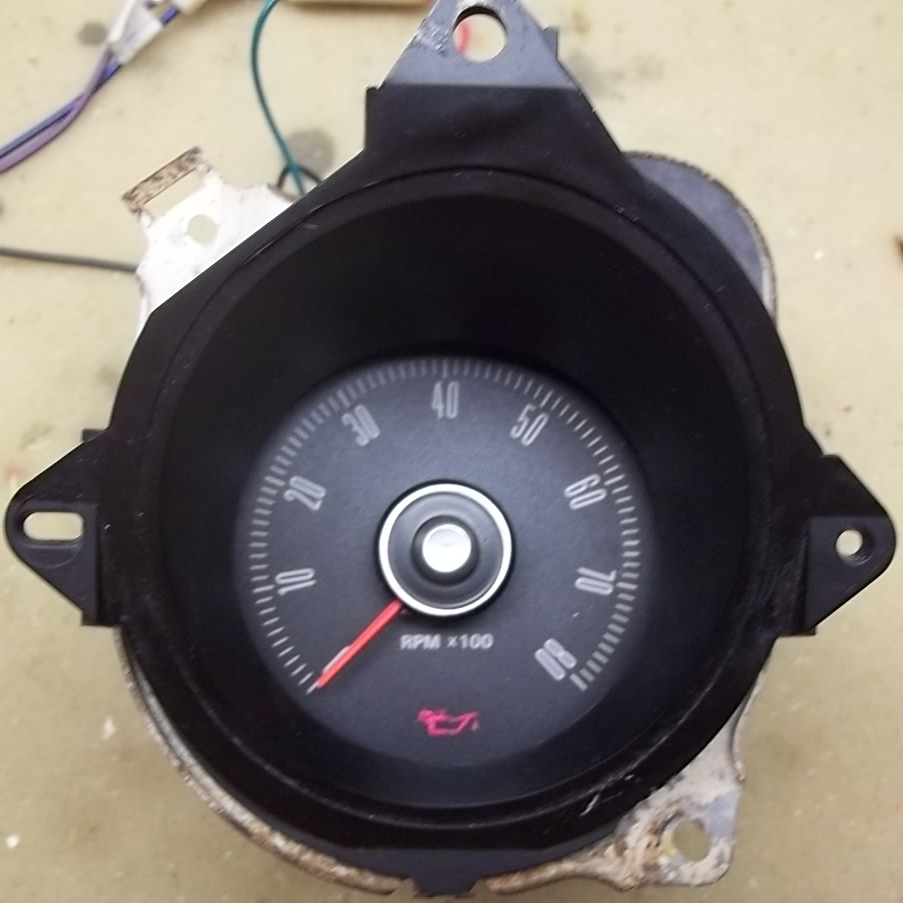
Bolts in, uses original printed circuit, tach has wires for power, ground and signal. Customers will need to change the oil pressure gauge sending unit to an oil pressure warning light sending unit (sender costs less than $15 for a good one).
Comments?
-
Besides my business site I also own or maintain 3 other sites with public access. I added Honeypot to my sites and it has made a huge difference. Basically it checks user IPs against a shared database of spammer IPs and rejects registrations of known bad IPs.
http://kb.siteground.com/block_spammers_in_vbulletin_through_project_honey_pot/
-
The RJM wire is a signal wire and your factory tach does not use a signal so ignore that one.
The painless harness should have a wire going to the coil + side. You will need to cut this wire under the dash. It has to be cut, not tapped into. Connect the side from the ignition switch to the tach RED (input). Connect the other end that goes to the coil + side to the BLACK (output) tach wire.
As stated earlier, the factory is wired in series. This means that it senses CURRENT, not a wave signal like a modern or three wire tach. The tach has to 'read' the current passing through it to the coil.
If you are running an aftermarket ignition like an MSD -6 box, RTR distributor or Pertronix 3 you will need a signal adapter to convert the wave. What ignition system do you have?
-
Look at the diagram. The circuit goes from the key to the tach RED, out the tach BLACK through the resistor wire to the POSITIVE (power, + ) side of the coil. The distributor connects to the negative (-) side of the coil. All FoMoCo factory 12V ignitions prior to electronic ignitions used the pink resistor wire.
You said the RJM harness was the engine harness. The resistor wire is in the main harness under the dash.
-
The factory tach wires in series. RED tach is switched 12V power IN. The BLACK wire is OUT. On a stock harness the tach goes in the wire going from the ignition switch to the + side of the coil.

Note the 'pink' resistor wire between the tach and coil - it is necessary for the tach to function correctly and component longevity (a fancy way of saying full voltage through the coil can screw it up).
The Fuel, Temp and Oil gauges all ground through their sensors (sending units) on the motor.
The only things that need a ground on the cluster are the bulbs and instrument voltage regulator (that little silver box). The grounds on the plug and chassis mounting points should be sufficient, afaik there is no separate ground wire from cluster to chassis.
-
If it's a tach car you probably have a failed tach. If non factory tach check that the 'pink' resistor wire isn't broken. Another possibility is the switch itself.
How the tach causes this: http://www.classiccougargarage.net/showthread.php?tid=86
-
If the car fires when the key is in START but dies when released to RUN you likely have a bad tach or a broken 'pink' resistor wire.
-
+1 for Instrument Specialties!!!
-
They are thin cardboard insulators that keep the circuit panel / nuts from contacting the metal case.
-
I remove the valve covers to change the plugs. Doing that makes the job much easier. I have the aluminum pentcover(?) covers and they are tall and close to the shock towers.
Wanted: Radio mounting bracket
in Parts for Sale / Wanted
Posted · Report reply
I am looking for a 69/70 Mustang or Cougar radio mounting bracket.
This is the metal bracket the radio mounts to behind the plastic bezel.