

rodbrady
-
Content Count
151 -
Joined
-
Last visited
-
Days Won
1
Posts posted by rodbrady
-
-
So first up, when we bought the car, I inspected it pretty well. It's really a solid car. Very little rust that I could see. The underside of the car was virtually rust free, frame rails are solid, no rocker panel rust that I could see. At the time, the only significant rust I could find was in the trunk, especially on the driver's side. So, we'll probably have to replace the trunk floor and drop off on that side.
One of the first things we did once we got the car home was to pull the interior out, so we could see what the floor pans looked like. the driver's side came out first, and I was thrilled to see that much of it looked nearly factory fresh. However, when we got tot the passenger side, I could tell that the underlayment had been wet at some point, especially in the rear. Probably had a window leak or something. Anyway, there is some rust on that side.
Question 1: I would like your opinions on whether the rear pan can be repaired as is, or if I should have it replaced (2nd pic).
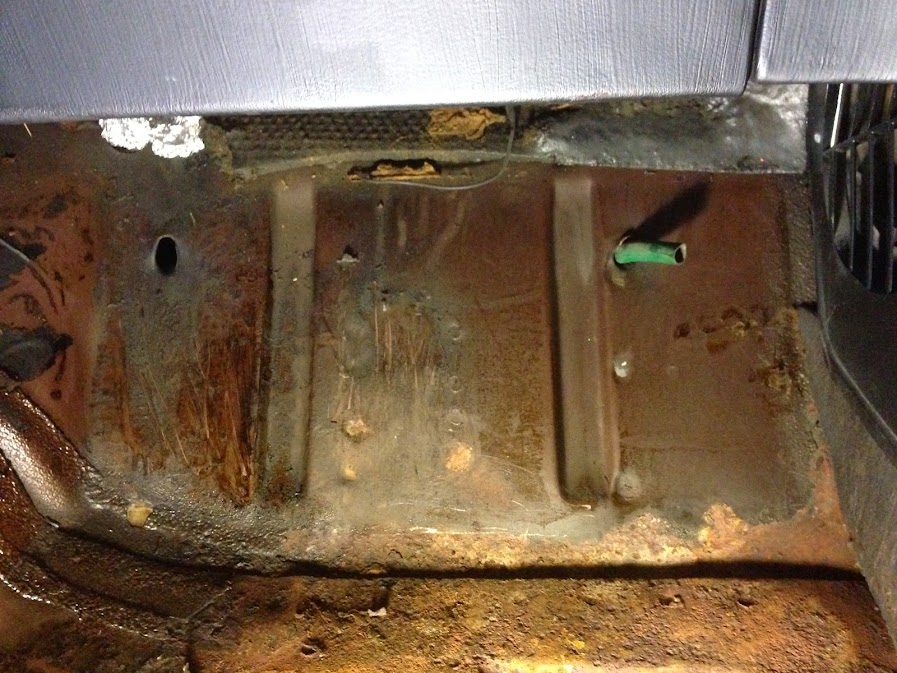
Question 2: Also, there are two holes that appear to have been added to the passenger toe board. One has a hose protruding through it (3rd pic). Any ideas on what those were for?
Overall floor from driver's side perspective:
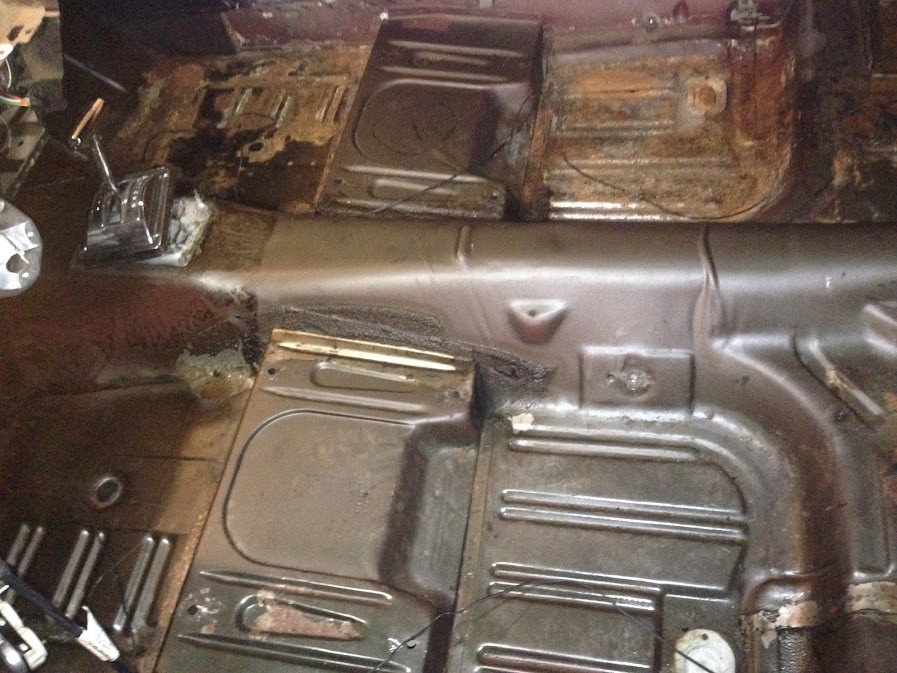
Passenger side rear (notice several small holes, as well as the larger section toward the right):

Passenger toe board. What are those holes for? (each side - one has a green hose protruding through):
-
So first up, when we bought the car, I inspected it pretty well. It's really a solid car. Very little rust that I could see. The underside of the car was virtually rust free, frame rails are solid, no rocker panel rust that I could see. At the time, the only significant rust I could find was in the trunk, especially on the driver's side. So, we'll probably have to replace the trunk floor and drop off on that side.
One of the first things we did once we got the car home was to pull the interior out, so we could see what the floor pans looked like. the driver's side came out first, and I was thrilled to see that much of it looked nearly factory fresh. However, when we got tot the passenger side, I could tell that the underlayment had been wet at some point, especially in the rear. Probably had a window leak or something. Anyway, there is some rust on that side.
Question 1: I would like your opinions on whether the rear pan can be repaired as is, or if I should have it replaced (2nd pic).
Question 2: Also, there are two holes that appear to have been added to the passenger toe board. One has a hose protruding through it (3rd pic). Any ideas on what those were for?
Overall floor from driver's side perspective:
Passenger side rear (notice several small holes, as well as the larger section toward the right):
Passenger toe board. What are those holes for? (each side - one has a green hose protruding through):
-
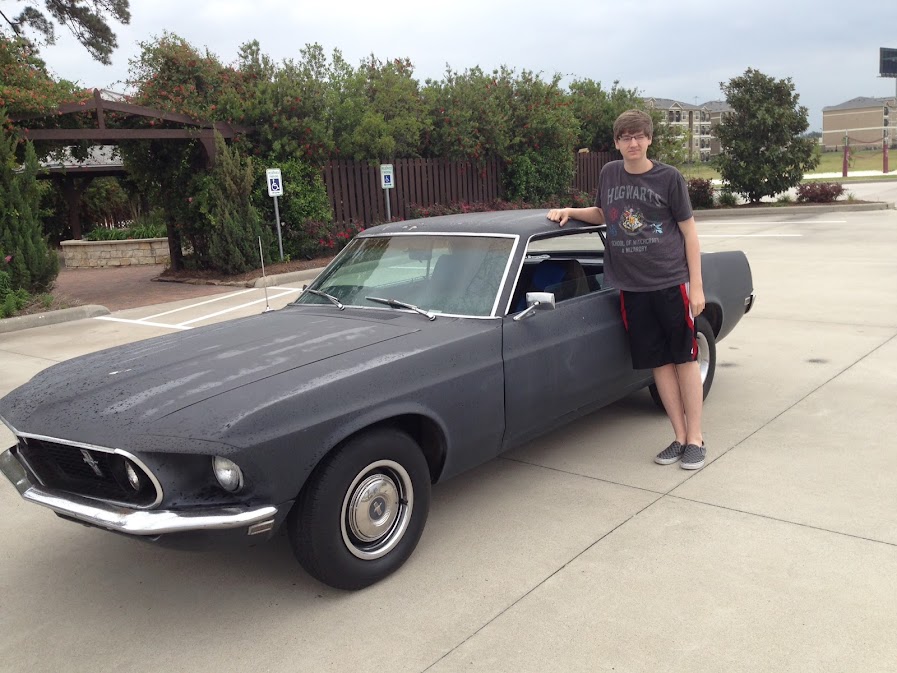
Although I grew up around my dad's body shop and salvage yard, this is my first attempt at any kind of car restoration. My original plan for this car was to simply make it a good and safe driver for my son, and make it look good. So, initially, that meant upgrade front brakes to power disc, add air conditioning, paint and wheels/tires. We bought the car in May, and I hoped to have it ready for him to drive by the time school started in September.
Well, two things altered the simplicity of my plan. First, getting bitten by the "while I'm at" bug, as well as discovering things done by previous owners that needed to be fixed. This added to the complexity of the work to be done. While, we are still not doing a frame off restoration by any means (not enough time or resources), we are venturing deeper into the rabbit hole.
Although, we've actually been at this for a few months, I'll slow drip my progress up to now and not dump it all on here at once.
-
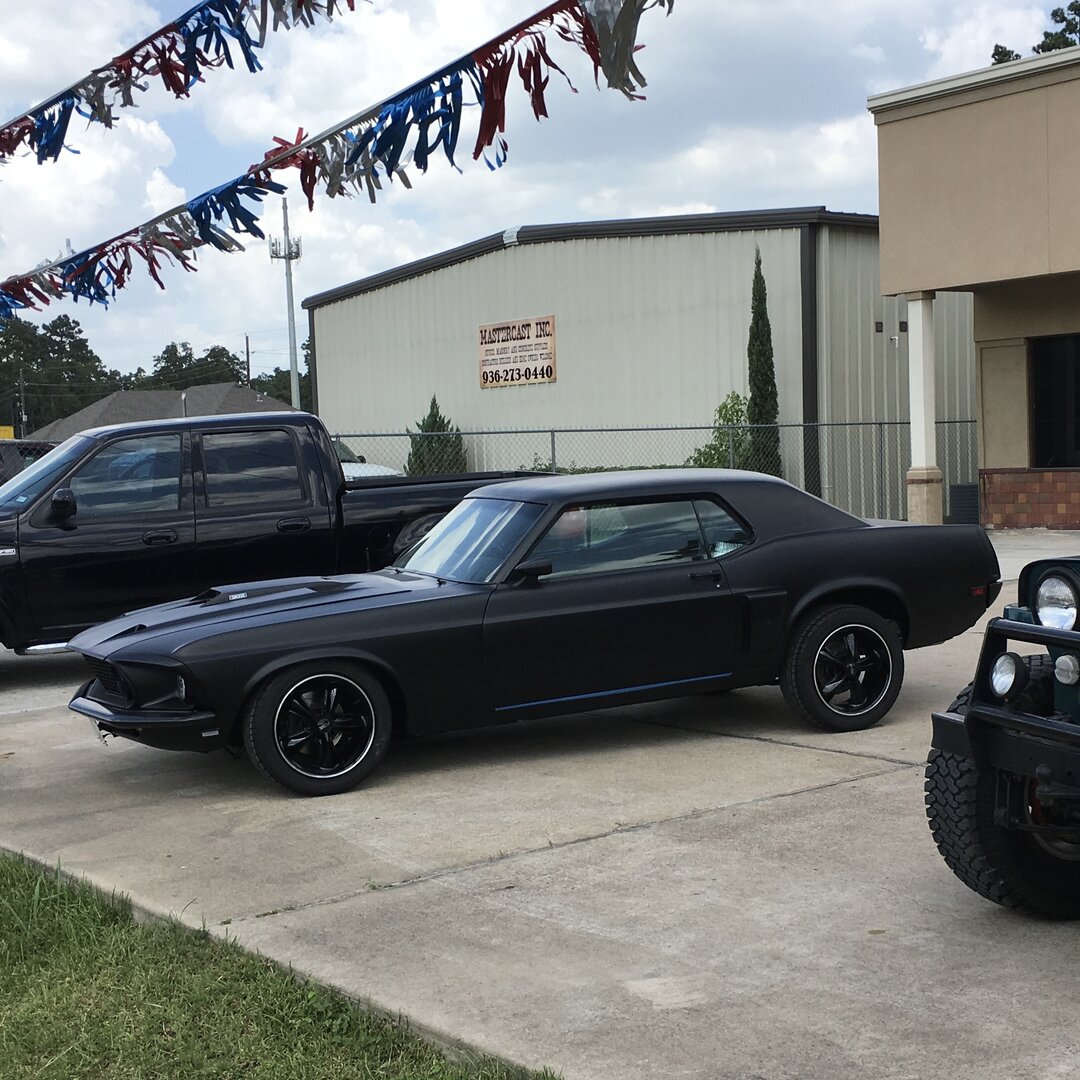
My son and I decided that his first car should be somewhat of a project car. He and I love classic cars, and I wanted him to learn how to work on his cars. So, after searching for sometime for a car that wasn't a "start from scratch" project, we landed on a 69 Coupe than was running and driving, seemed fairly straight and rust free. Here's where we started.
VIN 9R01F157893
Year: 1969
Plant: San Jose, CA
Body Series: 2 Door Hardtop
Engine: 302 2v V8
Unit: 157893
Body: 65A 2 Door Hardtop, Standard Interior
Color: C Black Jade Metallic
Trim: 2G Dk. Ivy Gold Vinyl and Dk. Ivy Gold Kiwi Vinyl, Standard Interior
Date: 25C 3/25/1969
D.S.O: 72 San Jose
Axle: 3 2.79:1, Conventional
Trans: W C4 Automatic
(The previous owner replaced the original 302 2bbl with a 1972 302 with a Holley 4bbl).
The PO had some work done to the area just below the rear window to repair some rust and had it painted with primer/sealer. Besides the original Jade Black color, it appears that the car has also been red and teal. The interior has been changed to black.
-
I just purchased the repair kit for mine off eBay. I haven't done the repair yet, but it looks fairly straight forward.
Link to the write up Mustang Magazine did on him: http://sancospecialties.com/hlb_repair.html
-
Definitely pressed, can be removed and replaced.
http://www.cjponyparts.com/68-73-upper-cont-arms-to-shock-tower-12-hardware-only-1968-1973/p/F3311/.
-
Anyone running Foose Legend f104 wheels? I'm considering these and wondered about fitment, and would love to see pics if anyone has them.
https://www.elementwheels.com/proddetail.asp?prod=f104780

-
A couple of months ago, I ordered a suspension kit from Laurel Mountain. Tonight, I finally got the power steering rack reinstalled, so I busted out the new parts and started installing the new tie rods on the center link. I tightened the castle nut until it was starting to get snug, then switched to my torque wrench to finish tightening it to 50 ft-lbs, so I could back it off for the pin.
However, it seemed to take longer than expected to tighten up, then it started getting looser. Thinking it was just pulling the tapered shaft in, I wrenched a few more turns, but it never would tightened up again.
I decided to loosen the nut to see what was going on, and low and behold, the nut wouldn't back off. I had to apply pressure to the back side of the nut to get it back off. Only then did I discover, that the threads on the tie rod ball joint had seemingly melted, like they were plastic.
Thinking that it was an anomaly, I tried the other tie rod, with the same results! Am I missing something here, or are these parts just crap??
-
I ordered the Premium Chrome Export Brace from CJ's while they had their sale going on, but of course, they backordered it.
I have no idea if I am going to have any issues getting the export brace to line up with the shock towers as it is. After the crack is repaired, and the reinforcement plates stiffen things up, I was just afraid it couldn't make the brace installation even more challenging.
However, I need to get this welding done, so I can get the suspension installed. This is my first experience with CJ Pony Parts. Am I in for a long wait?
-
I just wondered if it might be more challenging to install the export brace after the shock towers are stiffened up. I've heard it can be difficult to get them to line up.
-
One more thought. I've ordered an export brace from CJ (backordered, of course). I'm wondering if I should wait for it to arrive and have it bolted on before I reinforce and stiffen up the shock towers?
-
So, I assume I'll need to have the weld area down to bare metal?
-
Well, good news! The guy just texted me after I sent him pictures of the crack and an example of the Boss reinforcement plate welding and said he would only charge $200, so I'm going for it. Glad to get this done while I have the front suspension off.
-
I found a local welder who will come to my house to repair the crack on my shock tower, as well as weld in the shock tower reinforcement plates. He quoted me $275. Does that sound reasonable?
-
Wow, great find Kris! Gonna check out a new wheel to replace the crap Grant wheel that came with mine.
-
I'm reviving this old thread rather than creating a new one. My question is regarding the rotational position of the ps valve. On my coupe (basic 302), the pressure line is in front of the pitman arm, while the return line is behind, between the valve and cylinder. However, I've noticed in several other photos, the valve seems to be rotated clockwise, so that both lines run on the back side of the pitman arm. Are there different configs? Does my valve need to be rotated?
-
After looking further at the work involved with the AAW/Painless harnesses, I'm not sure that's the route to take at this point, since I have to get this car on the road by the end of the year. :sweatdrop:
I can refurbish the headlight harness, reducing your estimated costs a bit. My cost for a headlight harness is $75 with core.Midlife, I'm glad you chimed in. I had actually thought about that early on, but I noticed on your website that you discourage rebuilding the under hood harness. Can you elaborate more about that? From a cost and time perspective, that's probably the way I'd rather go, even if I ended up buying a new headlight harness later on.
It does appear that there is a burned-out pin in the firewall connecting block, which might be related to the fact that there are two wires that have been added - they bypass the fuse block and go directly to the starter relay. (I'm thinking that's not a good thing!)
-
The wiring harness on my coupe has been hacked on over the years and definitely needs some attention. My original thought was to send the underdash harness to Midlife for refurbishment and purchase headlight, gauge and alternator harnesses, which would total about $445.
Then, I came across this American Autowire harness on eBay for $594. This kit replaces everything with brand new wiring, including headlight relays, headlight switch, dimmer switch, fuse block, etc.
So, am I missing something here? I assume some of you have used the AA harness. Is it more challenging to install? Just want to make sure I am making an informed decision.
-
Here's the break down on mine:
9R01F157893
Year: 9 1969
Plant: R San Jose, CA
Body Series: 1 2 Door Hardtop
Engine: F 302 2v V8
Unit: 157893
Body: 65A 2 Door Hardtop, Standard Interior
Color: C Black Jade Metallic
Trim: 2G Dk. Ivy Gold Vinyl and Dk. Ivy Gold Kiwi Vinyl, Standard Interior
Date: 25C 3/25/1969
D.S.O: 72 San Jose
Axle: 3 2.79:1, Conventional
Trans: W C4 Automatic
BTW, where do you find the number on the engine block? I don't think my coupe has the original engine.
-
69shelbycoupe, did you ever Plasti Dip your car? I'm interested in seeing how it turned out.
-
redlordamazon, sorry to hear about your bad experience! I bought an ashtray assembly and heat-a/c switch from Tom and received the items exactly as described (and shown in pics).
-
I haven't rebuilt mine, but I know the book, Mustang Restoration Handbook, has fairly detailed instructions for rebuilding all steering components.
69 Coupe Father/Son Project
in Project Progress Forum
Posted · Report reply
I fixed the pics. Makes more sense with them included. :)