-
Content Count
146 -
Joined
-
Last visited
Posts posted by waketek516
-
-
On 5/26/2019 at 8:38 AM, mustangstofear said:You don't have to use a Hydraboost, we use a modified manual setup that works great. We also make pre- bent brake lines, power steering, and fuel. Working on the A/C lines next.
Do you have a link to the pedal, master cyl, and booster you sell? Would love a one stop shop for this. I've been looking for Manual pedals on ebay, but most are pretty rough.
-
Hey @newstang,
You're build is amazing. I'm in the process of putting an '04 Mach1 Motor in my '70. I had a few questions for you...
1. What Brake master did you use?
2. What pedals are you running (if its the factory pedals, is the the power brake or non power brake pedals?)
3. Were you forced to run the factory exhaust manifolds due to the lack of clearance near the steering shaft?
-
Agree! What trans/clutch setup are you using?
-
I had a hard time finding these too, and ended up a left off Ebay, and the right one off a member here :)
Good luck!
-
I'm in for one of the version 2.0 models as well!
:)
-
Hi everyone! I finally dug out of all the snow! :)
I'll update my build thread one of these days, but I've been off for nearly a year since I moved back to NY. The car has been in storage since my wife and I were renting with no room for the "toys". We're finally closing on a house this summer, so hopefully I'll have more updates once we get settled in a few months.
I've still been stalking here occasionally though. Although the spam at the old site was crazy, I like the change, but the color scheme SUCKS!!! Too much white!
-
Very curious to see how you mount the pedals! I was looking at the same system, but maybe doing the floor mounts!
-
horrible pastel baby blue color with stark white background makes it look a little feminine, "clinical" and boring imo . . i sure hope a guy didn't choose the colors . . the last colors were the best on the net imo.
THIS!!!!!! Can't stand the colors!
-
Great color on yours!
Love that chopped '69, but not sure I'm a fan of only doing 2 taillights. That's what makes it a mustang IMHO!
-
Is it me or does the pic from the back look like the color is photoshopped?????
It doesn't match the shade of the door at all! (I know paint fades, but it doesn't change color codes)
-
Looking good. Check my thread. I'm going to be running a VERY similar setup.
-
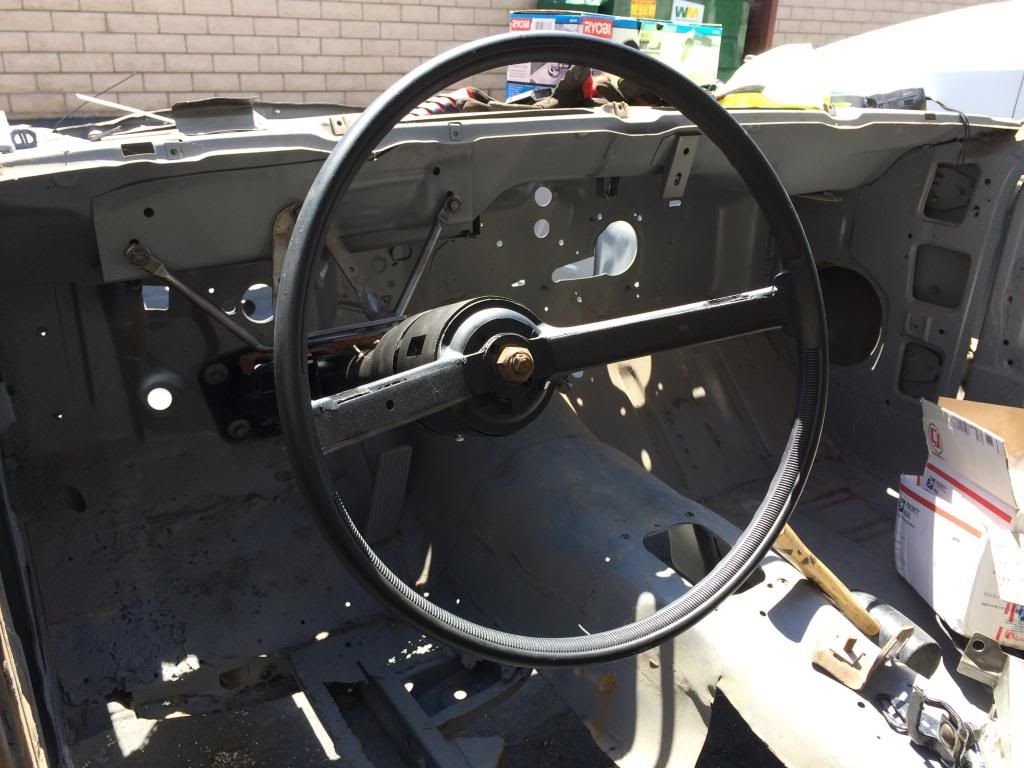
Well after looking at more pics I saw that you CAN mount the column without having to put the dash in, so I went that route. I cut off the pedal support bracket I needed since I won't be using those pedals for this car:
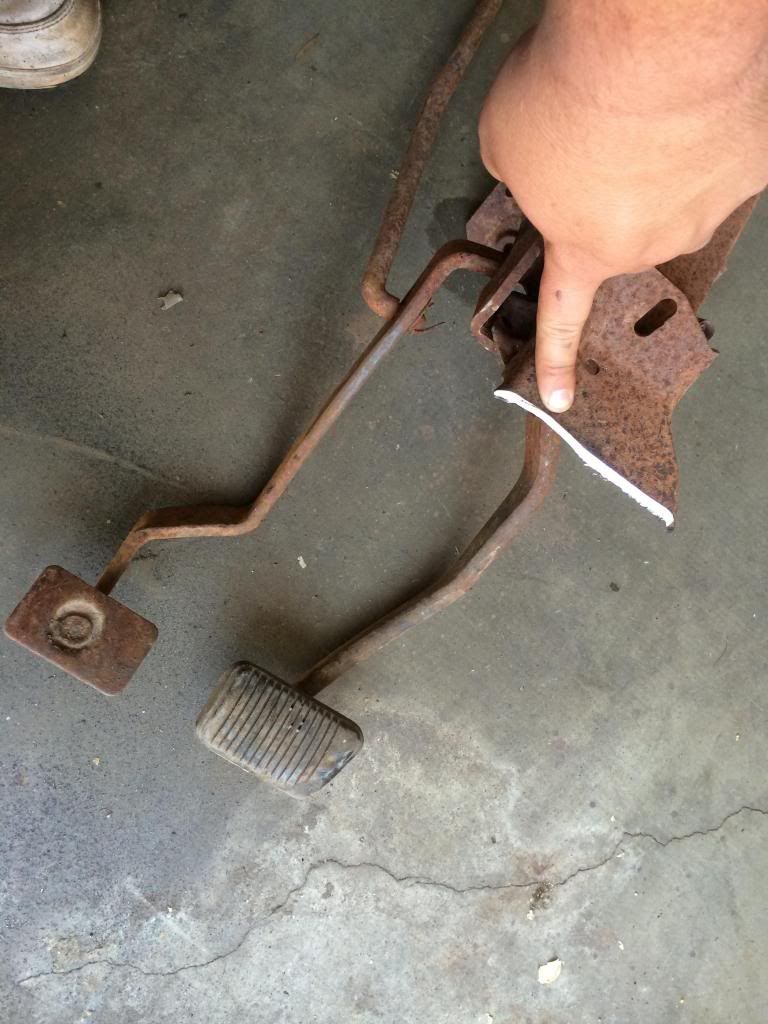
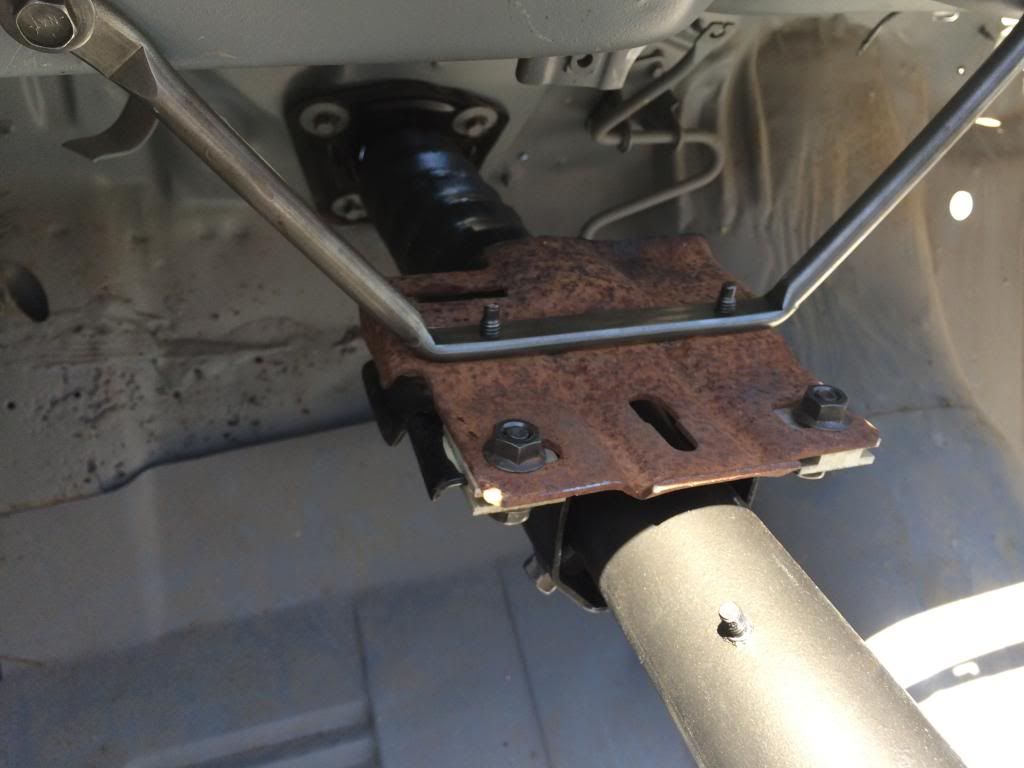
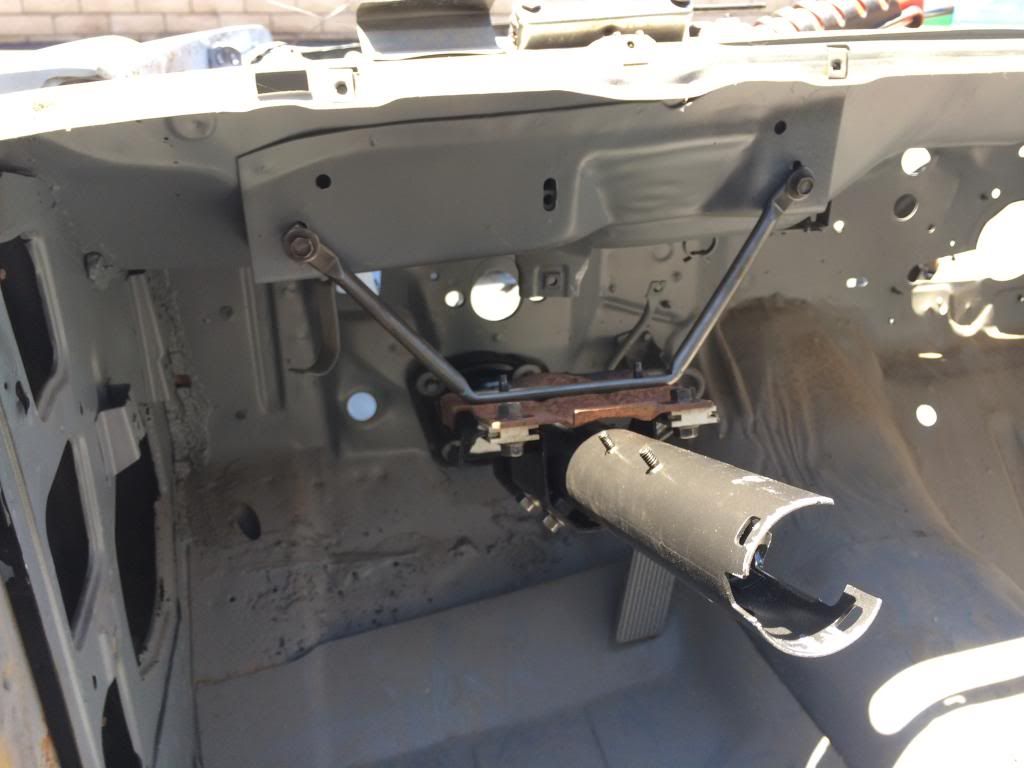
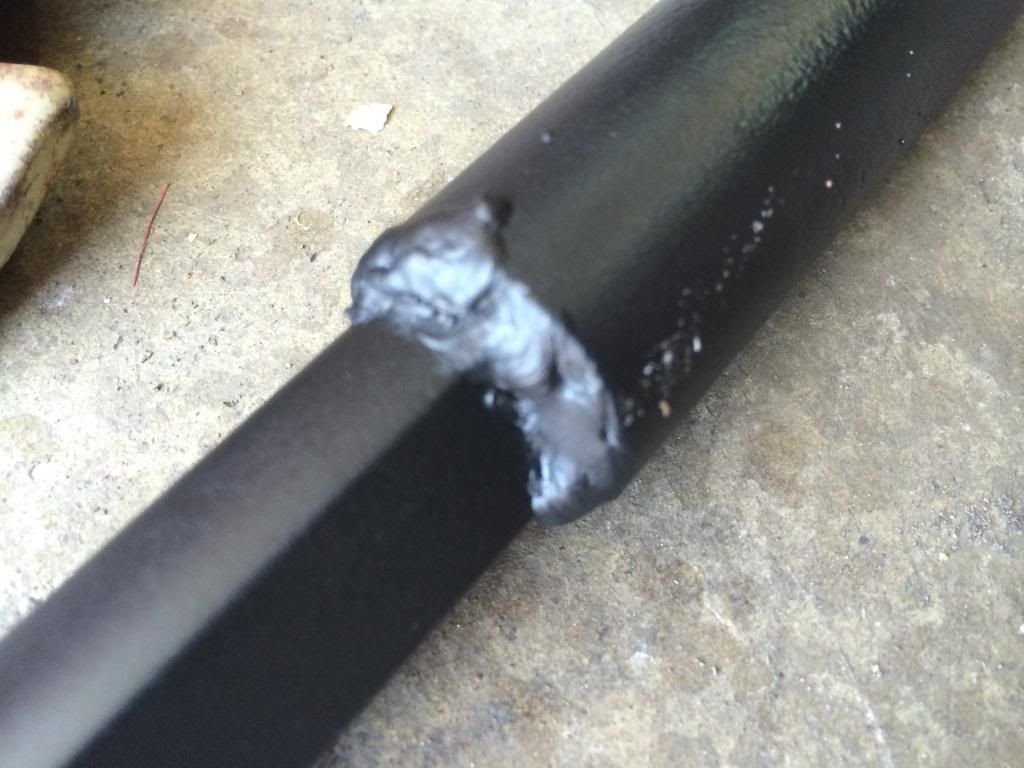
Then you have to cut the rag joint off the end of the steering shaft, insert the DD shaft, and weld it. This was a tricky weld since you're welding the solid shaft into a thinner wall tube with gaps on the flat part. This was the first real important weld I've had to do on the car, and I was pretty satisfied with it! :)
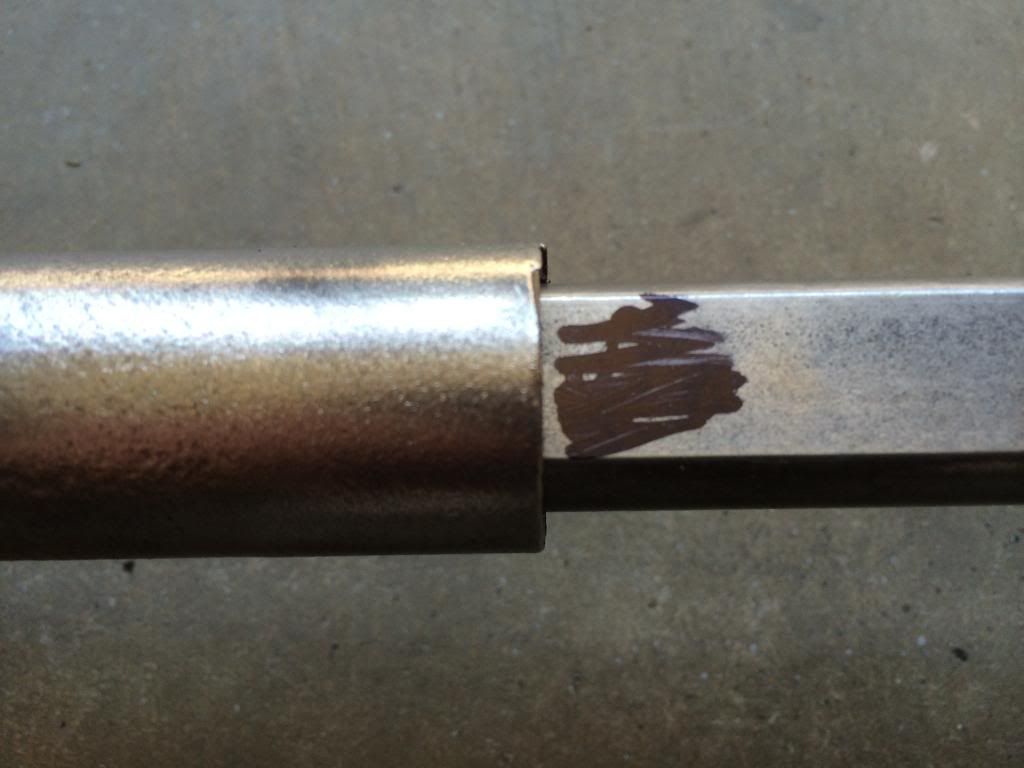
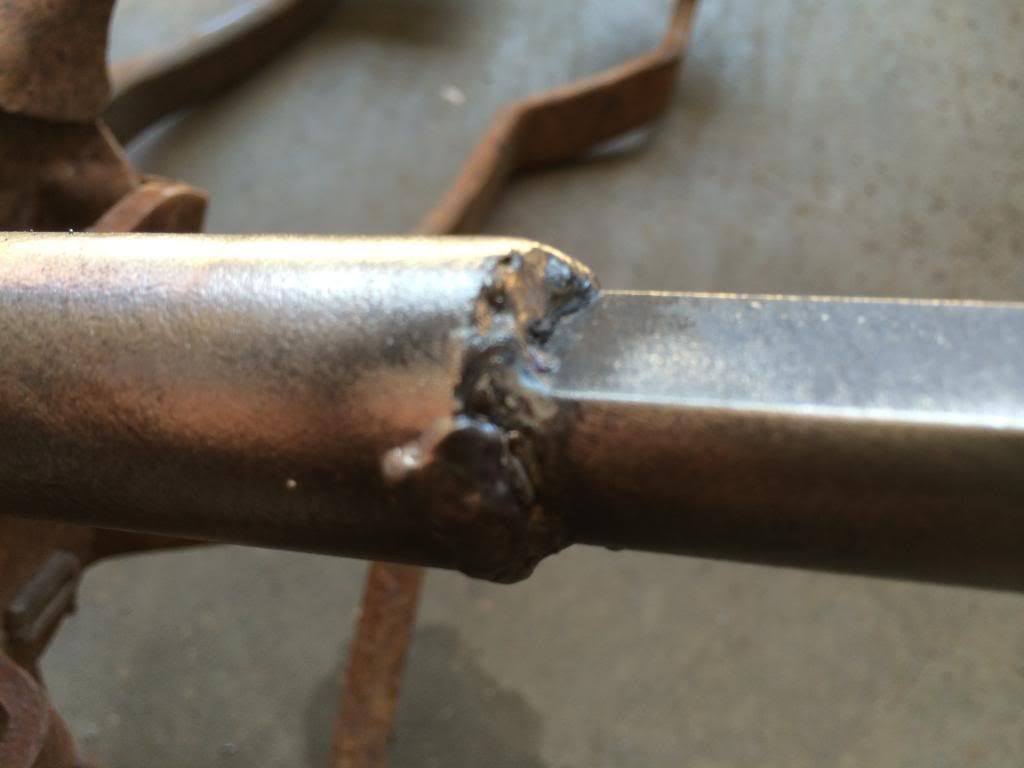
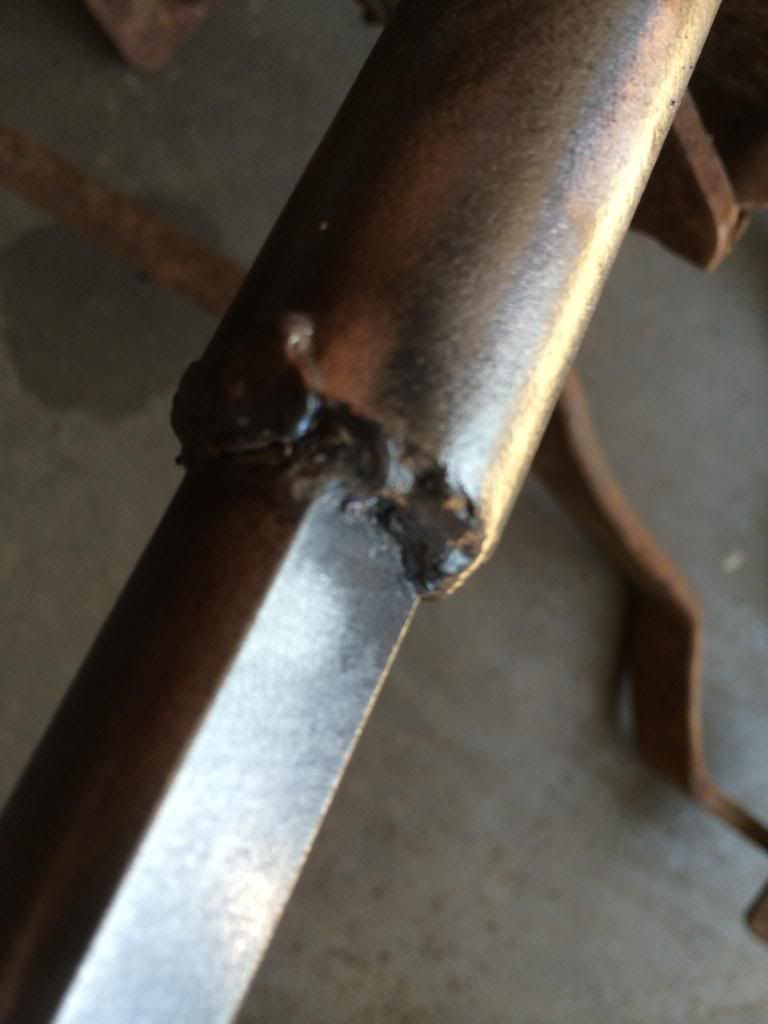
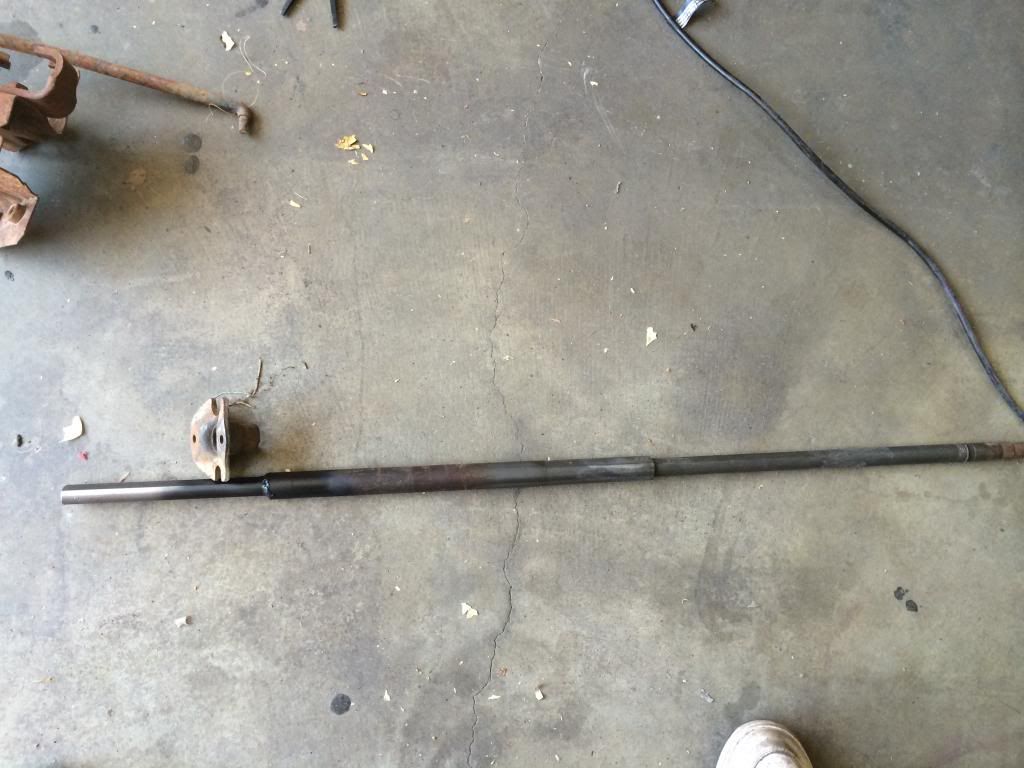
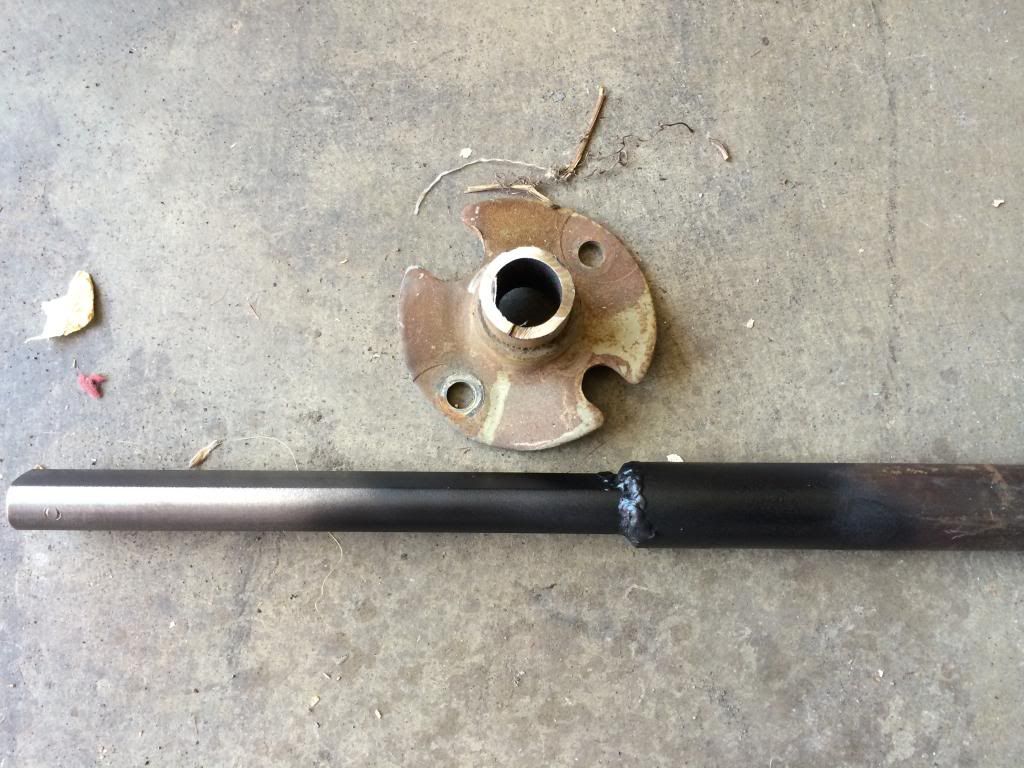
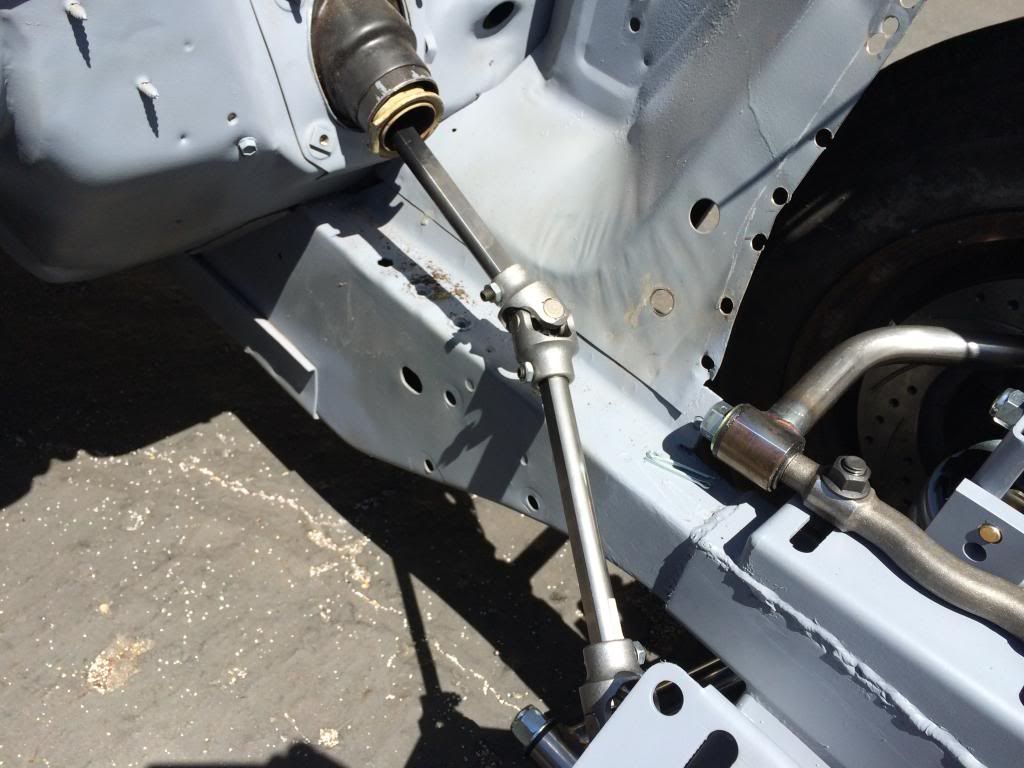
This now allowed me to hook up the steering for the first time since this car was stripped down in 1995!!!
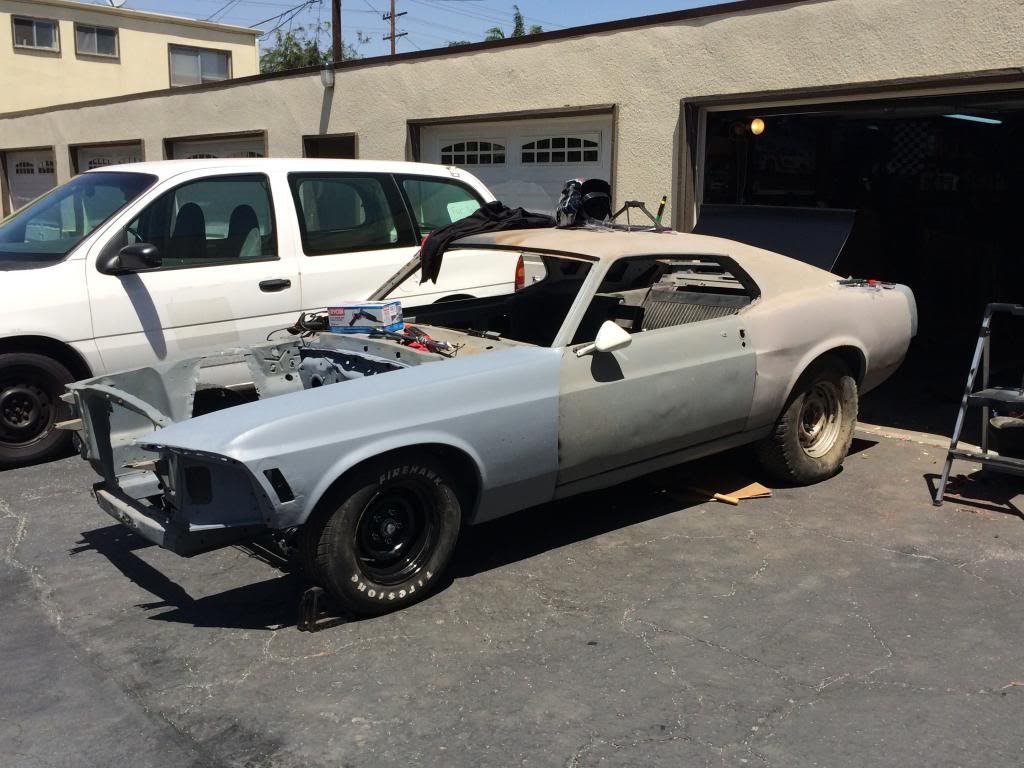
I also slapped a fender on just to see how slammed it is at its lowest settings! haha
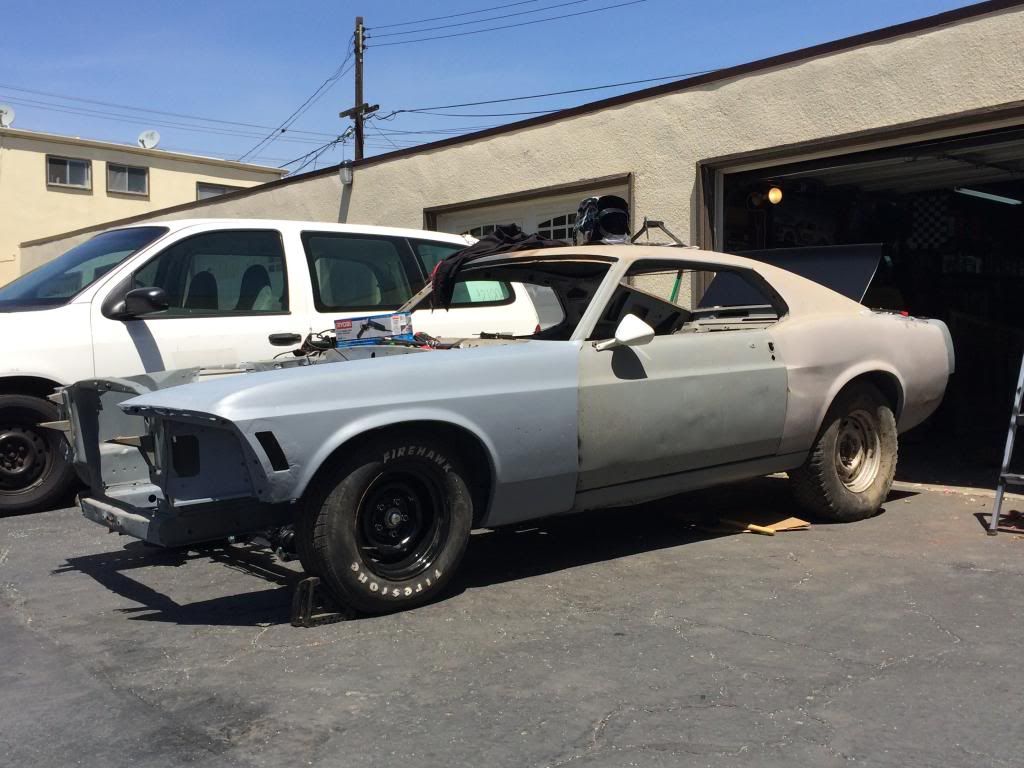
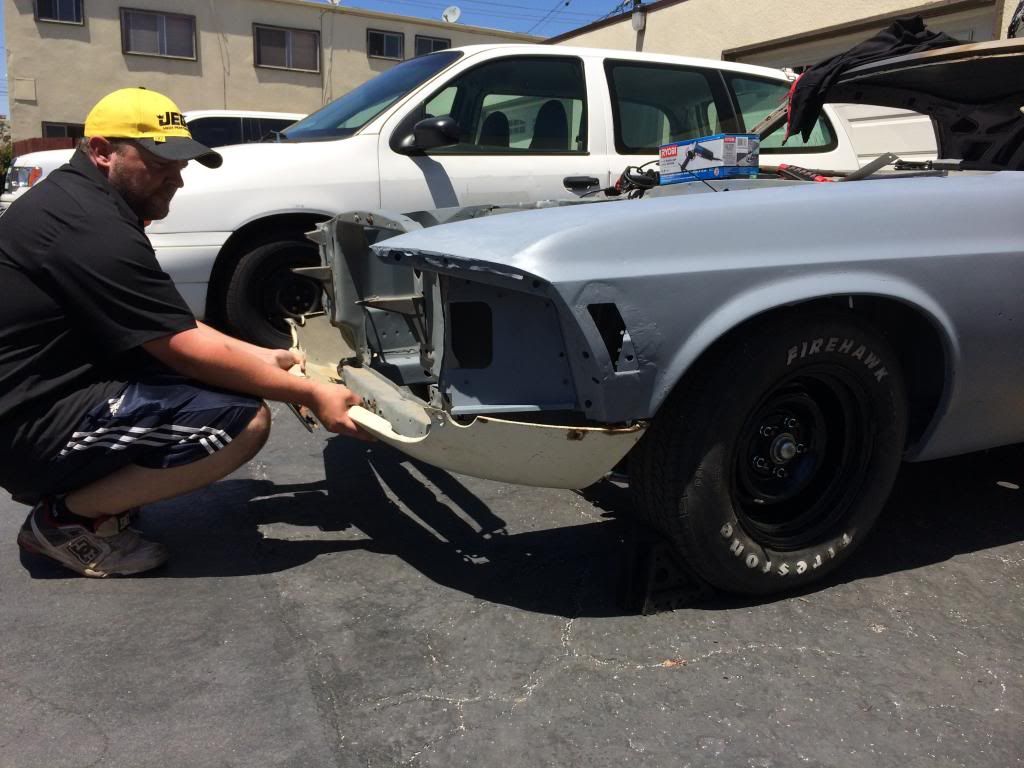
-
I have a set ill send you for 15 and free shipping if that sounds fair?Sent you a PM
-
-
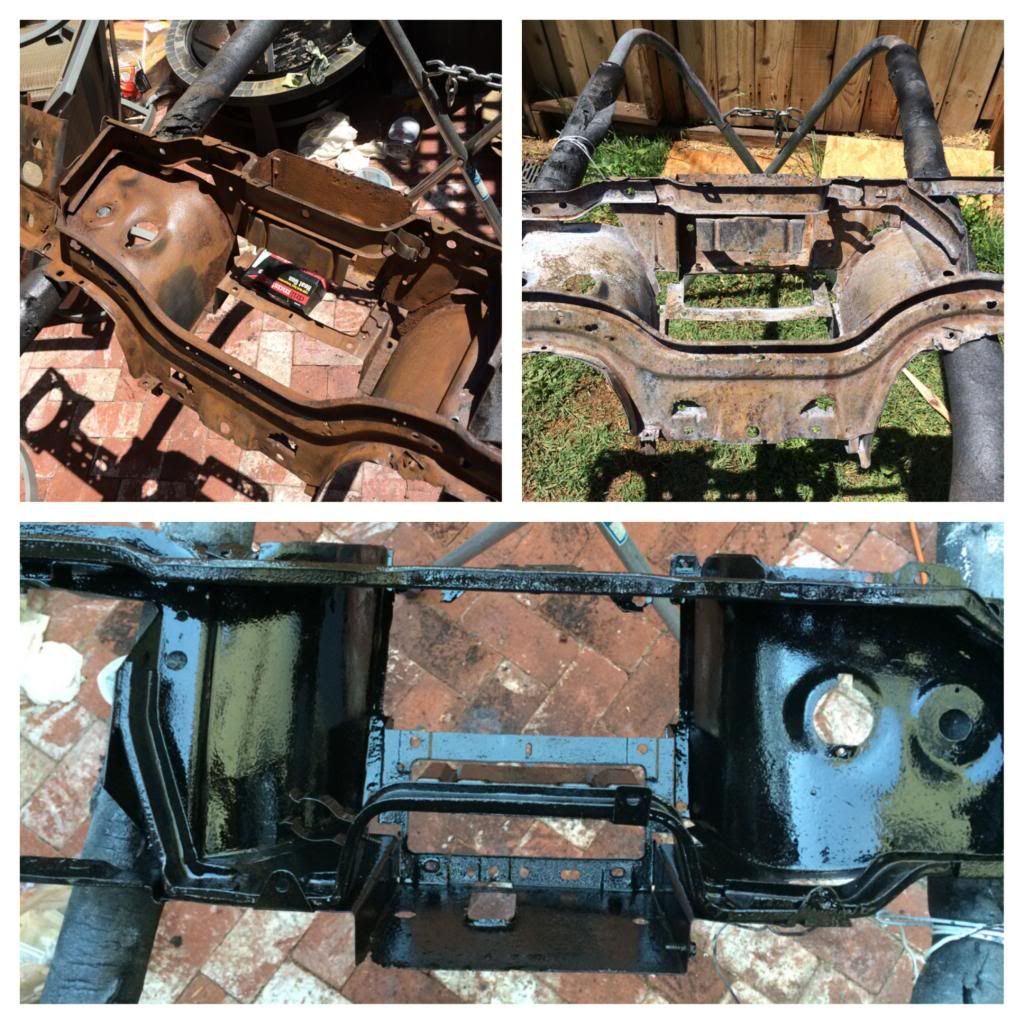
So in preparation in getting the column in, I decided to tackle restoring the lower dash. I don't have a "before" pic, but I used a few sessions of Aircraft Stripper on the front side to get the black paint off. I then turned to the back side.
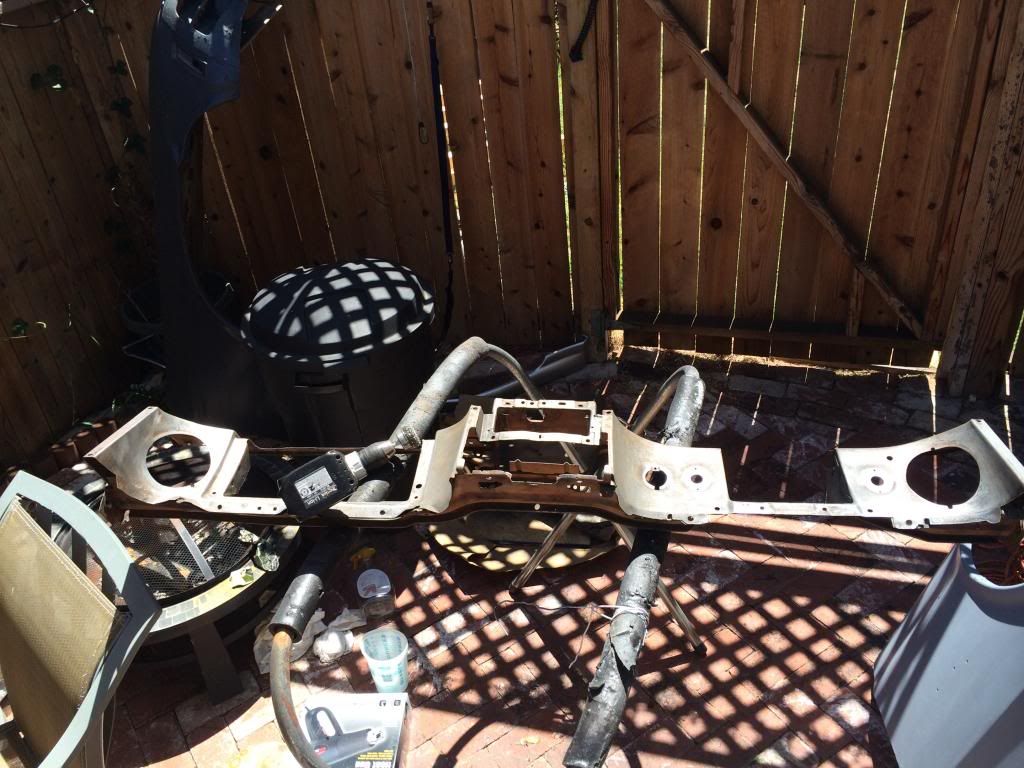
It was heavily surface rusted, so I started with a wire wheel on a drill to break up all the loose stuff:
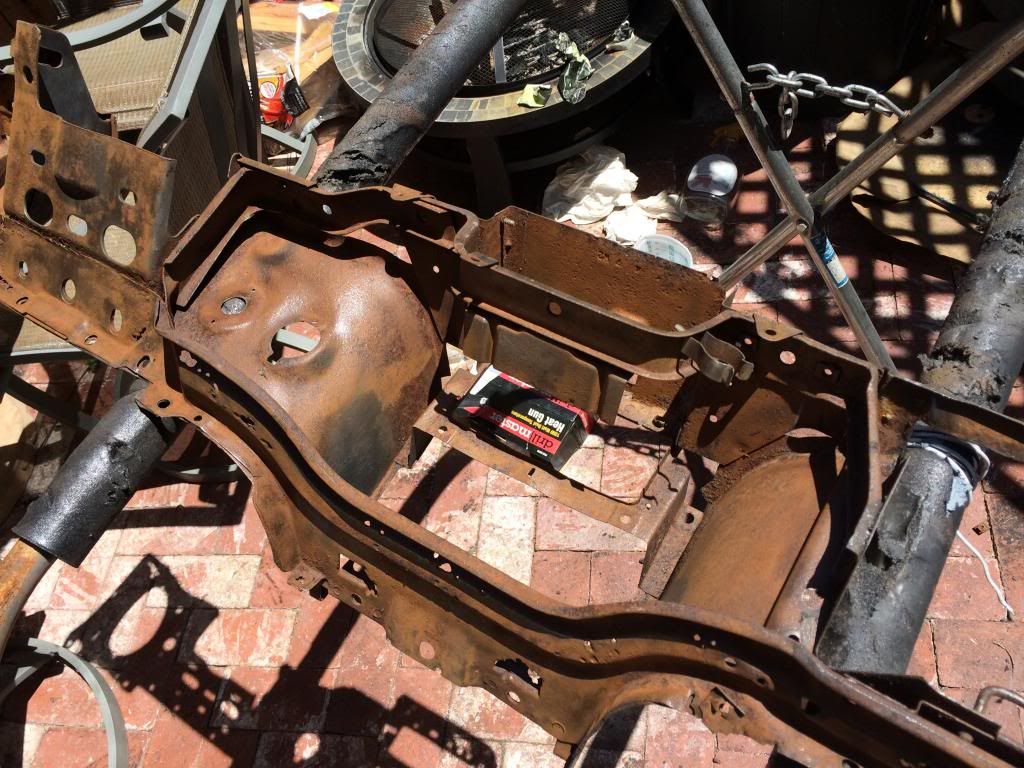
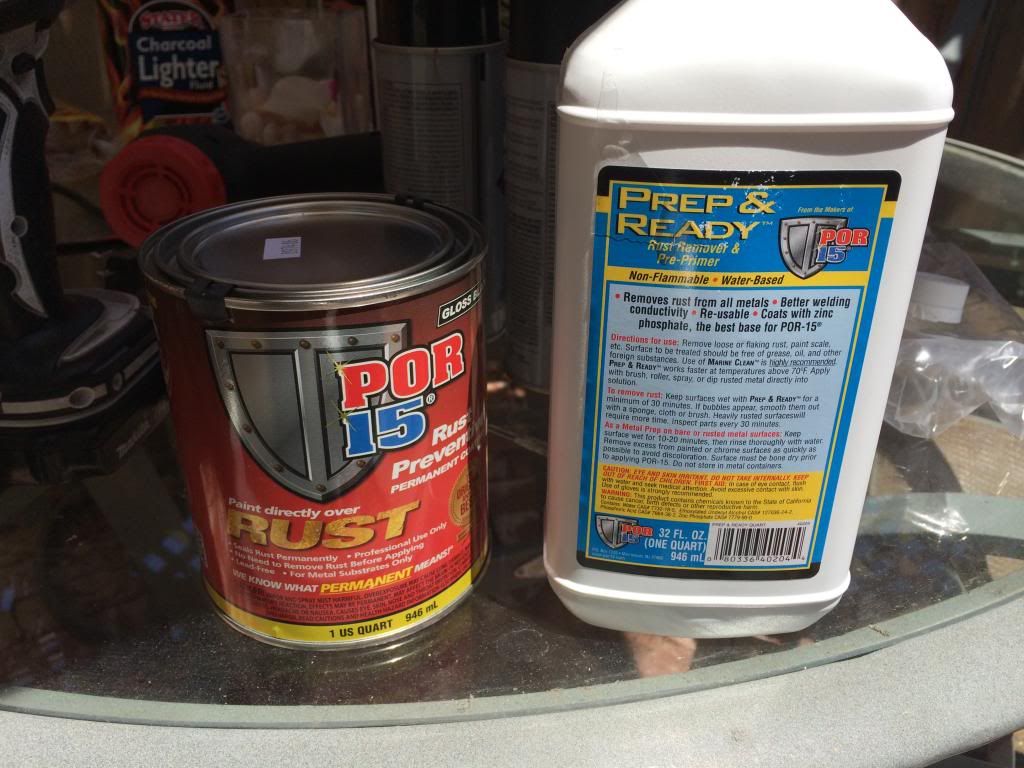
I then used the POR15 prep spray which starts to etch into the rust and turn it a black and white chalky color. You spray it on, and keep doing so for 20mins so that it doesn't dry for 15-20mins:
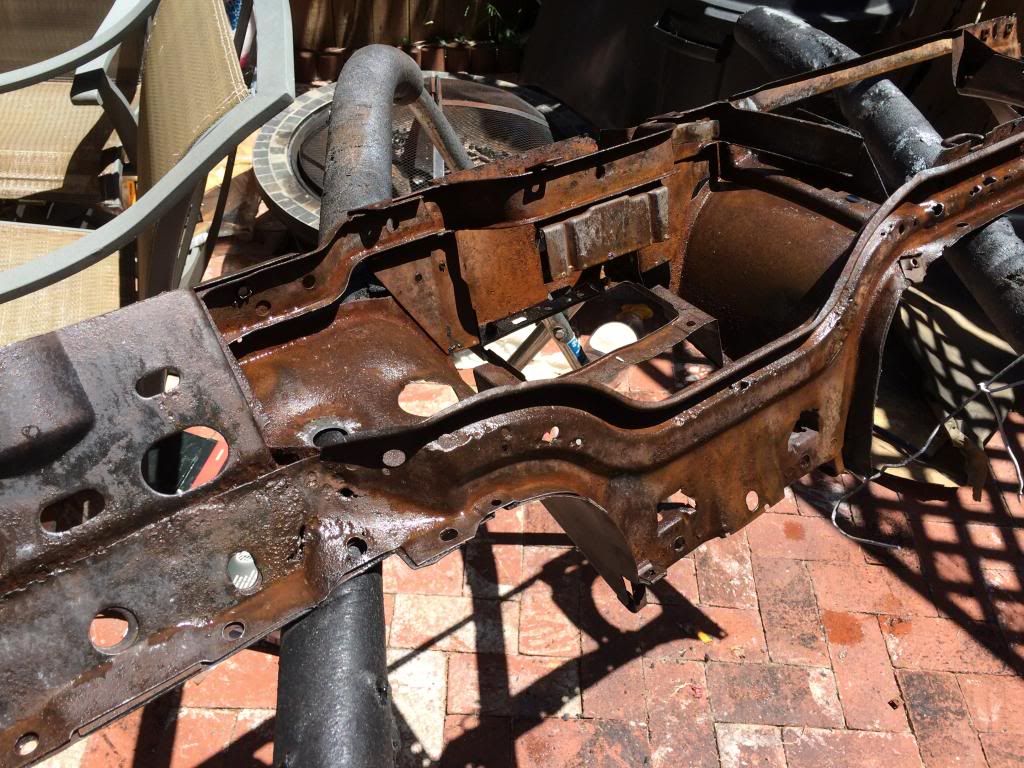
After that you rinse it with a hose, and let it dry completely. This is where you can see how it has already started converting the rust:
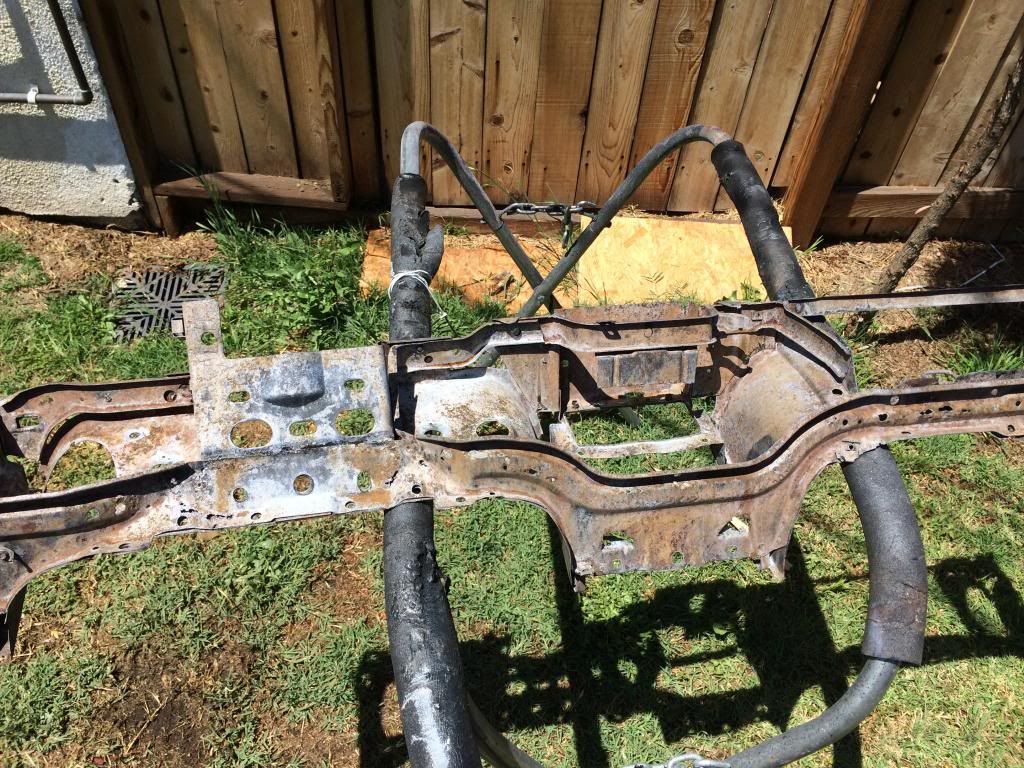
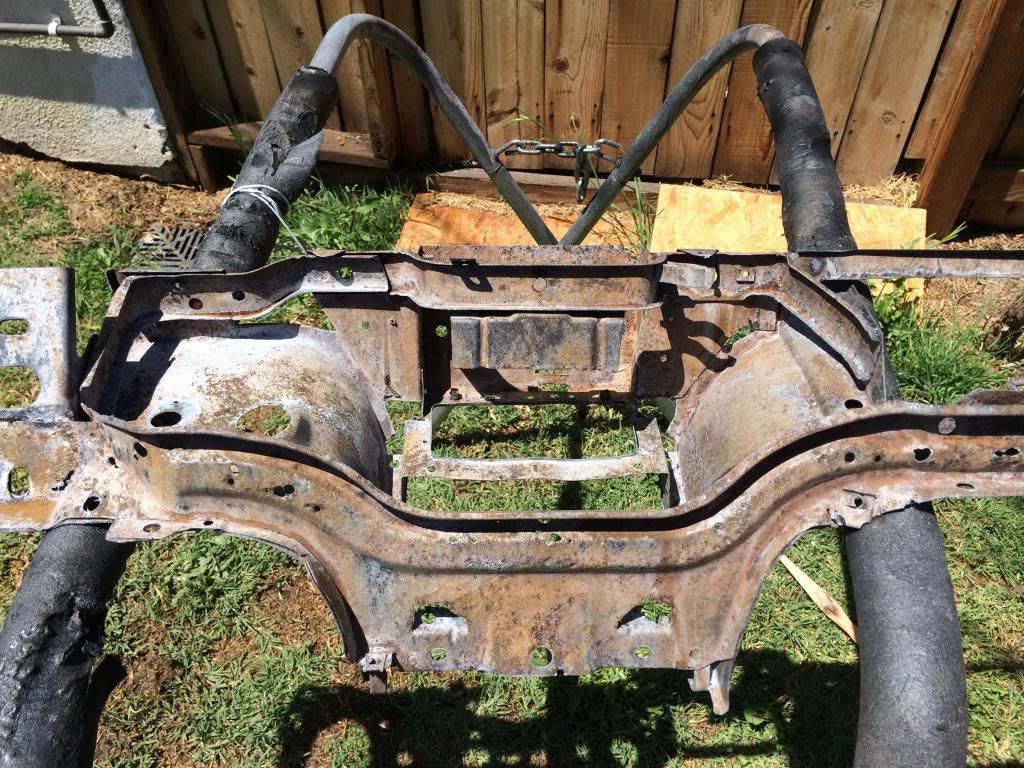
Then you apply the actual POR15 with a brush. 2-light coats later, and this thing will never rust again :)
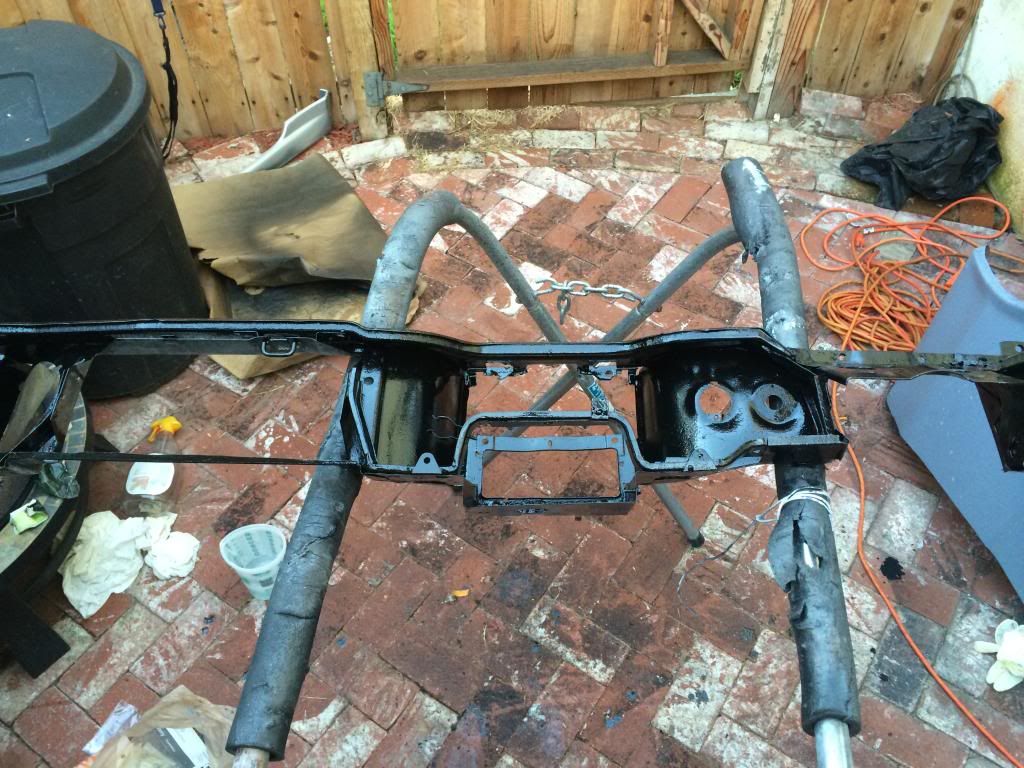
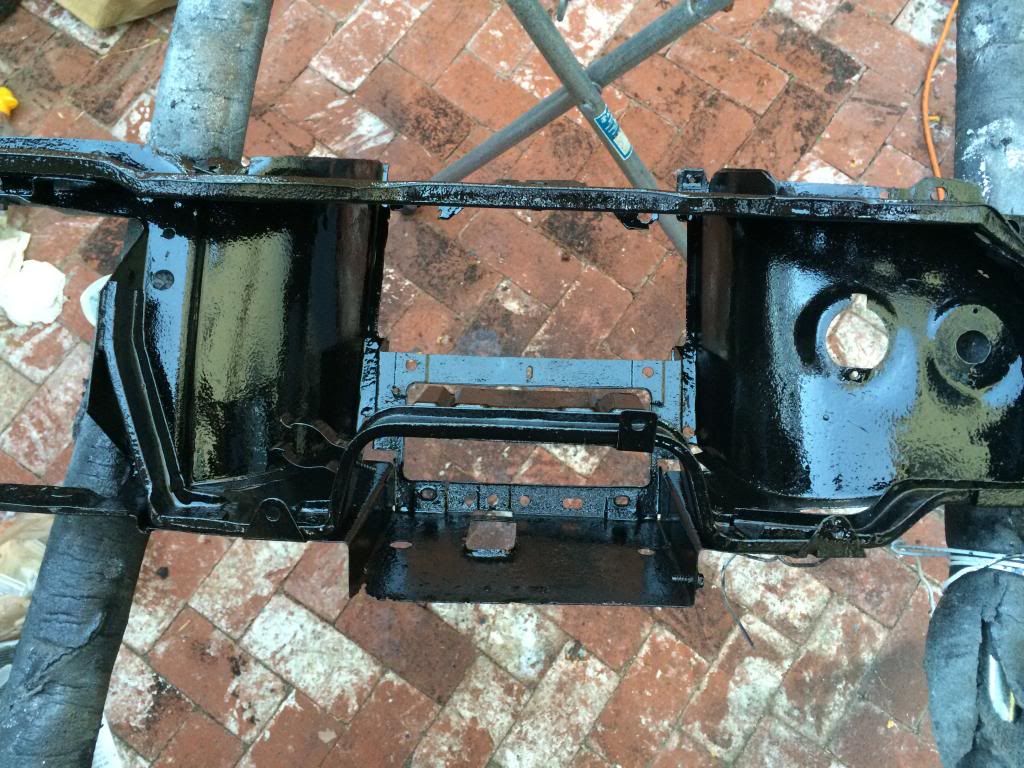
Here's a collage of the before, during, and after...
-
Anyone know a place that sells just the threaded inserts for the trunk hinge?
I have two nice original hinges, but they're missing the threaded inserts.
CJs has them but only as a kit if you buy the hinge:
http://www.cjponyparts.com/trunk-lid-hinges-pair-69-70-fastback/p/TLH4/
-
Got the steering rack on today... pretty straight forward:
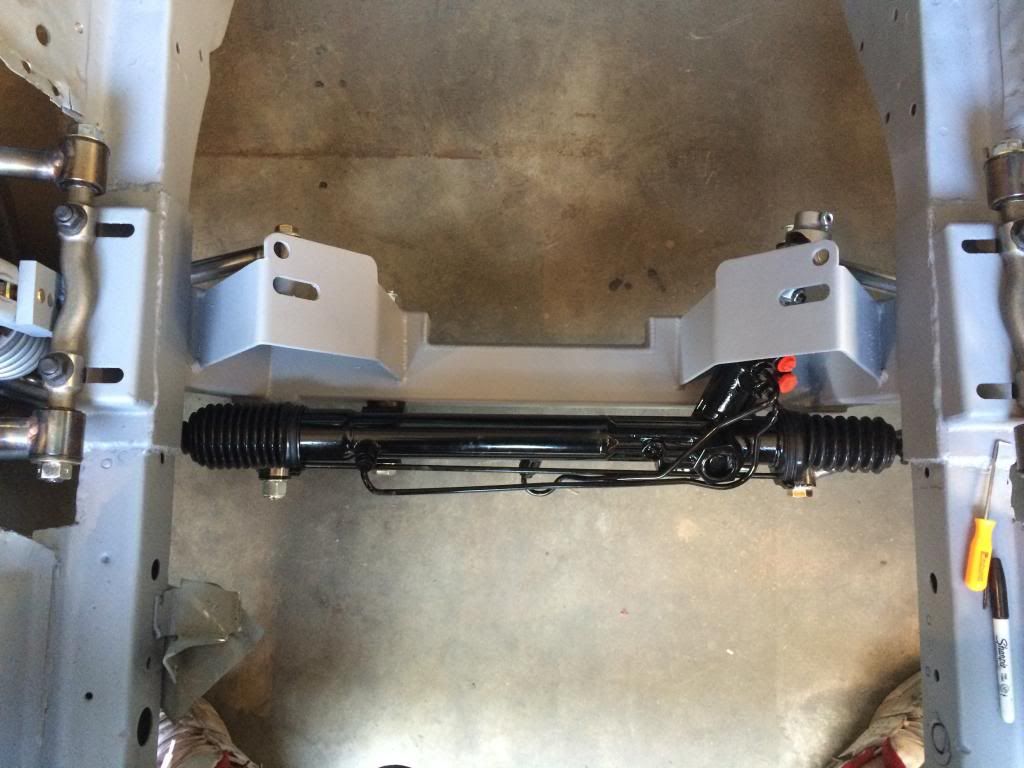
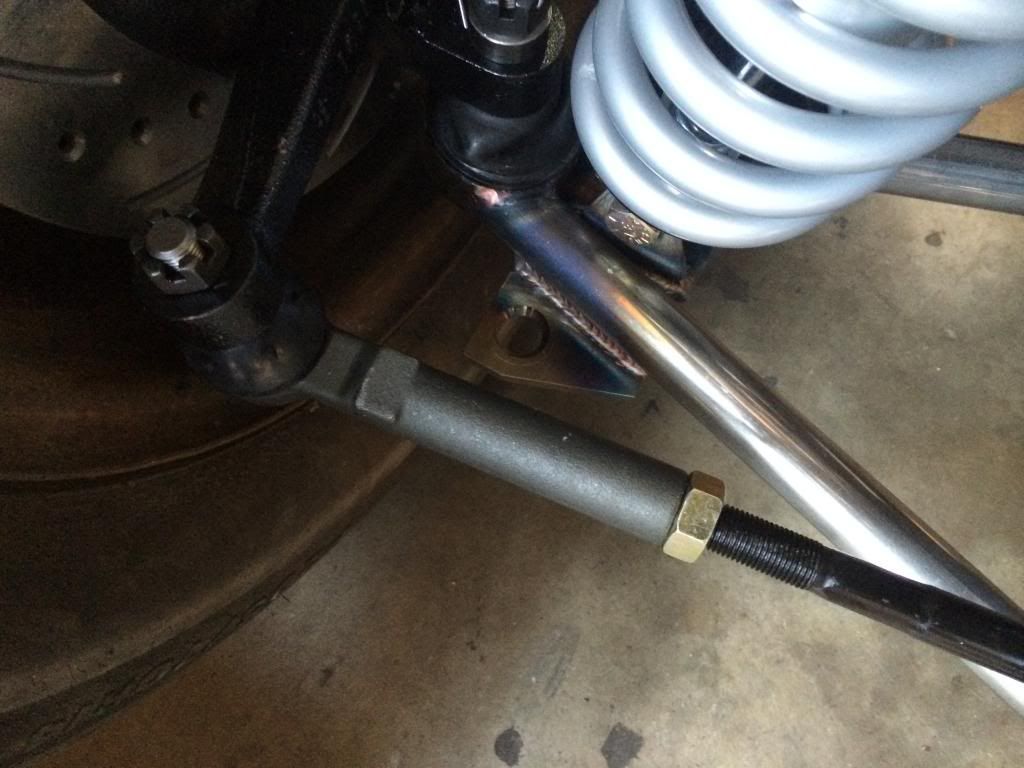
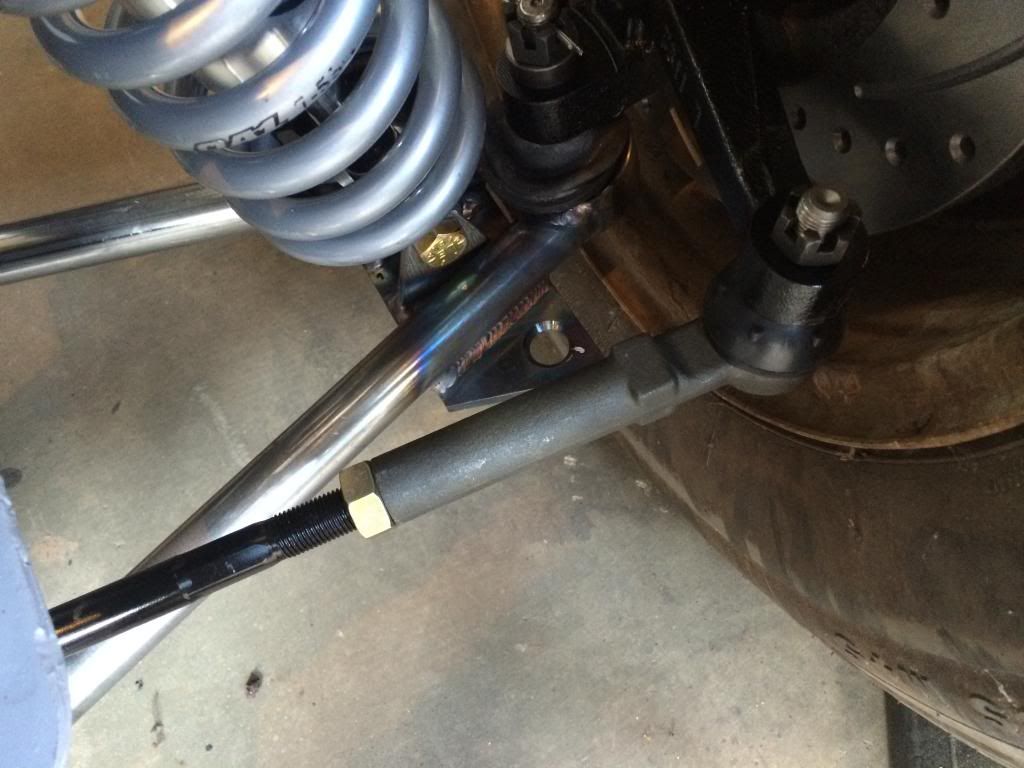
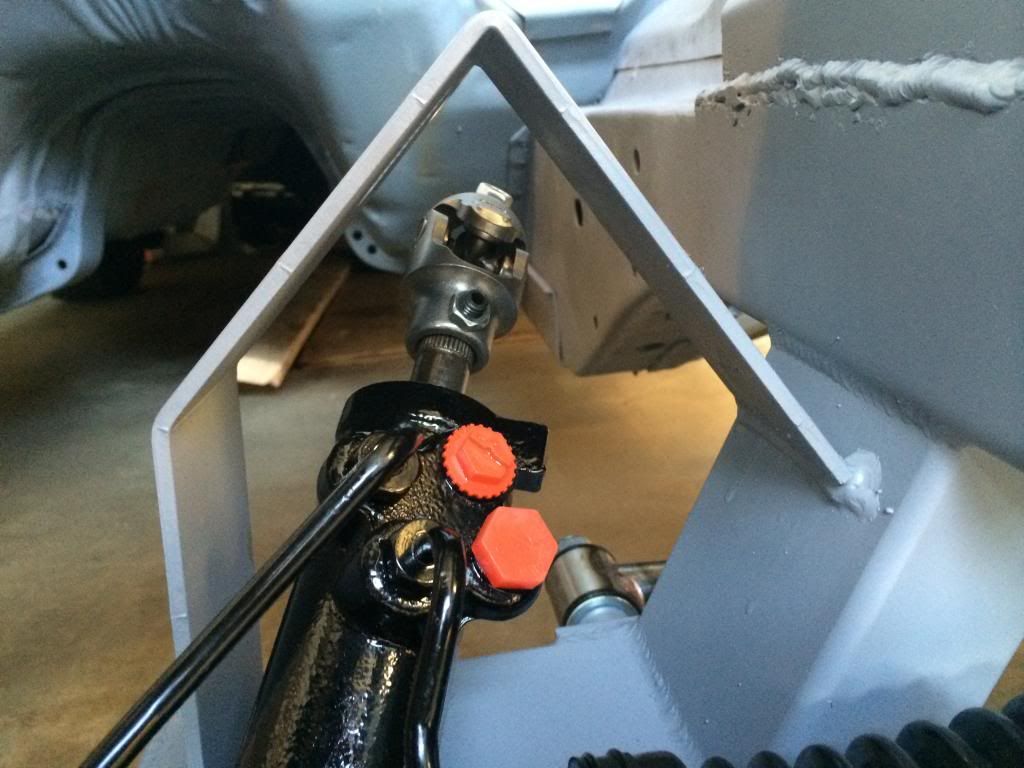
Next up is the column so I can steer the car.
-
When I did the rod and customs front end on mine I put in a 5.4mod. The problem was the hole locations for the motor mounts. I moved the hole locations ahead 1.5". The motor hit the heater and break cylinder, and the tires were centered in the wheel well. About 9 times with the engine and trans in and out before I got it good. I'm courious if you have to move the engine hole locations with the 4.6.Did you cut the motor mount brackets, or just drill new holes?
I'm hoping I don't have to do either. We measured from the mounts on the motor backwards towards the trans, and it looks like like right were the taper is in the trans after the bell housing is where it will approach the firewall (if that makes sense).
So with our rough measurements so far - it's looking okay. We'll know for sure this weekend since that's when we're going to attempt to drop the motor in!
-
And finally, after 2 months... she was back on her own wheels! We set the suspension super low just to see how it looked. The rake is really aggressive, but looks MEAN! haha I won't run it that low, obviously, since with a motor in there it would probably scrape the floor. haha
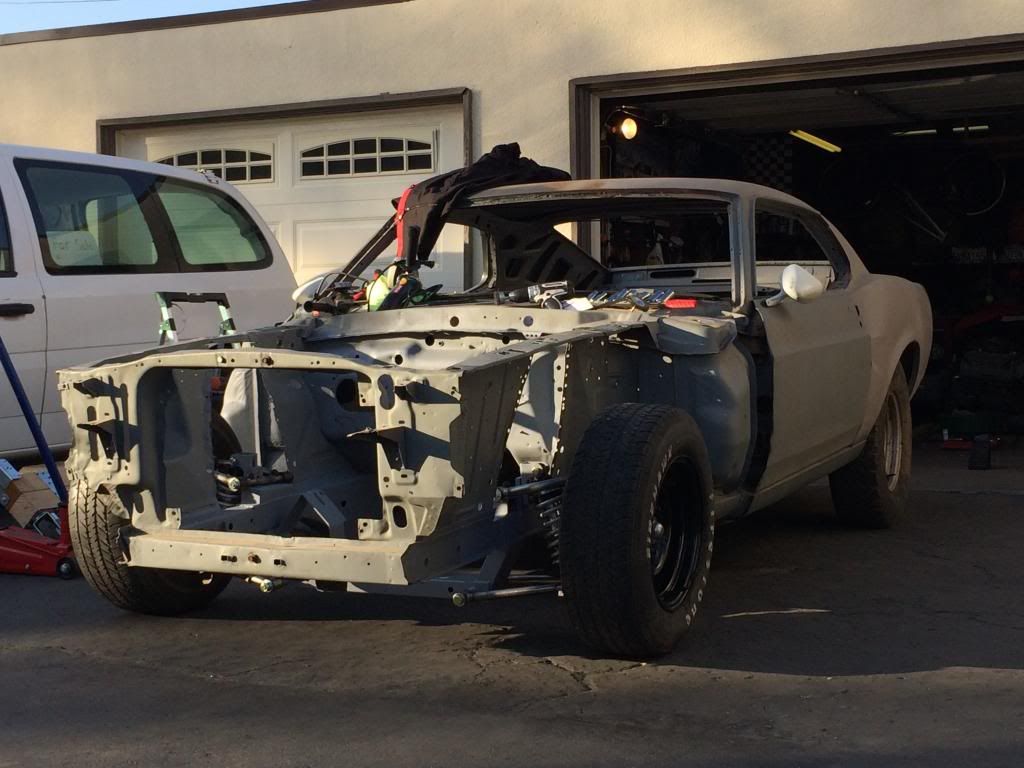
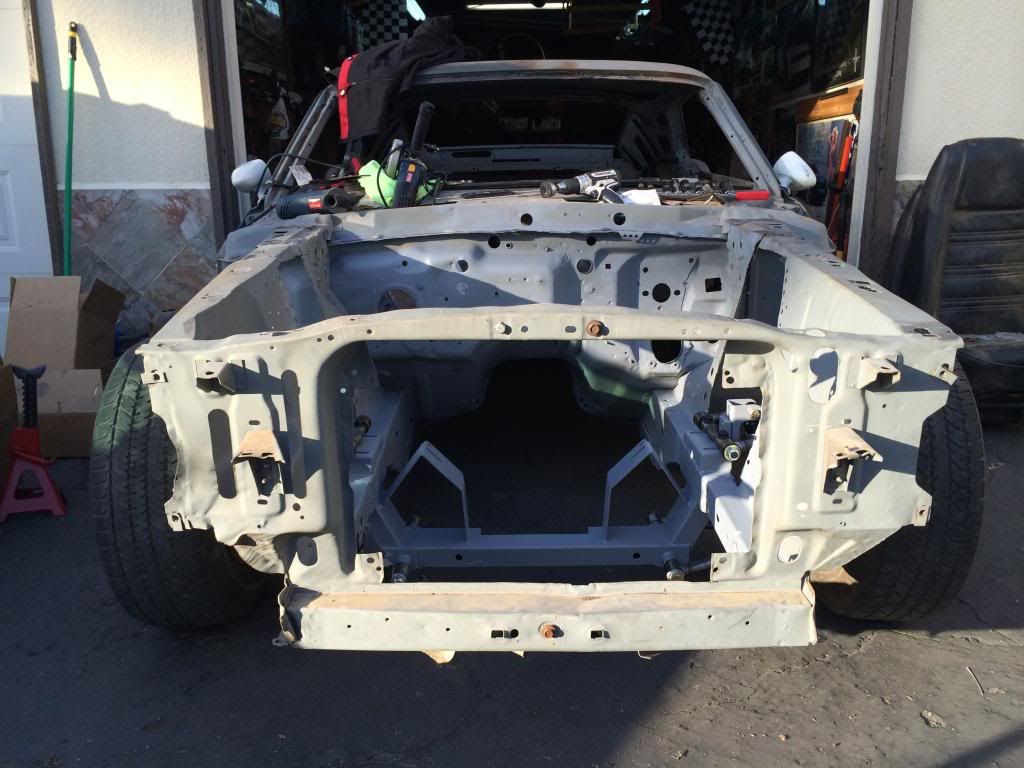
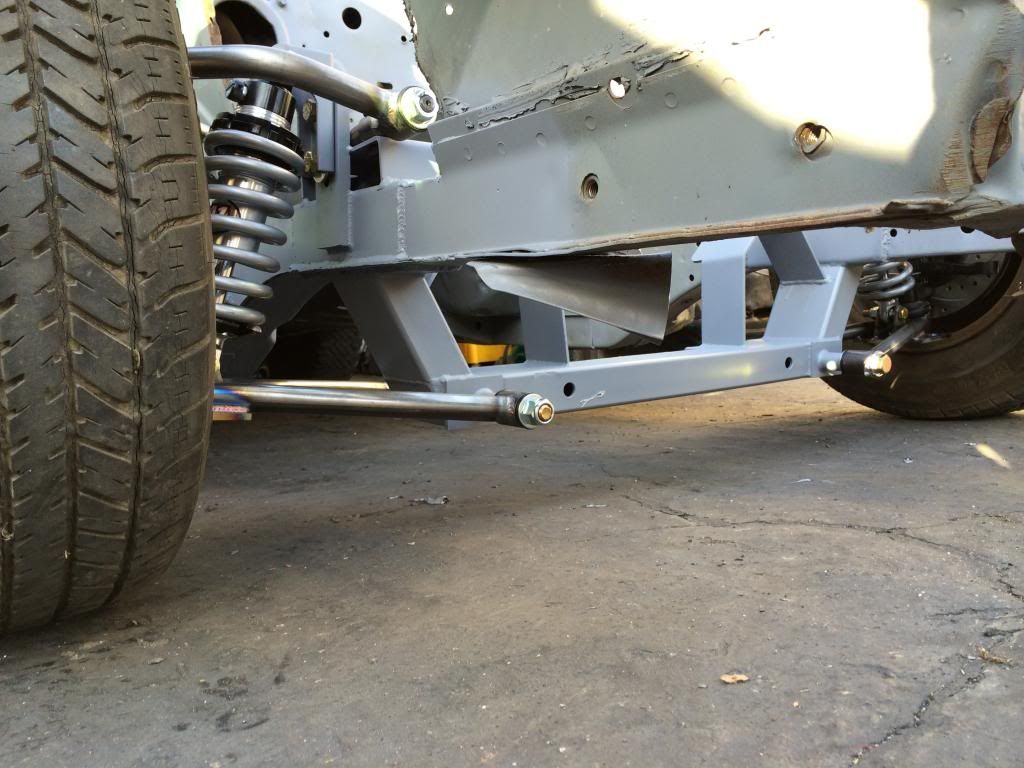
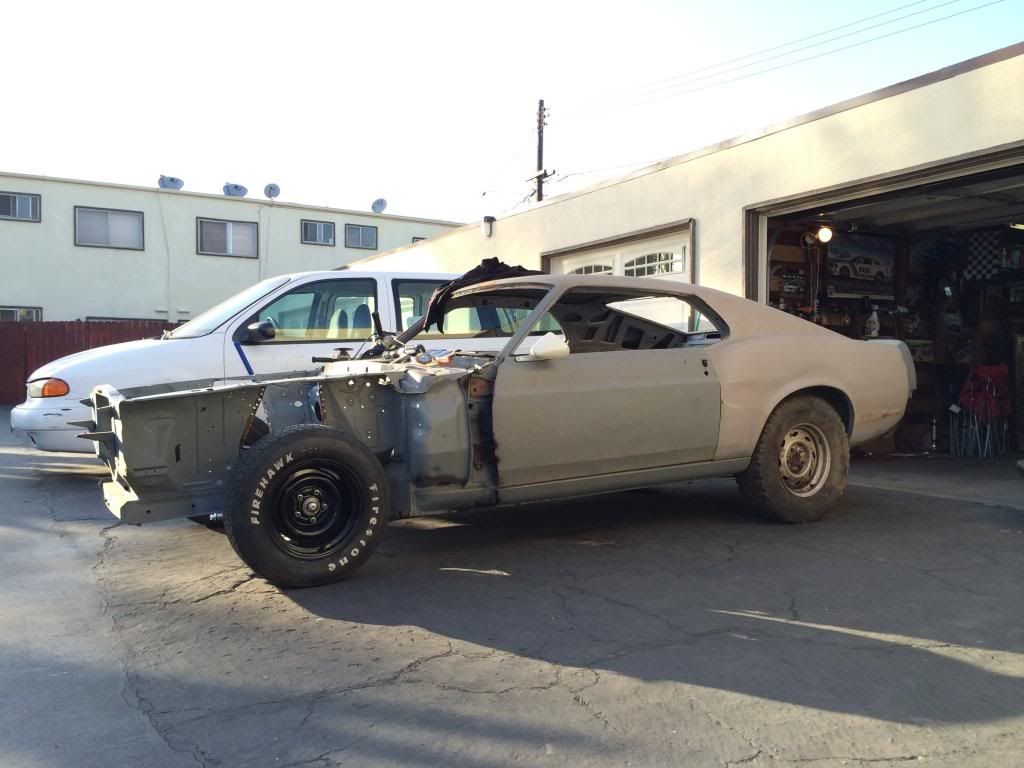
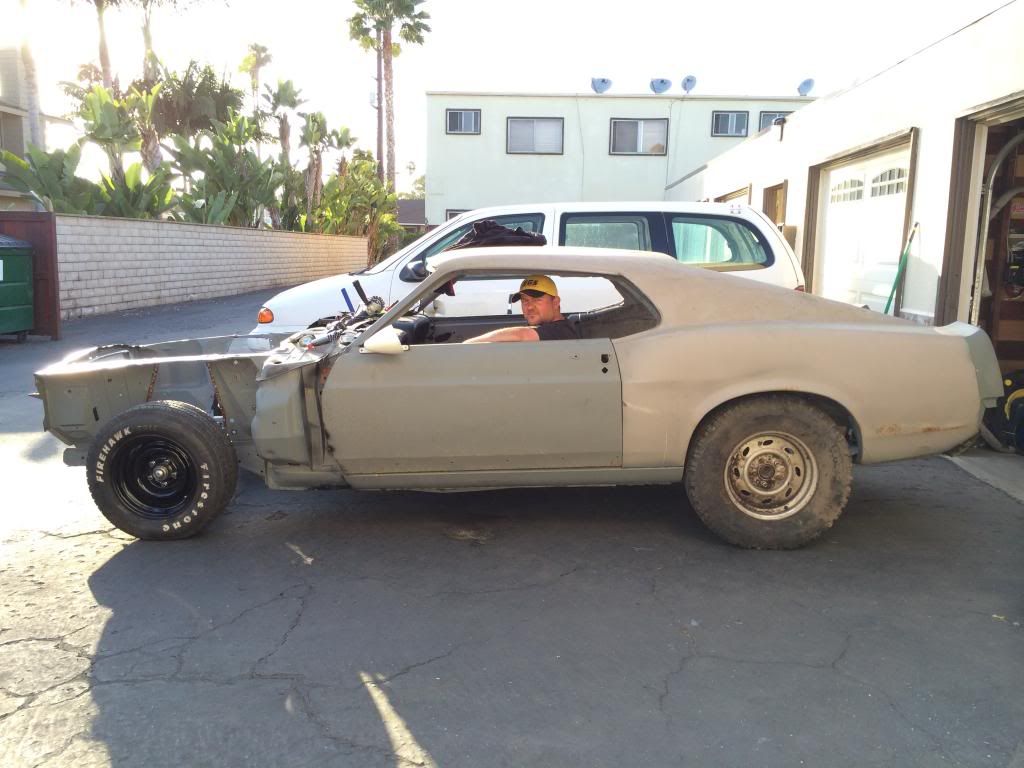
-
So today was a 13hr day....
We started the day grinding down the slag off the welds, and then shooting some rattle can primer on it so that it won't rust.
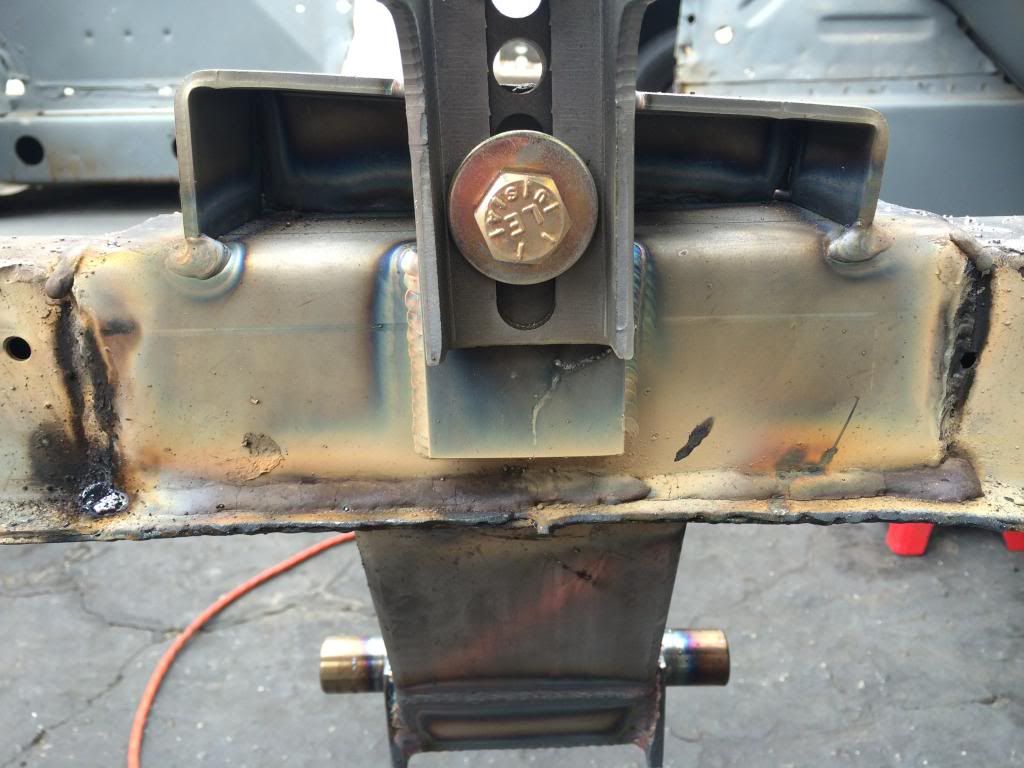
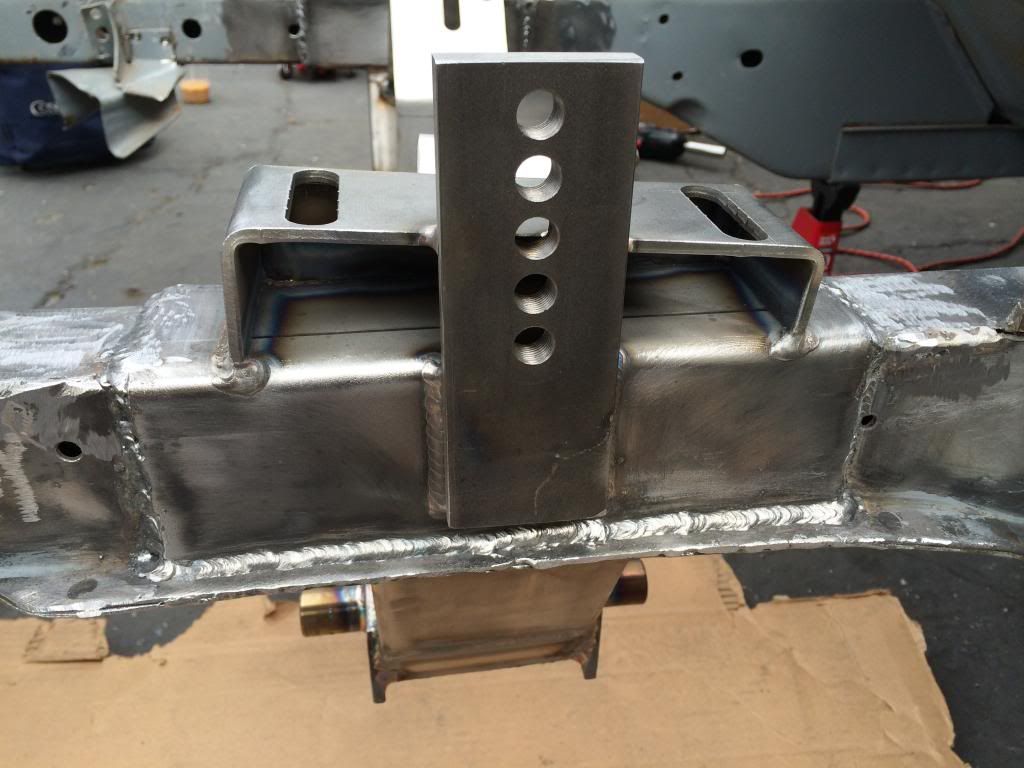
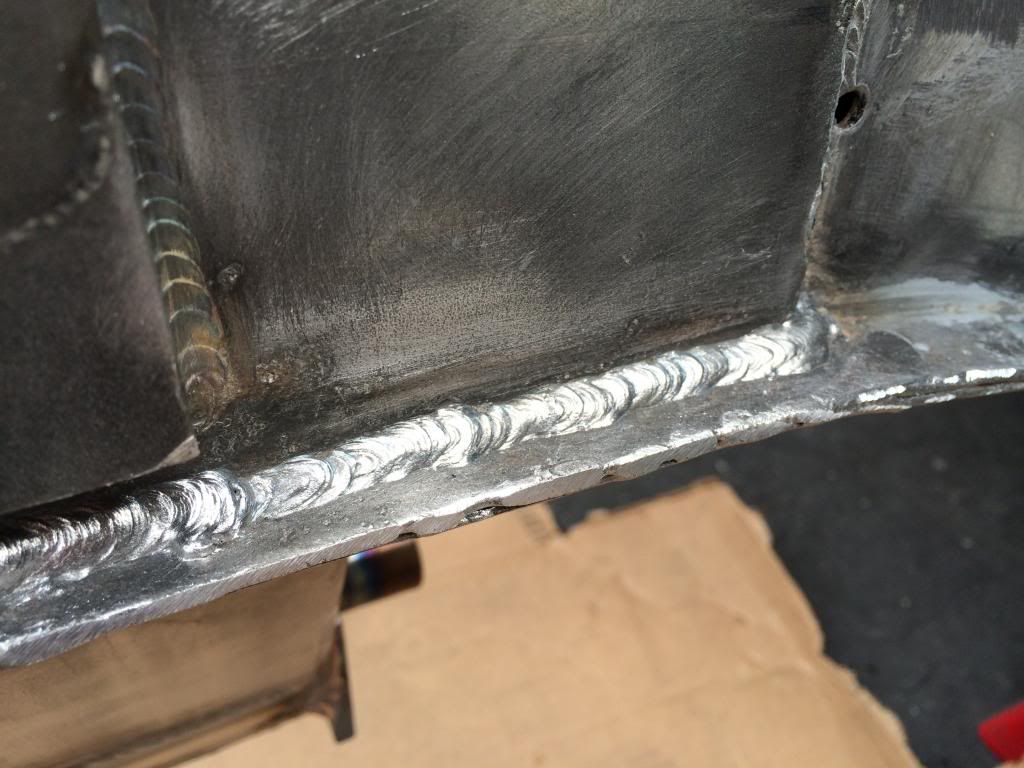
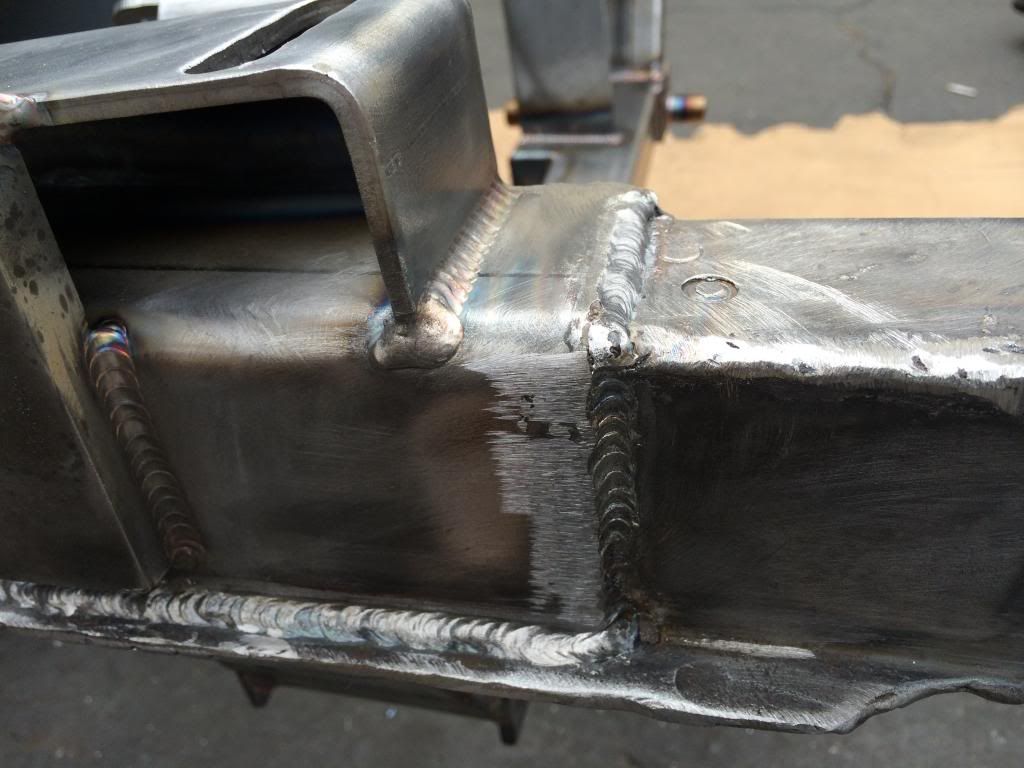
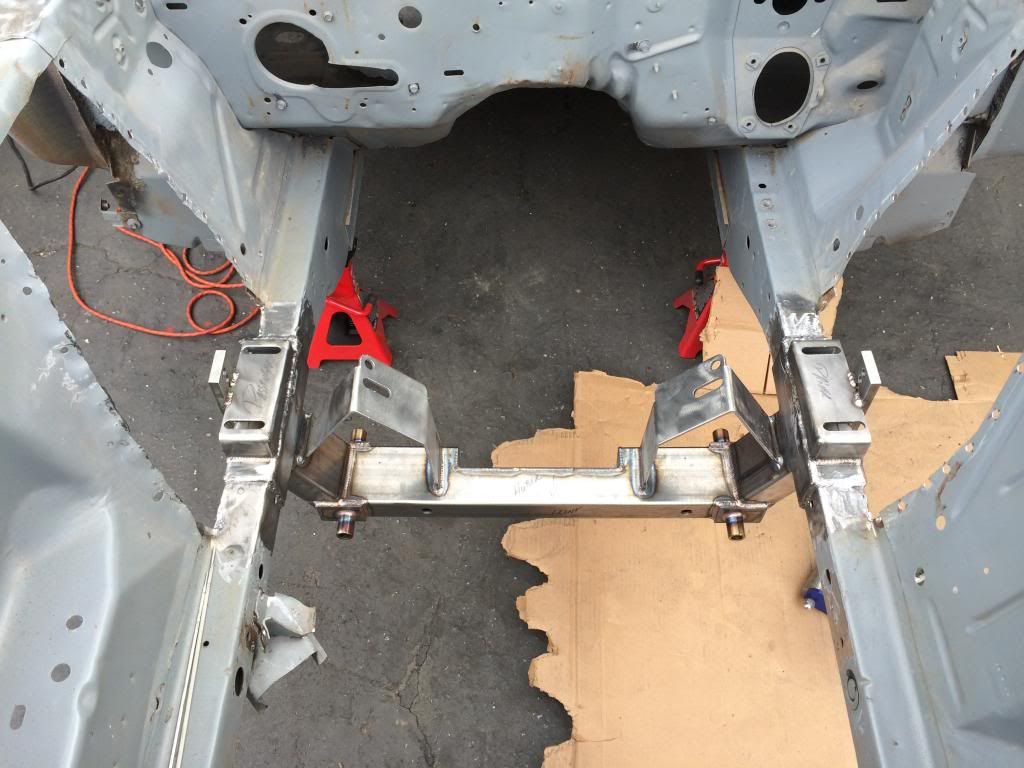
Primered up!
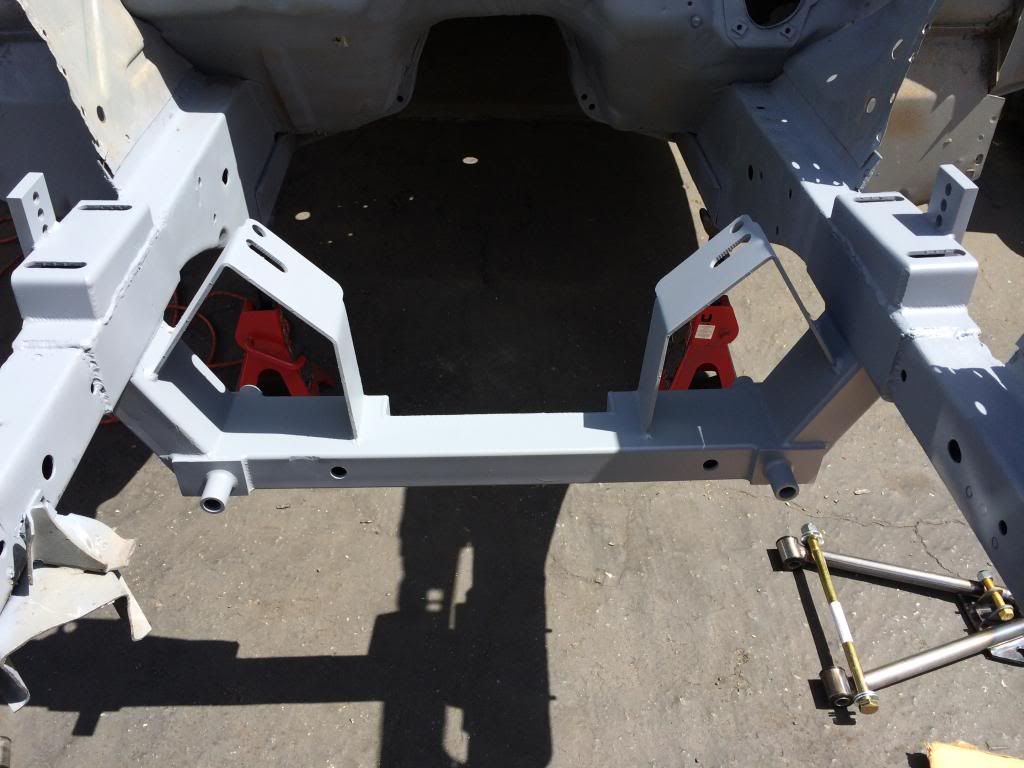
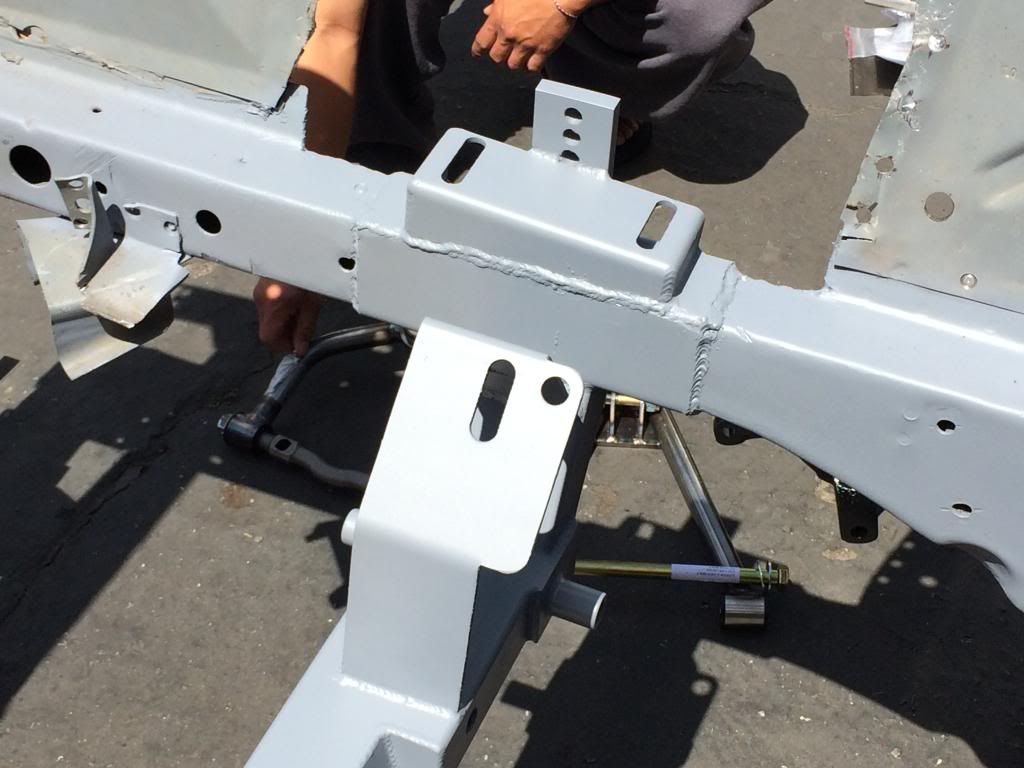
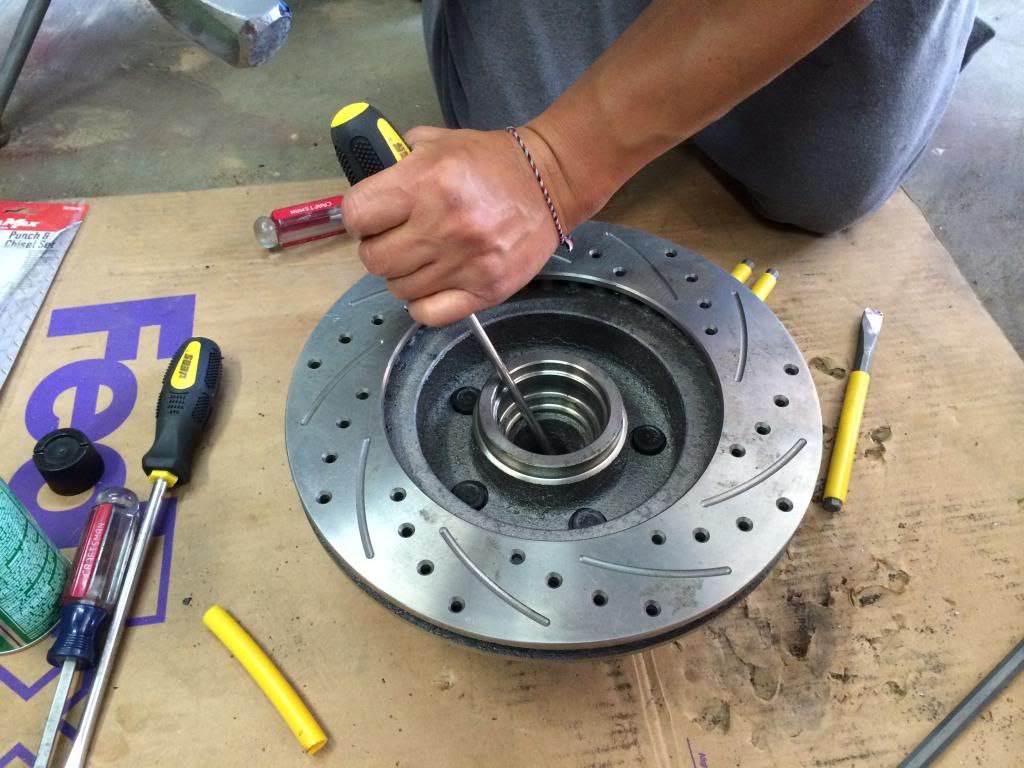
While waiting for paint to dry (literally) - we decided to tackle the bearings and races. Rod & Custom uses a GM style Rotor/Hub assembly, and require that you install the correct Ford bearings and races. Removing the races was a BITCH, and required a torch, dremel, screwdrivers/chisels, and a BFH!
After that the rest was pretty straight forward.... Just bolting up the A-Arms, Shocks, Spindles, and Brakes:
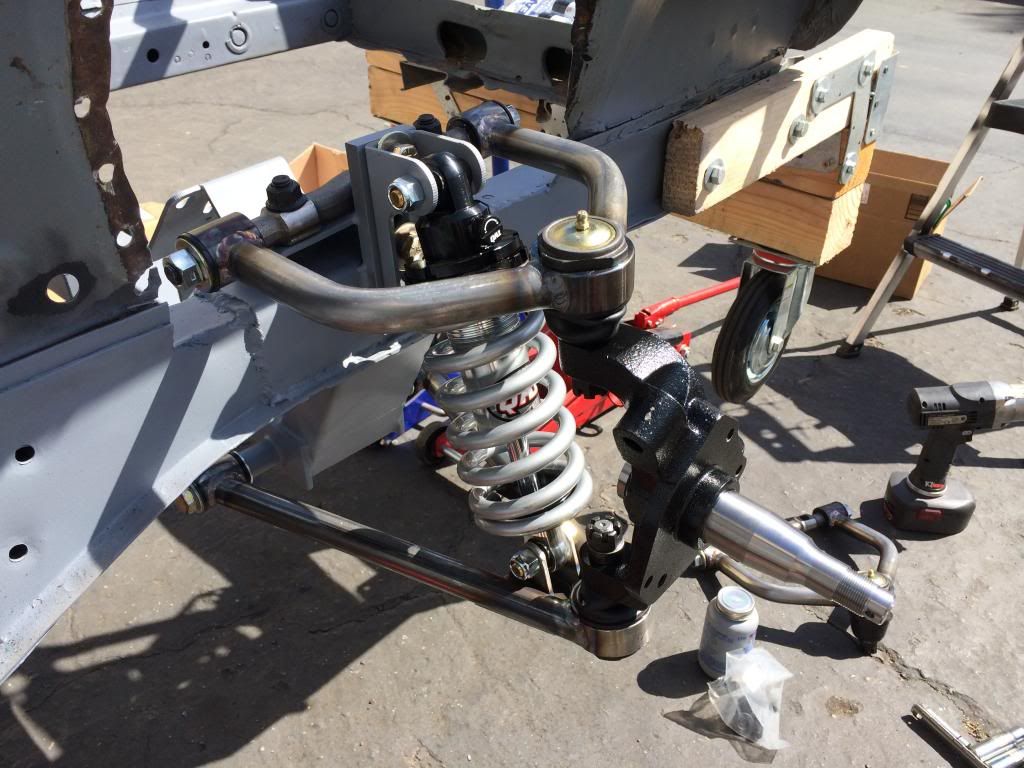
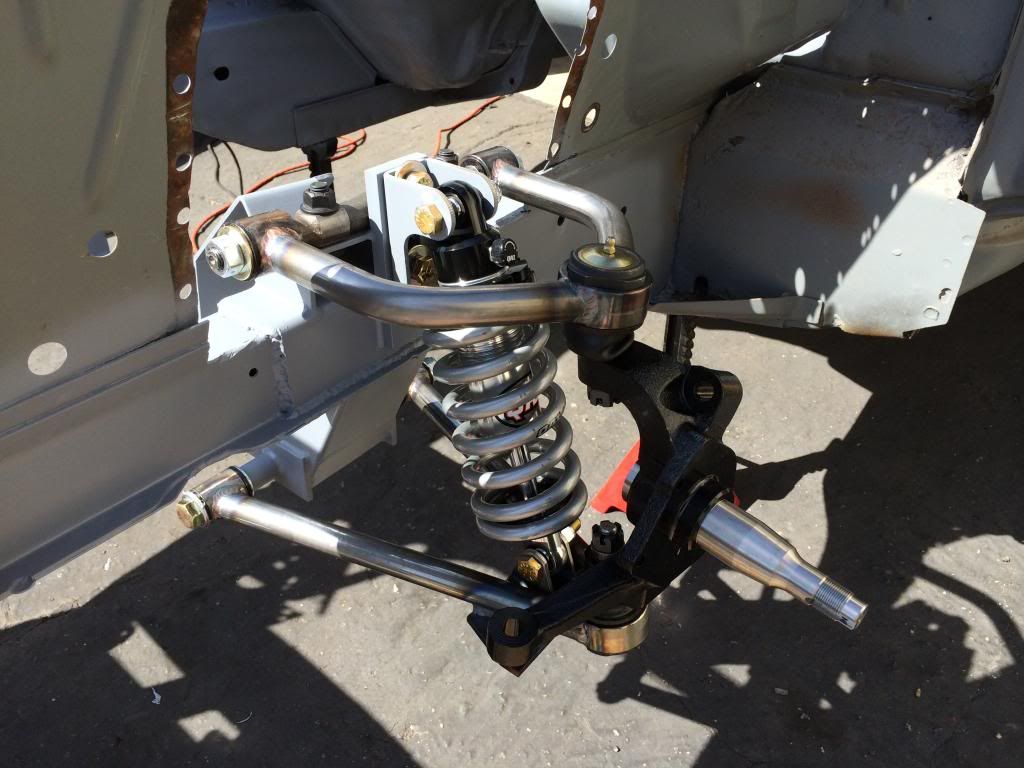
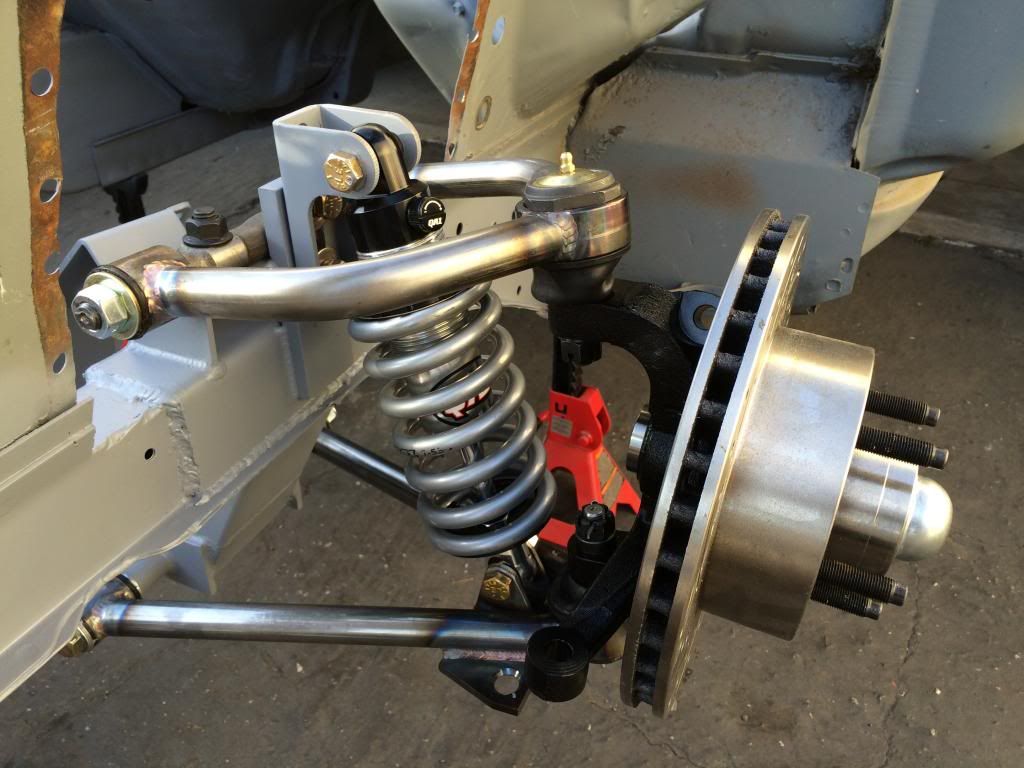
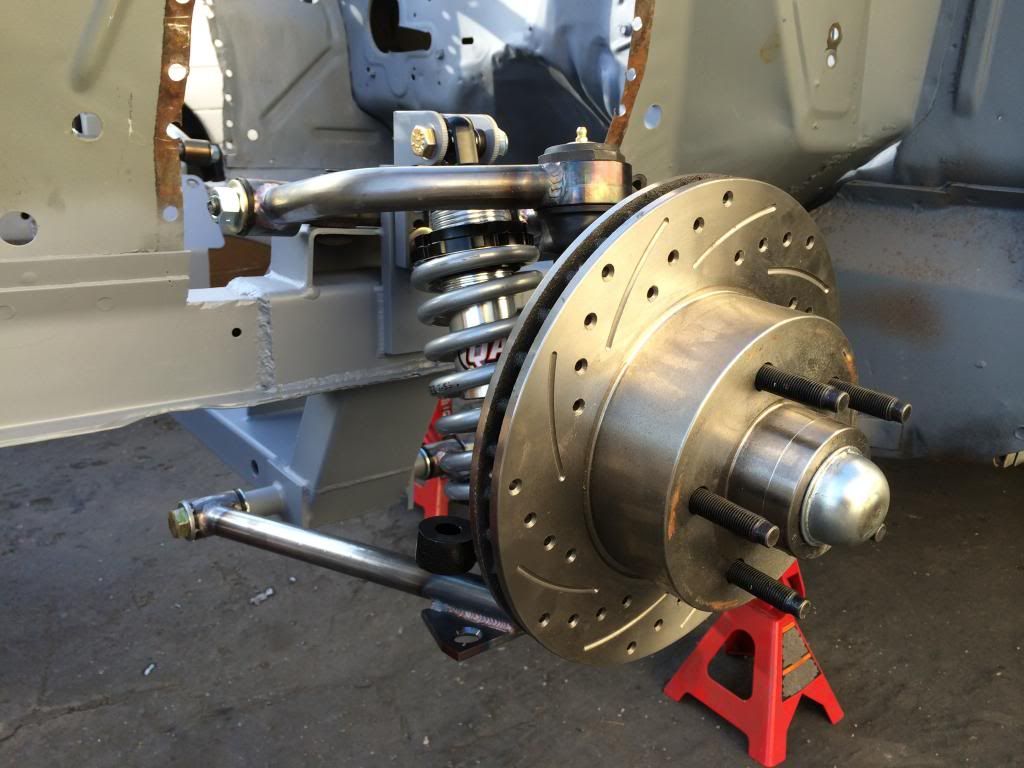
Then mounted the wheels up:
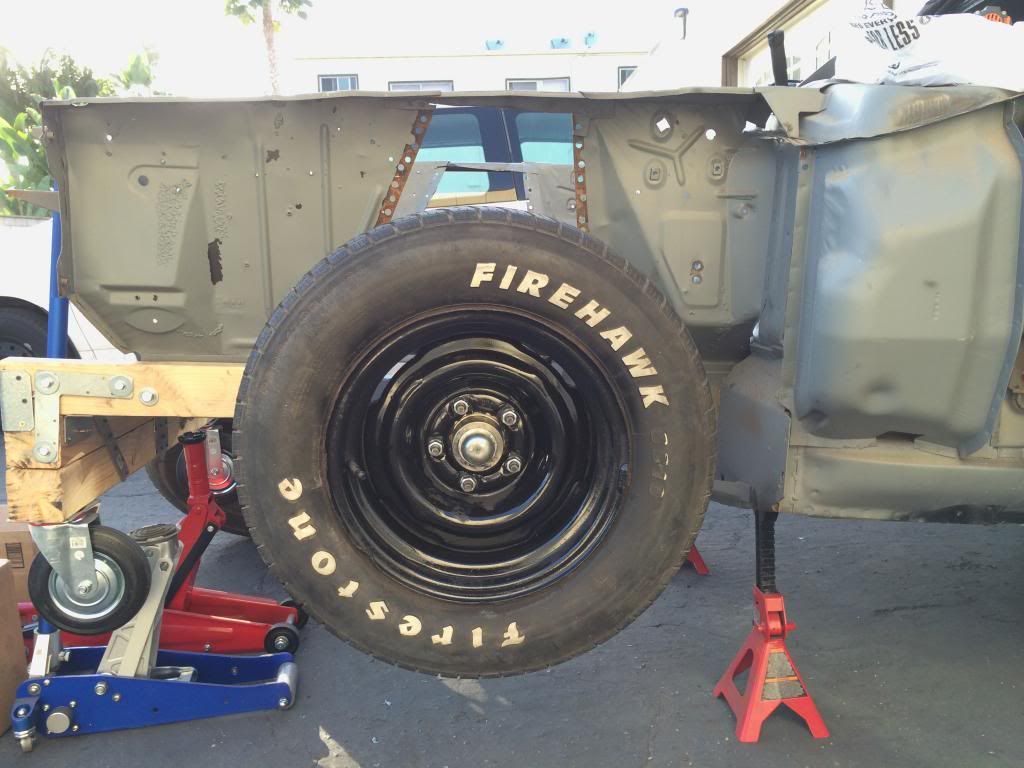
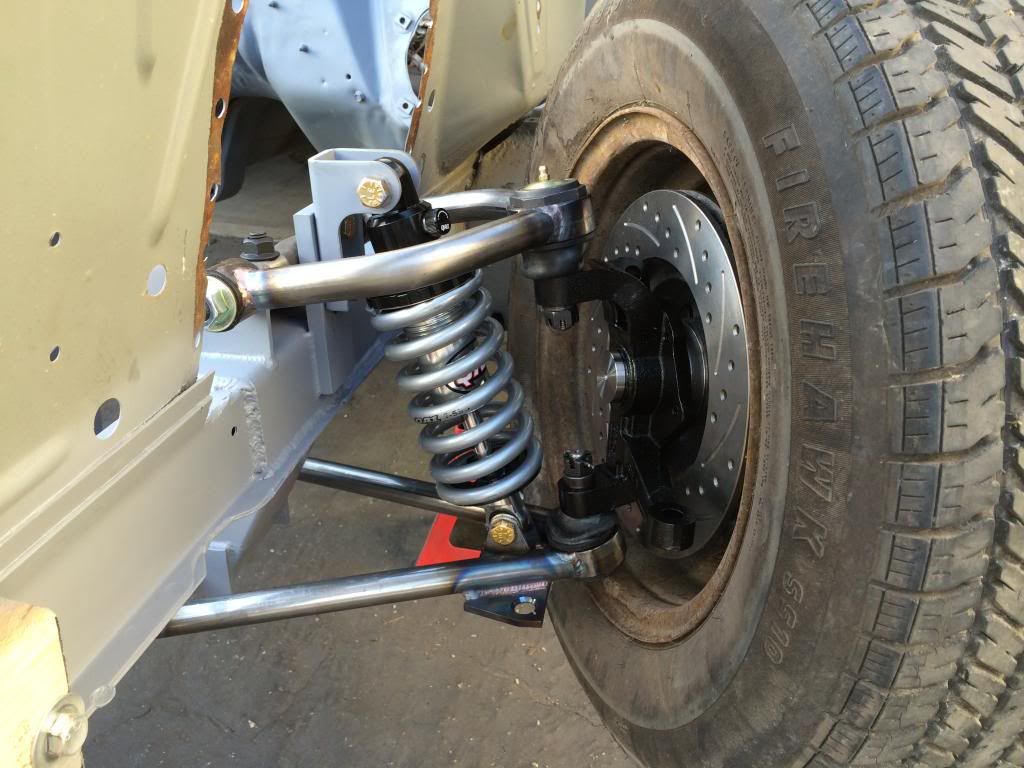
-
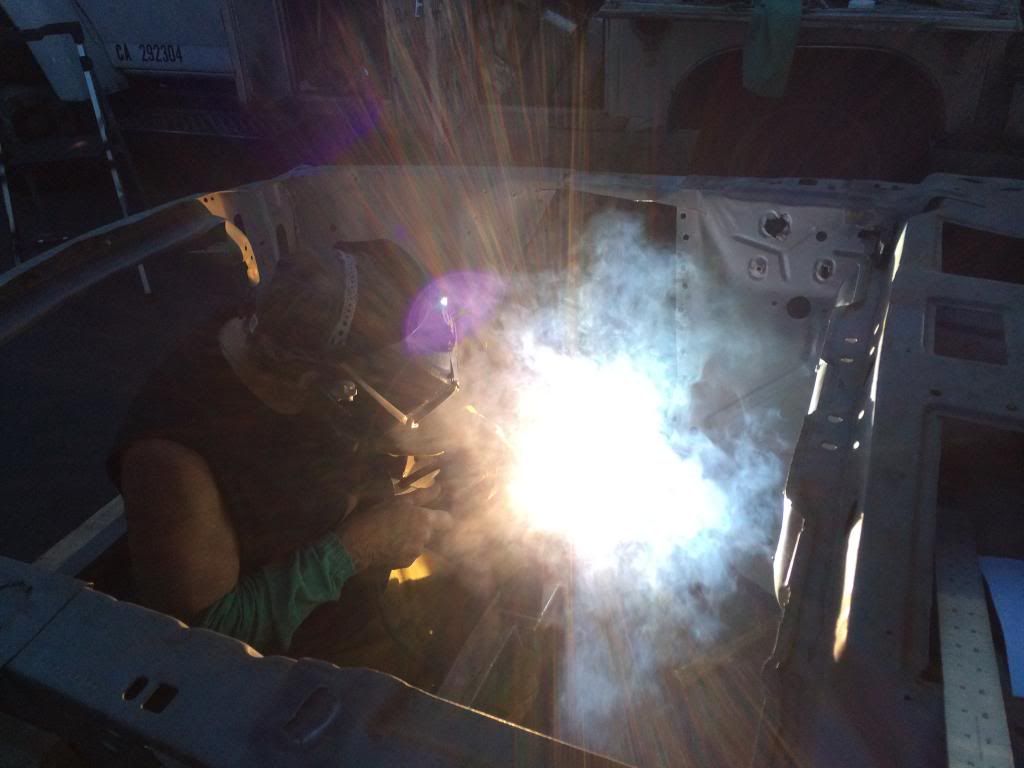
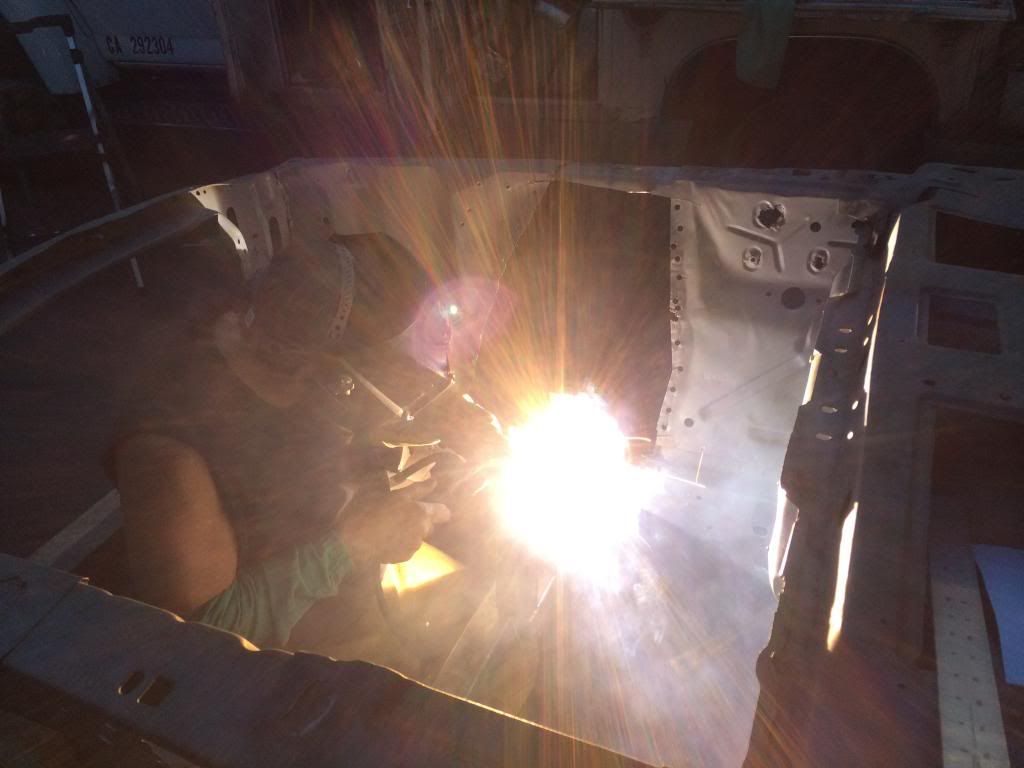
Welder got here today, and took about 90mins to get everything welded in. He stick welded the whole thing which was super cool to watch. Although not as clean as the "roll of dimes" you'd see with some mig welds, these are SUPER strong:
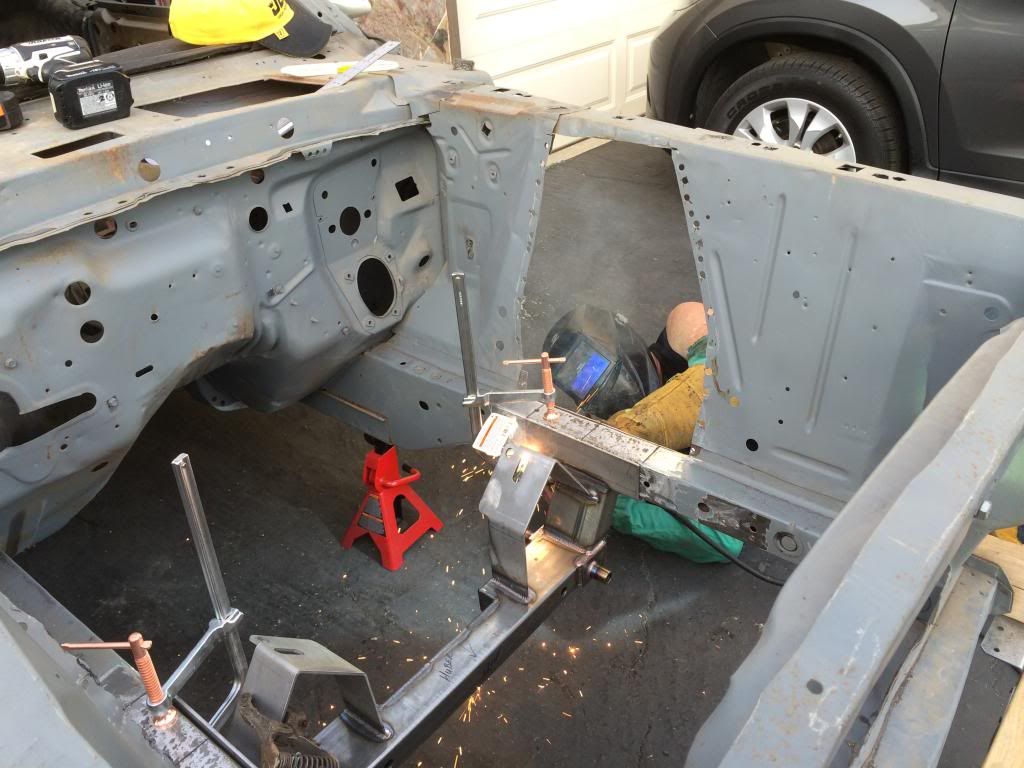
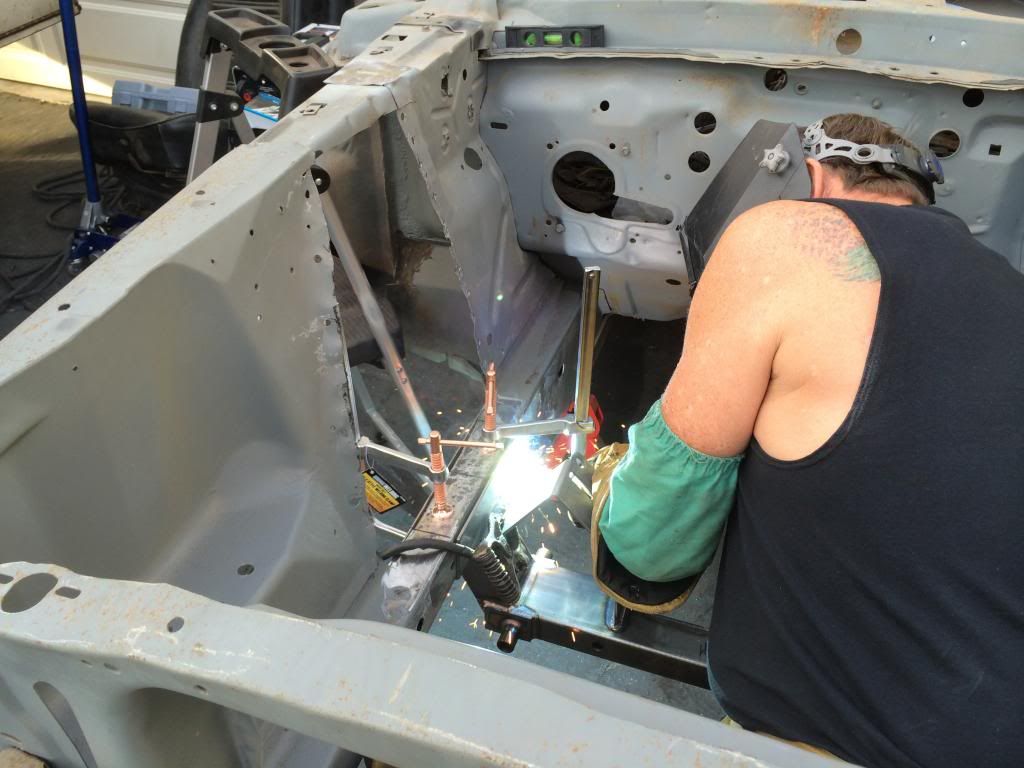
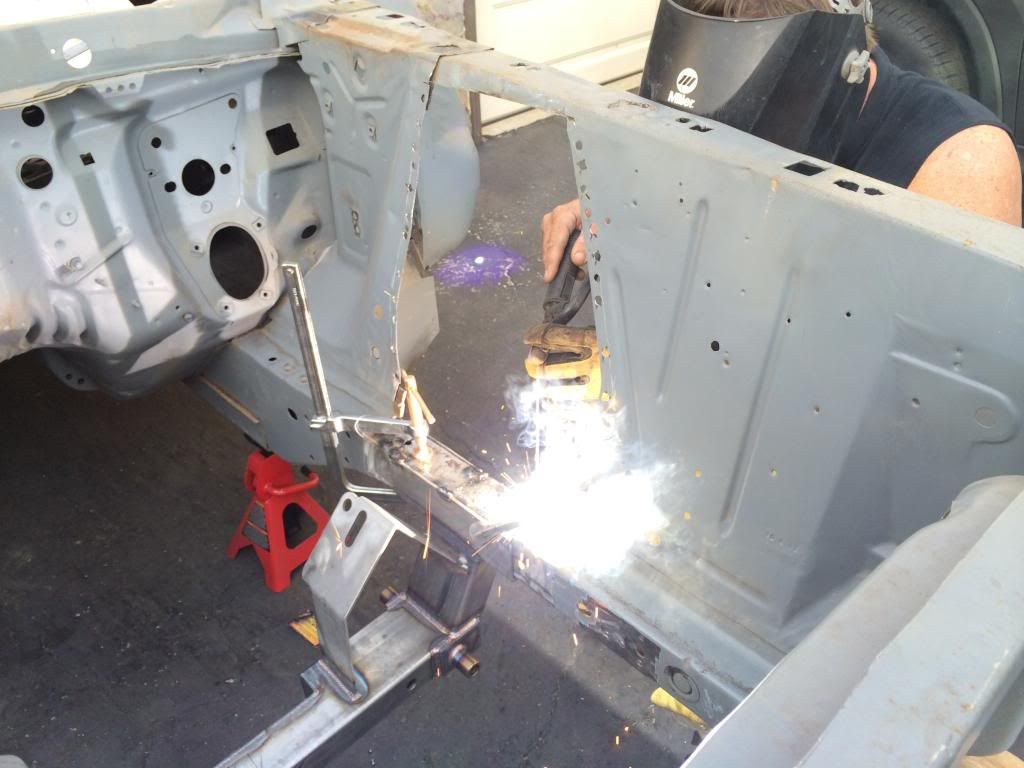
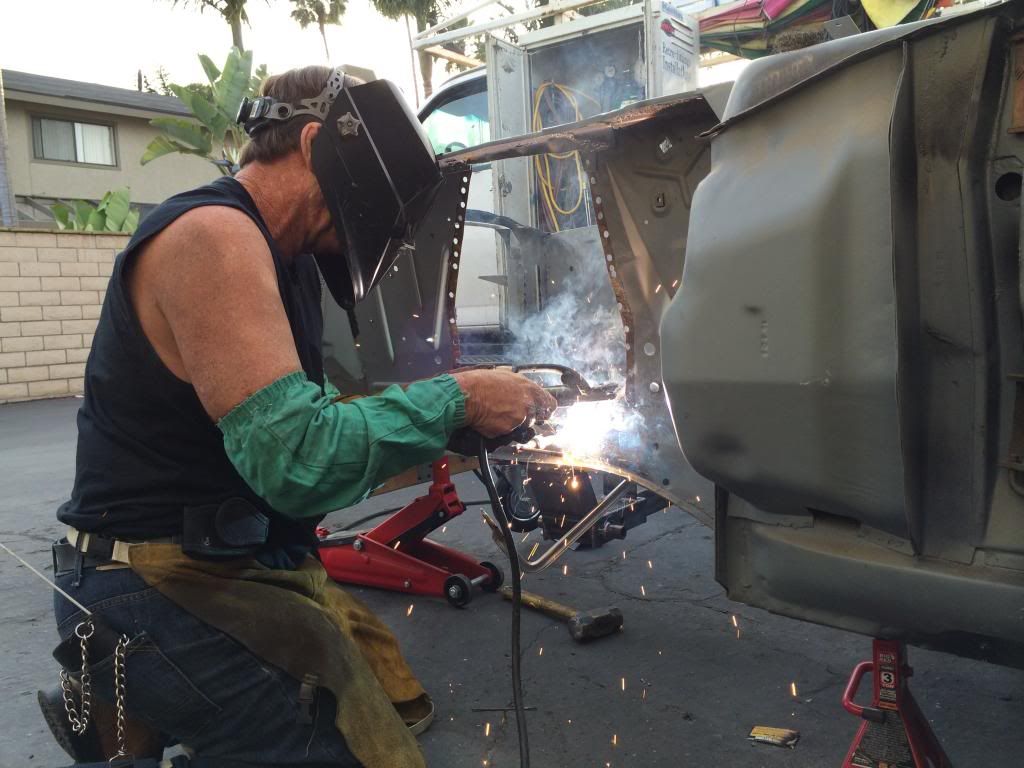
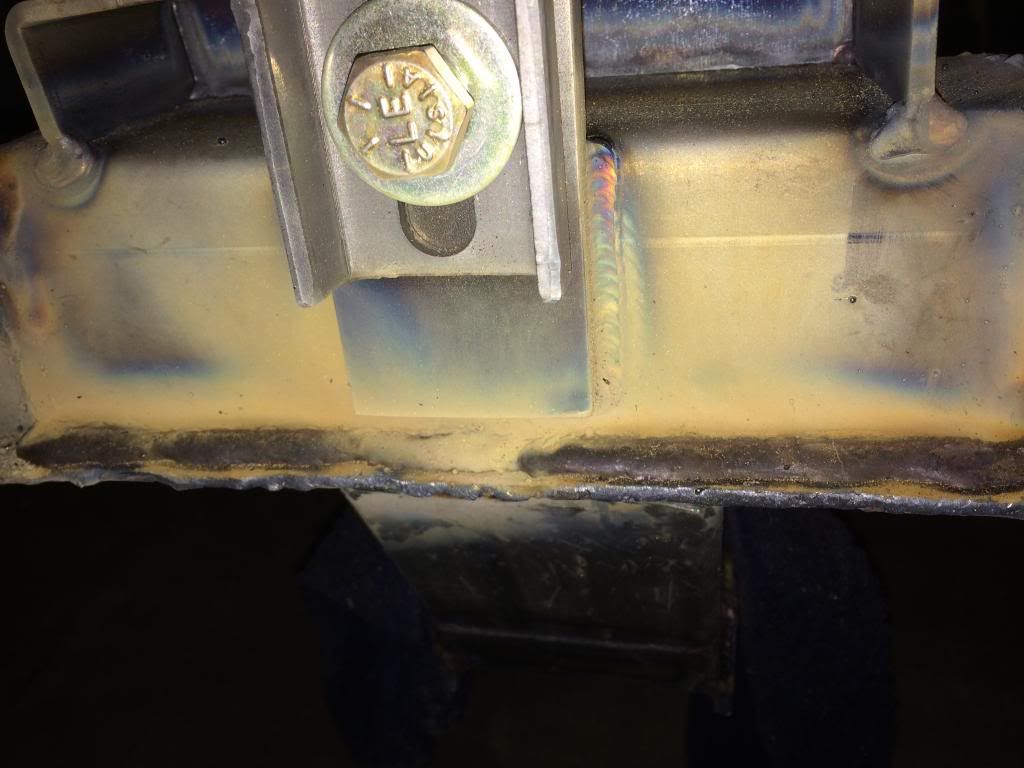
-
Yesterday I got the pinch welded lip cut out, and ground down the rails in preparation for the welder coming today:
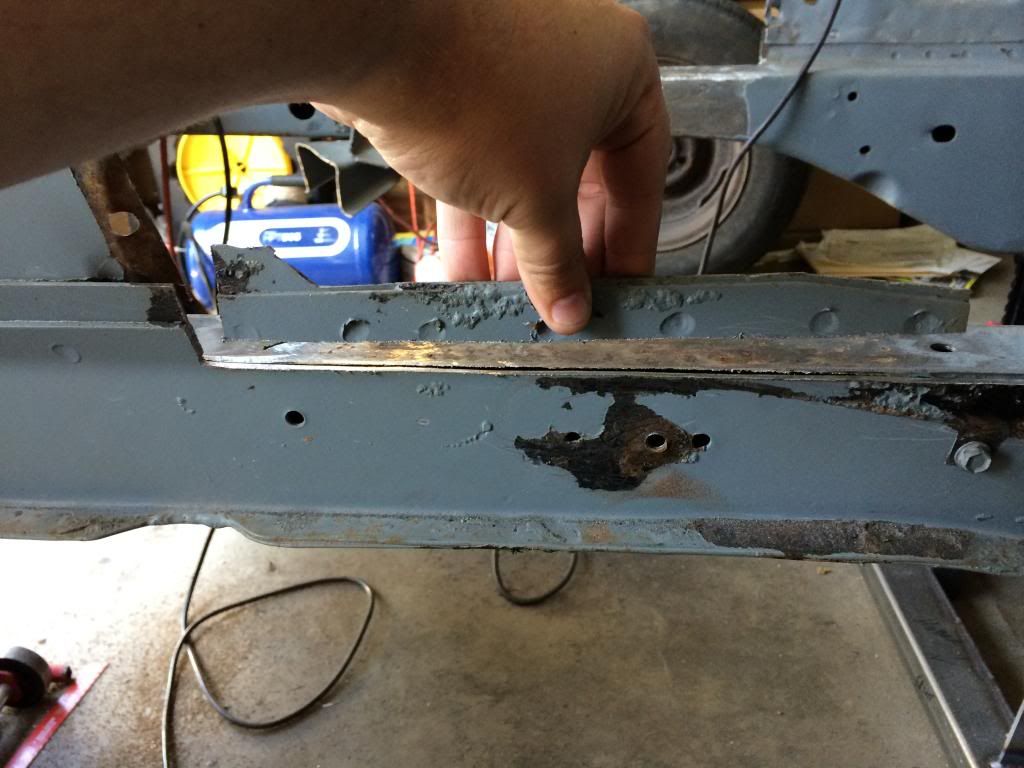
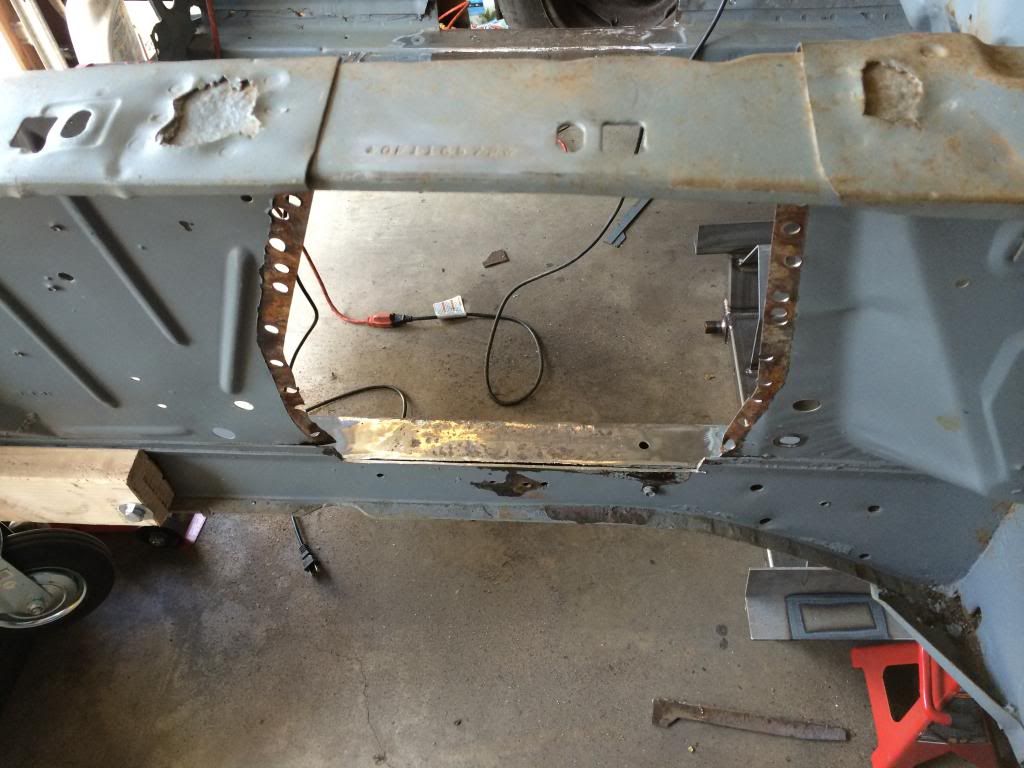
The rail splits on the seam, but he'll close that back up:
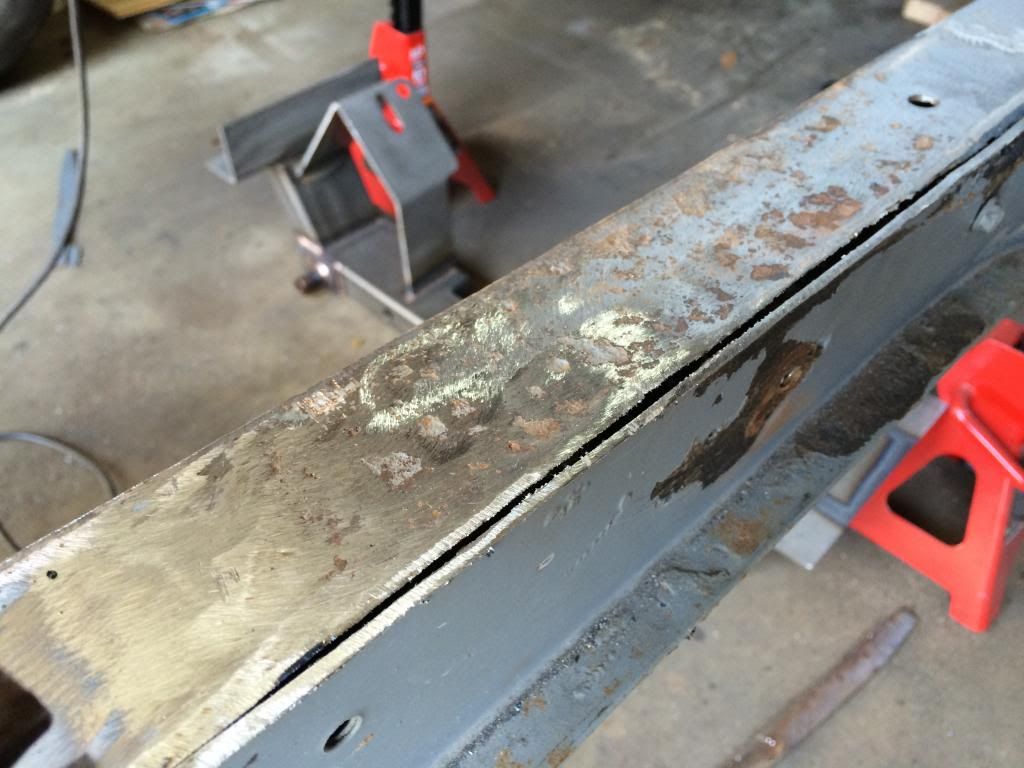
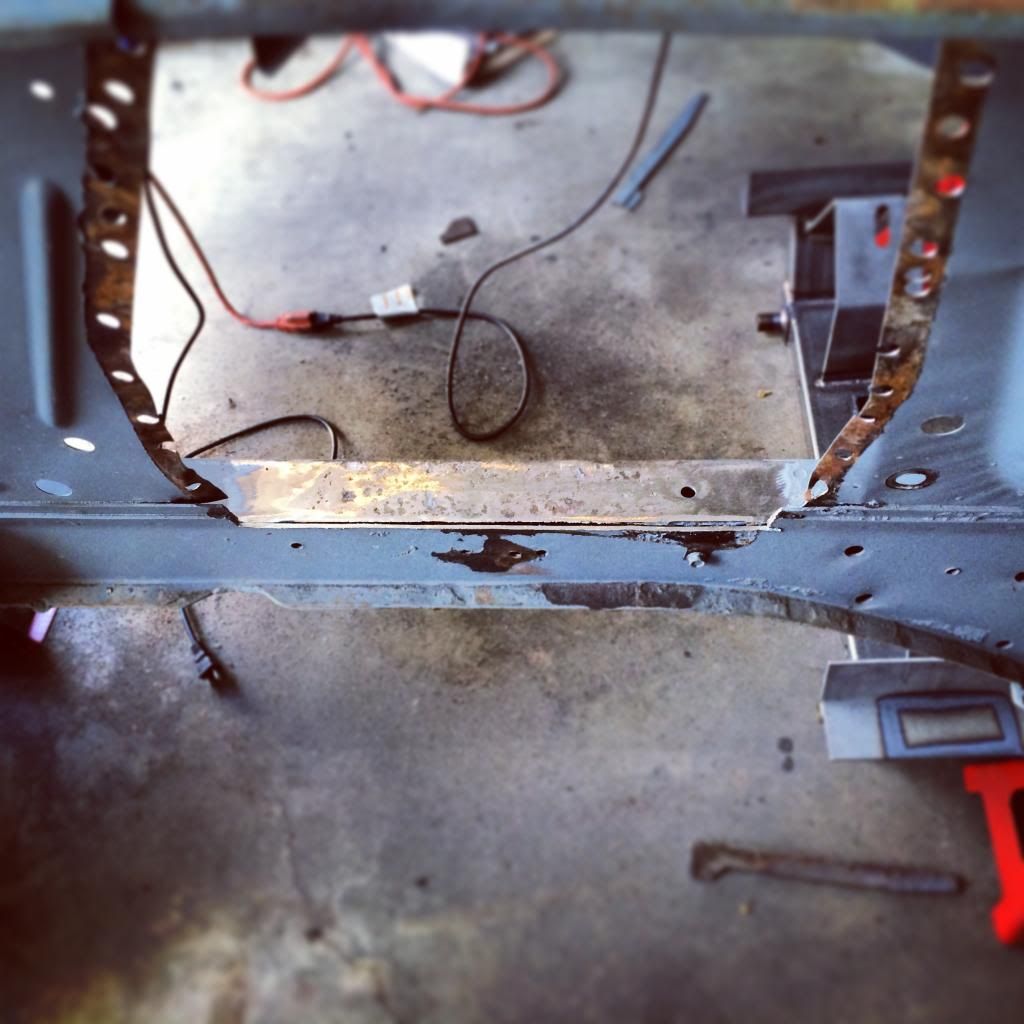
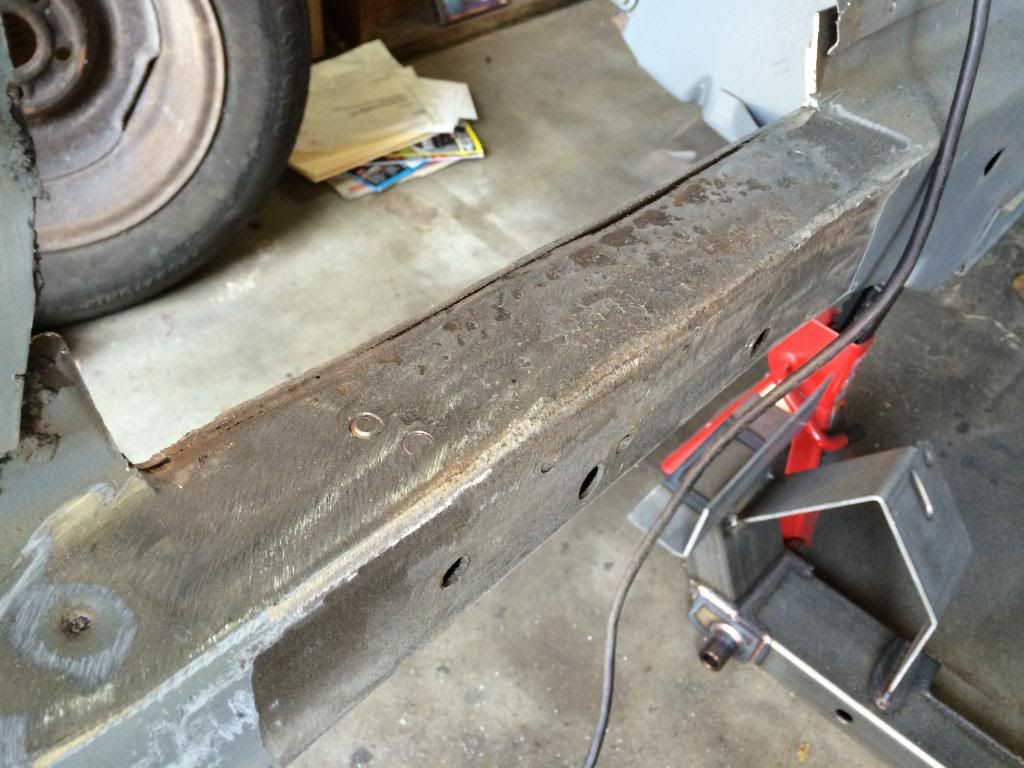
And the centerlines marked out on the rails
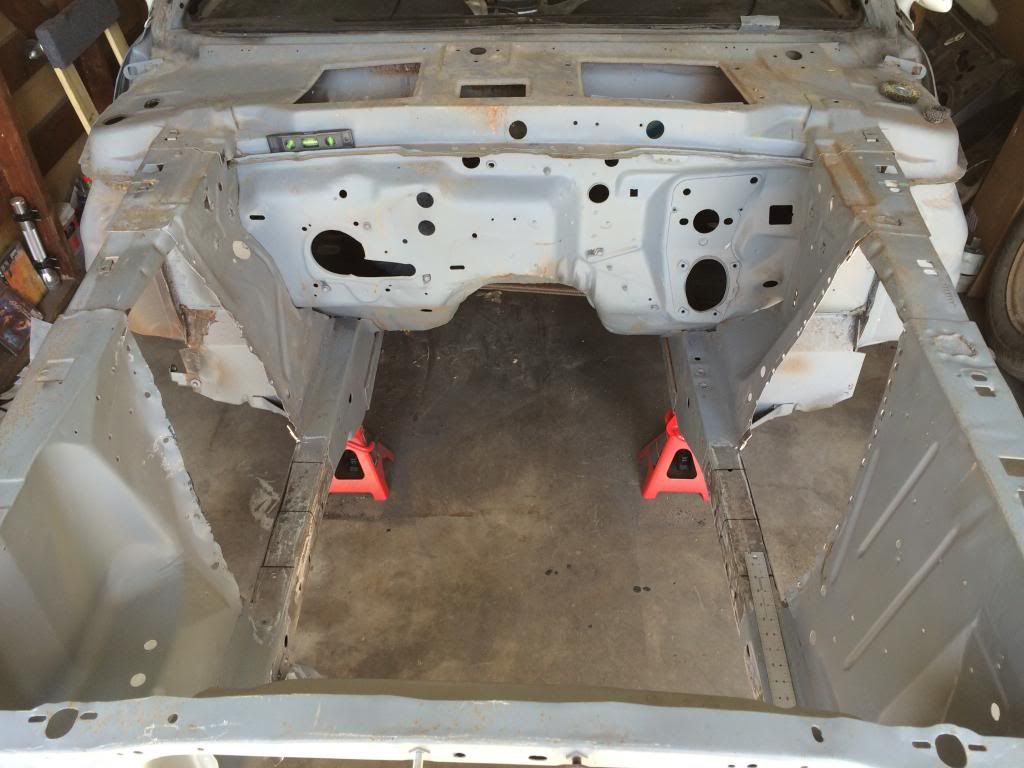
-
I love your car... can't wait till I'm at that phase!
-
Outstanding work so far!


Rear coilover shock & spring recommendation
in 1969-70 Technical Forum
Posted · Report reply
Is that the PN for the rear coilover?