


potato
-
Content Count
57 -
Joined
-
Last visited
-
Days Won
2
Posts posted by potato
-
-
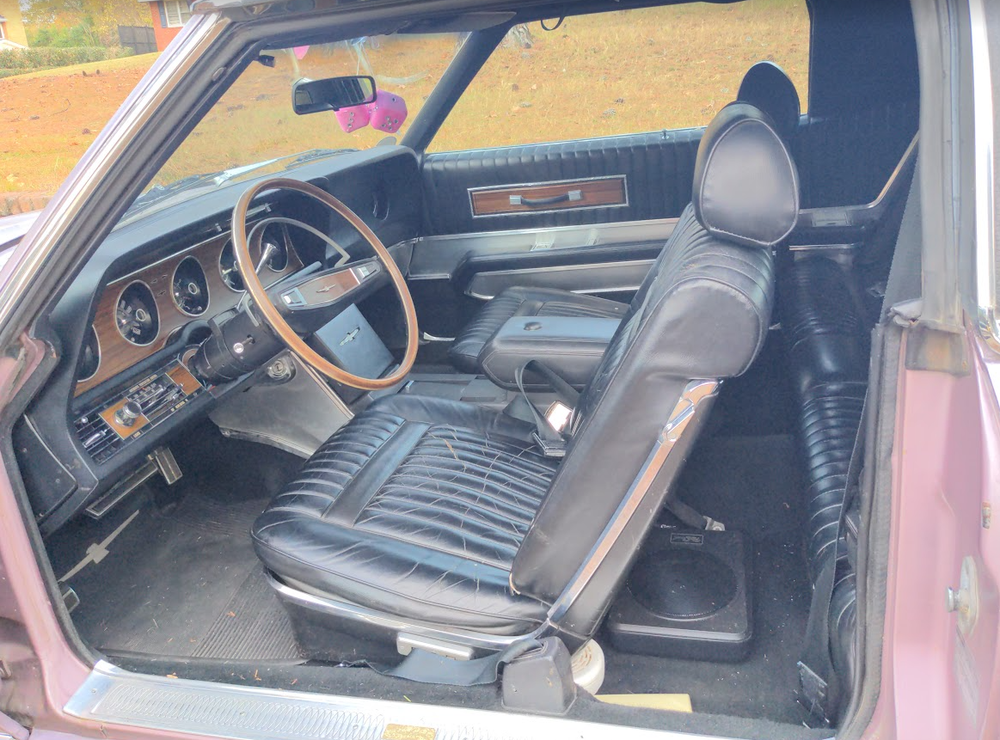
My car has no tach. I would like have one. Under the hood, its got a HEI distributor with a 1-wire alternator. I say all that in case that affects my options.
If possible, I'd like to stick with the factory style gauges. But if I'm understanding correctly, the printed circuit is different as well as some of the pin locations in the big connector that plugs into the back of the gauge cluster.
Maybe the easiest option is the ugliest one. Get an aftermarket standalone tach that clamps to the steering column in front of the other gauges.
I have seen the Dakota Digital and VintageUSA gauge kits. Neither one of them look like they are plug and play. The dakota digital one looks like a 1-size-fits-every-car brain box they use and then you have to pluck apart your wiring harness to jumper to the dakota digital box, and when you're done, you still have things that don't interface together. Like requiring a separate pot to dim the dash.
The VintageUSA kits also look like they are not plug-and-play. It does look like maybe they end up using the existing dash lighting, so the existing dimmer would work on them. However, the turn signals and bright light indicator look like an after thought.
I see some dashes with holes for 6 gauges. I'm not clear on whether or not these even have turn signals and bright light indicators. https://www.cjponyparts.com/classic-instruments-6-gauge-set-velocity-series-with-scott-drake-wood-grain-6-hole-instrument-bezel-1969-1970/p/CIVB1KW-V/
Is there something obvious I overlooked? Is there an easy way to convert the non-tach car to the factory tach style setup? And if so, will that work with an HEI distributor? I have a "tach out" terminal available. Otherwise, are there any aftermarket gauges that are more plug and play?
-
The best advice i can muster up is get a car you're not afraid to work on and learn on. If your mustang is too nice, you can be intimidated by it. Get yourself something more ugly or more basic so you aren't afraid to wrench on it.
From there, just start learning how each of the systems work. Brakes, fuel delivery, power steering, cooling, spark/ignition, electrical/charging, etc. Every part of the car has a purpose. And once you understand the purpose, you can understand what happens when that part is broken or acting up.
-
What year ford ranger? Cause there tons of them at the local pull-a-part yards.
-
9 hours ago, Viperpete said:The passenger side is a little off. Not sure how to correct this.
My first guess was put the doors in the door holes and see if you can tell how your body panels need to close up together to fit better. That may be hard with your brace right there in the door opening.
My next guess is make something that perfectly fits the door opening of your old car shell. Thats assuming your car door still fits in the opening of the old car.
Based off some of your other pictures, you're a bit of a welder. I say use some scrap of angle iron or steel bars and weld up and catch some reference points on all sides of the door opening. Then take that over to your new car where you're fitting your panels together. Use it to help decide what needs to move where. If you're feeling crazy, start tacking the body panels directly to the jig. :P
I suppose you could take that idea further. Build a little skeleton inside your old car (that can be disassembled and reassembled in the new car). Make some features that come off the skeleton and come to certain reference points in the body. This lets you copy the old car to the new car by making sure a bunch of points are all held properly in relation to each other.
-
Ive got 3:50 rear with a T5 in my car. It'll do 60 no problem. But highway speeds around here is 80mph. Around town, everybody does 60 on every road.
I find 3.50 gears to be too much. I'd rather have closer to 3.0. Definitely would want anything more than 3.50 for a cruiser car.
-
It seems like there's a cheaper way to ship them there. Even if a member here ordered you the bolts and mailed them. Cjpony is probably using FedEx or something and their quote is insane.
The threaded portion of the shoulder belt bolts its about 1.5". But the hole in the roof they thread into is not that long. So in reality, probably half of the threads on the bolt do nothing.
-
6 minutes ago, Mach1 Driver said:but why is the back seat bigger and the trunk? The coupe isn't longer is it?
From the roof to the tail light panel, on a fastback its a big sheet of glass and then a tiny little trunk lid.
From the roof to the tail light panel on a coupe, the back glass drops down and then the body shoots back and there's a lot longer space for a larger trunk lid. The trunk is probably the same size for coupe and fastback, but the trunk opening for the fastback is smaller.
I imagine the models with fold down back seats, that may take up some of your trunk space.
-
4 minutes ago, stangs-R-me said:Those of us with our worthless " red-headed-stepchild" Hardtops ... this is probably our only "ONE-UP" / bragging feature we (can) have that no big brother highly sought after Sportsroof car could have !!
That and a back window you can actually see out of, a back seat that 1 or 2 average size people could sit in, and a larger / more usable trunk ... features that just don't matter in the '69-70 Sportsroof world !!
Doug
The tbird still manages to 1-up even the grande coupe interior. Bigger back seat with room for full sized adults instead of 5yr old kids, wrap around back seat so you could be comfortable while getting fresh with your girlfriend, I think 3 separate ash trays in the back so your kids could smoke, interior lights in the back, and the trunk is stupid huge compared to even the coupe mustang.
When I go to the shooting range, I use a jogging stroller to carry my stuff. None of my old cars can fit the jogging stroller in the trunk except the tbird. On my fastback, it wont even fit through the tiny door. On my coupe, it will fit in the door, but its too wide to allow the trunk to close. In the tbird, the stroller fits with tons of room to spare.
 stangs-R-me reacted to this
 -
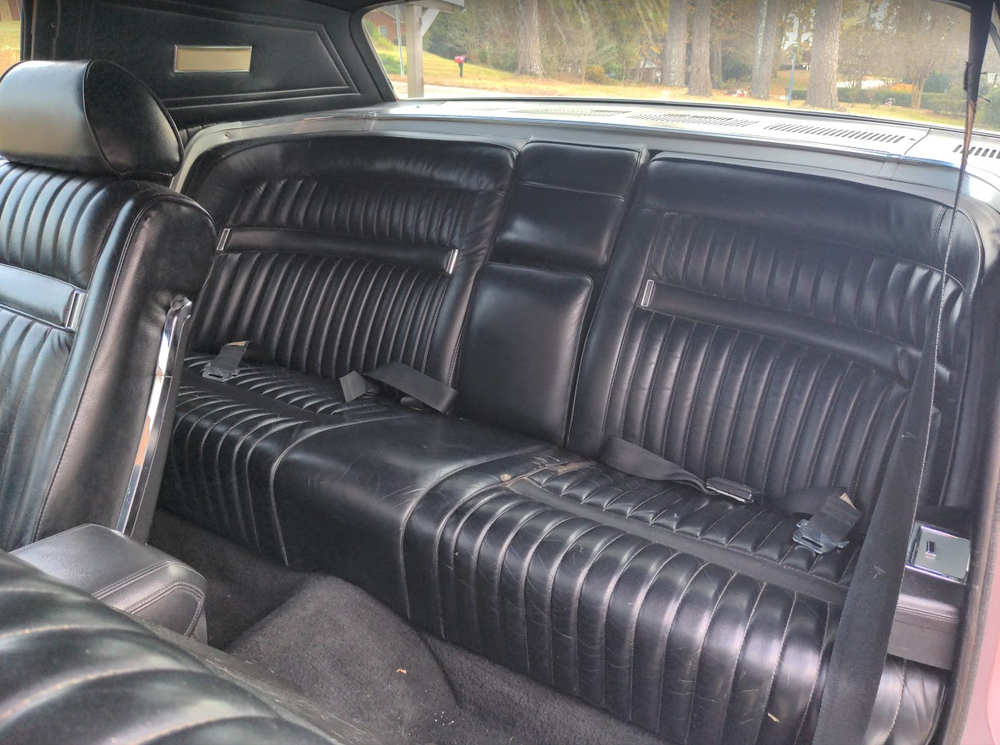
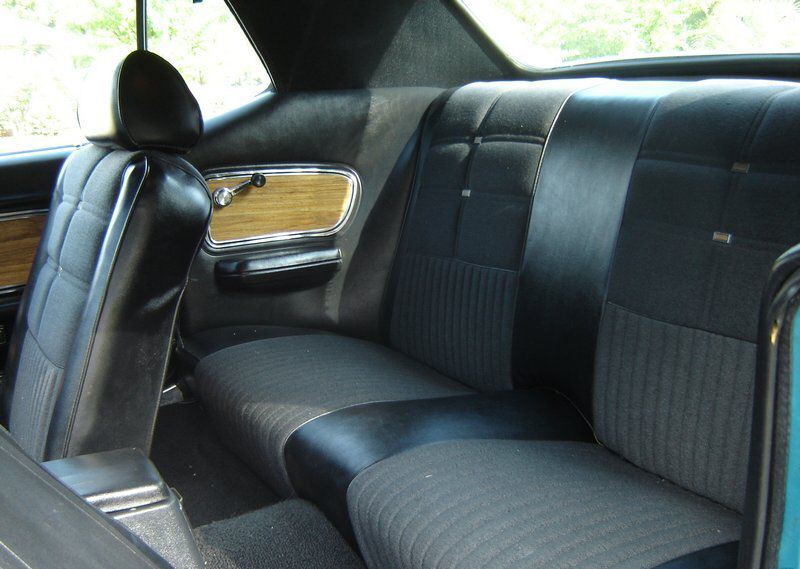
1 hour ago, Mach1 Driver said:Why can't you use your existing panels- the deluxe interior doesn't have wood grain on the back panels.
I just like the look of the woodgrain stuff. I dont think my current interior has the little recess for the walnut and chrome inserts like on the back seat of this one.
I found the wood inserts on ebay, but not the panel itself to mount them to.
-
I would like to upgrade the interior in my coupe. It currently has standard. I like the look of the woodgrain.
Assuming I get my hands on the deluxe left and right side dash, door panels, and rear side trim panels, will those just bolt right in place of the standard interior?
I see the door panels and dash seem to be readily available. Is there a place to get the rear panels and armrests?
-
Digging up an old thread...
Its about time to replace the gauges in my car. Every time I look at it, it seems something else breaks. Mine's a non-tach car. Transmission is a T-5, which I believe should be compatible with their electronic speed sending unit. My distributor is HEI with a terminal marked "tach".
Did this thread ever arrive at a handy list of what wires plug in to which terminals on the dakota digital brain box? And which terminals we don't use? Spending that much for a dash, I would like to be able to get as much functionality out of it as possible, having it interface with as much of the factor stuff as I can. For example, can this cluster be wired up such that the factory headlight switch you rotate to brighten and dim the gauges still works?
-
I would start trying to clamp up other parts of the car. If you have a fender, see how well it fits with what you have there on the passenger side. Same with a windshield or the windshield trim and inner fenders. That will help you figure out which pieces you have are out of spec or hopefully just assembled wrong.
Clamp or cleco as much of the car together as possible. If you can get it to the point where even the outside panels are fitting together well, then take a bunch of layers off and start working your way from the inside out replacing the clecos with spot welds.
-
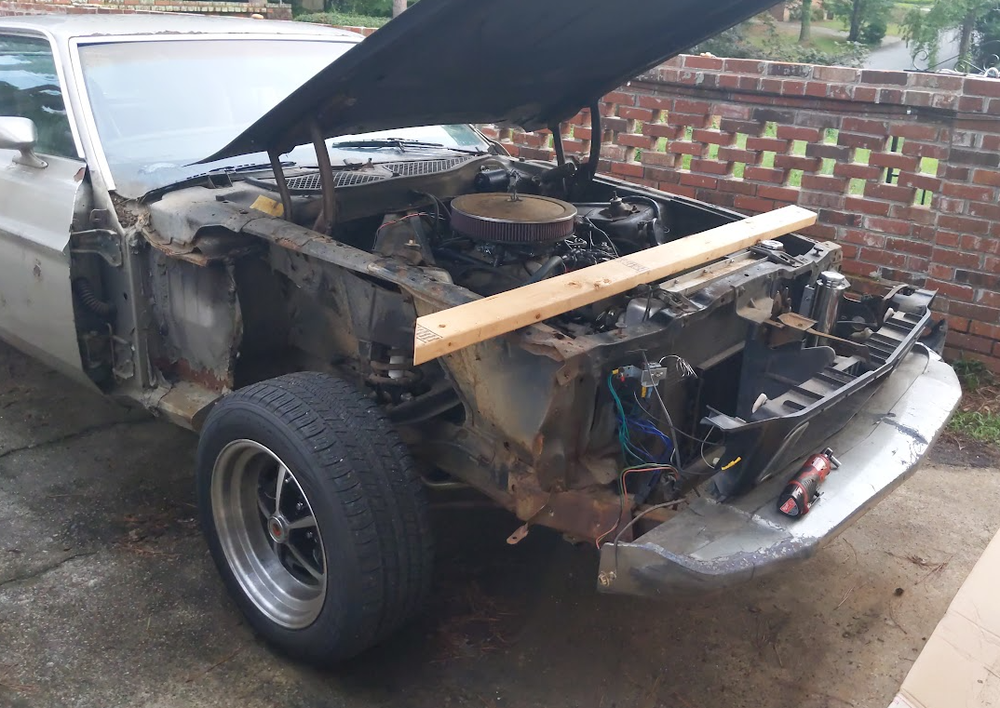
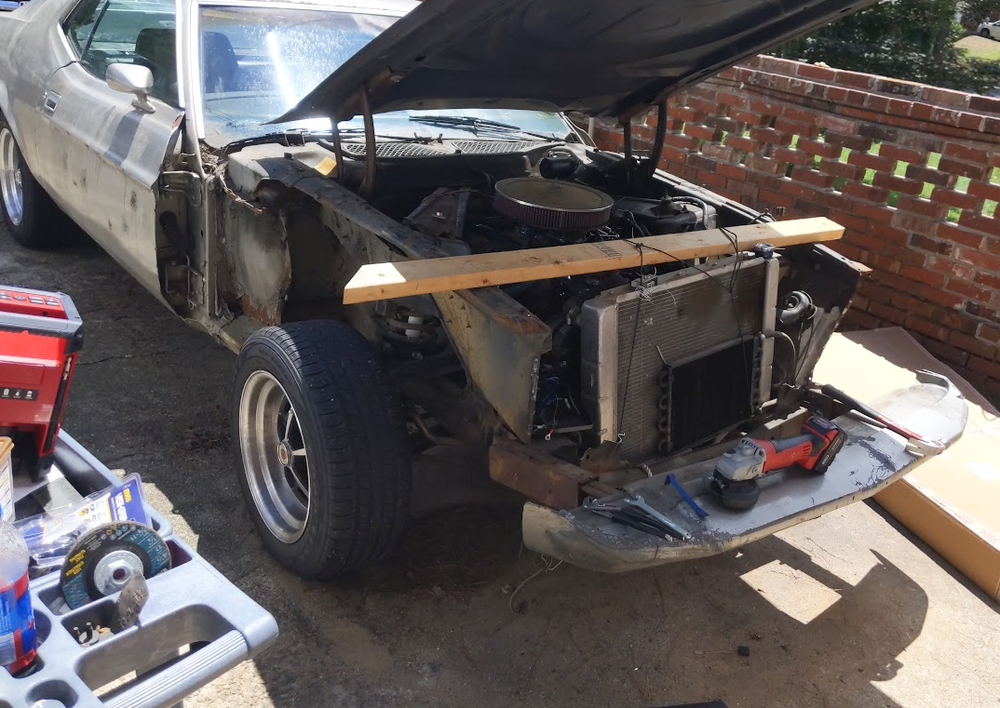
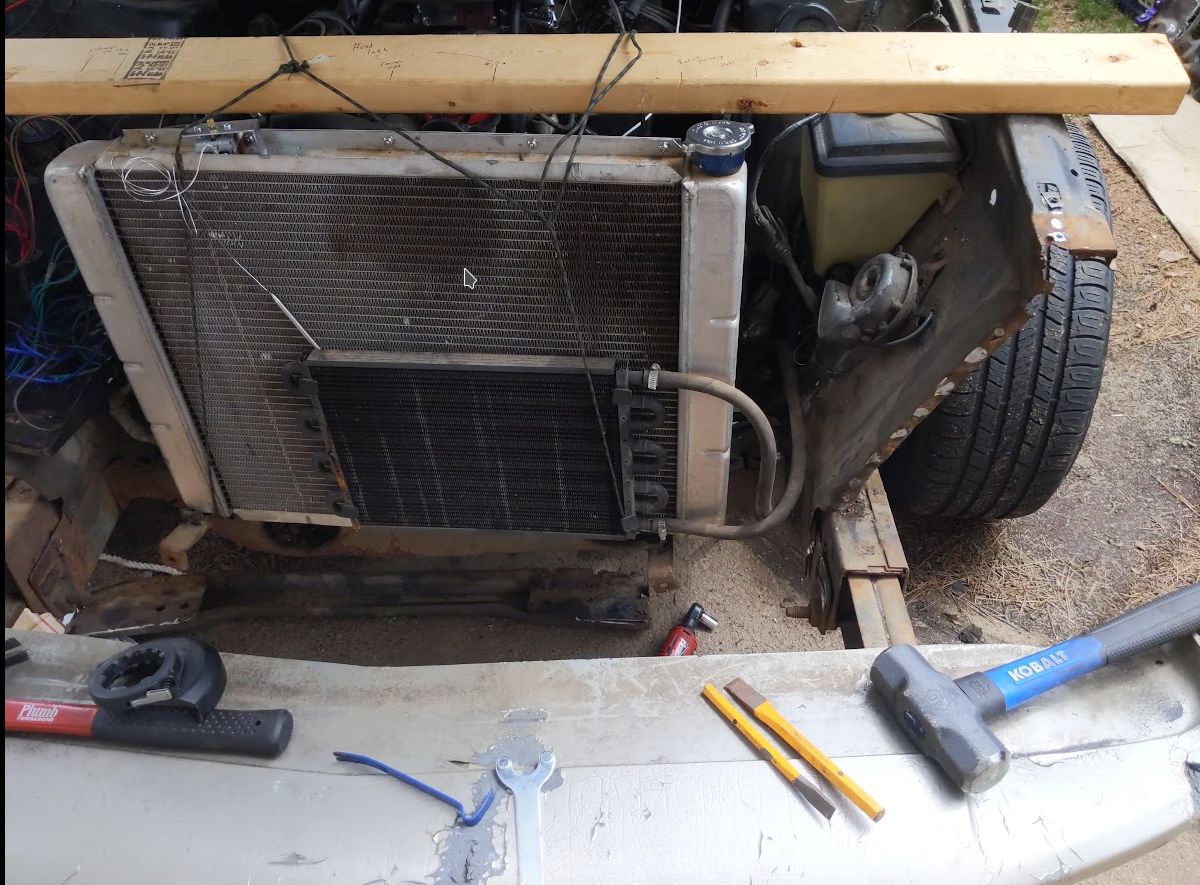
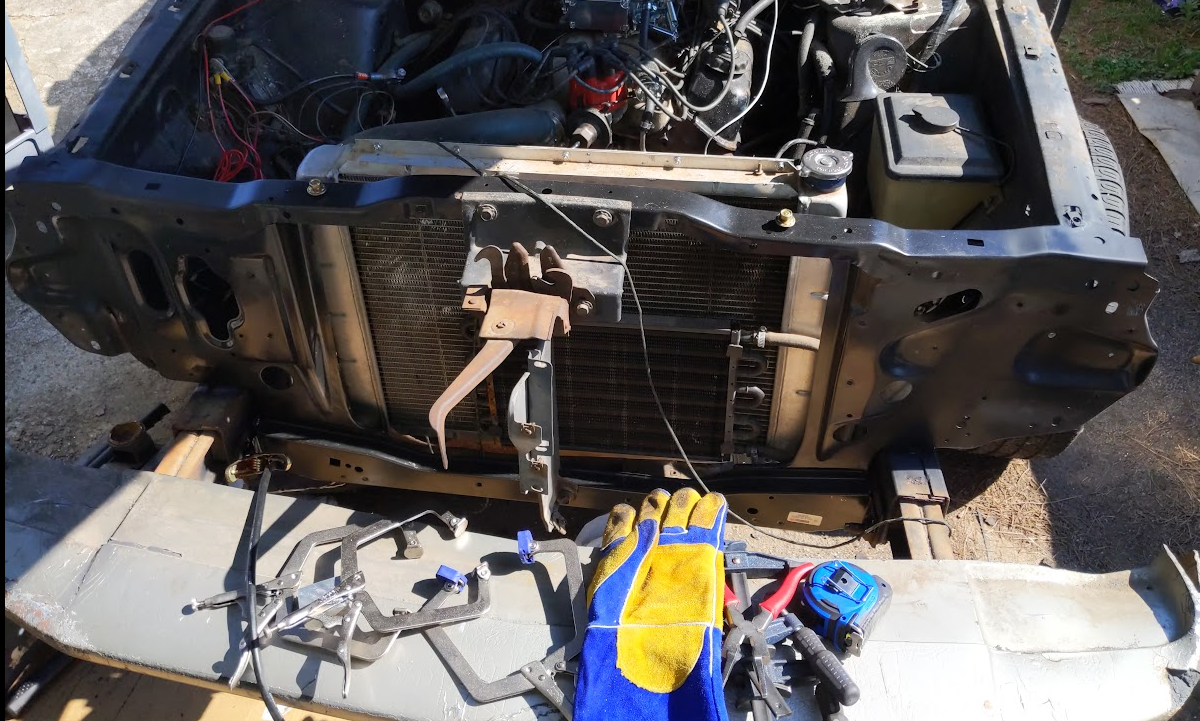
When I did my 73, I used a 2x4 and a square to do what is known as a "story pole" in woodworking and construction. I was able to hang my radiator off the 2x4, so I didn't even need to drain my coolant to do the job.
Take off your fenders. Then use the existing holes in the inner fenders to screw up and through a 2x4. This helps brace the car in position when you start removing structural stuff so the car doesn't move around. Without something to give it structure, the top of the inner fenders can be moved around several inches.
Then, using a framing square, I marked the exact position of a bunch of holes and features in the radiator support in my 2x4. This is so when you start putting the new one in, you have a dozen reference points.
I used my old radiator support as a test piece to get my welder dialed in. Its real easy to blow holes through sheet metal if its not something you do every day. And dont worry too much about trying to make youtube pretty welds. 30 seconds with your grinder and a flapper wheel turns ugly welds into pretty ones. I've seen folks use a harbor freight spot welder to do some of the job. I dont think the jaws can reach around some of the inside curves to do the whole job.


 Mach1 Driver and Casgar reacted to this
 -
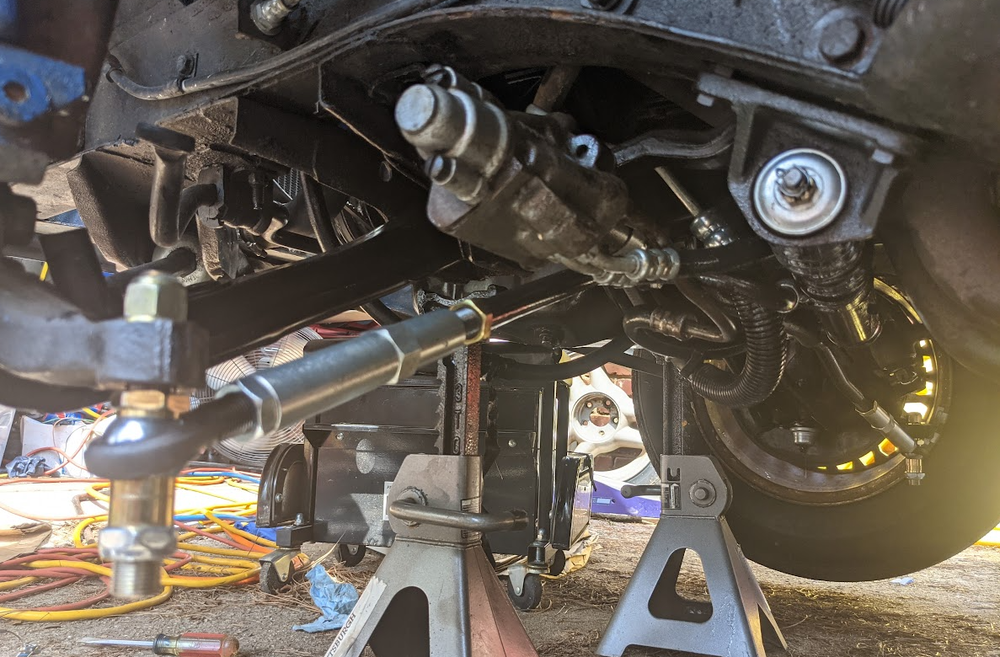
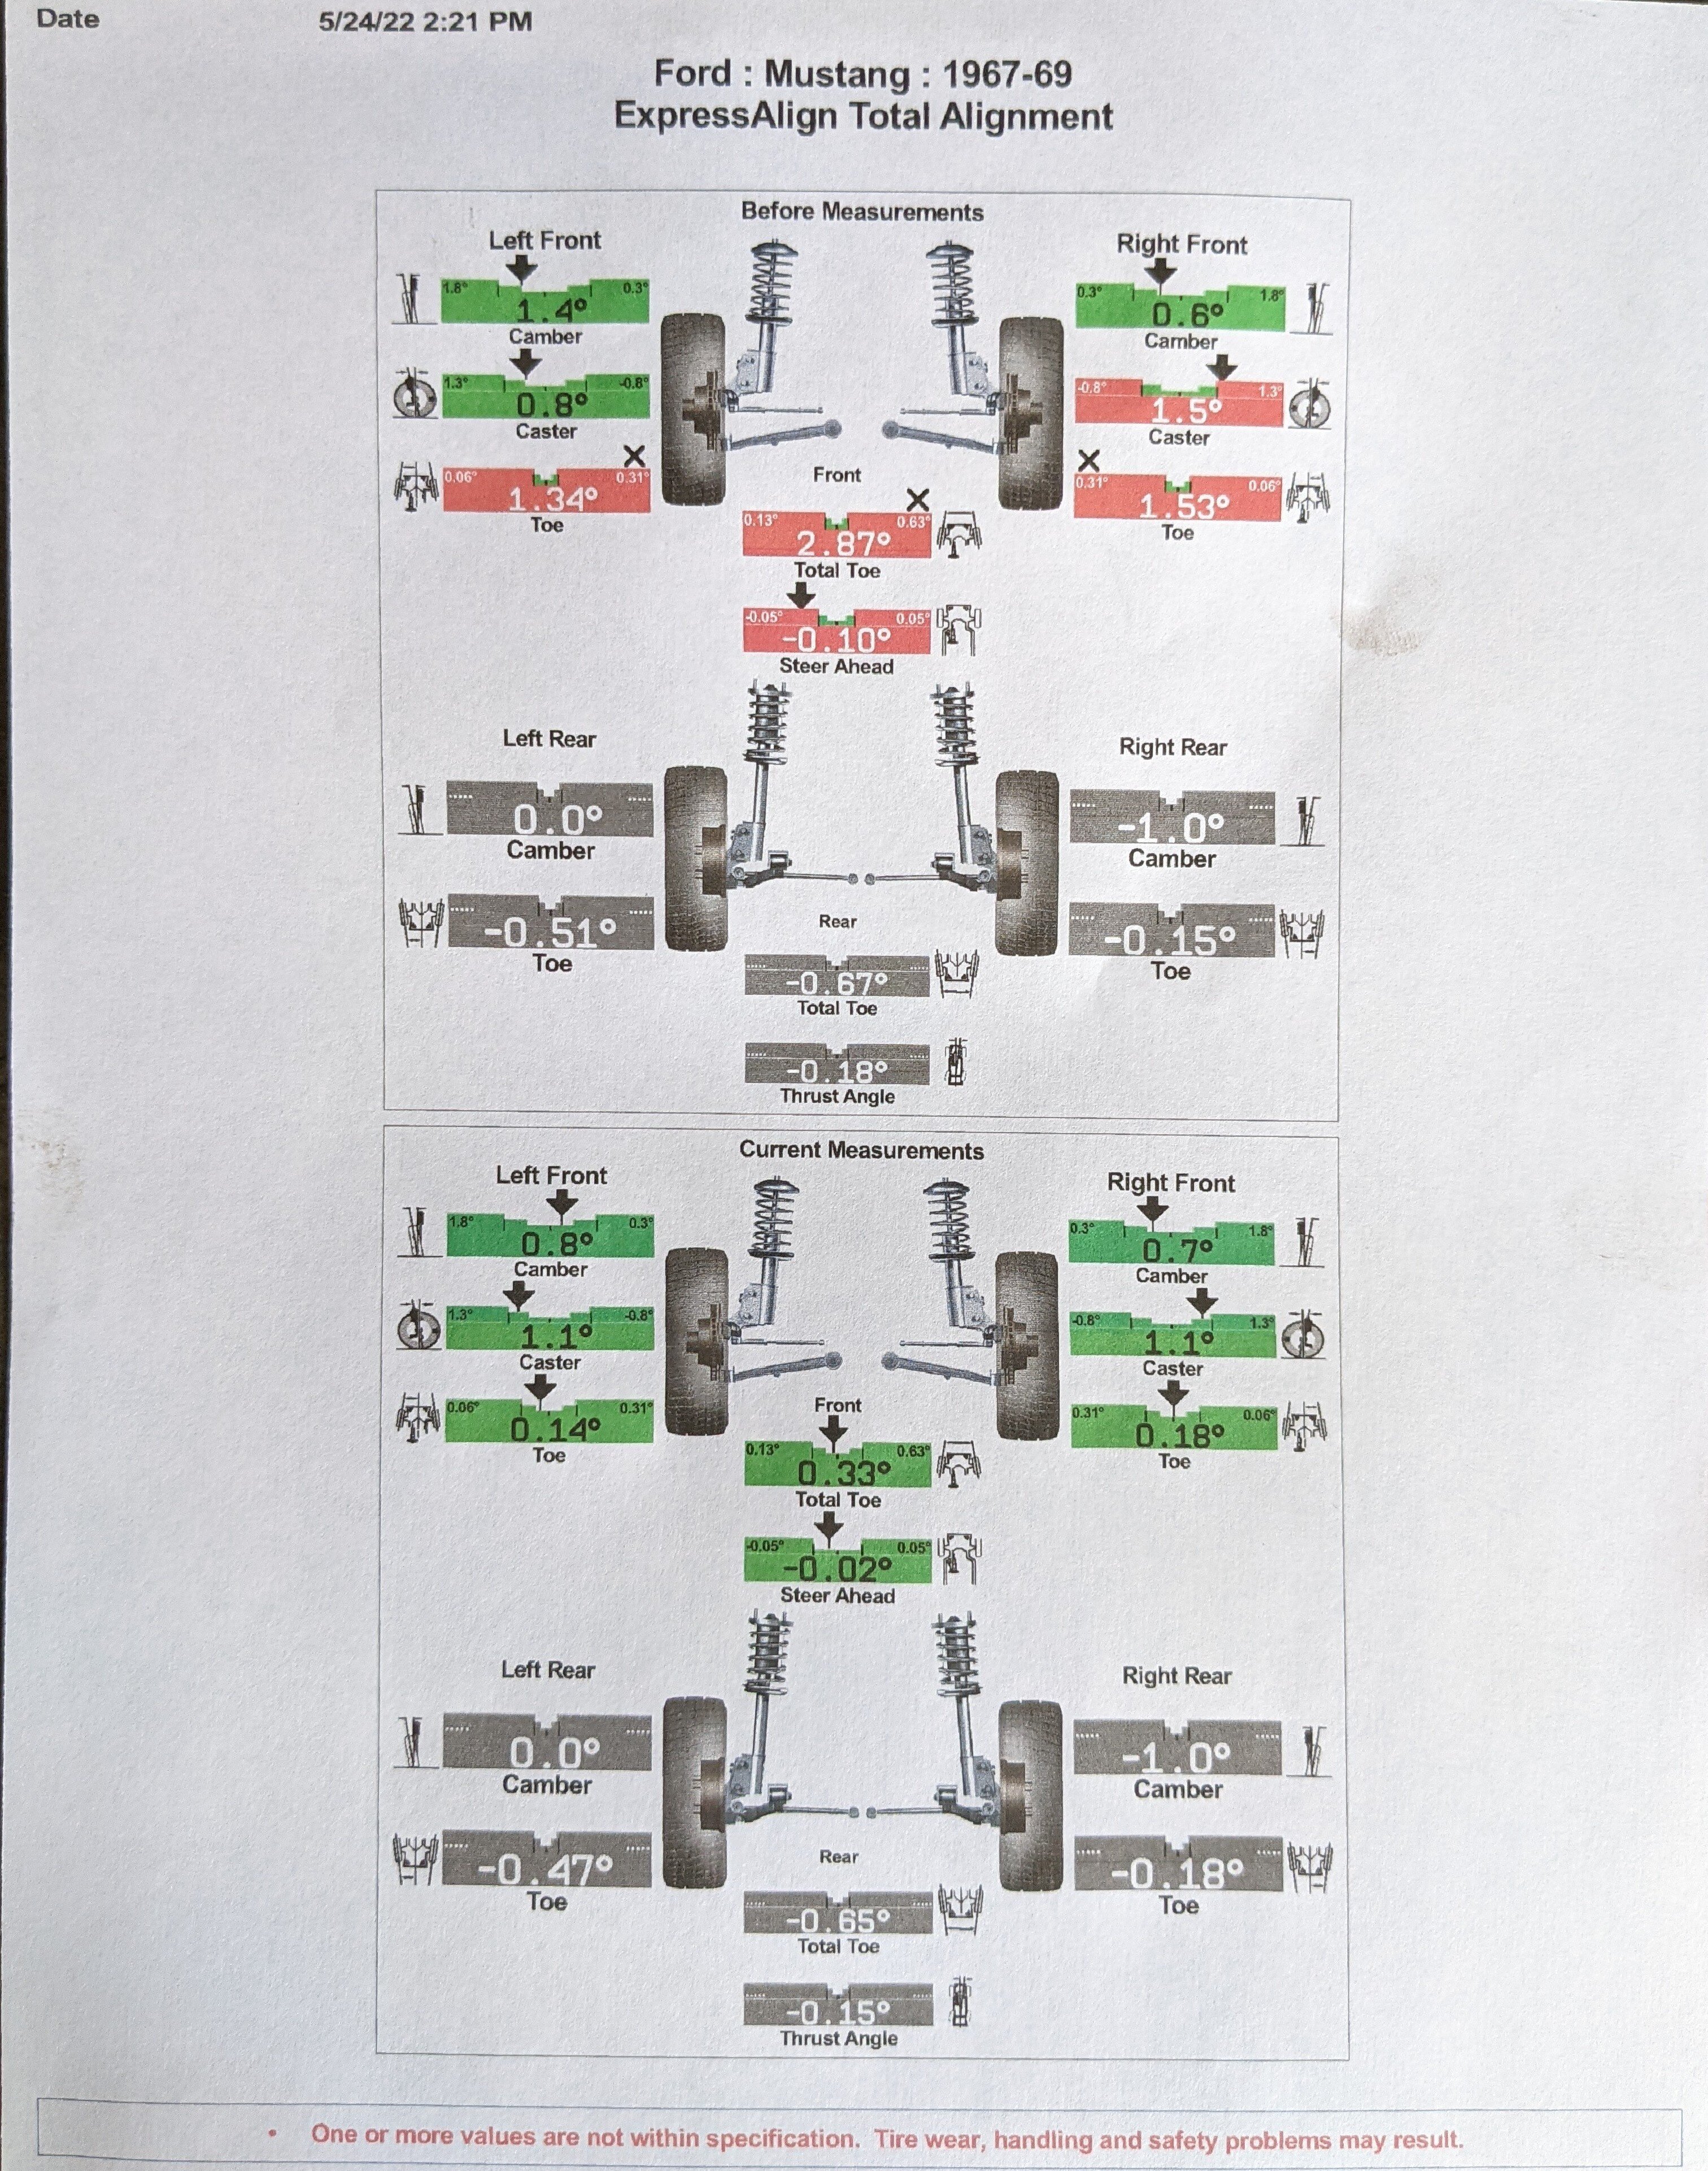
I ended up laying a blob of weld down to help stick that bracket to my frame. And my alignment guy wasn't quite able to get my car dialed in. The tie rods ran out of adjustment and couldn't be made short enough. I took the car back home, pulled the tie rods in half. And then lopped off an inch out of the threads and put them back together.
The alignment guy was able to get everything dialed in pretty good. Everything ended up in the green and he got it better than some of the much newer cars that come in. Apparently the numbers indicate that my frame's really straight and it hasn't been in any bad wrecks to knock anything out over the years.

-
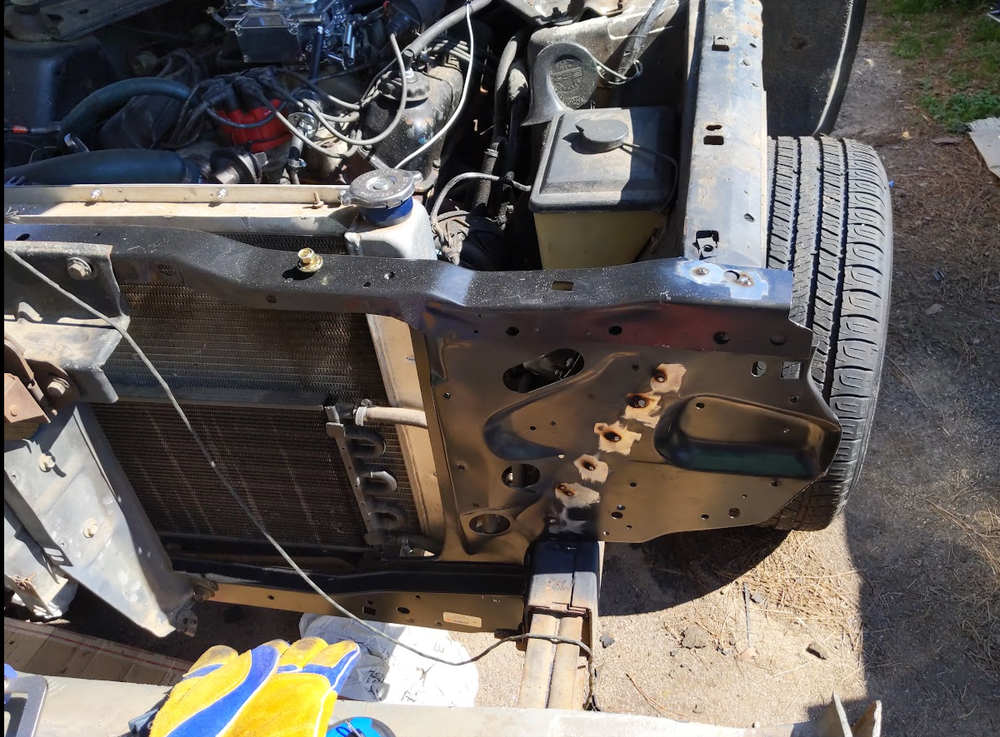
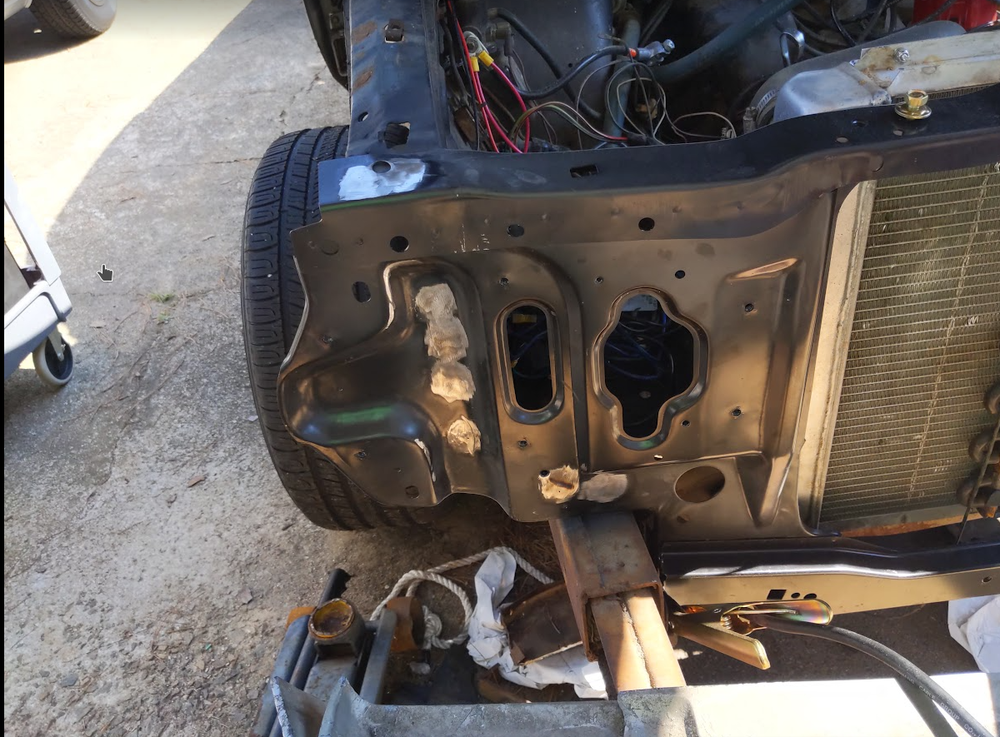
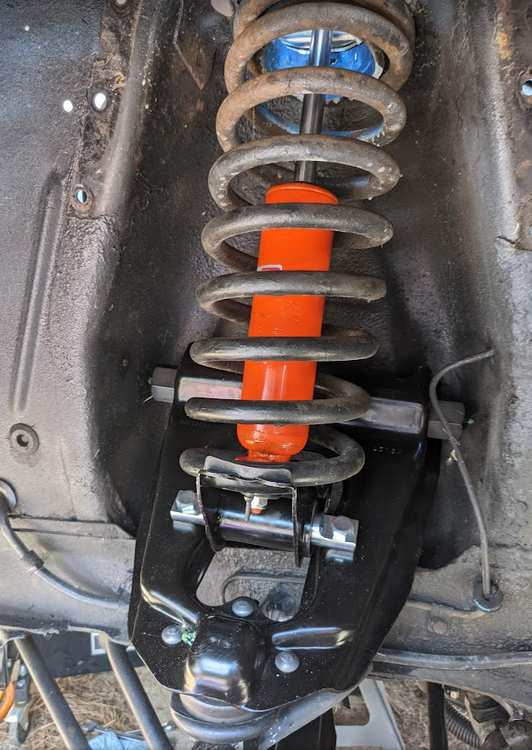
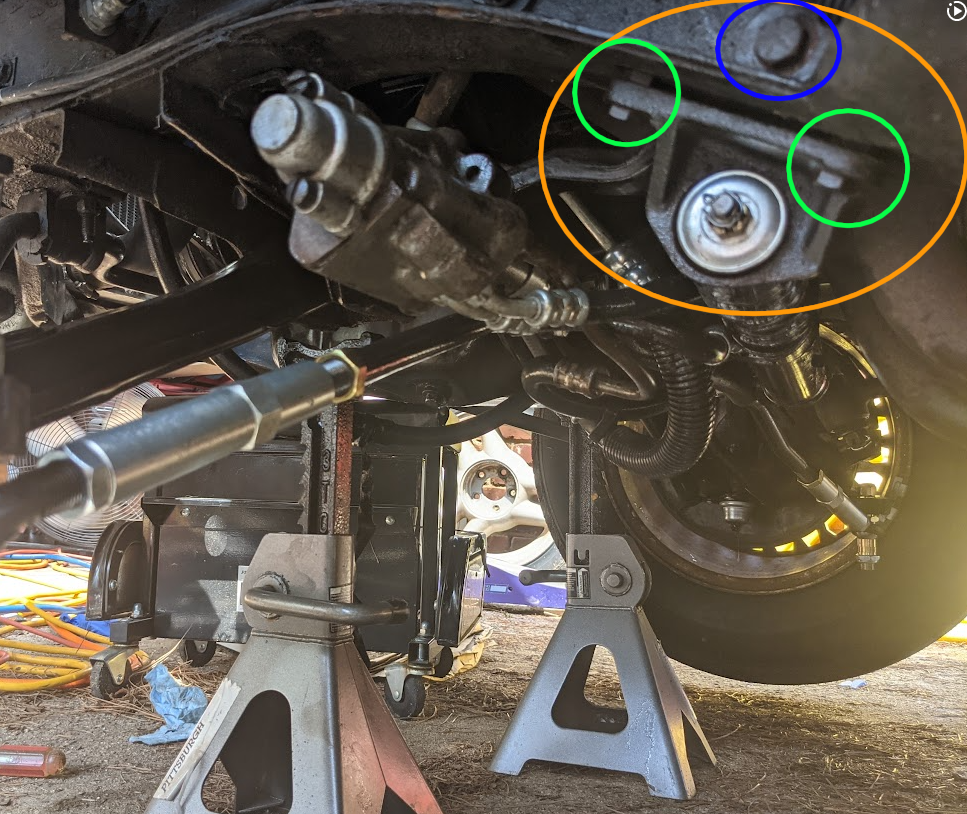
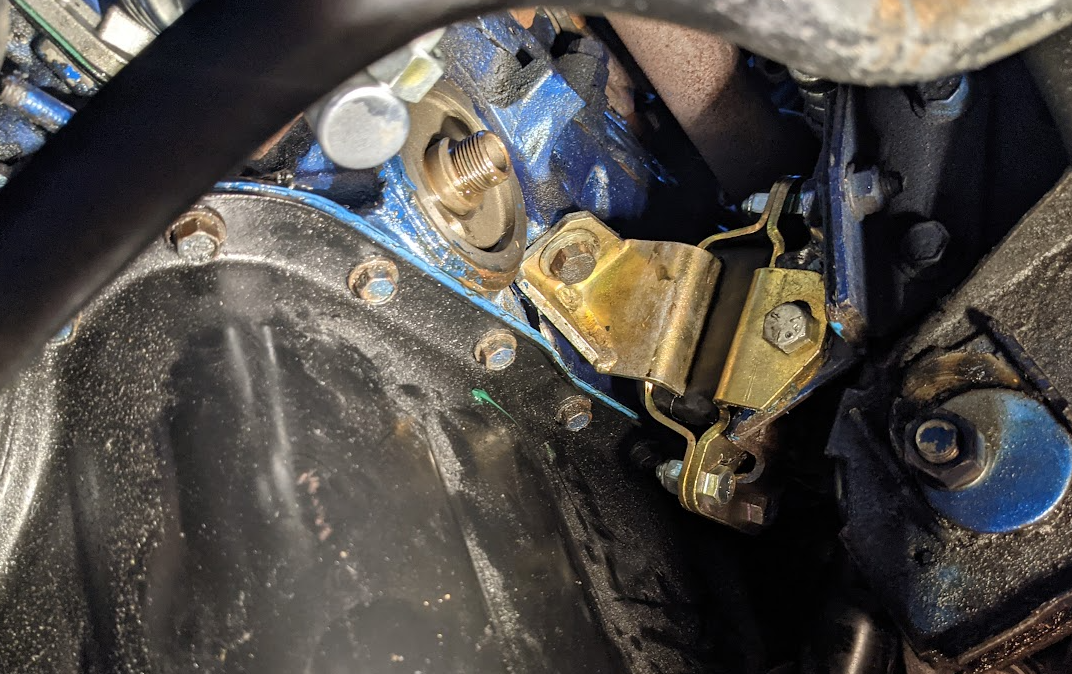
I got an unexpected surprise this morning. I drove the car to the alignment shop. Then when the dude's in the parking lot turning the steering wheel to get the car lined up to go on the rack, there was a POP. We looked under the car and found half of a bolt broken off. It was this bracket pictured below in the orange circle. The blue bolt is the one that broke in two. The two green bolts just pulled right out like they were not even attached to the frame at all. This section of the frame is boxed in pretty well, so I dont even see how to get a nut and washer up inside the frame there to tighten those bolts against. Am I missing something obvious? Only other thing I can think of is to weld the nuts up into the frame to bolt to, or to just weld the whole bracket to the frame.

-
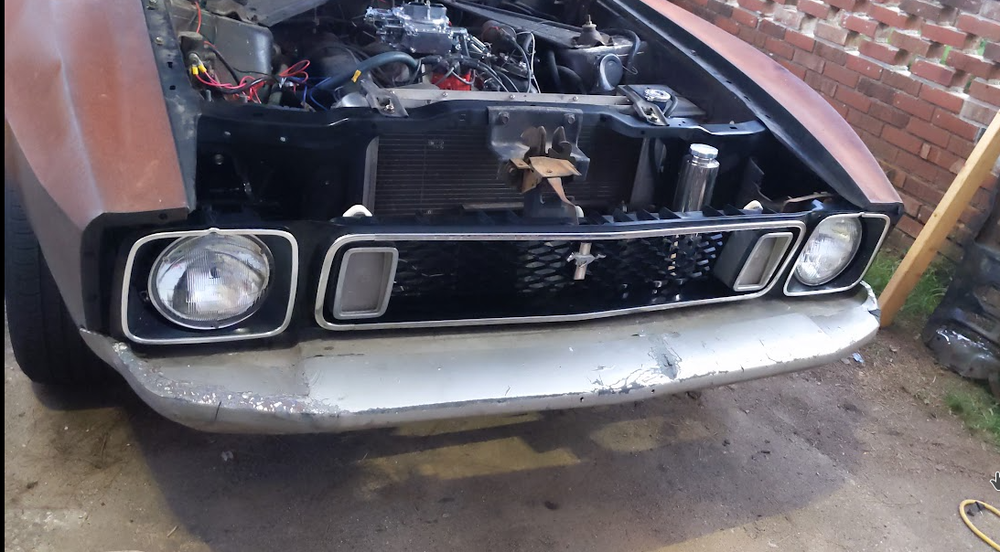
Whew, I got it off the jackstands and back on the road today. I started out by putting in some 3pt seat belts. Then the UPS man brought me the last piece I needed to button up my new fuel line. While it was up in the air, I let it run and get up to temperature and played with the steering wheel to check for leaks. Everything looked good so I dropped it down and took it for a spin around the block and up to the gas station.

 toranav8ss reacted to this
 -
Today's after work project was replacing the motor mounts. It was a pain in the butt working in tight quarters, but really only a couple hours of cussing like a sailor.


-
Progress continues, slowly. I got the driver's side back together. My power steering cylinder mounting stud was junk, so I ordered a new Lares cylinder.
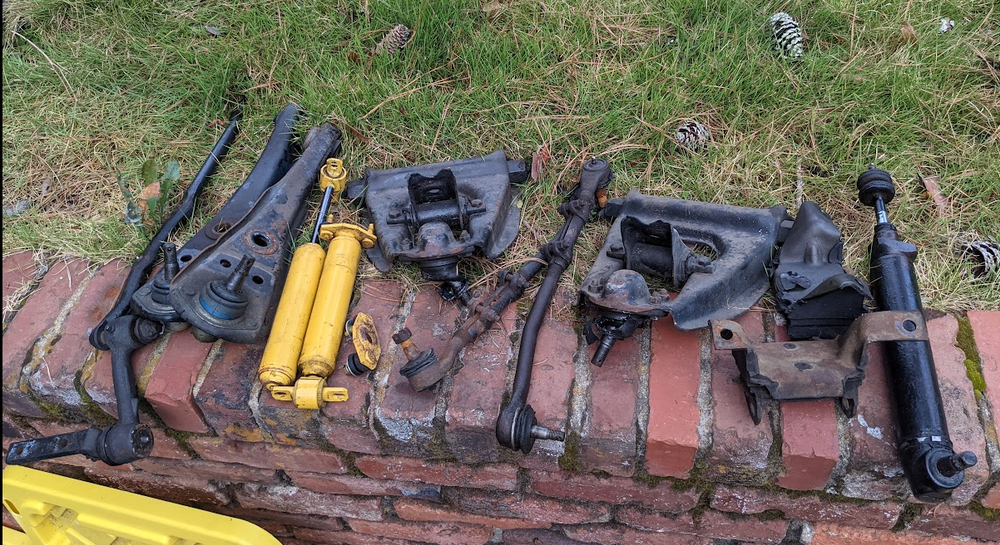
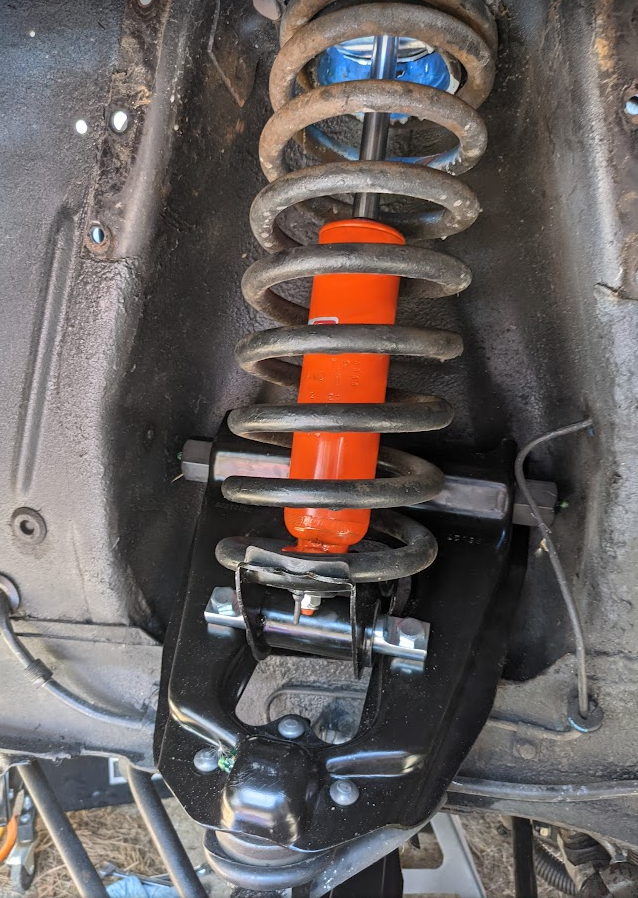
So far, the running count is upper+lower control arms, ball joints, inner+outer tie rods, center link, slave cylinder, shocks.
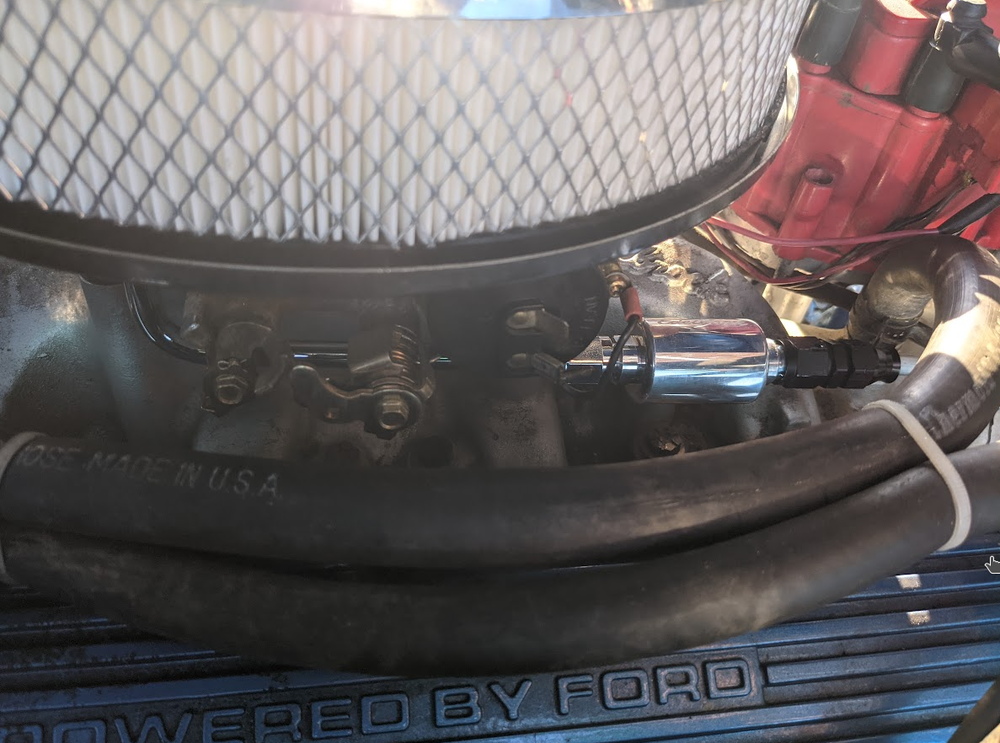
Then up top, replacing the fuel line between the pump and carb with a hard line. The threaded portion of the fuel pump was wallered out a bit. The fuel line wouldn't seal up and had a drip while running. So now i got a new fuel pump on it.
With the front end all put back together, its almost ready to get back on the road.
-
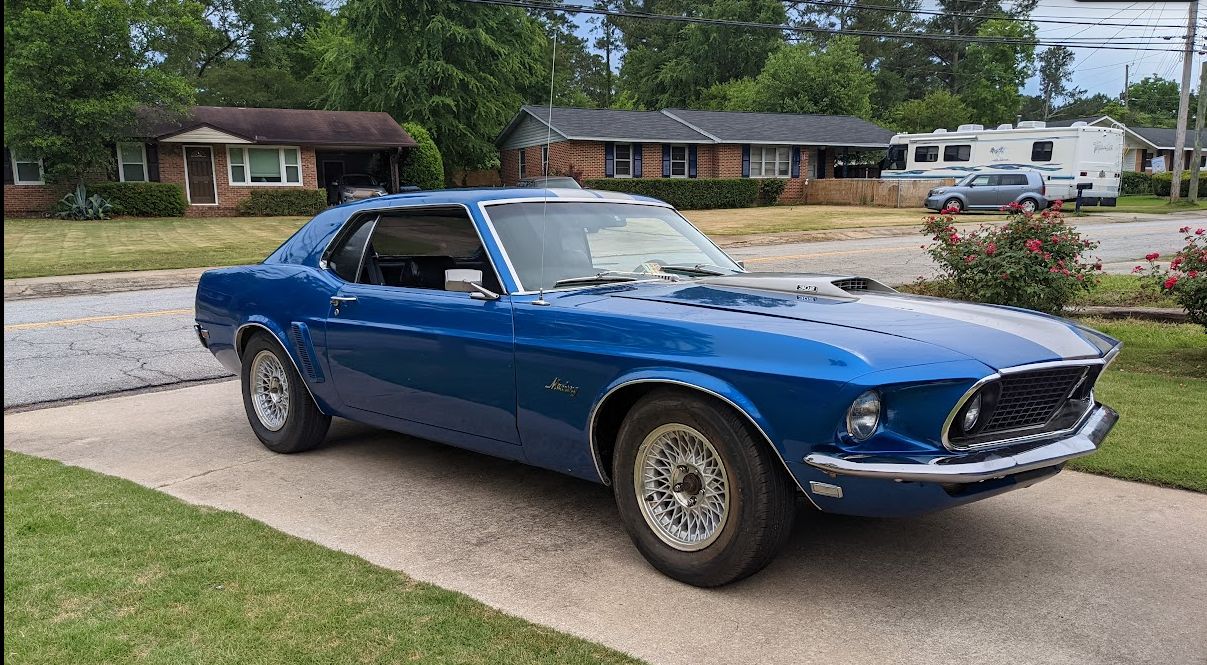
48 minutes ago, rwcstang said:looking good so far, the marquis wheels make it look better than those fleamarket looking wheels.
I would only upgrade to larger 17 or 18" wheels if I was doing a large brake upgrade, like I did. what wheels did you order?
I haven't ordered any yet. They got bumped down the list a bit since i got these temporarily mercury ones. I'm going to focus on the stuff the car needs to run and drive safely.
The wheels i would like to get for this are the legendary 17x7 or 17x8 cobra style ones in gray.

-
The saga continues. I got the passenger side put together. New tie rods, upper and lower control arms, shocks, center link, and idler arm. I got most of the driver's side taken apart.
While I was up under there, it looks like a need a new power steering cylinder. And the fuel line from the pump to the carb is leaking. So new power steering cylinder and fuel line are incoming.
With the total control bumpsteer eliminator kit, I was able to get the passenger side to 0.100" of bump steer as the suspension travels from ride height to fully compressed. There wasn't enough adjustment to get any better than that.
-
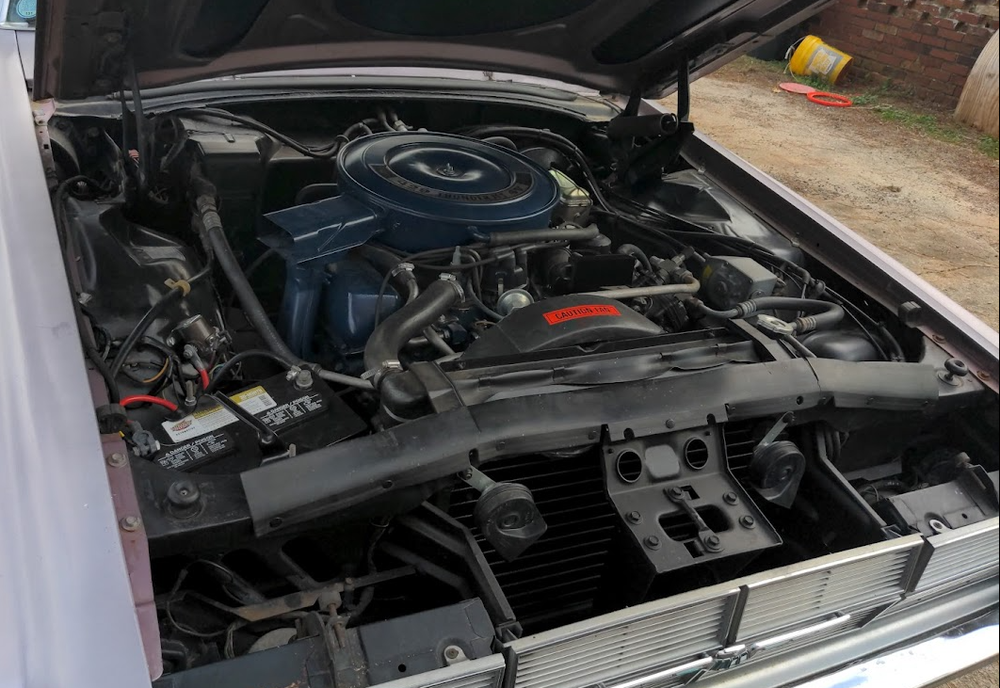
12 minutes ago, EastYorkStang said:Whats is wrong with the T bird ? I'd be more inclined to get that mobile.
The tbird is in pretty decent shape. It just turns out its a little too nice and "rare" for me. It has so many options. On paper, it checks a lot of cool boxes. In reality, its a lot more to maintain and a lot of parts that are hard to find replacements for. 50yr old switches and relays that you can't easily replace. Arm rests on the doors crack and new ones run $350 per side. I'd rather have the mustang that has better aftermarket support.
The tbird is a cool cruiser. Very smooth ride and super yuuuuuge trunk. I just want something more roudy and raw.
-
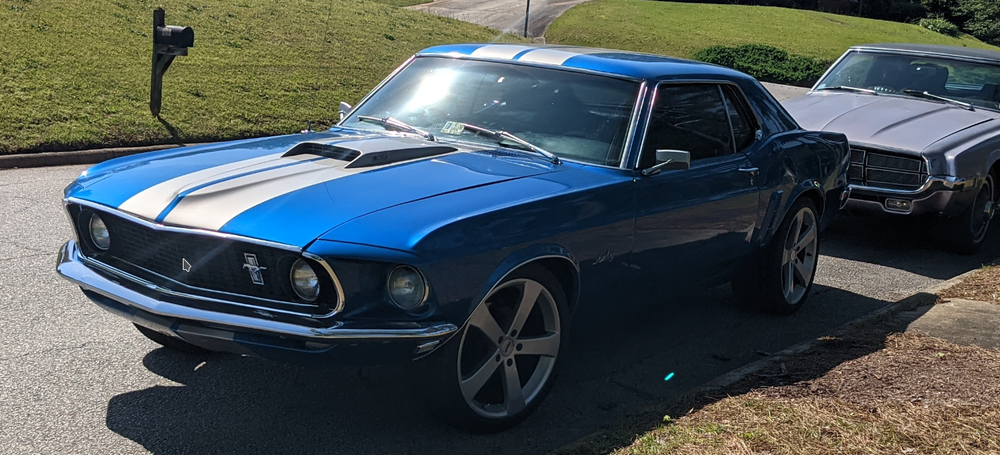
My car is a 69 coupe with a 9T01T VIN number. Paperwork in the glovebox and the inspection stickers on the windows show it was last on the road legally in 2016. The stack of paperwork that came with the car indicates it was somebody else's project car back in 2012-2013. They swapped it to a 302/T5 transmission, granada front discs, 96 mustang rear axle with 3.55 gears and discs, some sheet metal. They did the interior with carpet, door panels, and upholstry. The body is in good shape. Its not banged up anywhere and the only rust is in the trunk lid.
It needed some work on the front end when I got it. I knew it needed tie rods, so I ordered a set of the total control bump steer eliminator tie rods. Then when I get it home and get it up in the air, thats when it started snowballing. The left shock was completely broken. The top and the bottom of the shock are 2 unconnected pieces. The ball joints are also looking rough. So then I'm thinking fine, I'll order new shocks and control arms. Then I get to taking apart the passenger side and I see the steering link is very loose at the idler arm. Fine, I walk in the house and order up an idler arm. The next day I start putting the passenger side together and then I notice some welds where they're not supposed to be. Somebody has welded the castle nut onto the steering link at the idler arm. So now I get to order the steering link.
While I've been waiting for the front end to get delivered one part at a time, I've been working on other little things. Fixing the door lock rods, latches, and locks. Replace missing PCV hose, replace fuel line and fuel filter, air filter, and oil change. The car came with 19" rims with tires that were worn through to the steel belts. I'm not a fan of the rims, so they're getting replaced. The rims I picked to replace them are backordered for months. So I went to the local pull-a-part and found some 90s grand marquis "snowflake" style wheels for $100 for the set and cleaned them up a bit to hold me over.
Something I'm not clear on is what to do with yet is my choke. There's an edlebroke 4 barrel carb with electric choke. The choke is not connected to anything. I looked at the wiring diagrams for 1969 cars and did not see a wire to use. On my 73 mustang, there's a wire on the engine harness beside the oil pressure and water temp that is hot when the key's on. If there is the same wire on the 69 model, is it suitable to connect to the electric choke? It looks like the previous owner converted this car to a 1-wire alternator. There isn't a post on the alternator to connect to.
Still on my to-do list
- door windows are a little wobbly. maybe need to replace plastic guides
- rear package tray was wet after rain. maybe need to pull the rear window and install it and seal it up properly
- tail lights are kinda nasty looking. maybe replace them
- only 1 of my hood mounted blinkers works
- there's some gremlins in the wiring for the interior of the car
- aftermarket AC. something like vintage air or classicauto air
- I would like to convert the interior to the "deluxe" door panels and I like the idea of the aftermarket dash that kinda looks original but has more gauges
- power steering hose routing looks like spaghetti.
- replace engine mounts. One of them is completely separated
- figure out the choke.

-
Yeah, this car's probably not gonna get a $15k+ motor in it. Not unless somebody comes knocking on the door letting me know my long lost rich uncle has died.
The realistic options for this car are either the stock 429 out in the driveway or some windor motor that costs me around the same. I figure pulling the 429 to use here will cost me about $5k by turning my complete running tbird i could sell into a roller. Prices at the local engine shop for a complete dyno tested windsor with a warranty is $5k for 325hp and $6k for 400hp. With a windsor, i can reuse my existing headers and engine accessories.
The front of the car is already swapped to granada disc brakes and the back has a complete 96 mustang axle with 3.55 gears and disc brakes. Transmission is a curently T5 which would probably get replaced with a tremec if i got too much more torque under the hood.
-
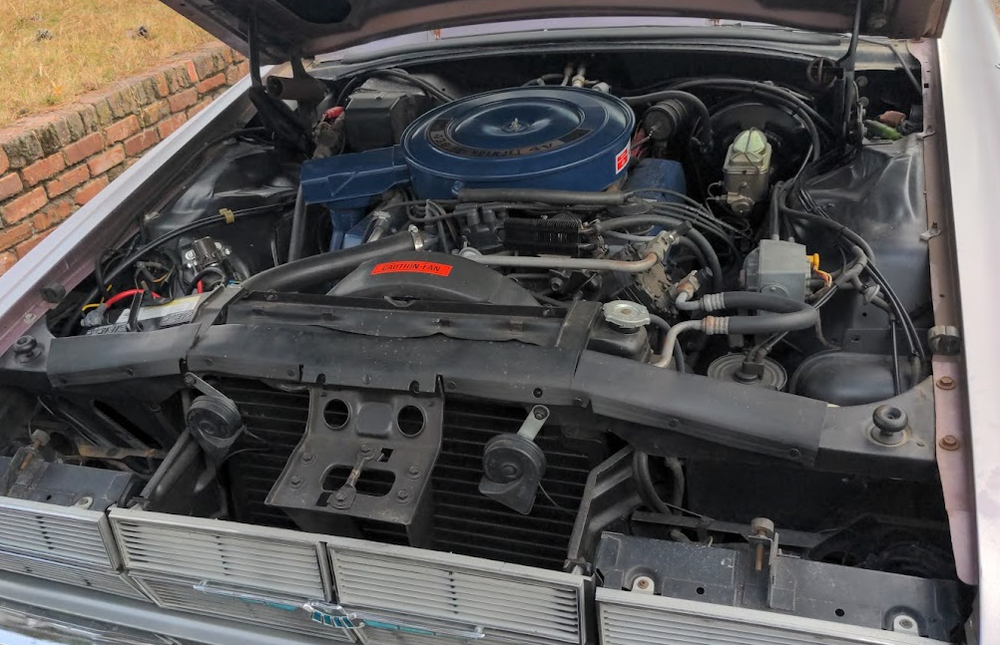
I've got the 69 mustang coupe, nothing special, out in the driveway. Previous owner put a 302 in place of the inline 6. There's nothing wrong with the 302 thats in it, that I know of.
Problem is, I've got a 69 tbird sitting out in the driveway with the 429 thunderjet. Under the hood, it looks almost bone stock. This is pretty much the basic plain Jane 429. I keep hearing something from the driveway calling me to yank this puppy out and drop it in the mustang. It sounds like Tim the toolman Taylor's voice whispering "no replacement... for..... displacement".
Does the 429 in this form have anything over a stock 302 or 351w with an intake and headers on it? And is it enough to make you want to snatch the motor out and shoehorn it into the mustang?
Is there any cool factor to having the '69 429 in the car? Or would you just stick with the small block and maybe jazz it up?


Ideas for adding tach to non-tach car?
in 1969-70 Technical Forum
Posted · Report reply
Do you happen to know the name or website for this company?