


potato
-
Content Count
57 -
Joined
-
Last visited
-
Days Won
2
Posts posted by potato
-
-
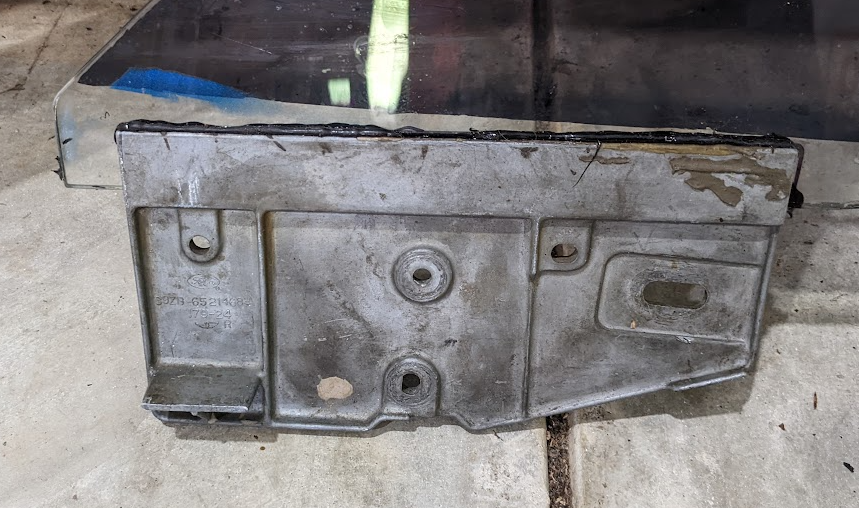
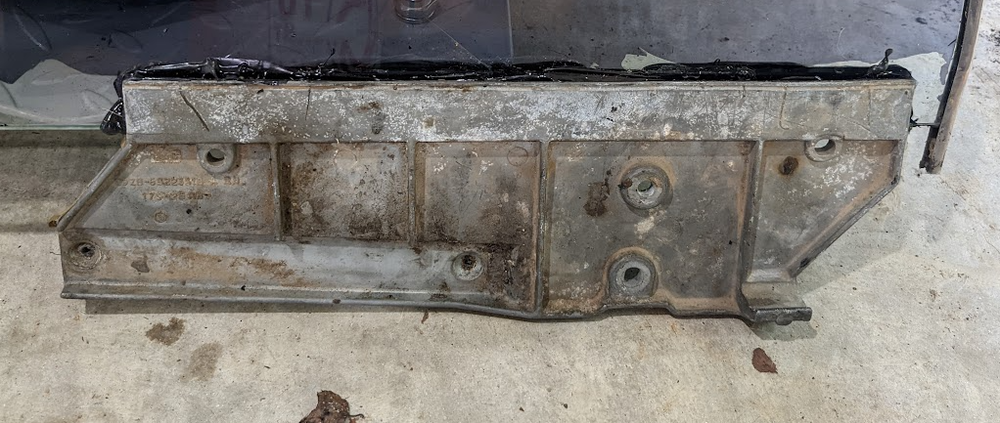
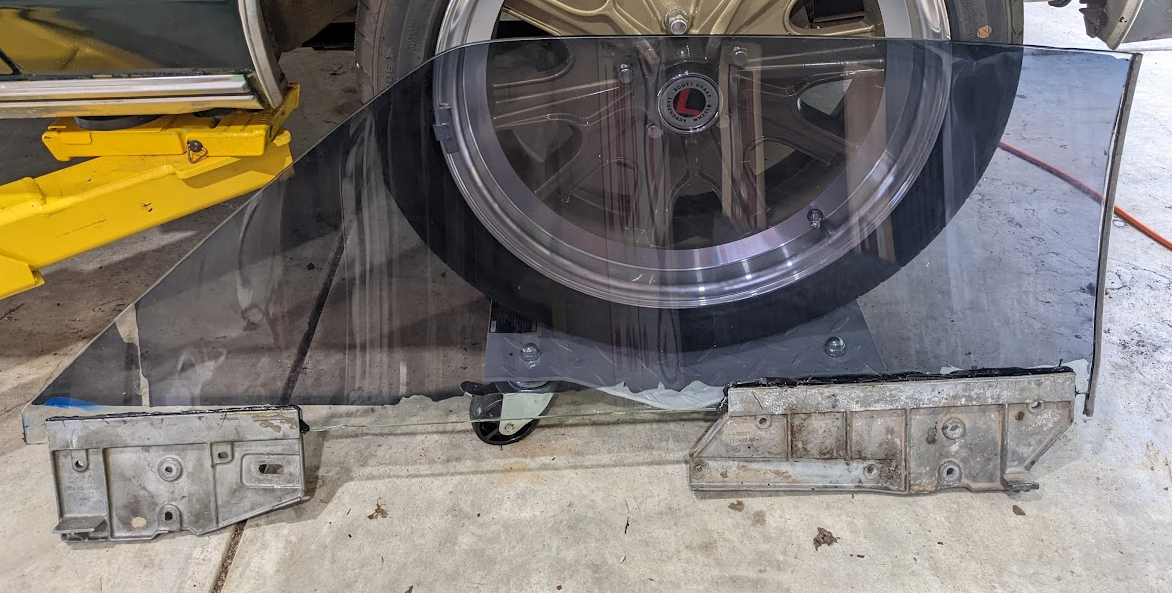
Selling the glass a previous owner had put in the door of my 69 coupe. I believe its a fastback window. The curve and height is wrong for a coupe. Brackets are glued to the bottom. Its got a DIY window tint job that's seen better days.
$150 as is/where is, in Augusta, GA. If you need it shipped, that probably wont be cheap due to size, weight, and having to pad the heck out of it.


-
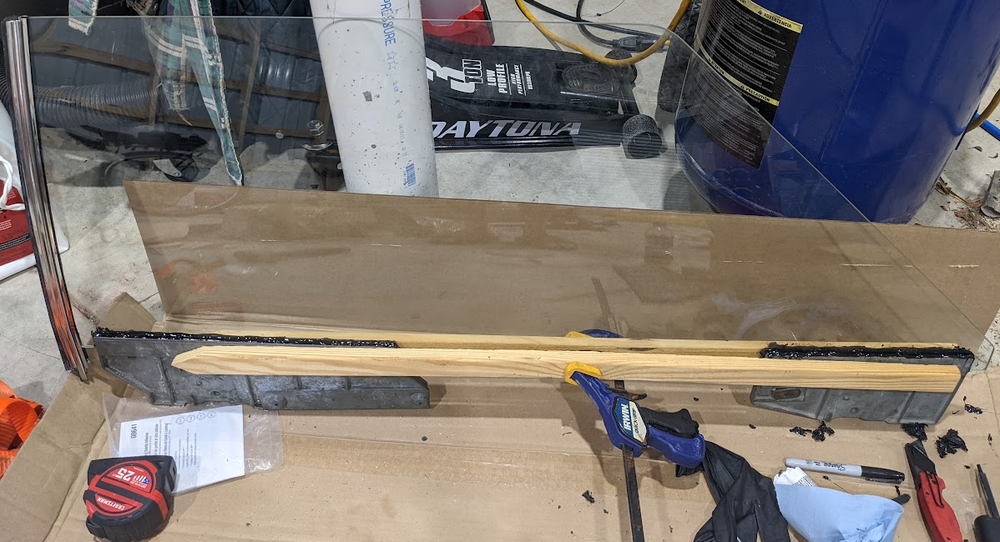
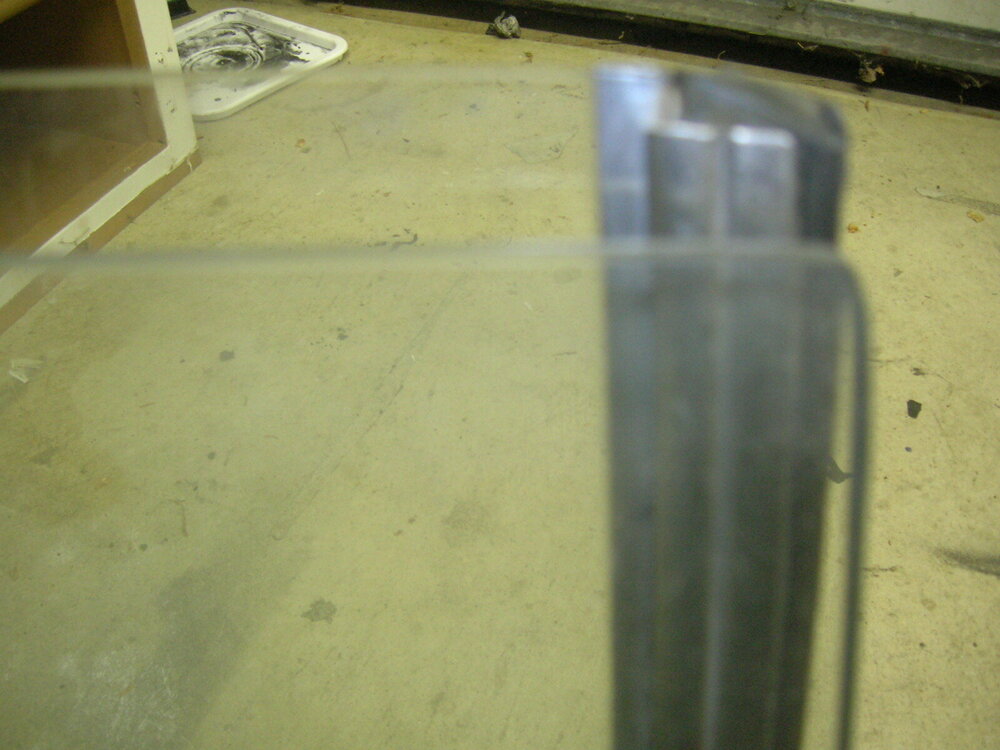
My new window finally came in. I gave it a quick measure and its 15" and some change tall, so shouldn't be another fastback one. :D
I got all the different parts glued to the window. Then a couple hours later realized I managed to somehow put the front one on backwards. Despite checking it a dozen times and telling myself not to do it, I somehow did it. :D Luckily I caught it while the glue was still not fully cured. I was able to get the bracket off and cleaned up and glued on the correct direction.
Something I noticed the first time gluing the bracket on is it was a bit of a chore keeping them from tilting. This time around, I used a couple stakes and a clamp to hold the brackets so they're at least on the same plane with each other. Whether or not that makes a difference, I'll know after the glue dries and I go to put this thing in.
-
I think thats it then. Time to order the correct window, and all the parts that glue to it.
And now I have a passenger window for a 69 fastback. The only logical thing to do is buy the rest of the car that fits my window. :D
Mach1 Driver reacted to this -
7 minutes ago, aslanefe said:If you remove the door panel, you should be able to get more accurate measurements. Also, do you have a fastback or coupe/vert?
Mine's a coupe.
-
30 minutes ago, aslanefe said:If one side fits good but other side does not, why don't you measure the right and left side glass and see if they are the same?
Its hard to get a really accurate measurement with the glass installed in the car. Measuring the height along the back edge of the glass, the drivers side is about 15" and the passenger side is 13.5'.
-
40 minutes ago, 69RavenConv said:I believe the door glass is the same across all models. In 1970 they switched the weatherstrip and put it on the rear window instead of the front. Is it possible you've got a mix of 69 and 70 glass? Bad picture of a 69 and 70 side by side.
I believe mine is 69 glass. The door glass in the 70 is longer due to them moving the weather strip to the rear window.
And I believe fastbacks use unique door glass. The coupe and convertible have the same, and the fastback has its own. I reckon due to the angle of the windshield.
My glass appears to be too short top to bottom. With it glued all the way into the U channels, it is not possible to roll it up far enough to touch the weather strip at the top. I wonder if that is the cause for the glass also appearing to not fit front to back.
-
7 minutes ago, Mach1 Driver said:the fastback rear window hinges at the front and opens slightly at the back- it doesn't roll up and down.
I'm dealing with door windows.
-
5 hours ago, Brian Conway said:A picture of my window and brackets. I shot the polyurethane into the cleaned bracket channel pror to glass install. Seated the bracket all the way down.
I wonder if somehow I have the wrong piece of glass then. Like if the previous owner had maybe put a fastback window in my coupe, and just installed it so incredibly incorrectly that it somehow managed to work. But then when I go to install it the correct way, the thing is too short.
-
And how "deep" inside the U channels of those gray parts should the glass be glued? I played with my stuff some more and it seems like I have the glass down too deep. The guide runs into the top of the guide rods and the window still needs to go up about another inch.
-
I have been going through the doors in my 69 mustang to get the windows installed correctly so they quit flopping around. The doors have the glue-in style glass.
I watched the video that west coast cougar has about these windows. I ordered the parts that glue to the glass since mine were either cracked or mutilated by a previous owner.
Like the video said, I glued the brackets to the windows with a 1 inch gap from each end. I got the drivers side installed and it lines up very well.
On the passenger side, it seems like the window needs to slide back in the door at least an inch. The problem is the regulator and the front vertical guide rod. They will not allow the front gray piece thats glued to the window to move any further backward. And because its glued to the window, the window cannot move any further backward.
Is there some magic voodoo to be able to slide the vertical guide rods backwards? My current plan, now that this thing is firmly glued to the glass, is to drill 2 new holes on the part thats glued to the window so the guide piece is moved forwards a bit. And then elongate the slot in it for the captured bolt where it attaches to the regulator. That way, if this doesn't work out, I've only ruined 1 piece.
You guys are my last hope to be able to get this correctly adjusted before I break out the power tools.
-
I'm finally getting around to sorting out everything that goes inside my doors. The previous owner cobbled something together that mostly worked. But the windows were on the loose end floppy side. What started out as "no problem, I'll just reglue the windows" has snowballed into having to replace all the parts that are glued to the window, most of the guides that it rides on, and some of the stops.
I think I have all the necessary parts ordered. Some of them have arrived. The windows are out, and I'm currently covered in black goop from getting the old broke and incorrect parts cut off the windows. Probably another few hours of cleaning up, then I can start putting it back together.
-
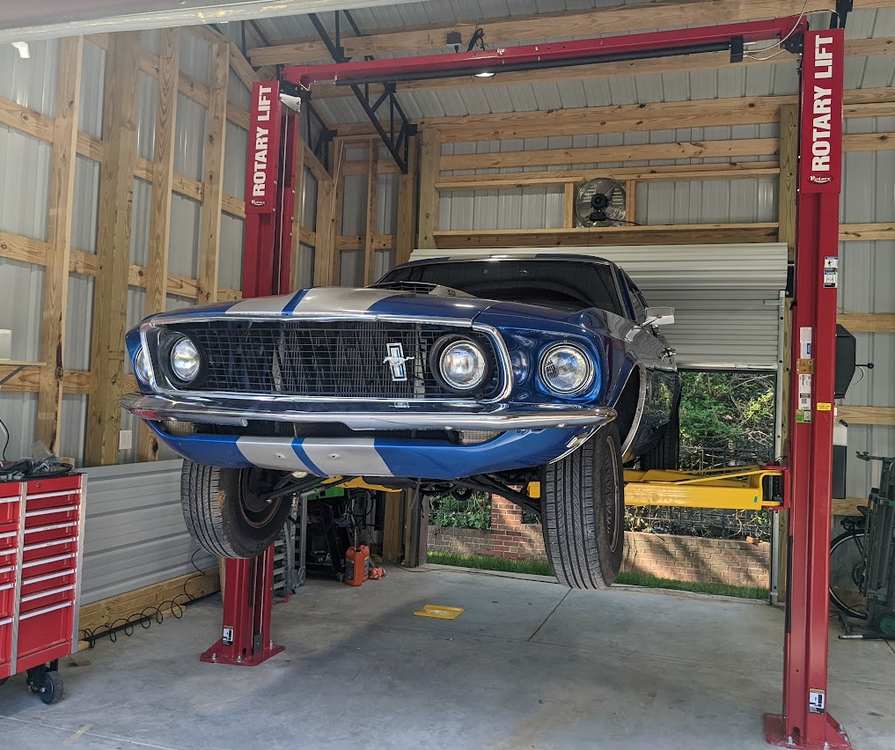
What are the factory recommended lifting points for picking up our cars on a 2 post lift? I recently got my garage build and a big boy lift. I have lifting guides for cars going back into the 90s. Thats still just a few decades too new.
Should we use the pinch welds on the 69 mustangs? Or torque boxes? I did not see a great spot to pick up the back end of the car for when I want to pull the leaf springs.
-
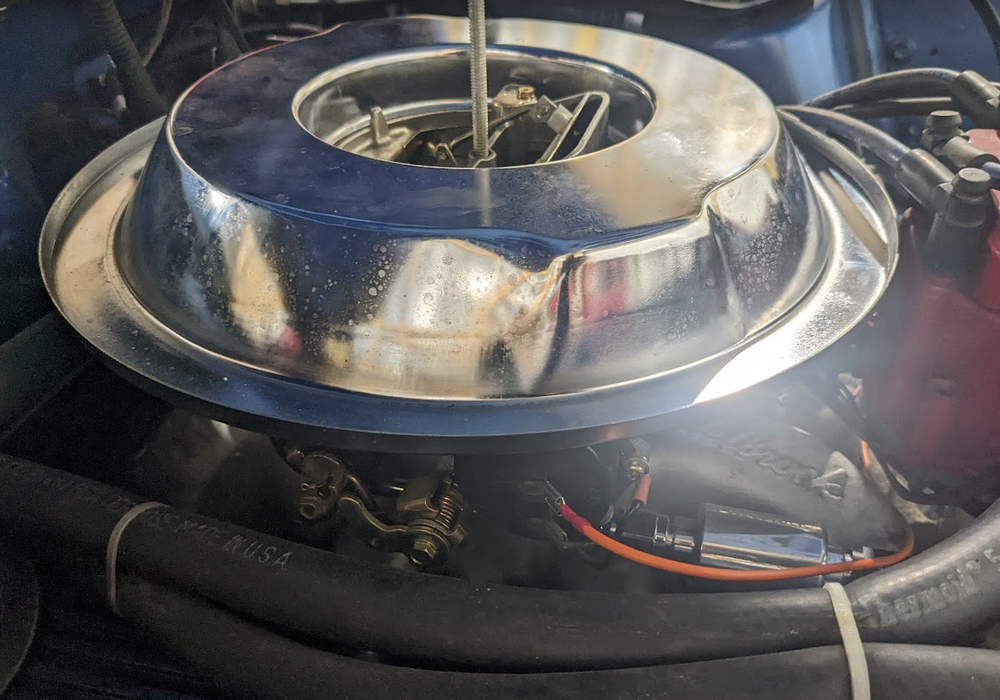
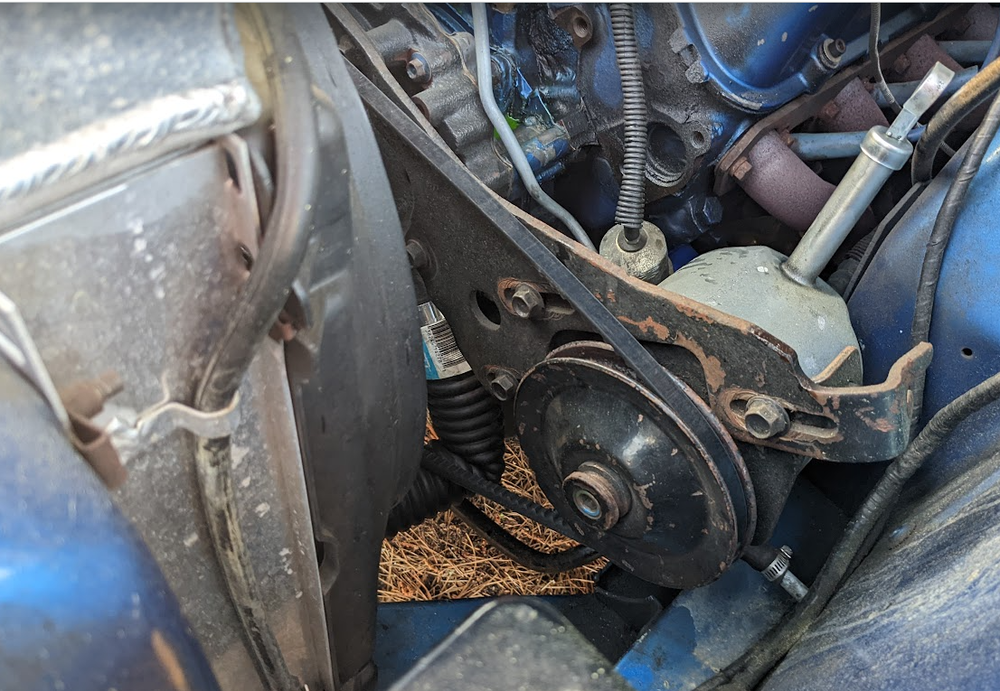
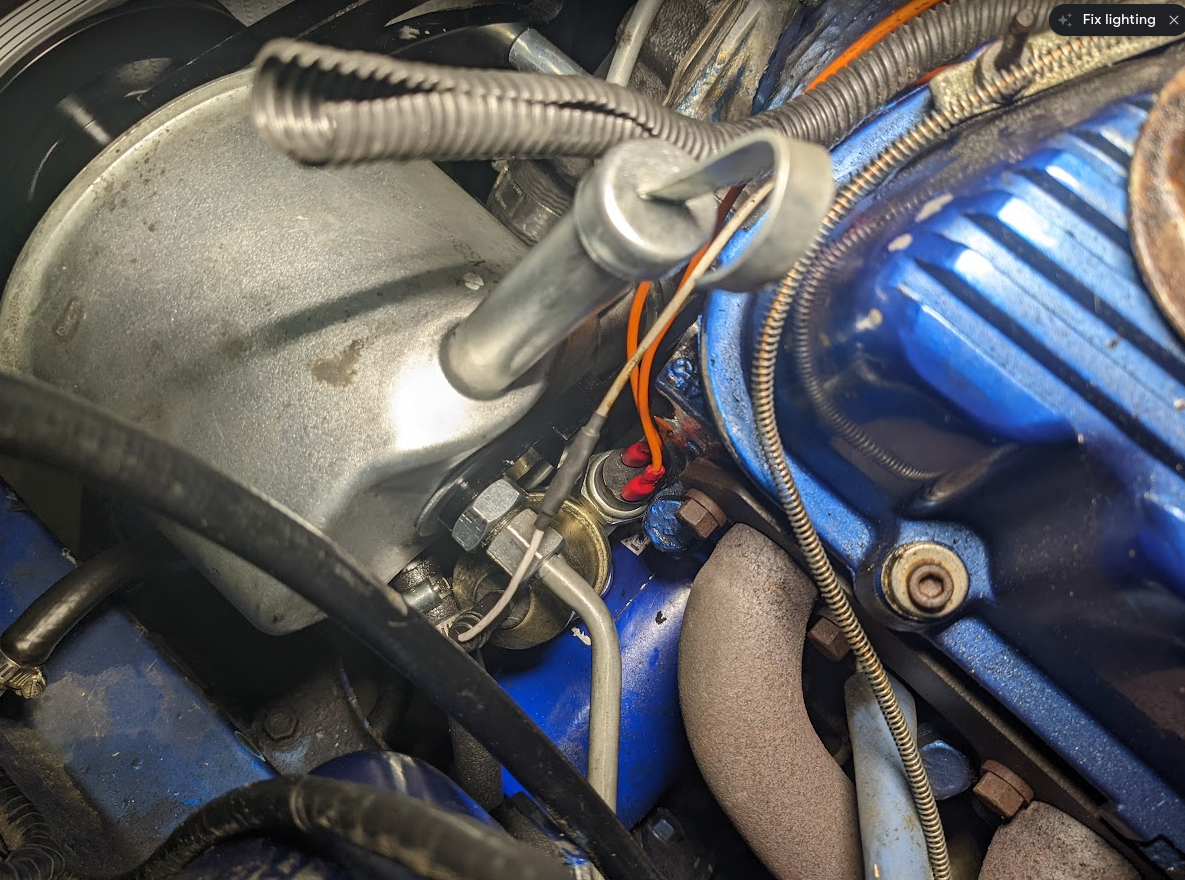
My car has an edelbrock carb with an electric choke that was never hooked up. And a 1-wire alternator, so I couldn't just wire it to the usual post on the back of the alternator. :(
I finally ordered one of those dual port oil pressure extensions and it came in today. I have the usual big pressure sending unit for the gauge, and now a smaller on/off switch. When the engine is running, the oil pressure switch closes a circuit and now my choke works.
Its the orange wires here.

 Mach1 Driver reacted to this
 -
3 minutes ago, Mach1 Driver said:Yes thanks. I can't offer much help as I have a 351w and the accessory drives are attached quite differently.
I have a 351w in one of my other cars. And when I finally blow up this 302, it'll get replaced with a 351w. :D
I do like this CVF bracket and pulley kit. It says it works on both 302 and 351. I'll go beat up on it a bit. If it holds up well, I will use it again on my other motors.
-
4 hours ago, Mach1 Driver said:Well dang, none of the links can be copied and pasted to see what it is. Do you have the "snipping tool" to take a picture?
I edited the post. Are you able to see the pictures now?
-
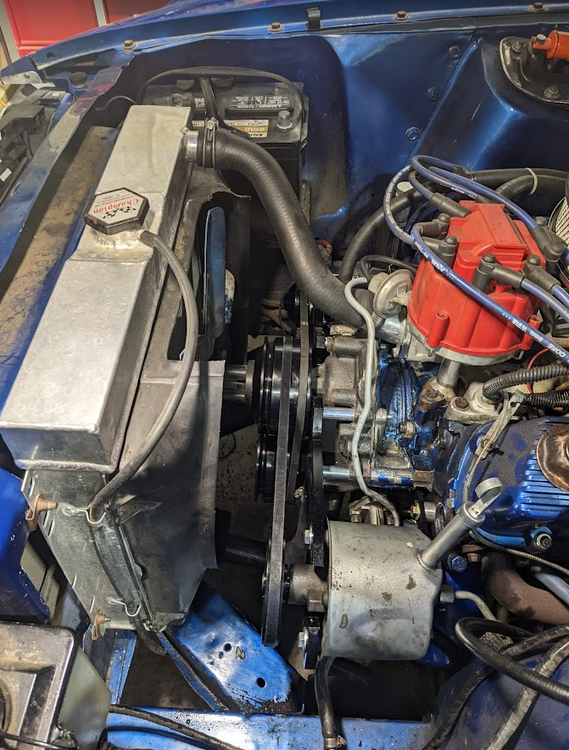
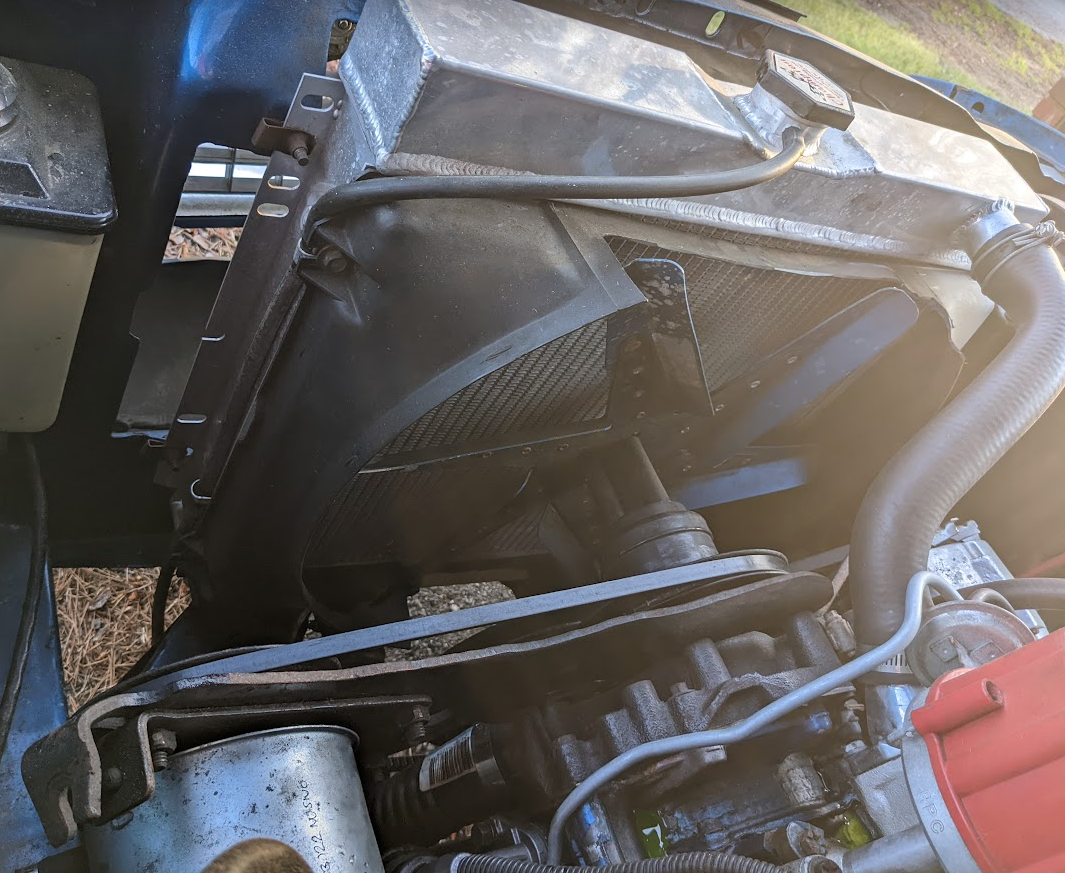
My boxes of parts came in this week. I went with the CVF racing kit with all the brackets and pulleys. The AC bracket and pulley are still in the box for whenever I want to add AC. Radiator hose is Continental brand from summit and fit after I trimmed a couple inches off.
I still need to replace the fan and shroud. I have been trying to figure out what all to order for a shroud, fan, and fan clutch that will fit this motor and radiator combination.


-
I redid the steering and suspension in my 69. Ball joints, tie rods, cylinders, control valve, etc. Even with everything redone, its still not nice and tight.
If you are starting from scratch and converting a manual steering car to power steering, I would pick something else besides the early style mustang power stuff. Either a rack and pinion mustang 2 setup or just leave the manual setup in and switch to an electric power assist steering column. The sell columns read yto go into our cars. You dont need to buy saturn parts and DIY anything.
-
5 hours ago, smh00n said:That's a 70 set up with the driver outlet.
If you can cross reference from a Mackay branded hose, either a CH959 or CH924 will fit. The difference is how long the 'tail' is that comes out of the radiator.
This has the correct kink in it to clear the OEM power steer belt. I don't know what the outlet sizes are, they are the original size.
That power steer setup is just all wrong. Junk it and start again.

Some places are listing the diameter for that as 44mm, which is about 1.75" on both ends. I wonder if these guys make one with a smaller end, too.
-
31 minutes ago, Midlife said:That's not good to have a radiator hose kinked that severely; it may stop water flowing.
Exactly! Thats part of what I'm asking about. I'm looking for a preformed hose so I can get rid of this one that's kinked.
-
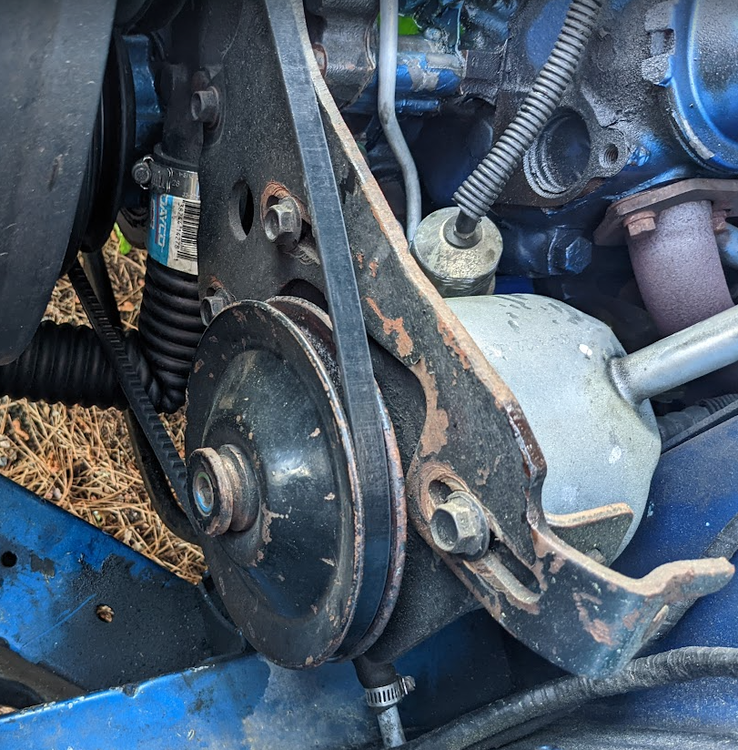
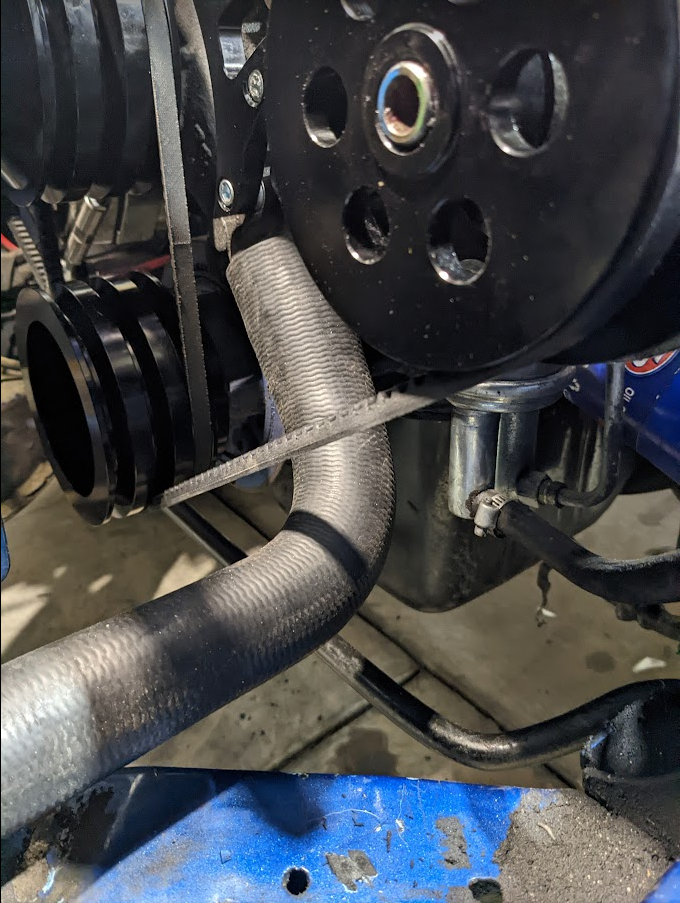
A previous owner has put a 302 and an aftermarket aluminum radiator in my car. The power steering bracket looks to be an OEM part, but possibly a truck bracket instead of one for a car. And the bracket appears to have a stripped out or missing tensioning bolt.
So the end result is the power steering belt is kinda loose and flops around enough that it whacks into the lower radiator hose. Eventually it wore a hole in the hose, which isn't good.
I got a preformed hose which appeared to be the correct shape, but one end was not the correct diameter. My water pump and radiator fitting are 2 different sizes. I was able to find one of those generic accordion hoses on the wall at autozone that fit and got me back home. But now 20 miles later, the generic hose kinked at the bend. I guess the bend is too sharp for it.
So I have 2 issues. First, is there a preformed hose for a 69 mustang with a 302 with different size openings on each end? The one thats on it now is Dayco 81241, which I believe is 1.5" and 1.75".
Second, since my power steering bracket seems to be incorrect and damaged, I probably need a new one. I'm considering one of those kits with all the pulleys and the billet brackets. Do any of those pull all the accessories in real night and tight? Or if I wanted to go with the correct style bracket, is that a simple swap for what I have now? If I can just swap out a few bolts and it'll just work, I may do that. hopefully I wont need to swap out the water pump and all that jazz.

-
My car's gas tank was replaced by a previous owner. It appears they did a couple things wrong. The filler neck is not fed through the taillight panel correctly so the gas cap doesn't fully tighten. Inside the trunk smells a bit like gas, like the filler neck is not sealing up to the tank. Under the car, it has developed a slow dripping gas leak around the rubber line coming from the sending unit.
So anyways, I'd like to redo both the filler neck and the sending unit. Is there a diagram of the way those 2 parts are assembled? And what all seals and rubber parts would I need to do it all at once?
-
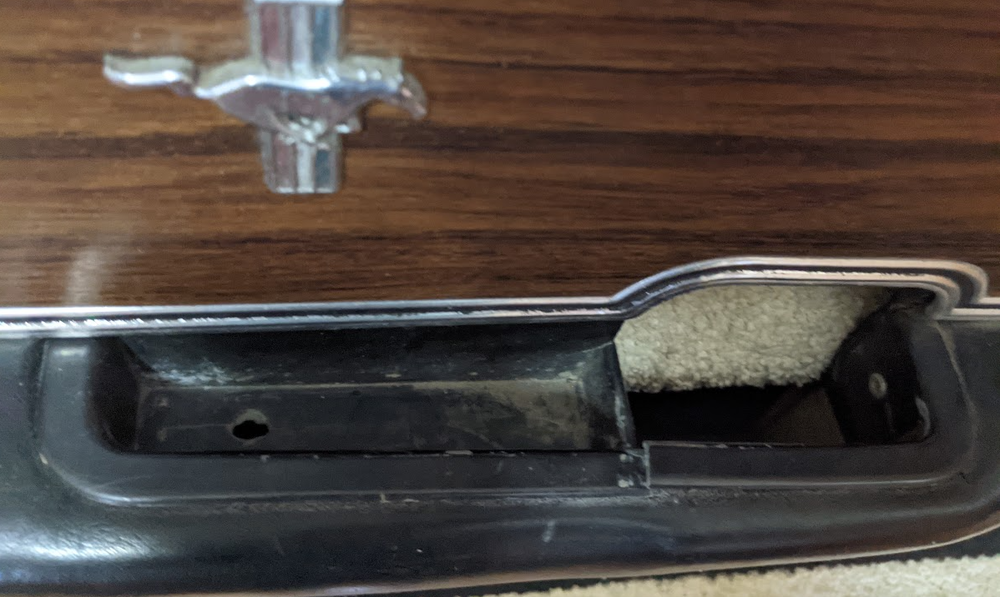
2 hours ago, fvike said:Note that the two clips on the top of the door must be removed when installing the deluxe panel. My car had been converted sometime in the '90s and I could not understand why the door panel would always bust up the chrome on my door locks. The panel just didn't sit right with those clips in place.

Good info. Is your picture a 1970 door? I see it has the longer style of handle bracket installed. The photo above yours has the shorter style.
-
57 minutes ago, Mach1 Driver said:This may help
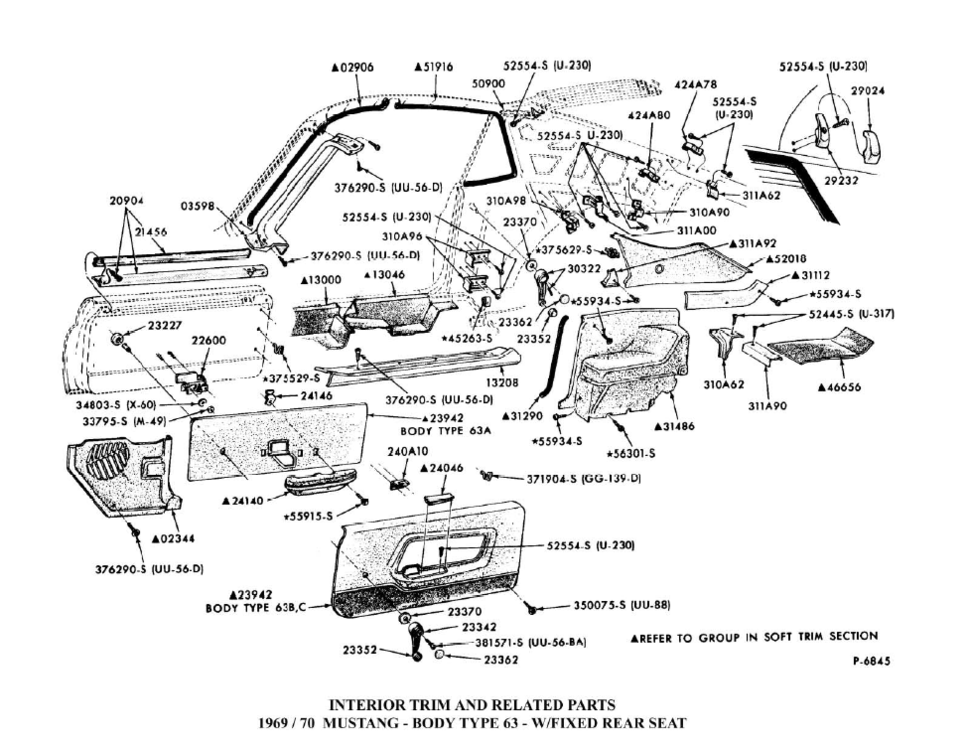
Thanks. That helps for some of the parts.
I see the part 240A10. Looks like there is a reproduction part with that exact part number, and the longer one they say is 240A10-B. They appear to have the mounting holes in different relation to each other, so it should hopefully be easy to hold the panel up to the door and verify which one will fit.
There are some details not shown still like the lock knob grommets and the black trim pieces that go behind the handle. https://www.cjponyparts.com/deluxe-door-handle-trim-plate-pair-1969-1970/p/DPDT-V/
-
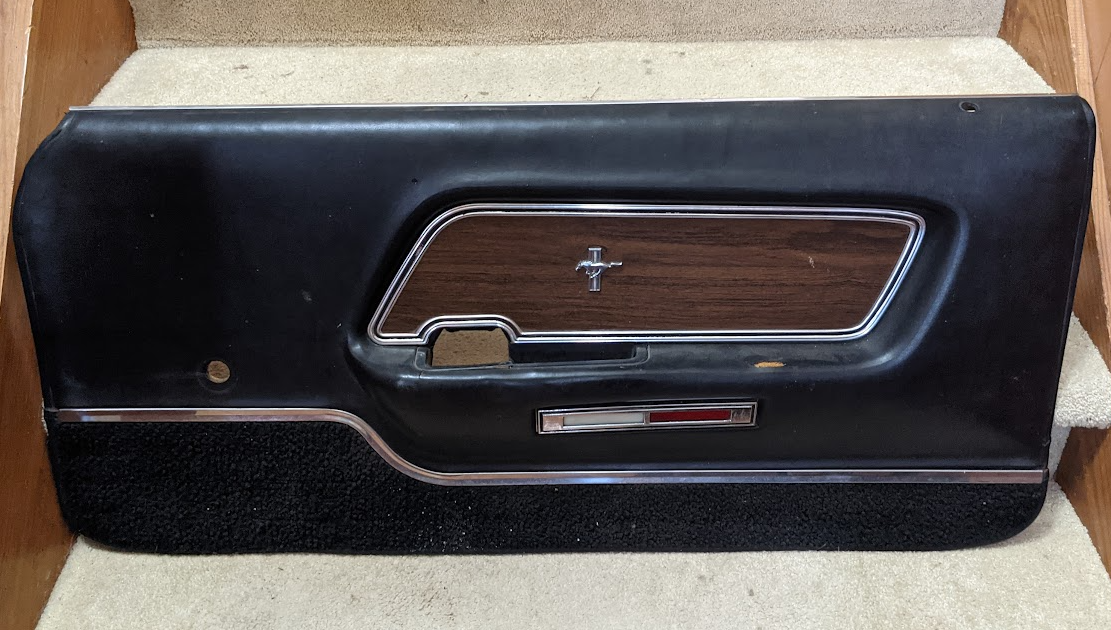
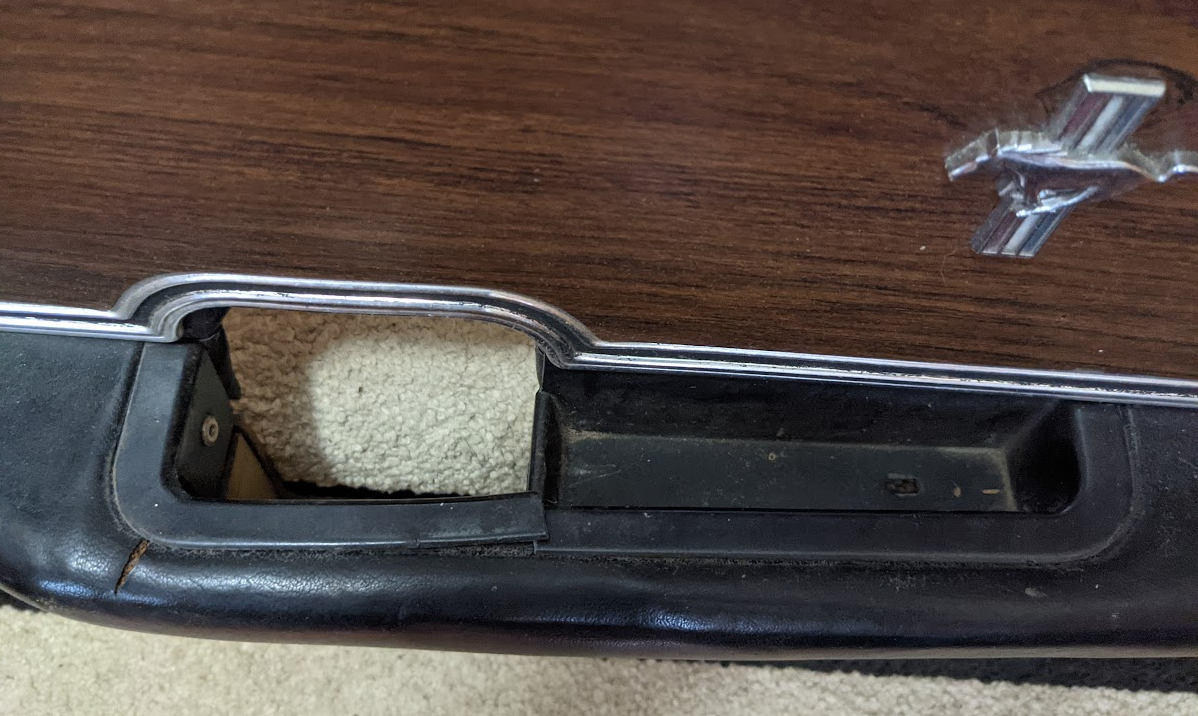
My front door panels arrived today. I could use some input on what all I'll need to get these installed in the car that was originally basic interior.
It looks like the plastic door handle cups are cracked on both. Then I think there's a bracket and some screws that I'll need to attach the door cup to the door itself? And some sort of little black filler panel that goes behind the door handle. Does anybody have a link to purchase some of these parts? I see 2 completely different versions of the armrest mounting brackets available online.
My passenger side looks like it also could use the little chrome grommet for the lock knob.
And maybe I'll try my hand at one of those vinyl repair kits on the couple of splits in it.


Place Your Bets!
in The Garage
Posted · Report reply
I'm going with 9/10. But I wont be able to collect my prize until the site cranks back up 10/1.