


Viperpete
-
Content Count
143 -
Joined
-
Last visited
-
Days Won
8
Posts posted by Viperpete
-
-
1 hour ago, RPM said:Armor...Helmets... what the heck are you into?
Ya like literal Armor. Taught myself over the last few years how to shape metal by hand. It's fun
https://youtu.be/Ja11dXVVHc0?si=aC7S0Zr8Gtb4Mra2
https://youtube.com/shorts/1HnwM44r9A8?si=cHxkuljo9LTVMYlr


Everything I make is fully wearable, comfortable, and functional.
-
1 minute ago, Mach1 Driver said:Could be. I bought the stuff years ago. I use it for my armor. Put inside helmets and such. Hard to tell with the package covering it.
-
1 hour ago, Vicfreg said:Thanks for all the suggestions, I have used fat Matt, I believe Mike I got some from you a couple years ago. I’ve also used some duct insulation from Lowe’s, that has a foil cover. I used it on my other car. I found some dyna mat on sale the other day on Amazon, so I bought a box of it. It’s pretty easy to use, but once it solidifies, it’s hard as hell to get off. I agree.
Was wondering if there was any kind of foam or other insulation you could put inside your backseats to quiet it down from there. Any suggestions would be appreciatedPut inside the seats? Hmmm. Hobby lobby sells this foam that that you can upholster like for outdoor chairs and stuff. You cut it to shape. its very dense and also extremely flexible and expensive! But that stuff would definitely deaden sound if that's what you are after.
-
4 hours ago, RPM said:Nice work Pete. I figured you to be older than you look and sound. I love that chassis table, did you build or buy it? I like the idea of a big screen in the shop to search and view project info from a ways away. I just might swap out mine for a bigger one I have.
Thanks! I'm 40 but if clean shaven still get carded haha.
I borrowed the assembly table from a friend. It was great and awful all at once. The thing is just too damn high. I spent hours and hours balancing on that thing and its a miracle I never fell off.
The TV is great its a 70". Ive got it wired to a laptop and to a 14 speaker stereo system in the shop. Its LOUD but also amazing to have Topgear/Grand Tour or any research i need to do. I've watched many many peterson restoration videos on it while im working on whatever the video is showing and it really helps to be able to see everything in detail from 15-20 feet away for sure.
-
I use peel n seal from Lowes. Same stuff as dynamat- it's just a little thinner and like 20% of the price of dynamat or fatmat. You could always double or triple the layers if you really wanted to. Rubbery/tar like adhesive and aluminum skin. Can't rust, wont come off easily, its a water tight seal, and really works.
Watch these vid for info for what I did:
https://www.youtube.com/watch?v=c7xi6lAeIog&t=114s
Will do inside of door skins when the time comes. Roof is also done.
-
Hey Yall,
Anyone on here swap in a T56 or TR6060? What if any issues did you run into? Thanks
-
Couple update videos and a how-to remove spot welds and brackets
https://youtu.be/wgC8H-A39Ws?si=dSXYmbRmWhUD6Qeo
https://youtu.be/cEKcho8l3xo?si=SMVFAfh27e2N6z-K
-
Been working on the car a bunch.
Here's 2 videos that sum up what I've been up to.
https://youtu.be/c7xi6lAeIog?si=7piREKf66bLOQOgO
and
https://youtu.be/2JQDAicumKE?si=vPEpMBB9NPo-oz-W
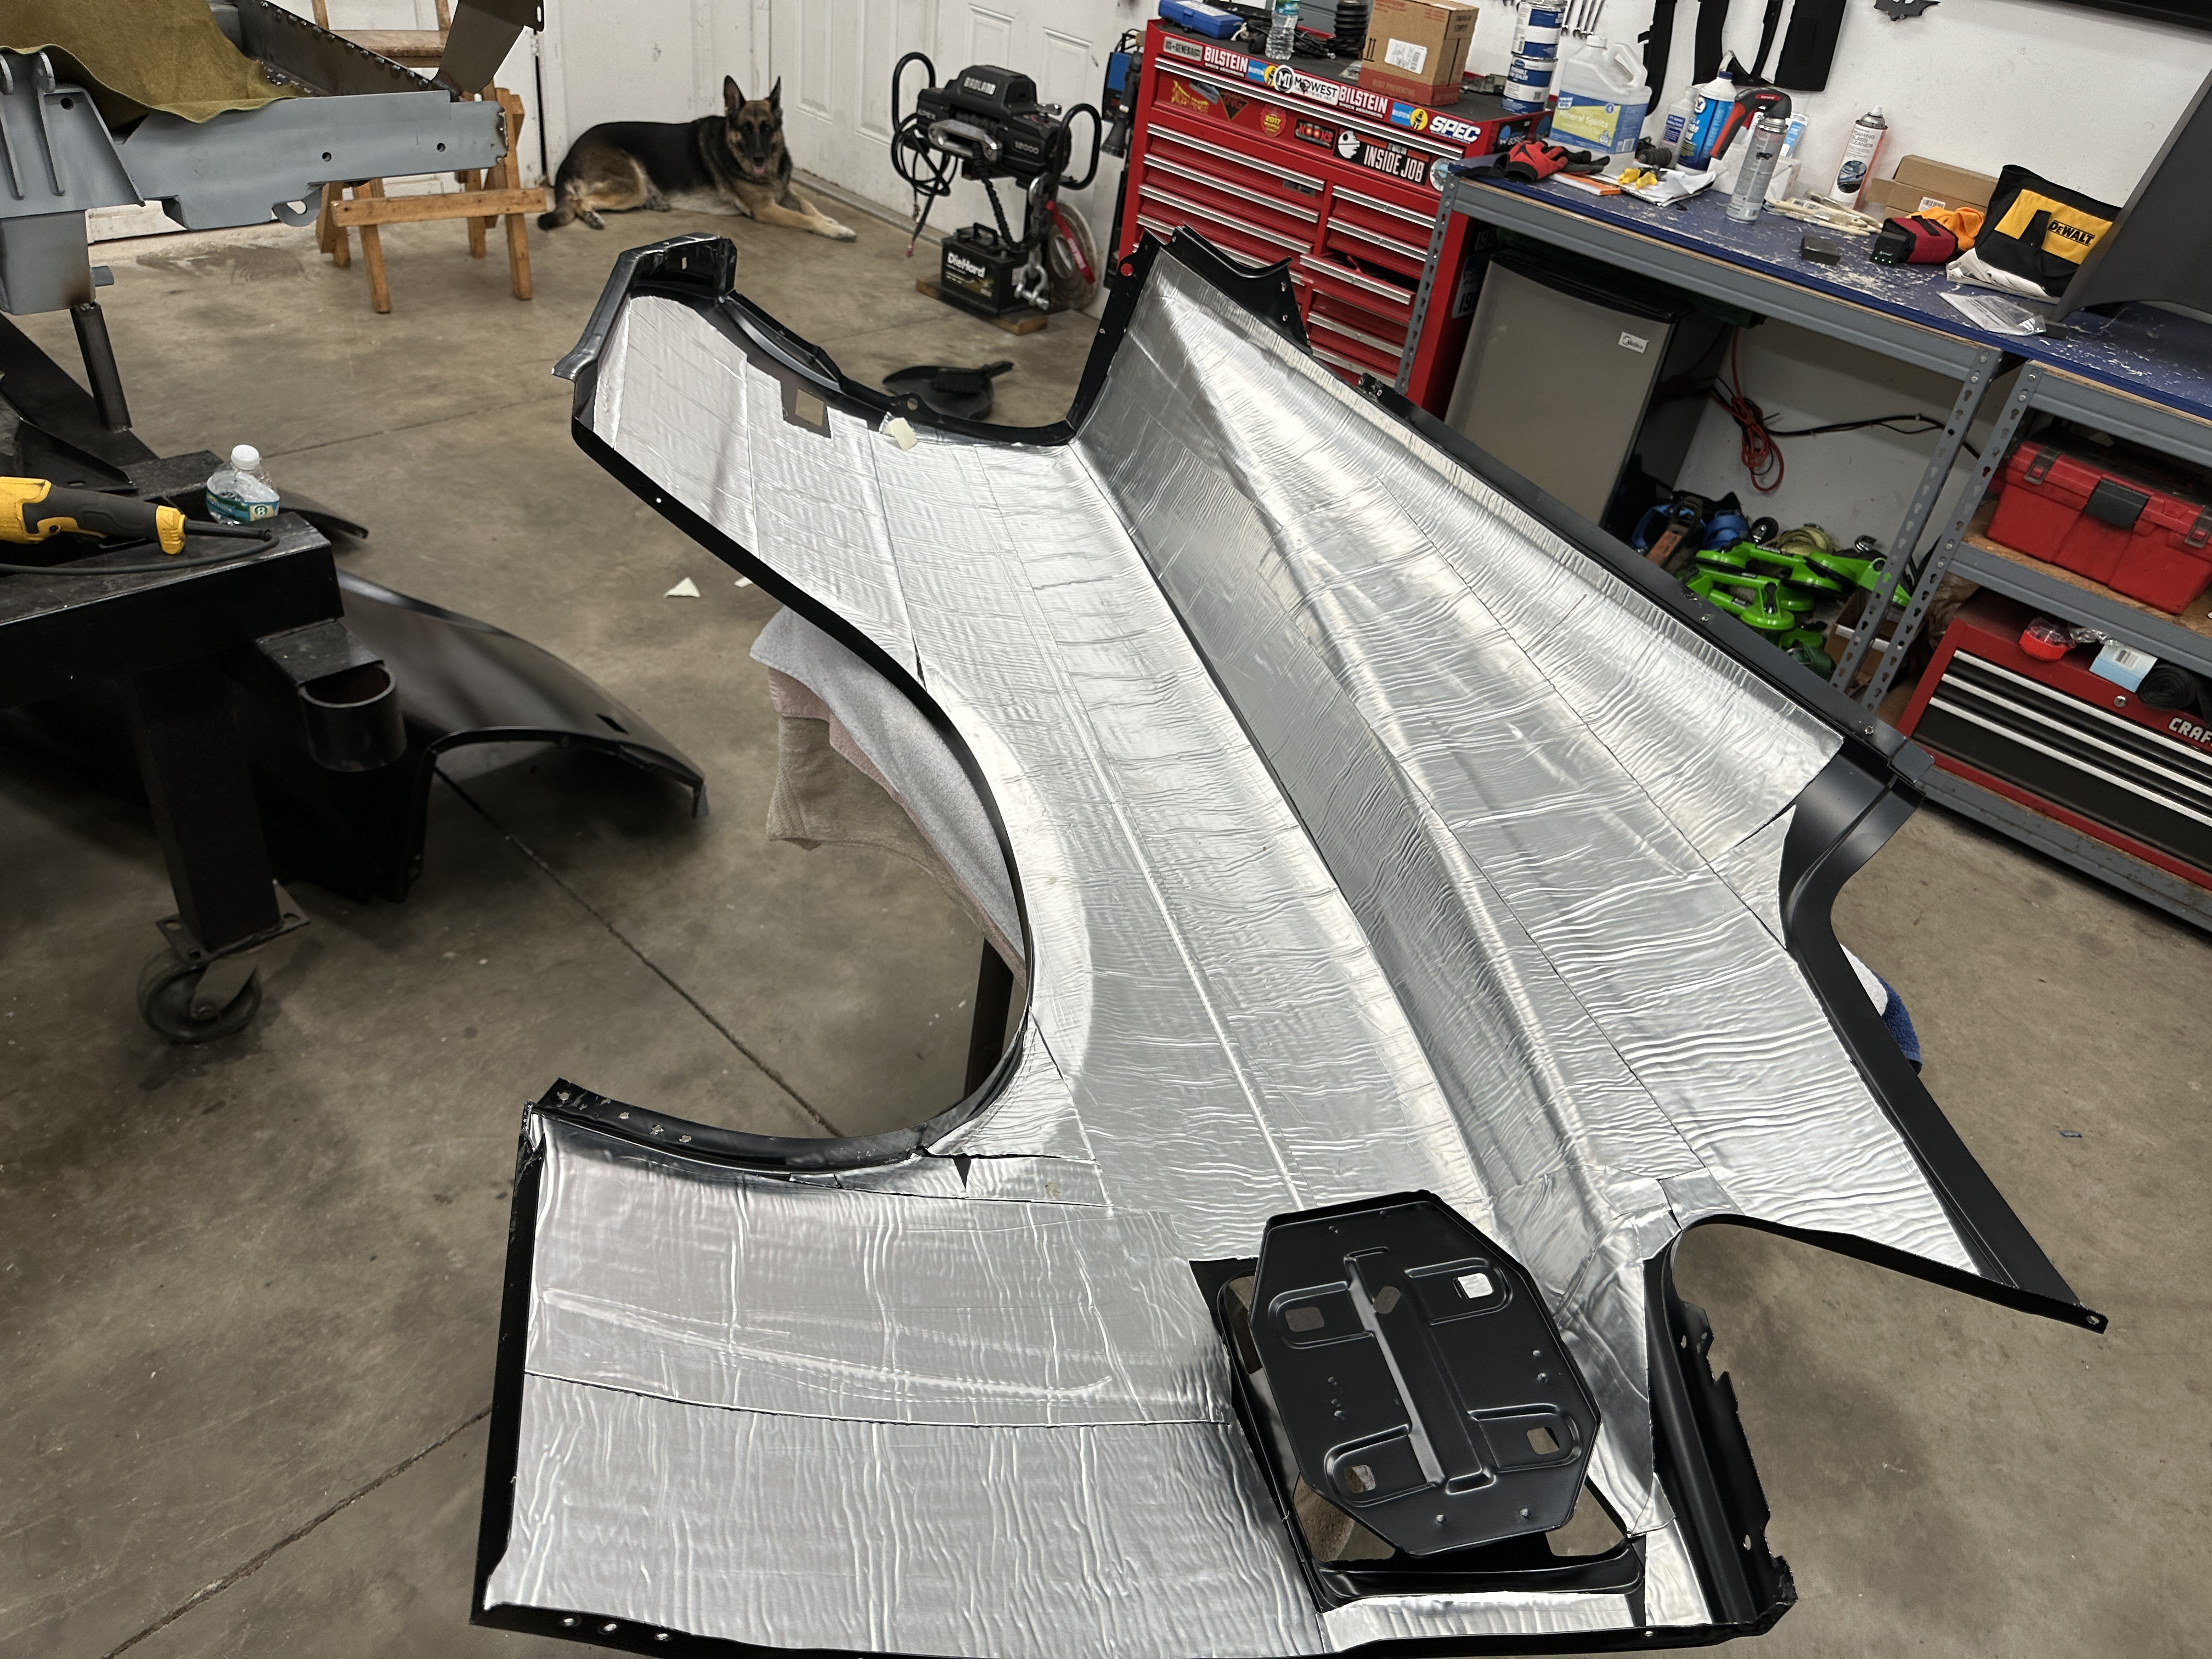
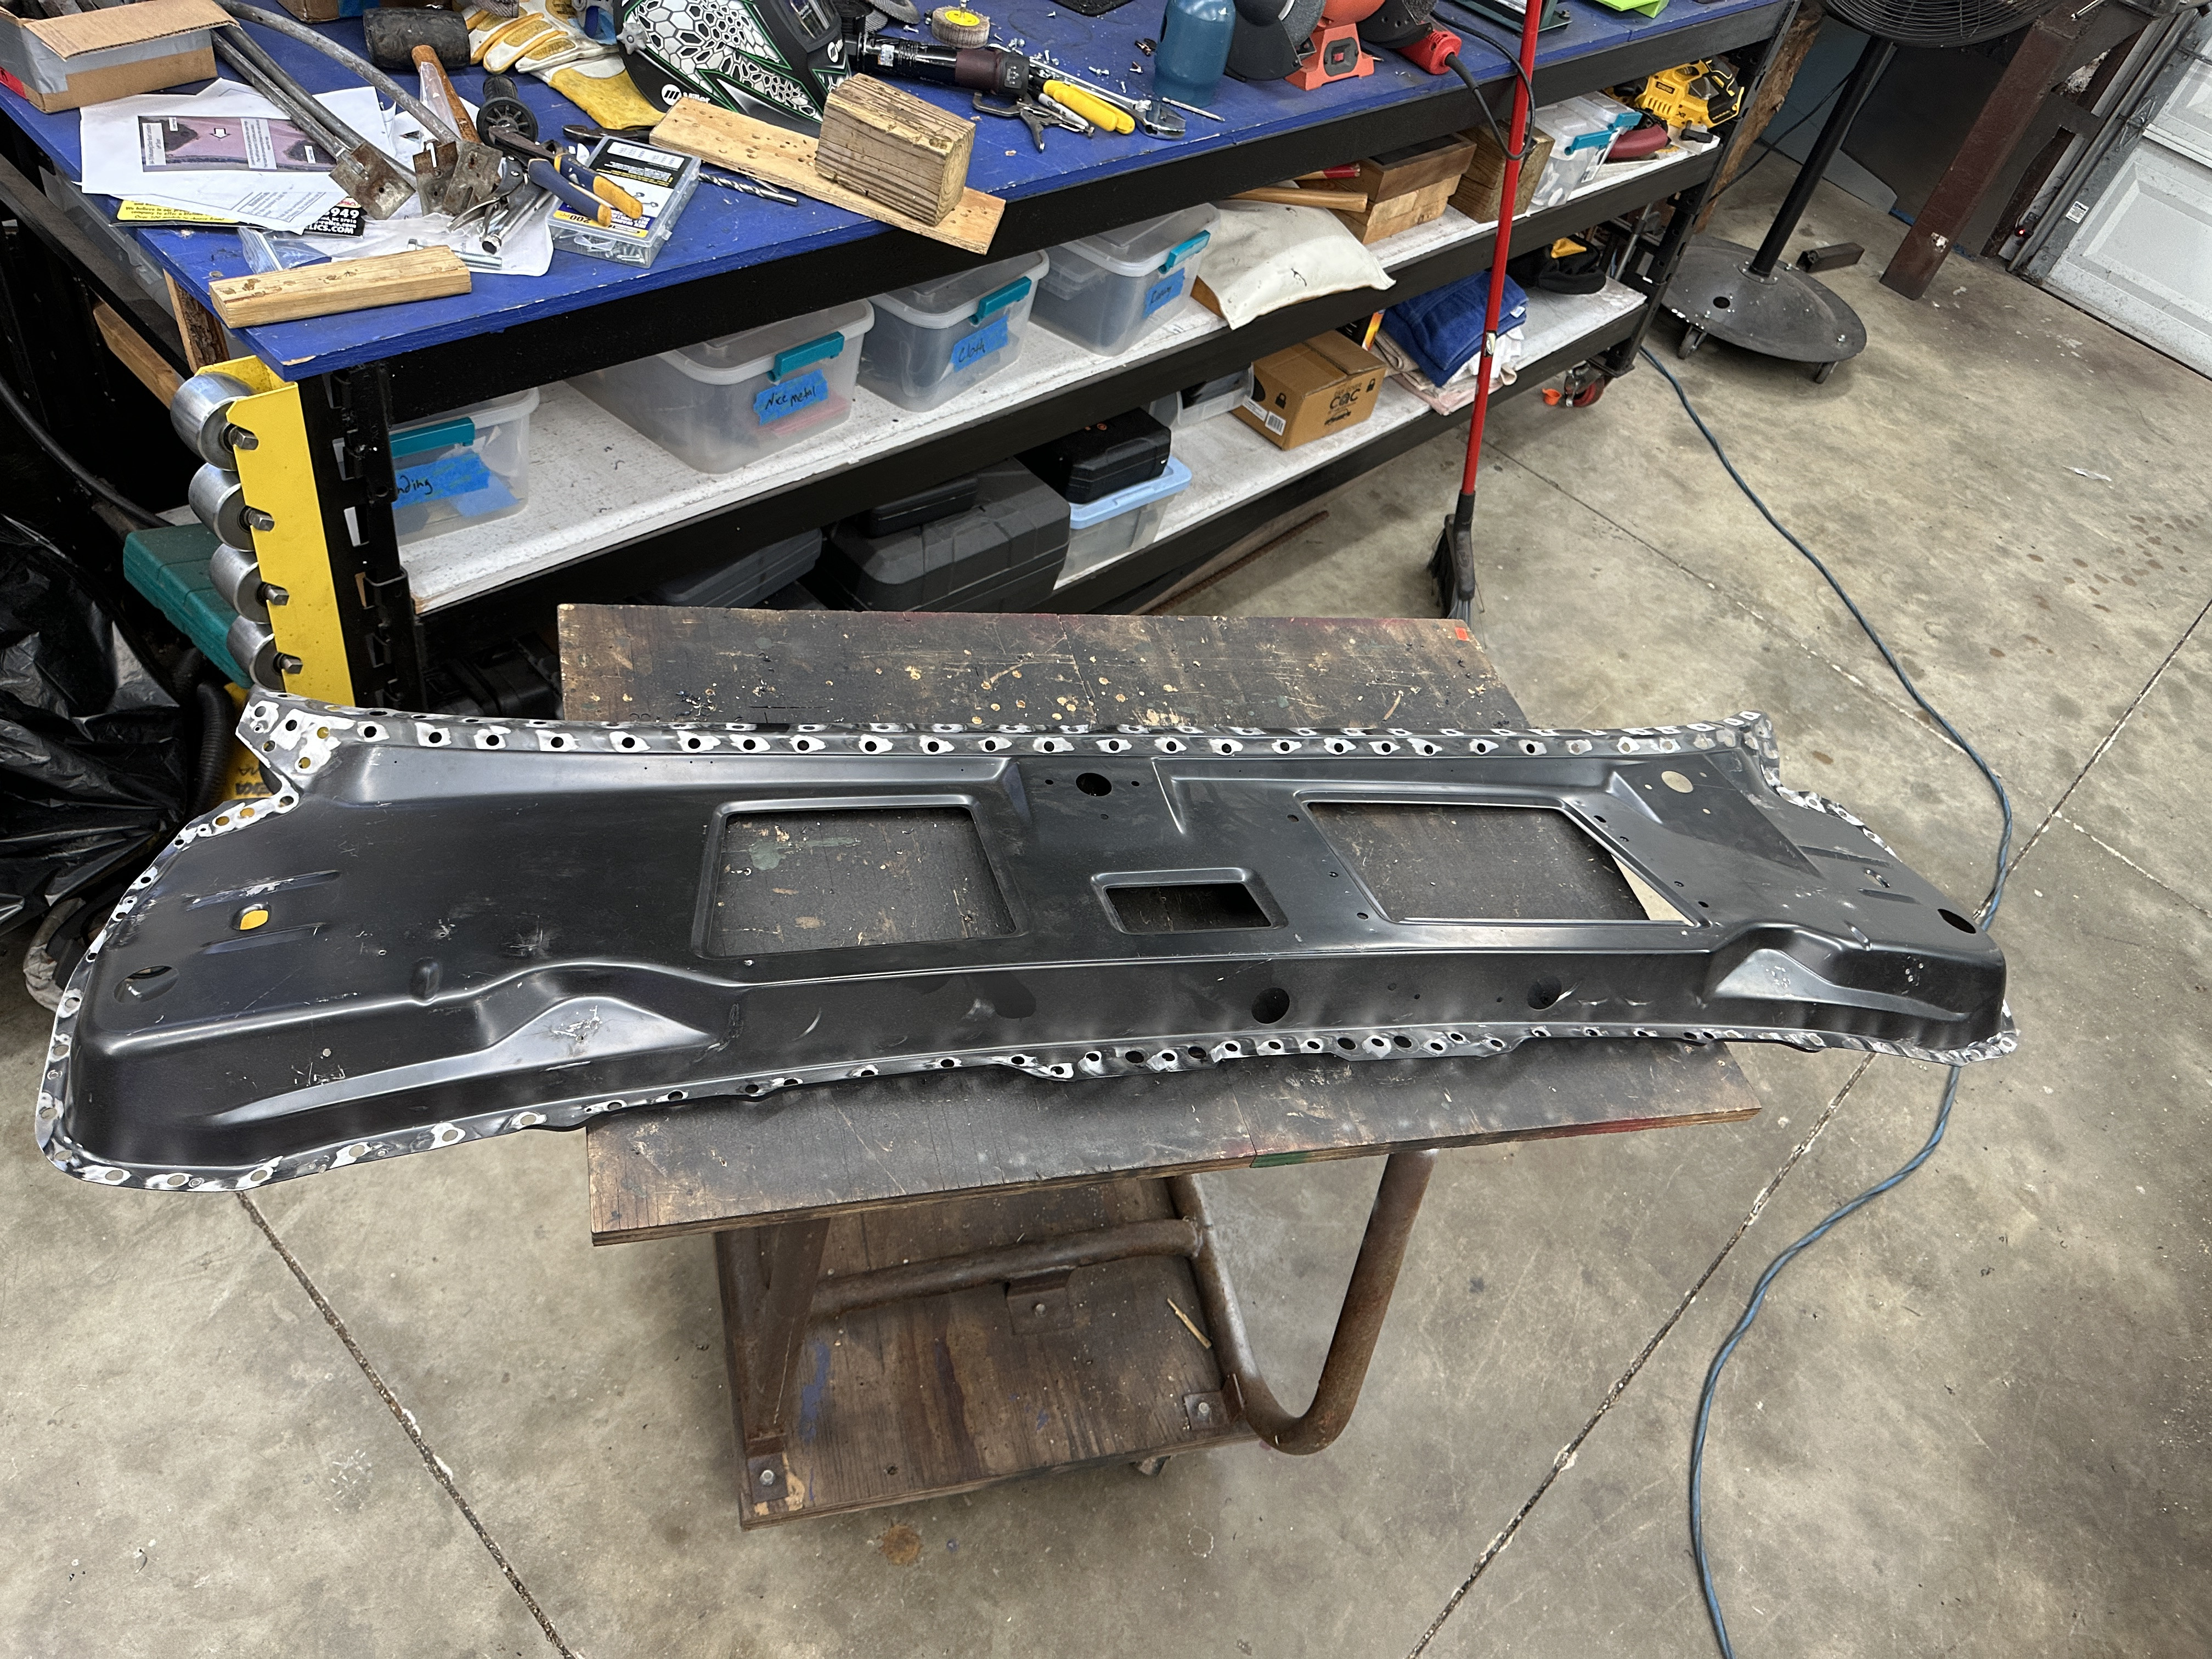
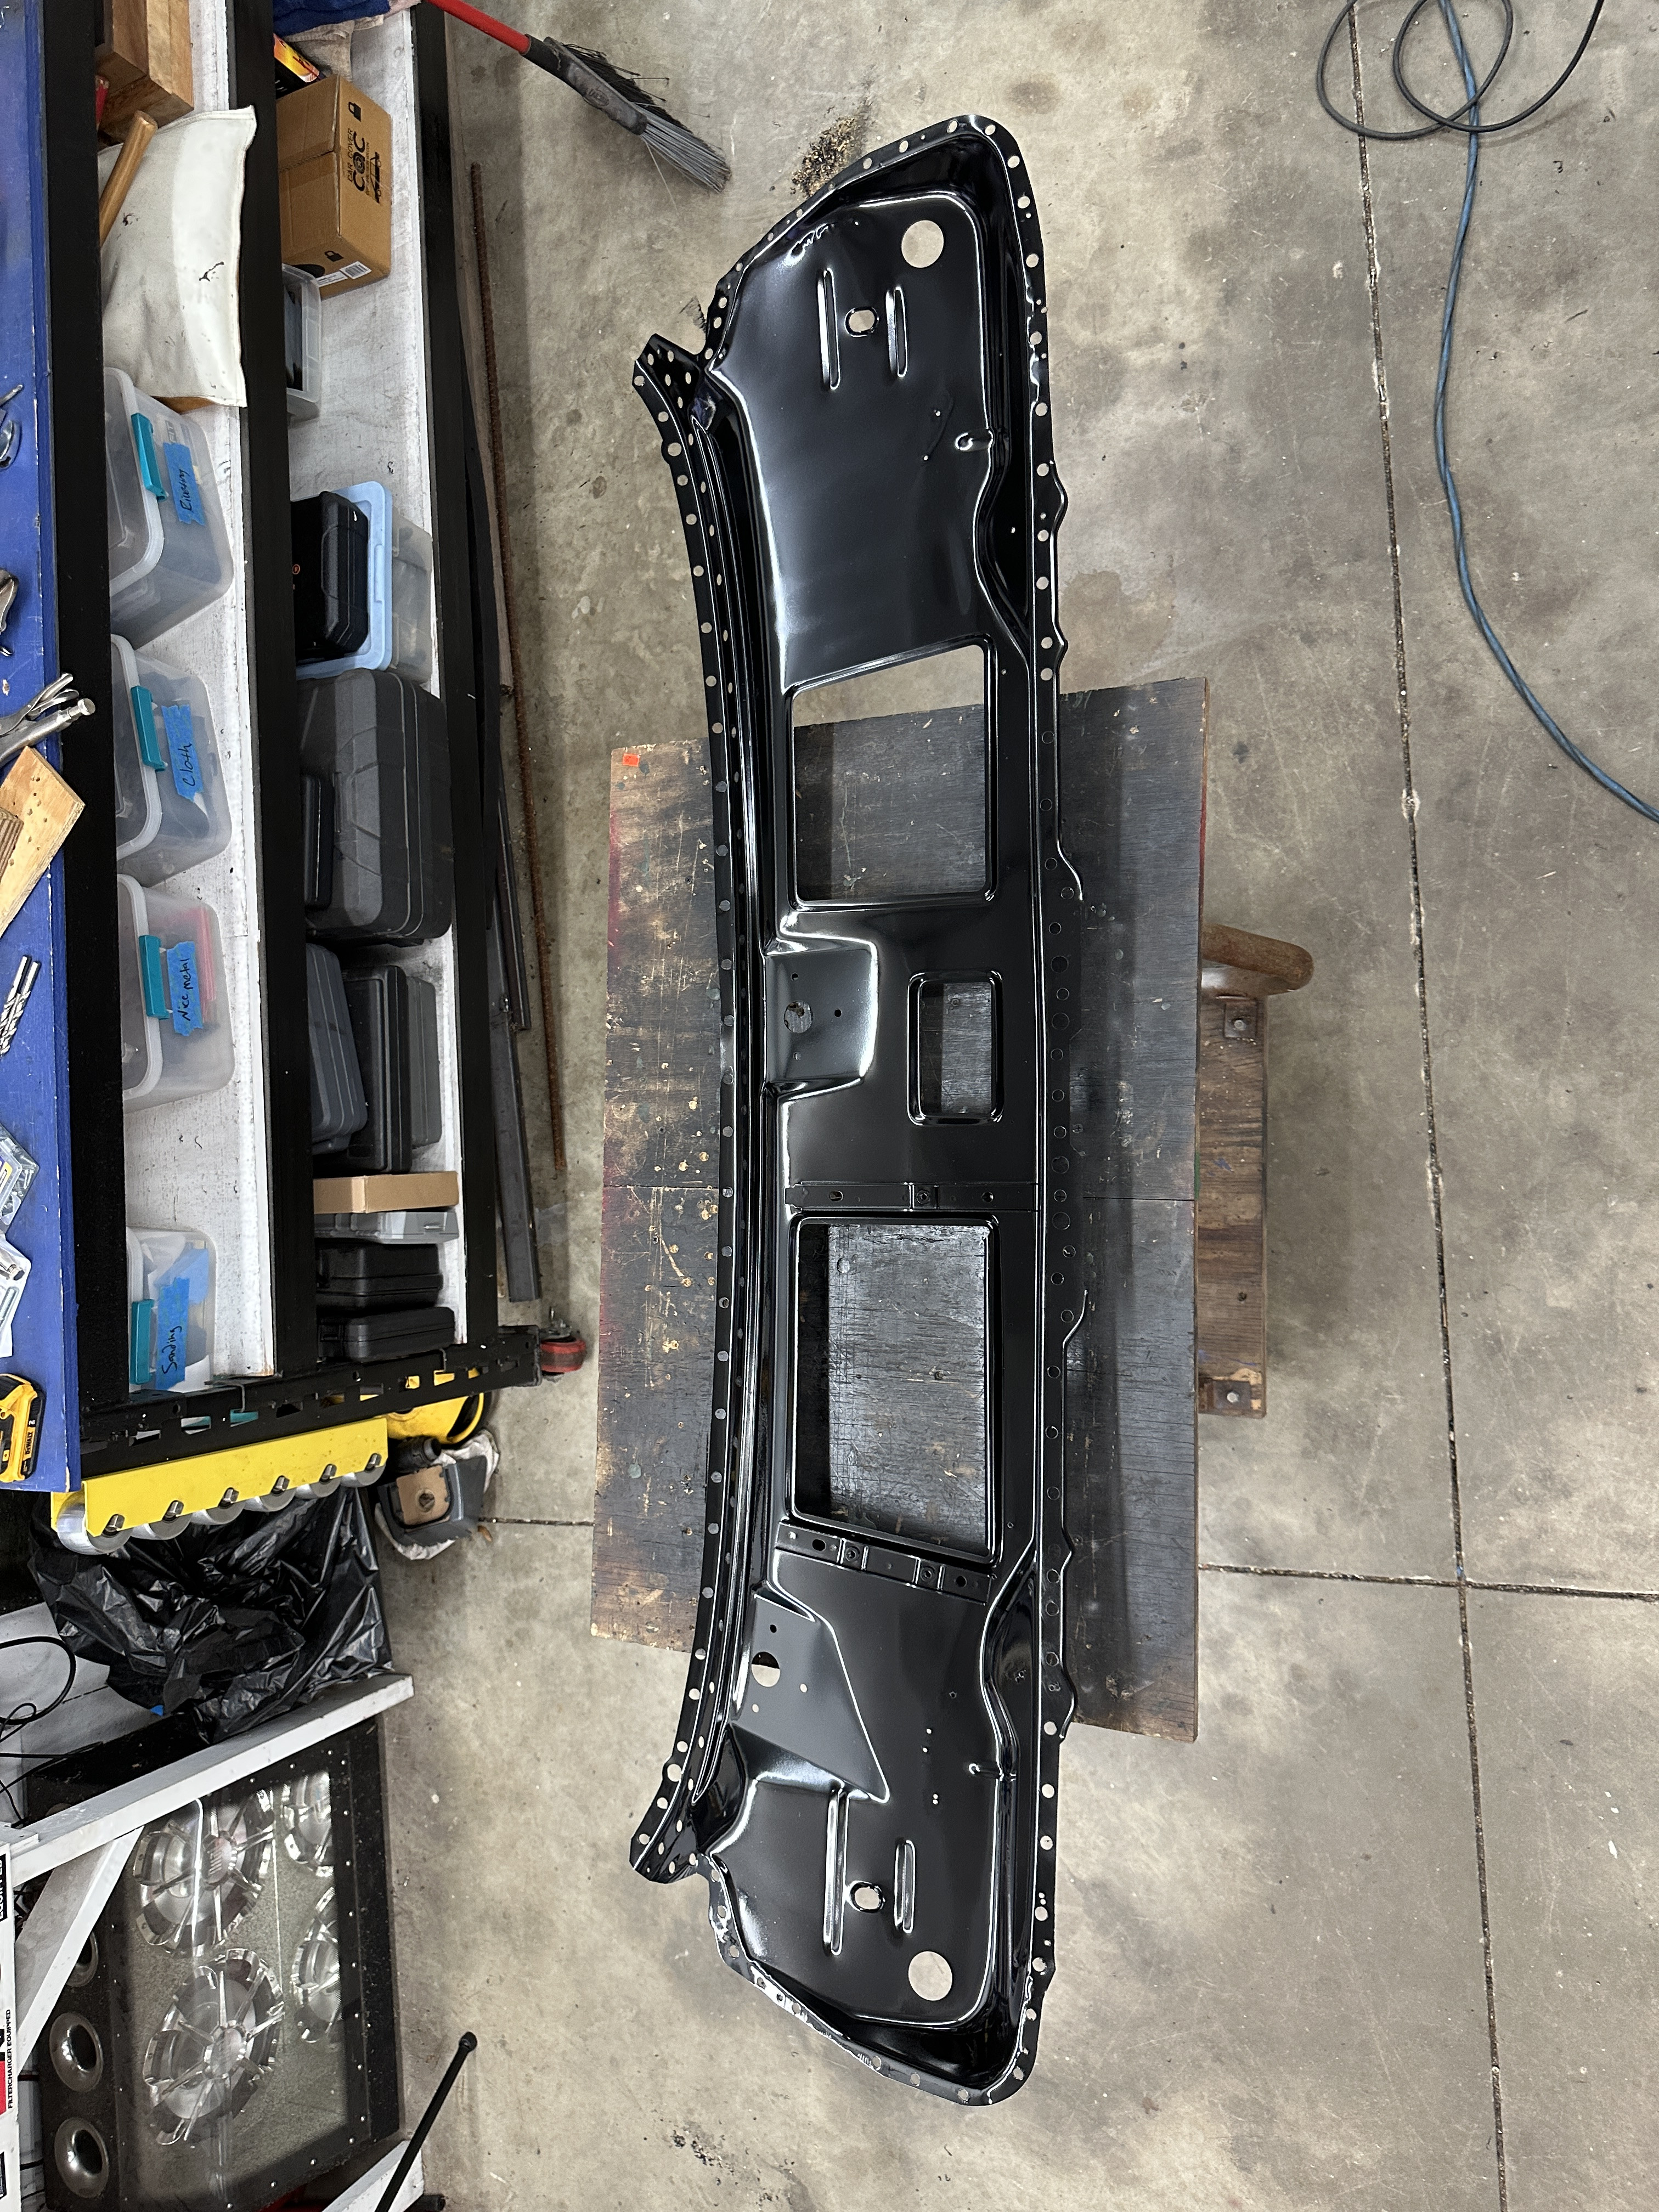
Began dynamatting inside of rear quarters and rear structure to quiet down the car
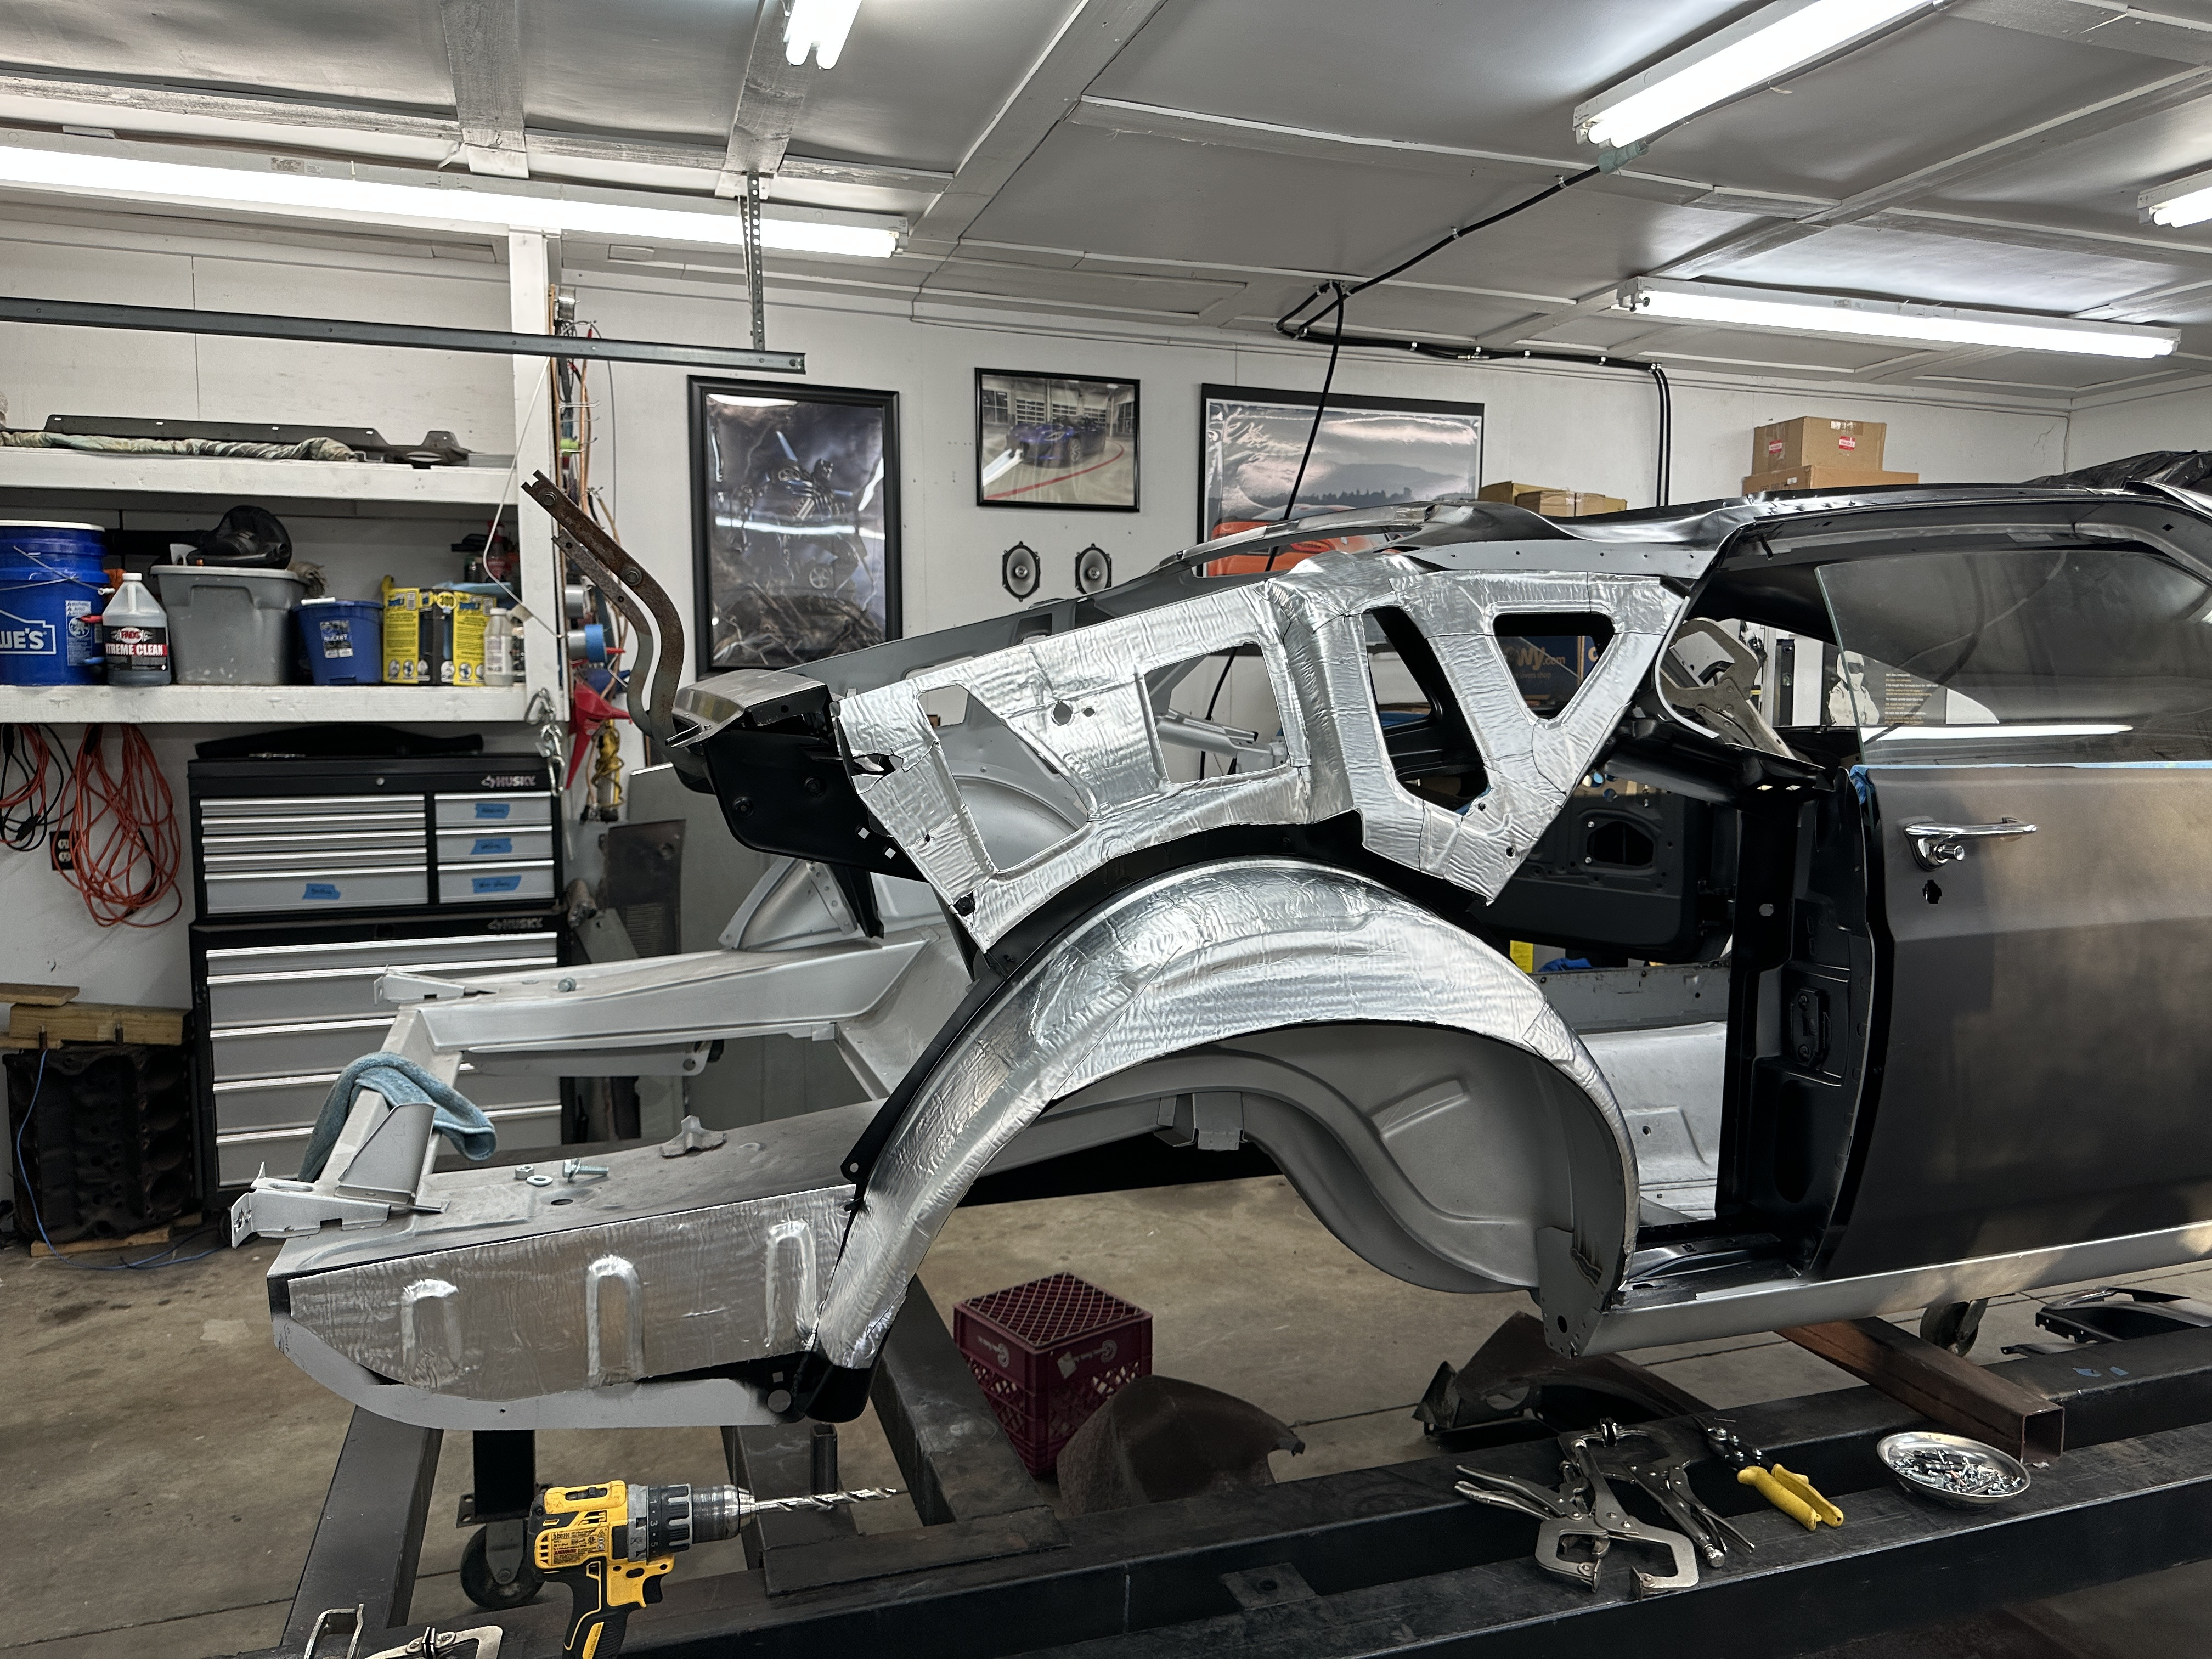
Prepped for welding!
Not thrilled with how this panel goes together. Will have to rework it later

Ready to come off table

Thankfully my lift had one more lift left in it before the seals blew lol


Mounting the rotisserie

Mounted!
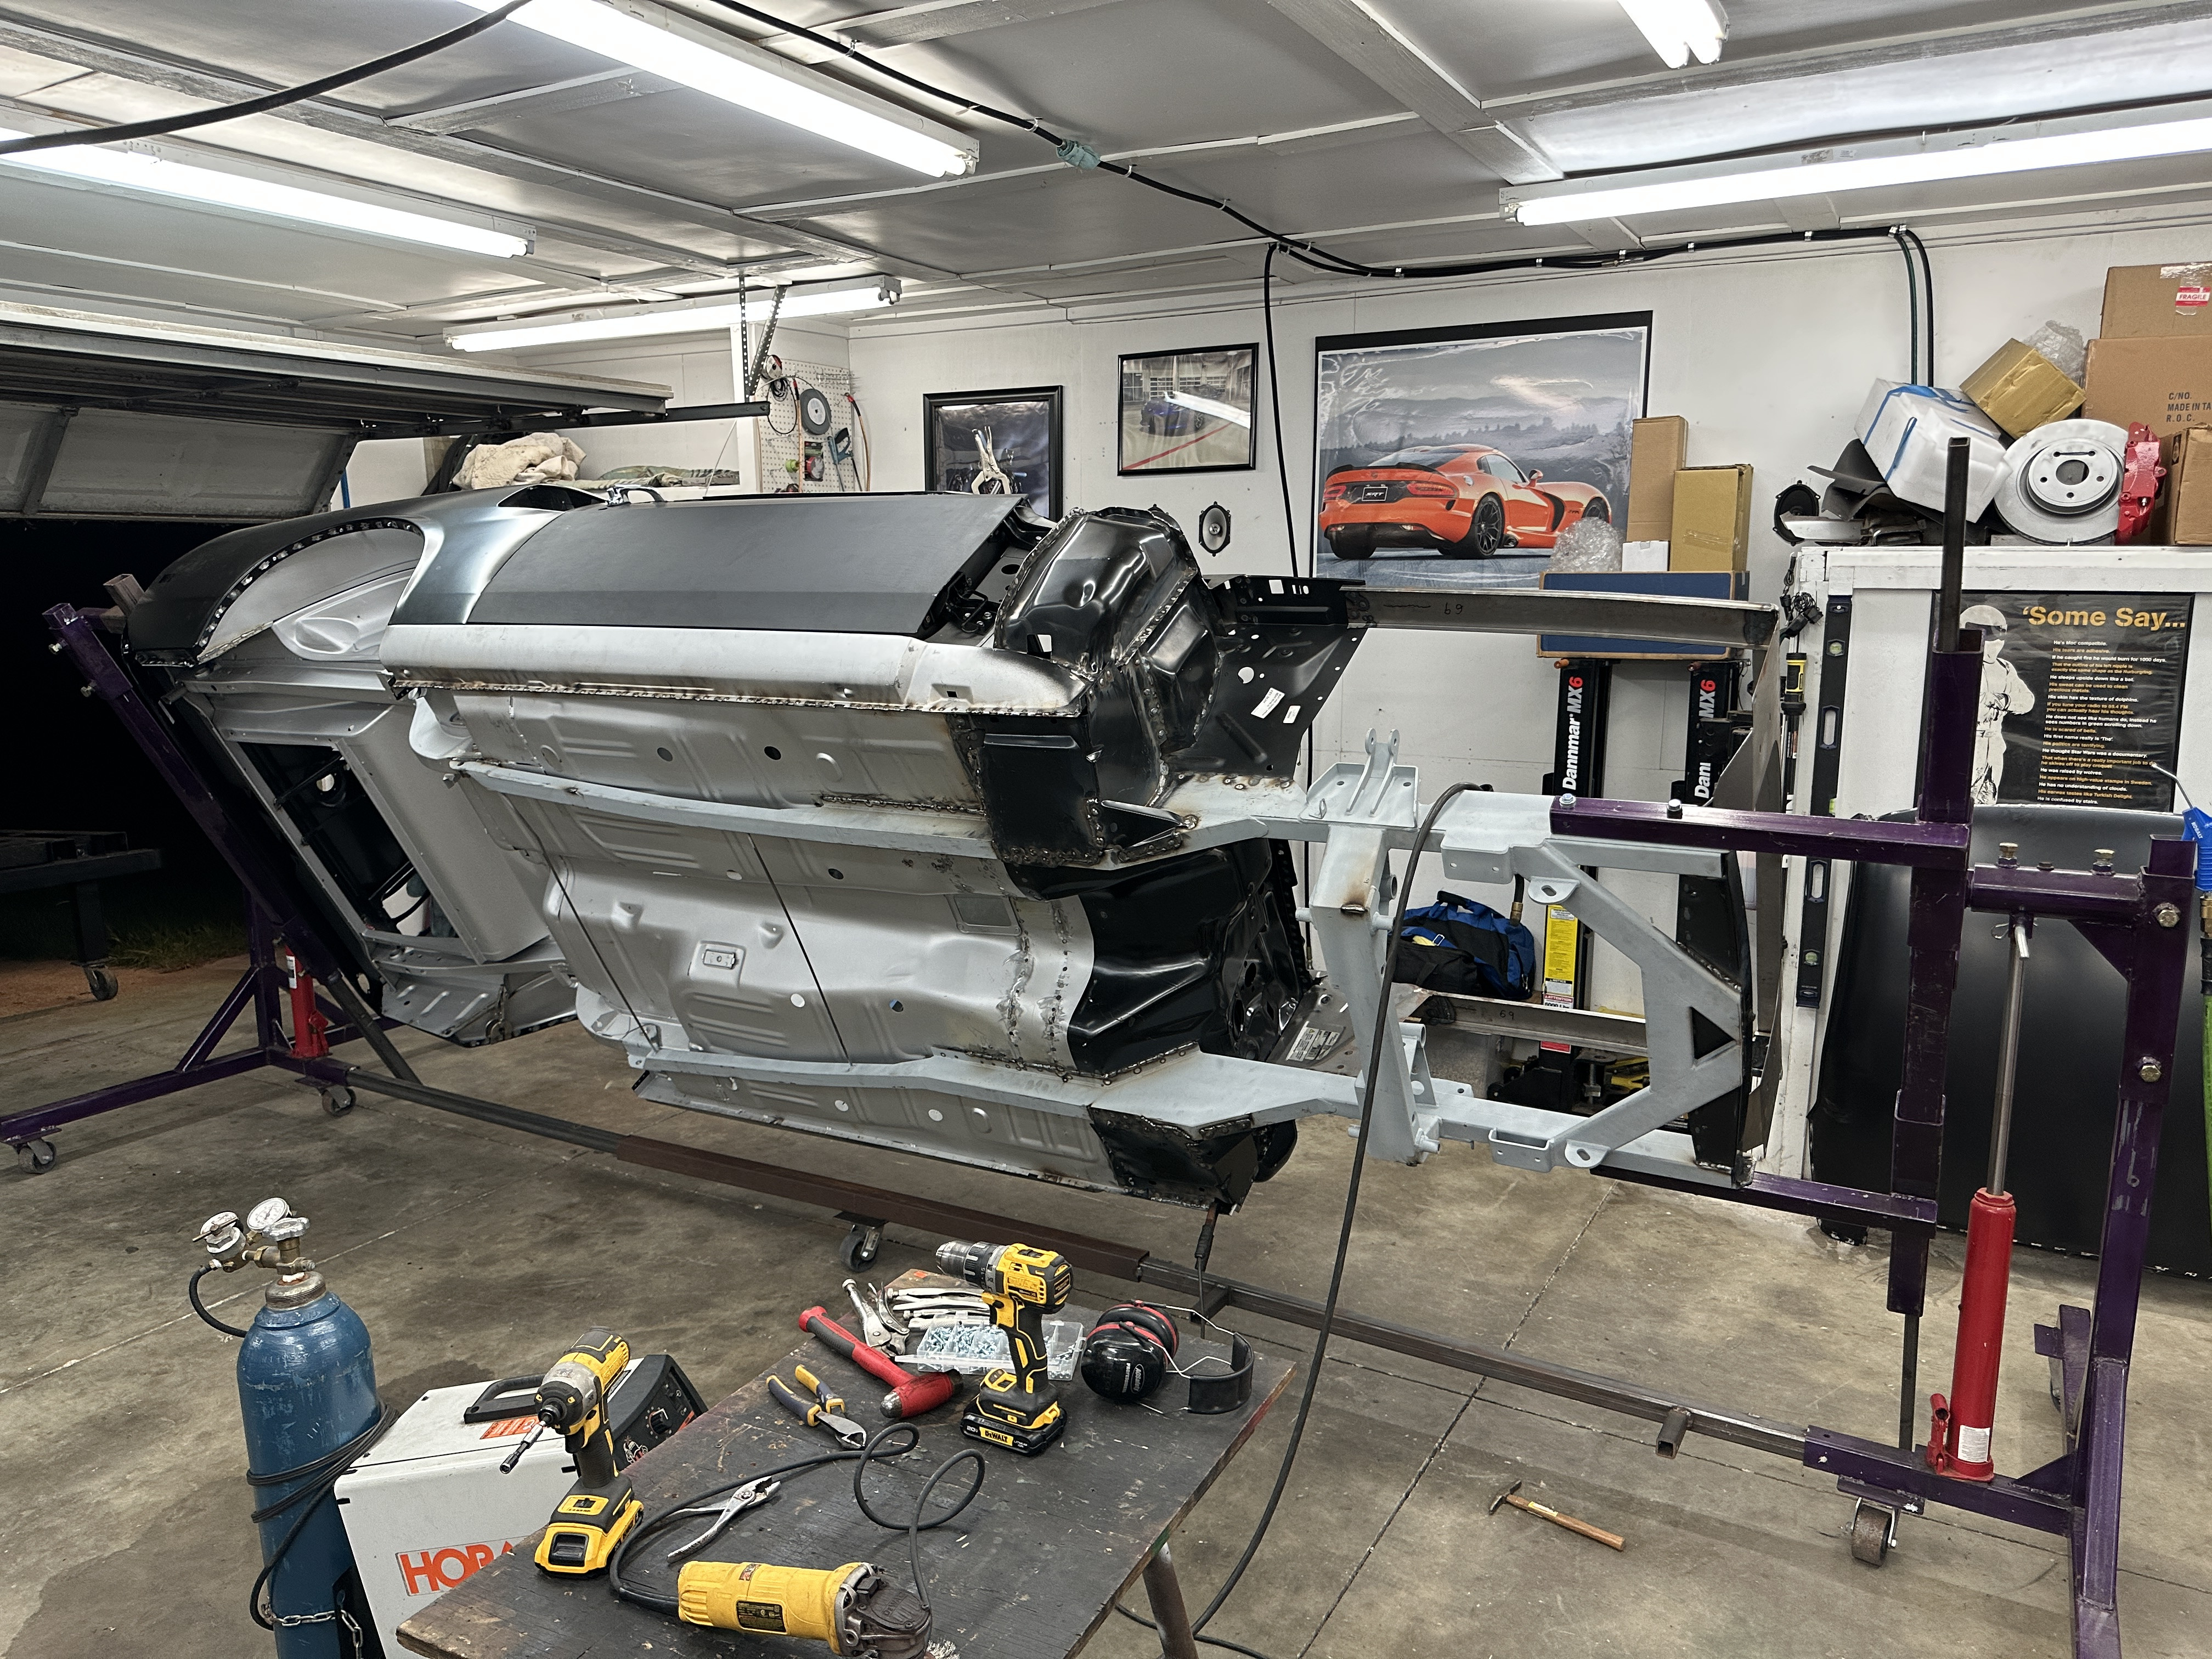

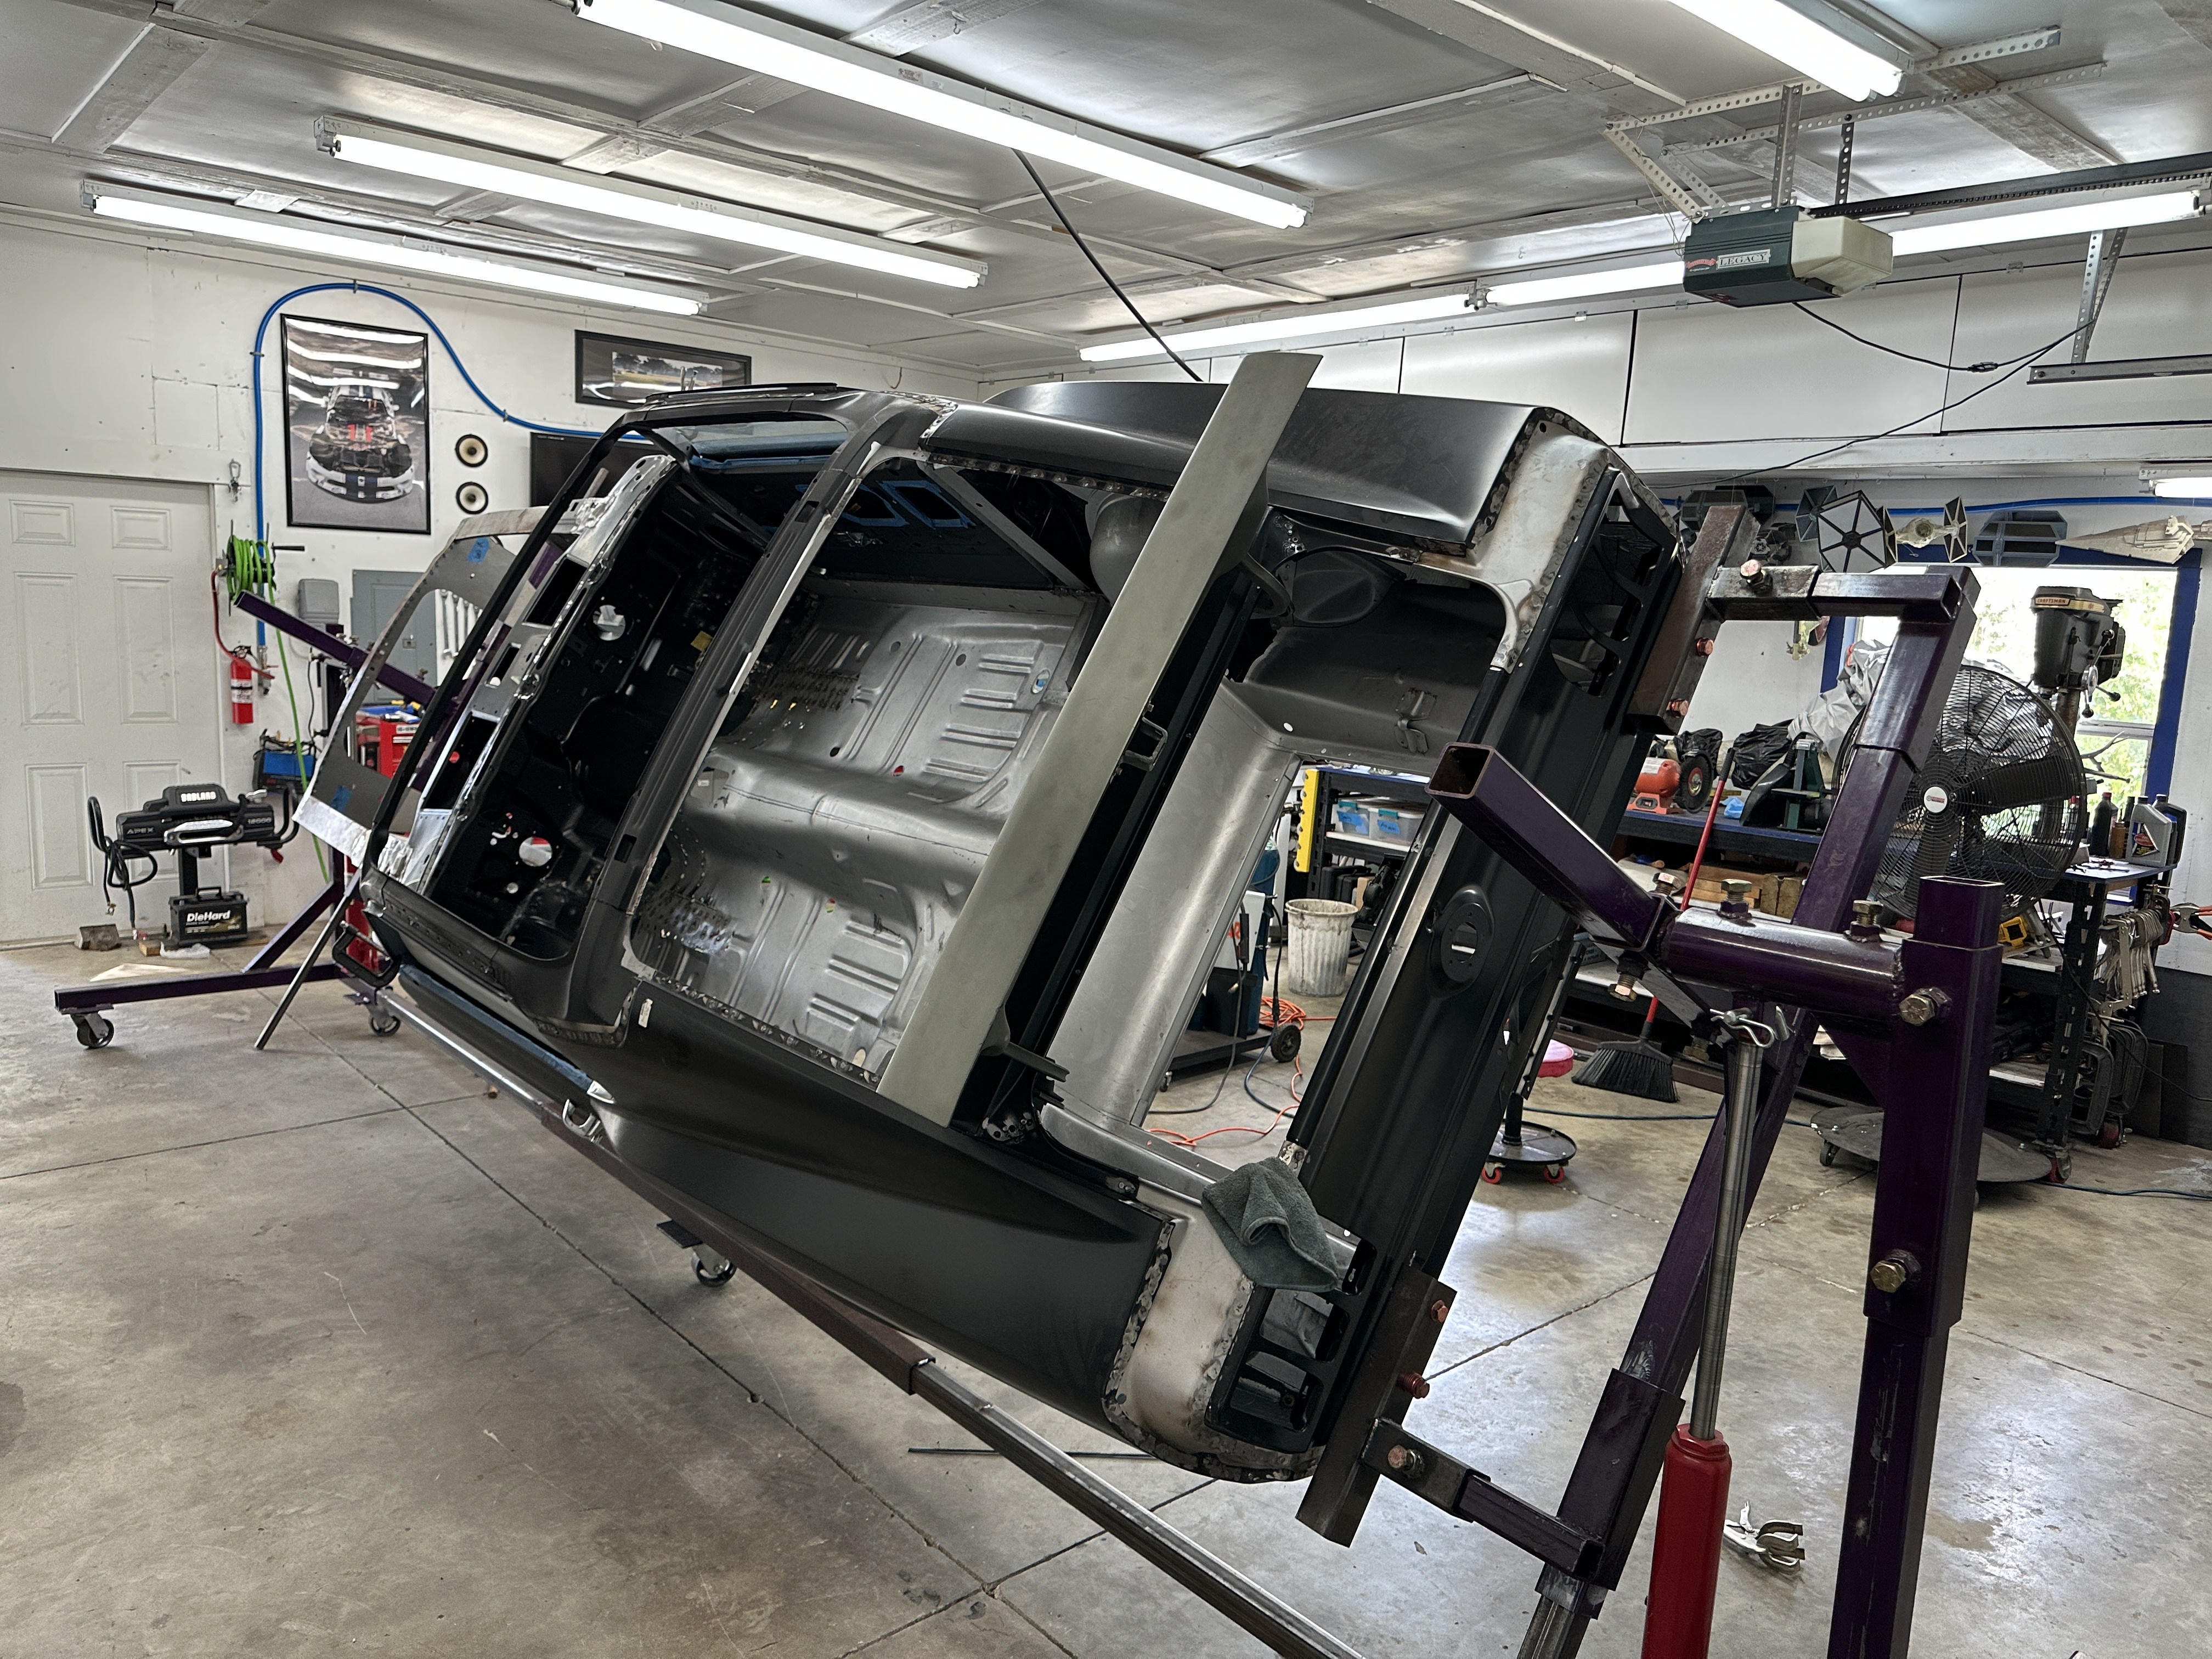

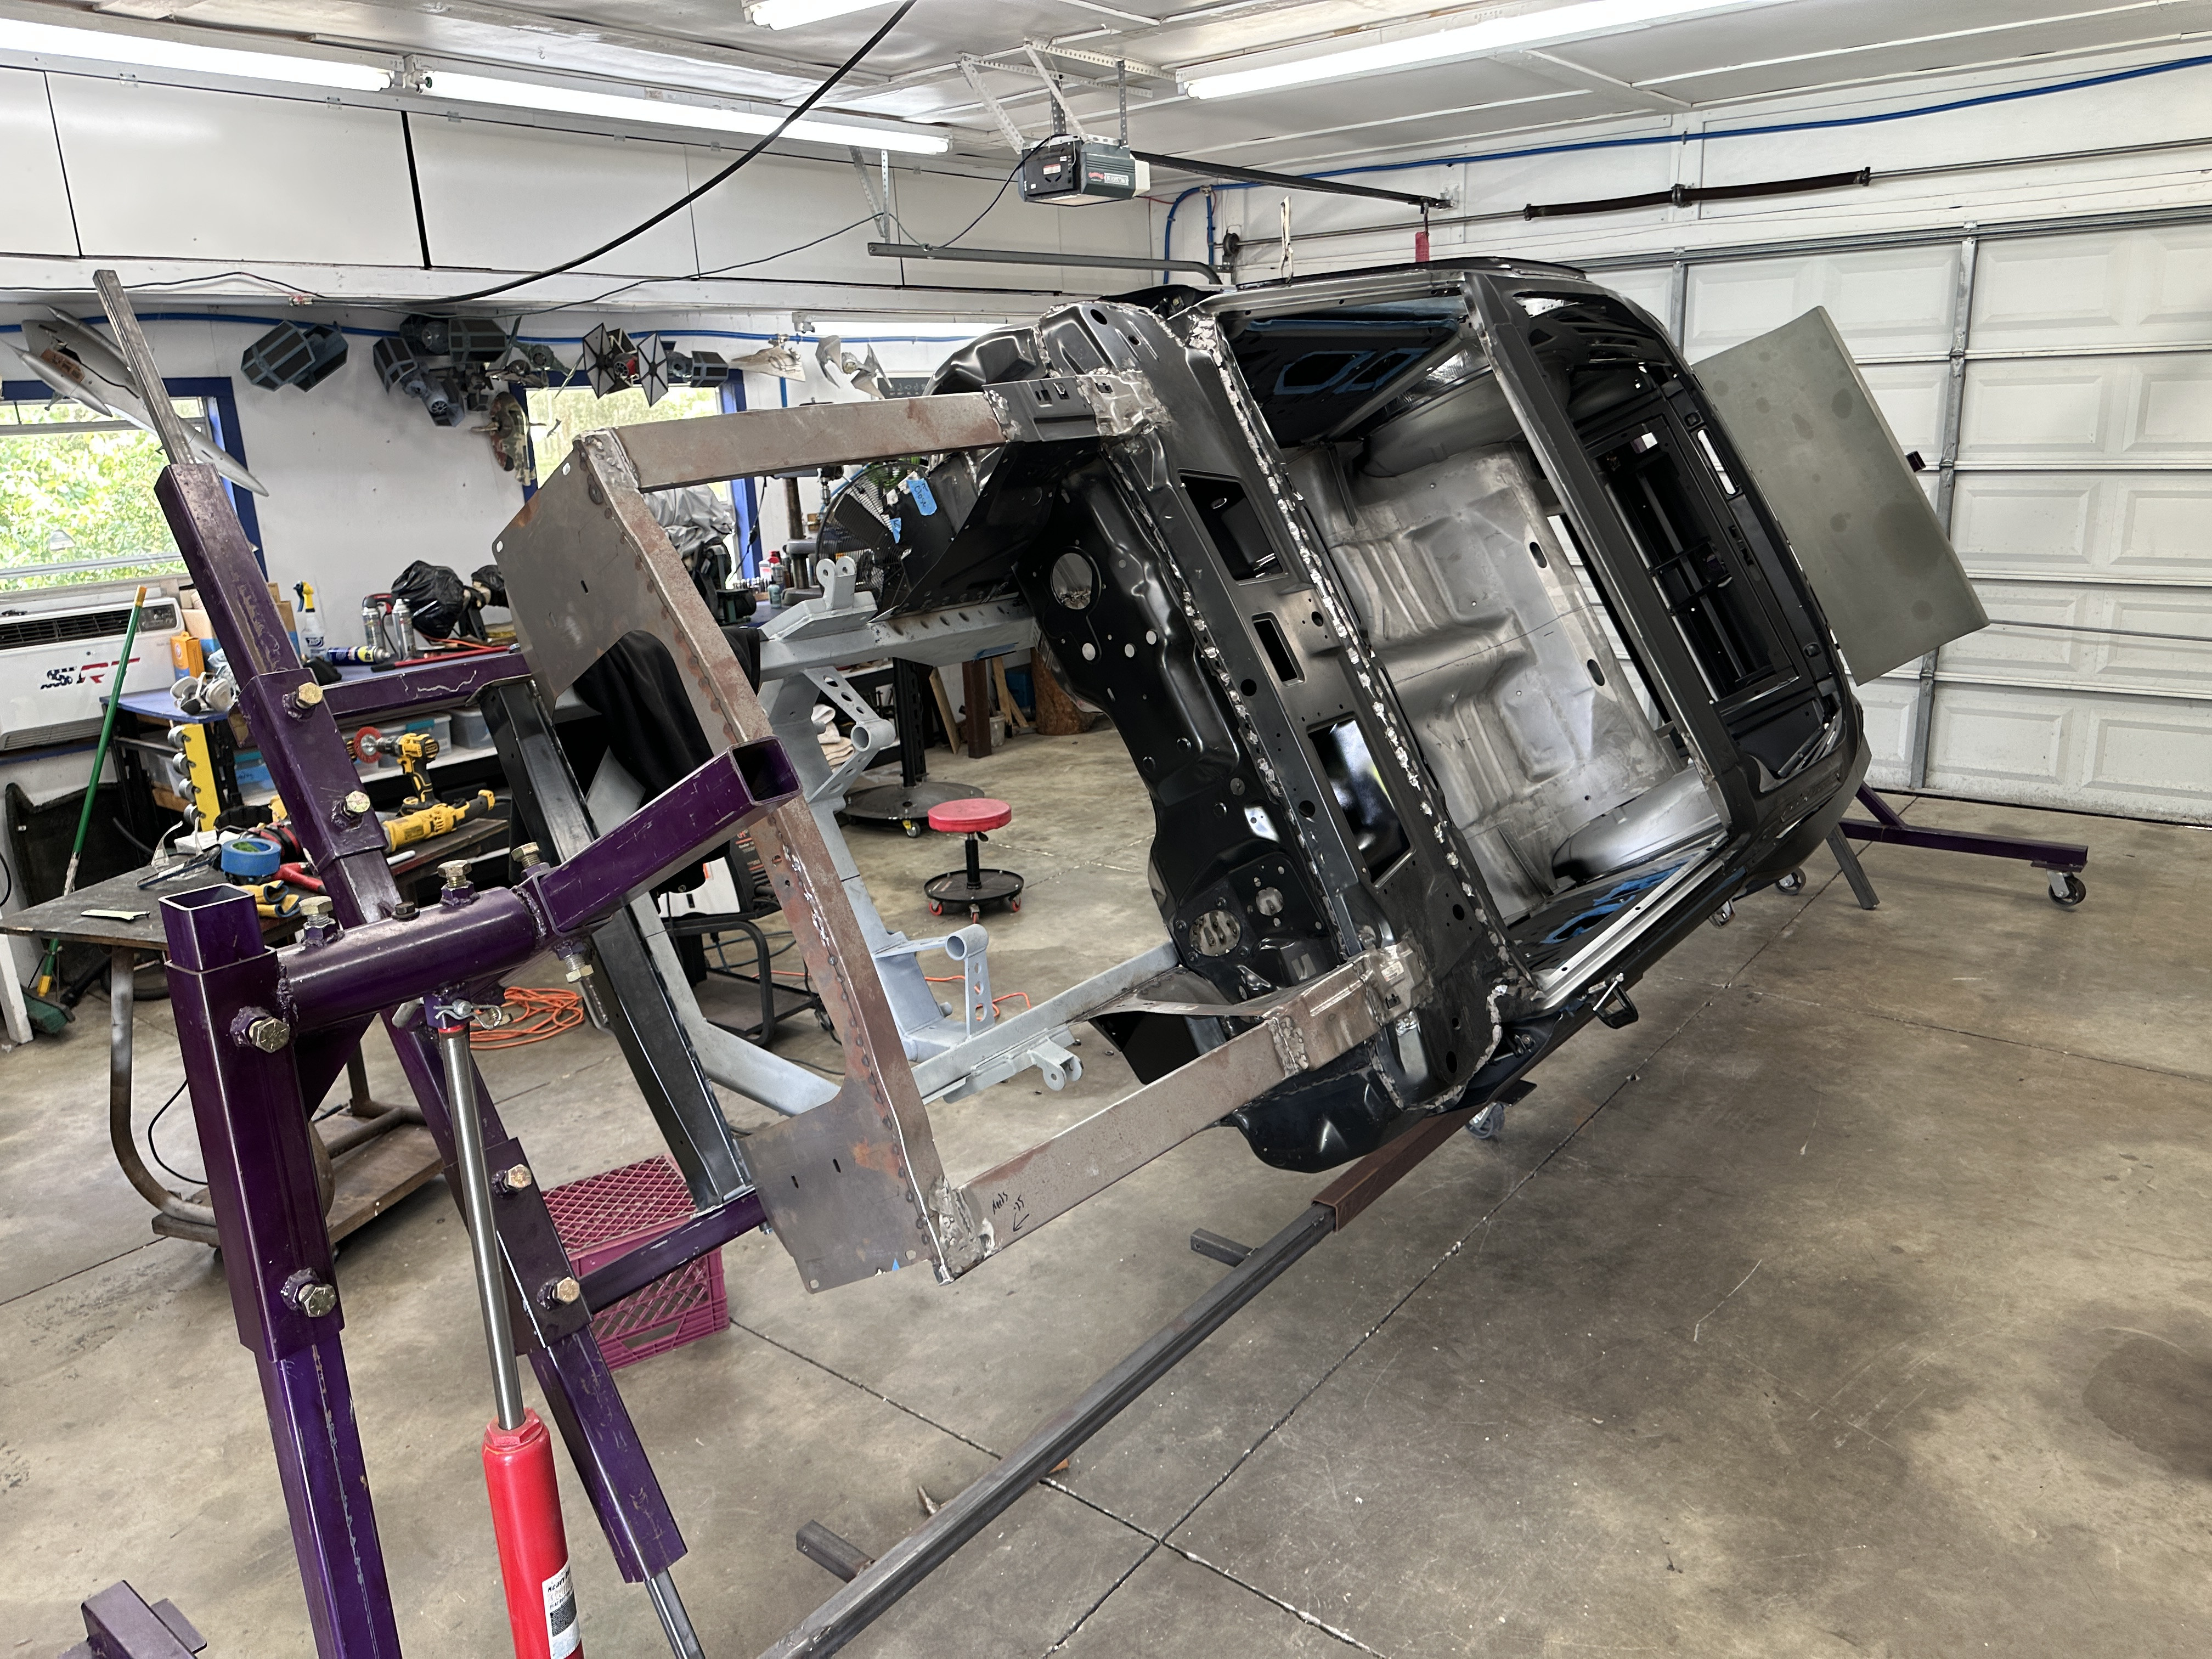
Still SO MUCH welding to go. But i'm having a great time.
-
Couple video updates. Basically summarizing the pics etc.
and
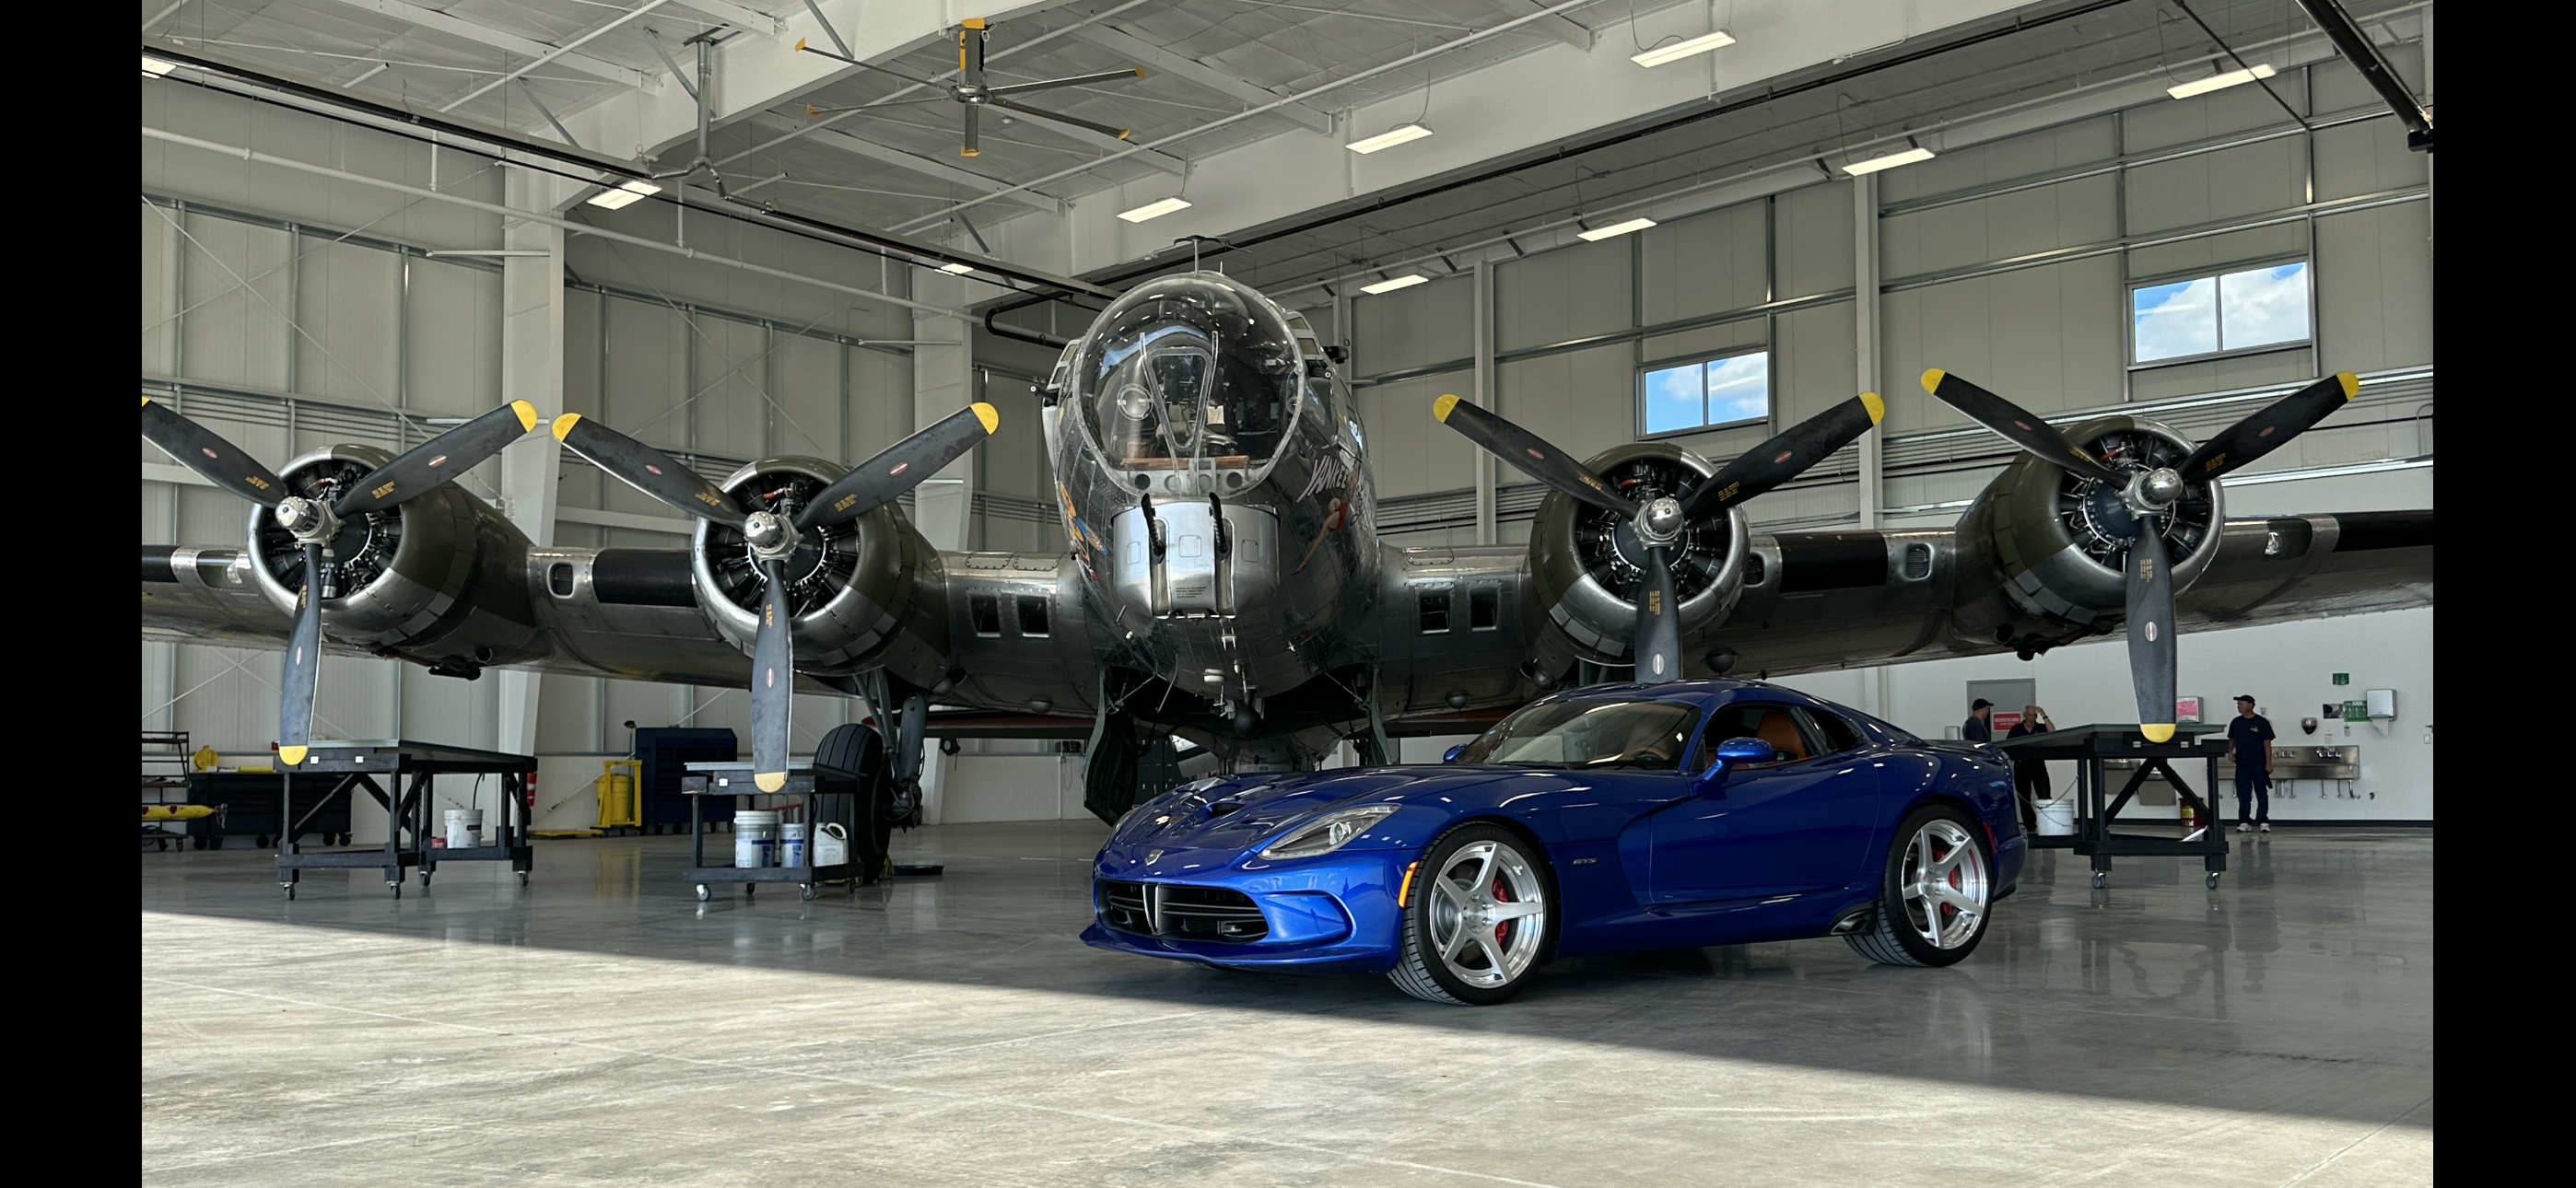
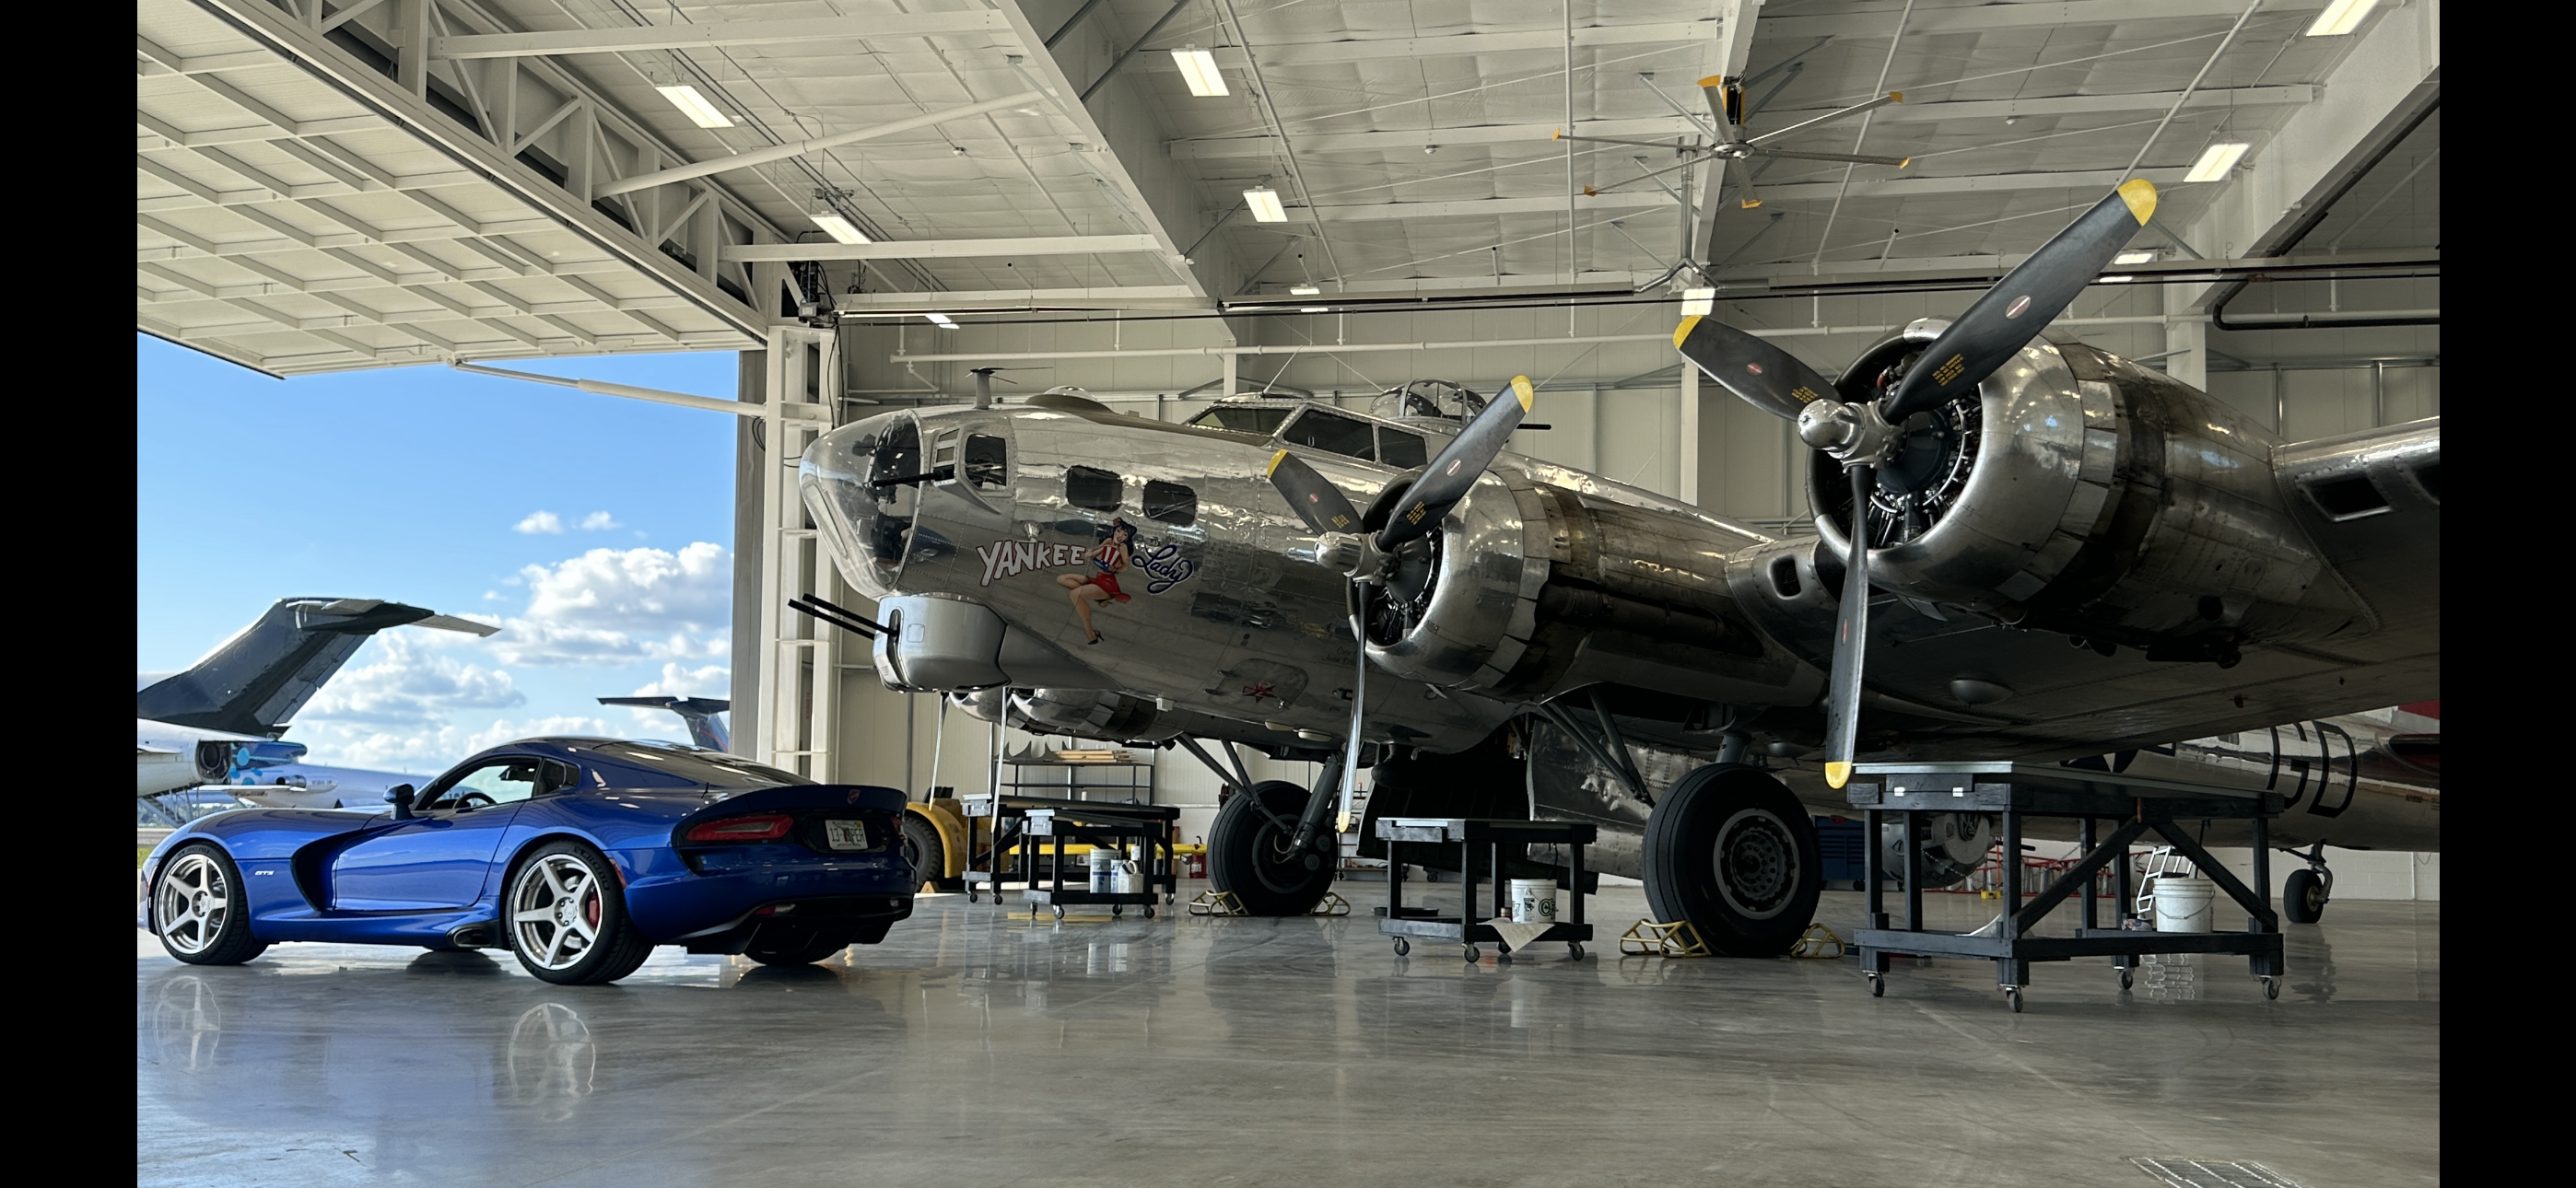
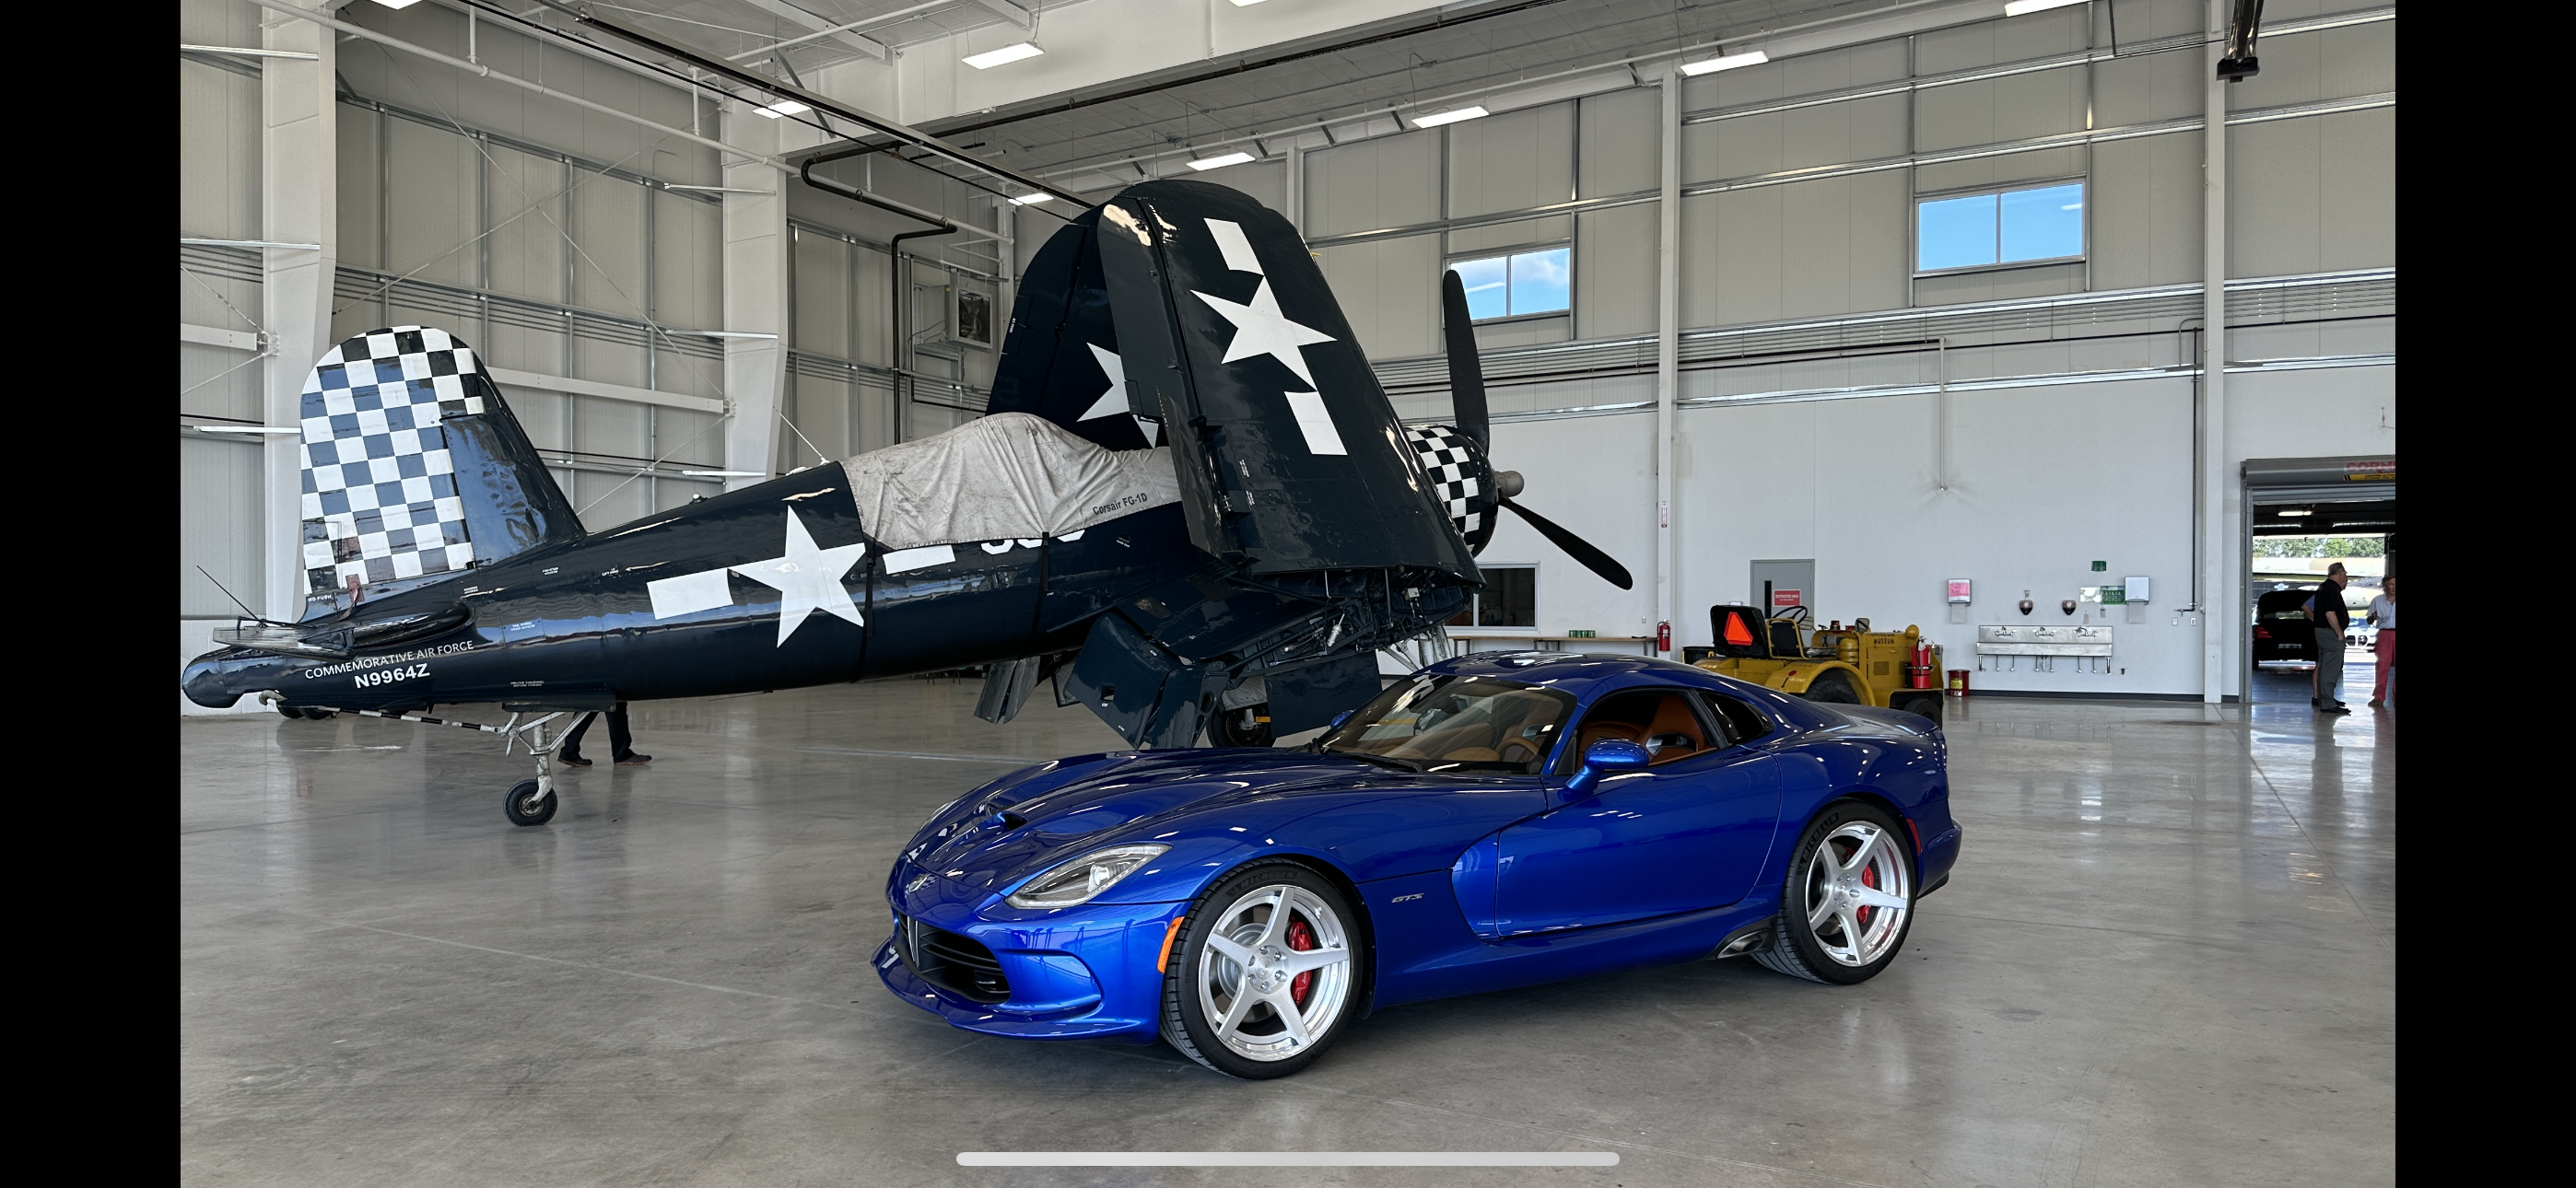
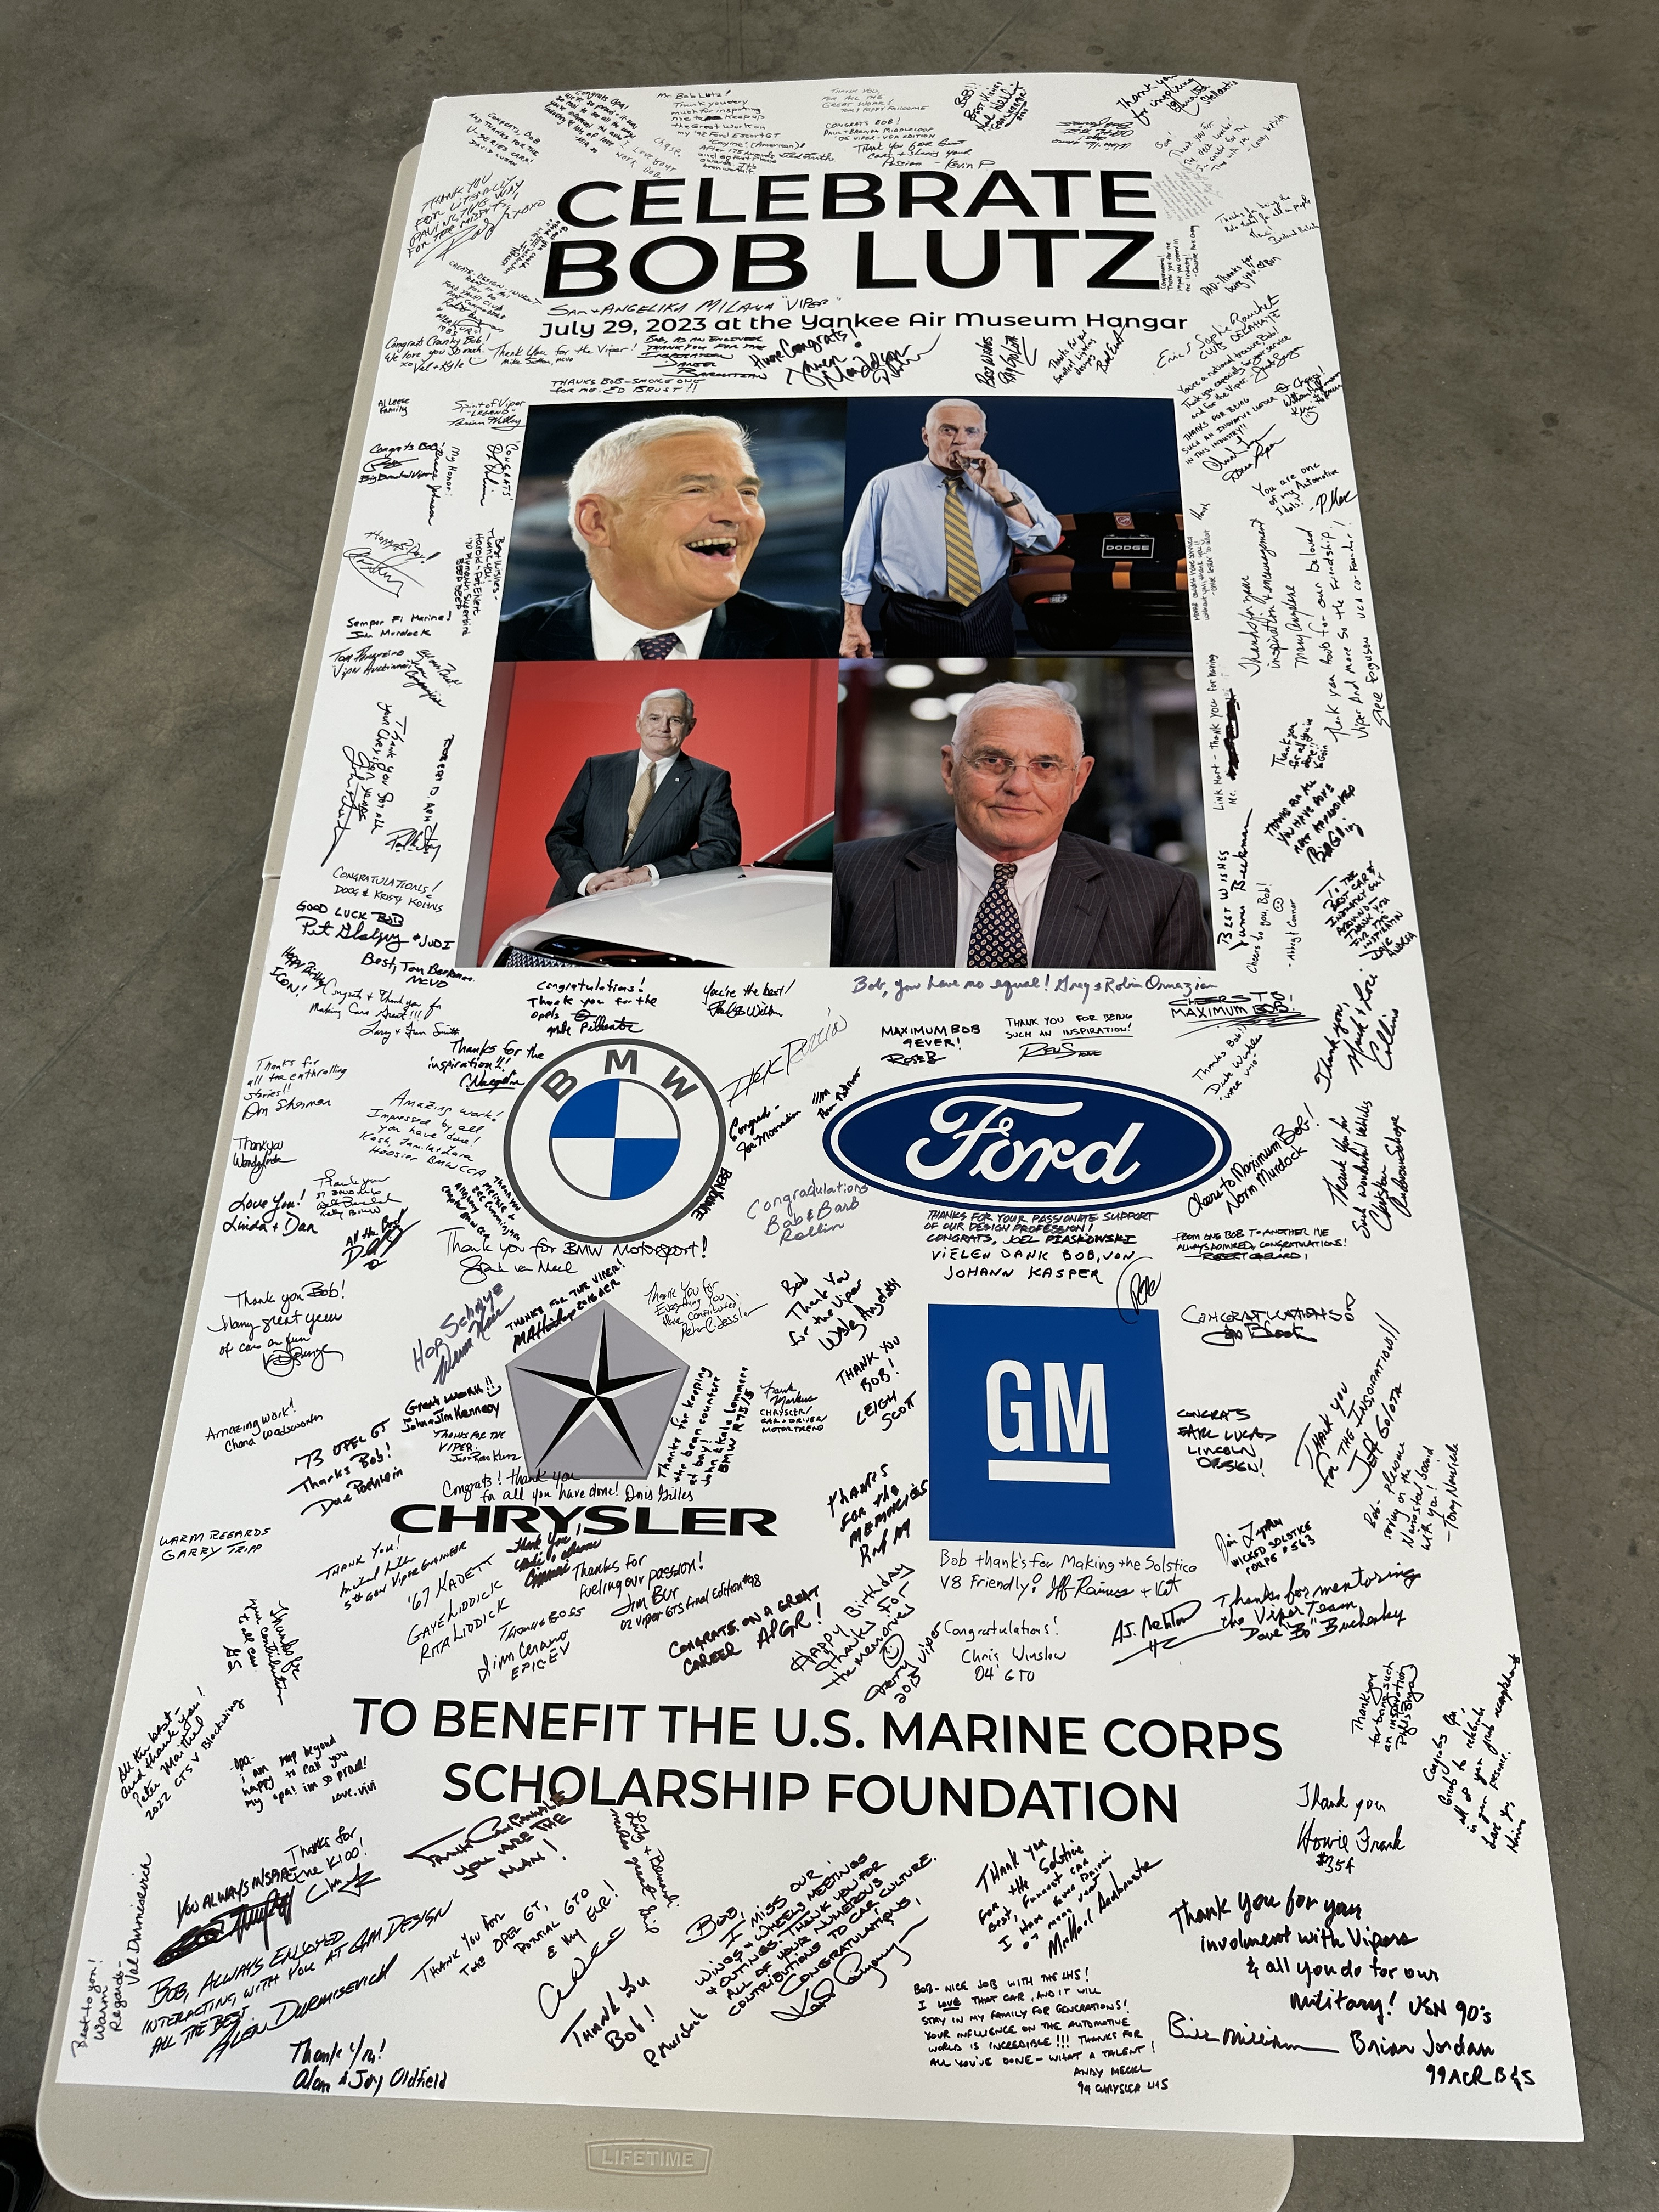
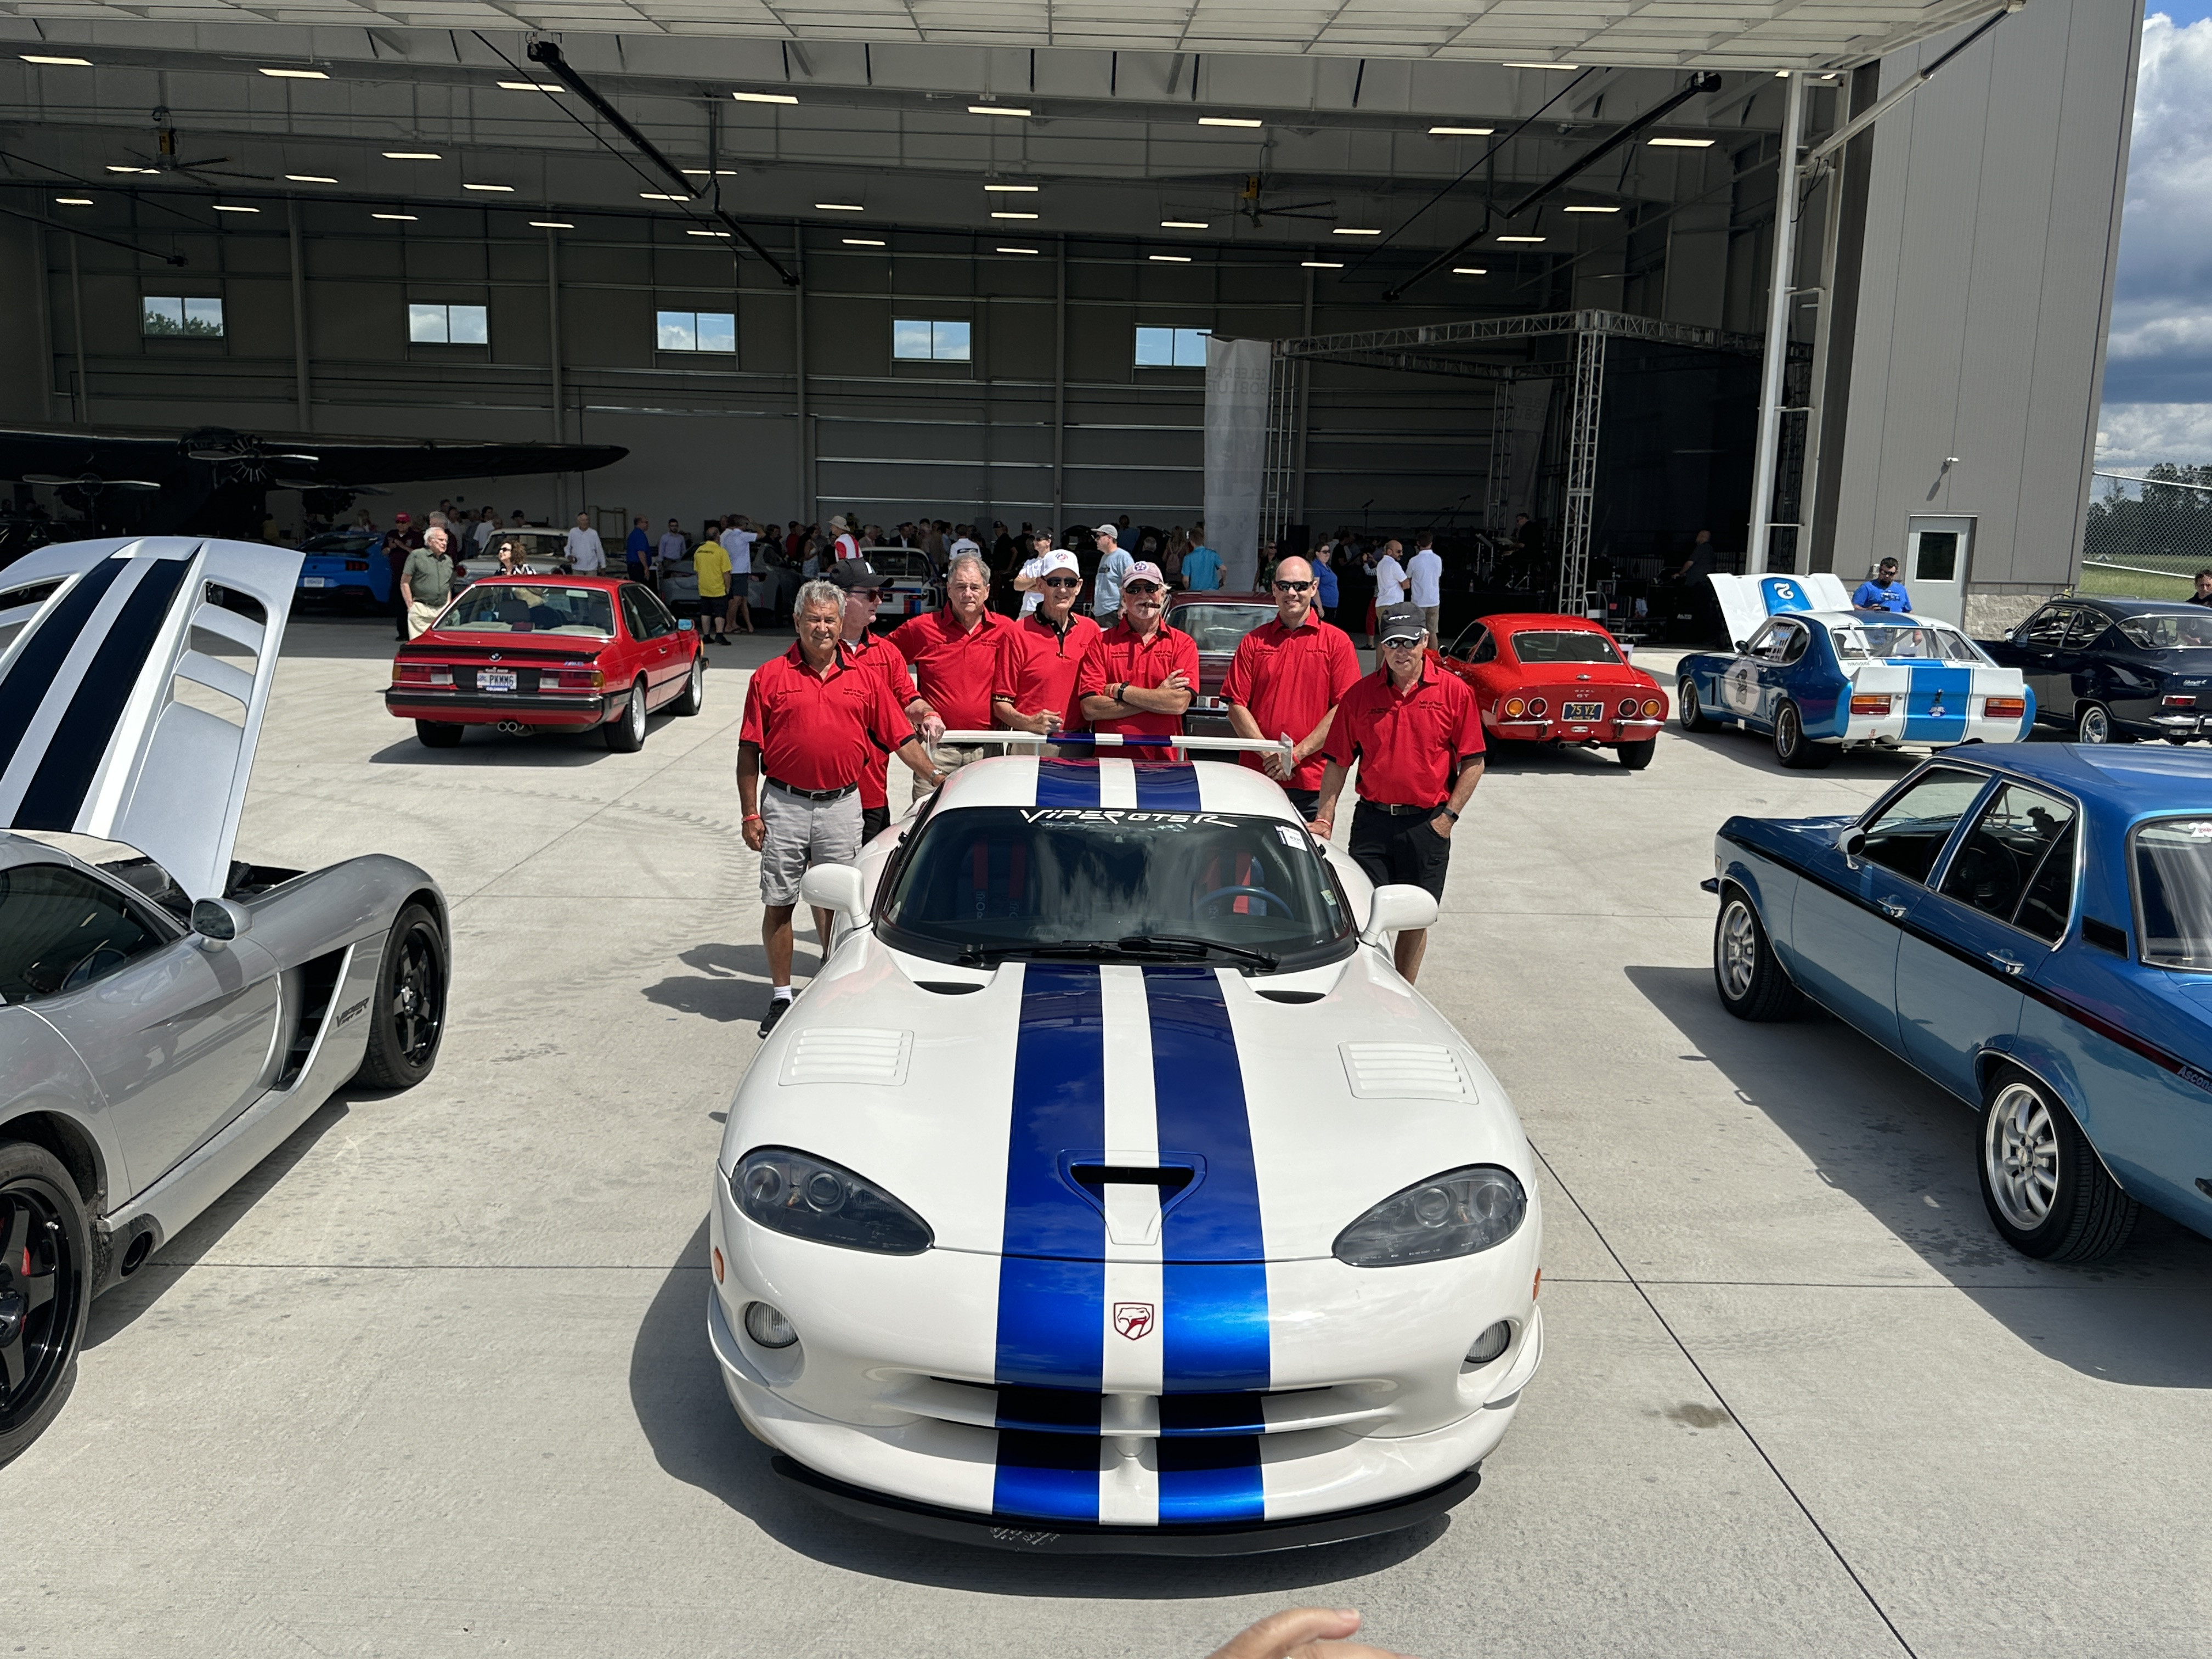
Also,My wife and I were in Michigan for a Bob Lutz celebration which was held in a couple of the Yankee Air Museums hangers. I bumped into a B17 pilot and before we knew it, we were in the plane Taxing to the hanger and I got an opportunity to take some incredible photos.
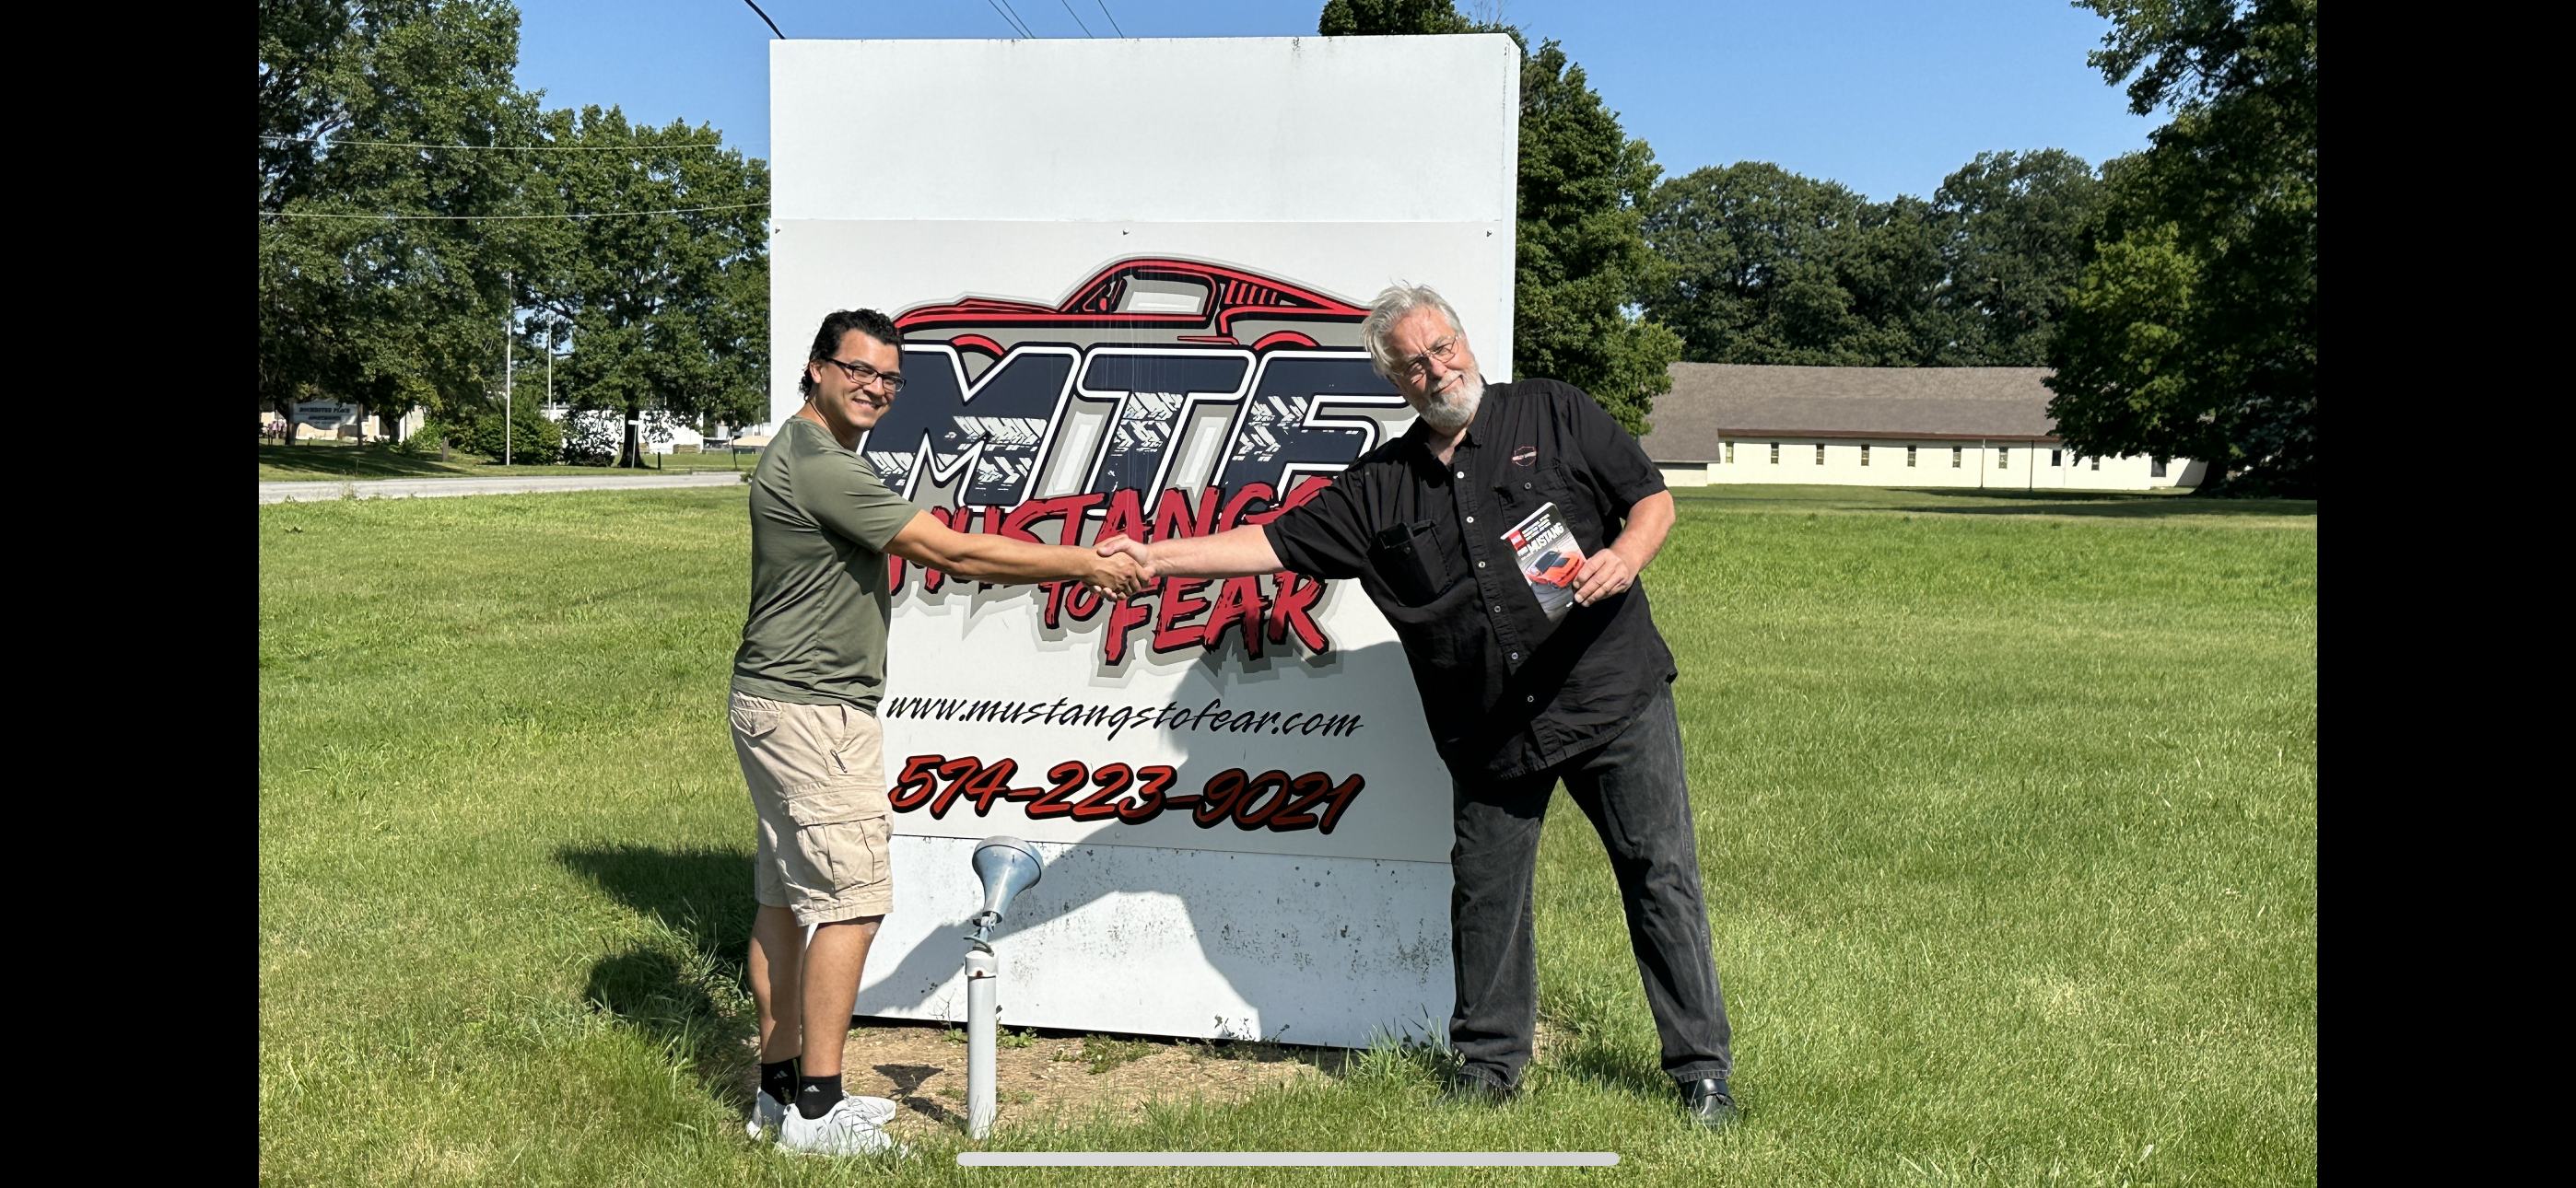
We also stopped by Mustangs to Fear on the way home and met Ken and the MTF crew. Great shop. Was well worth the visit :)
We also stopped by Jon Kasse Racing Engines in Georiga. We discussed the engine build for next year. What an amazing facility.

-
-
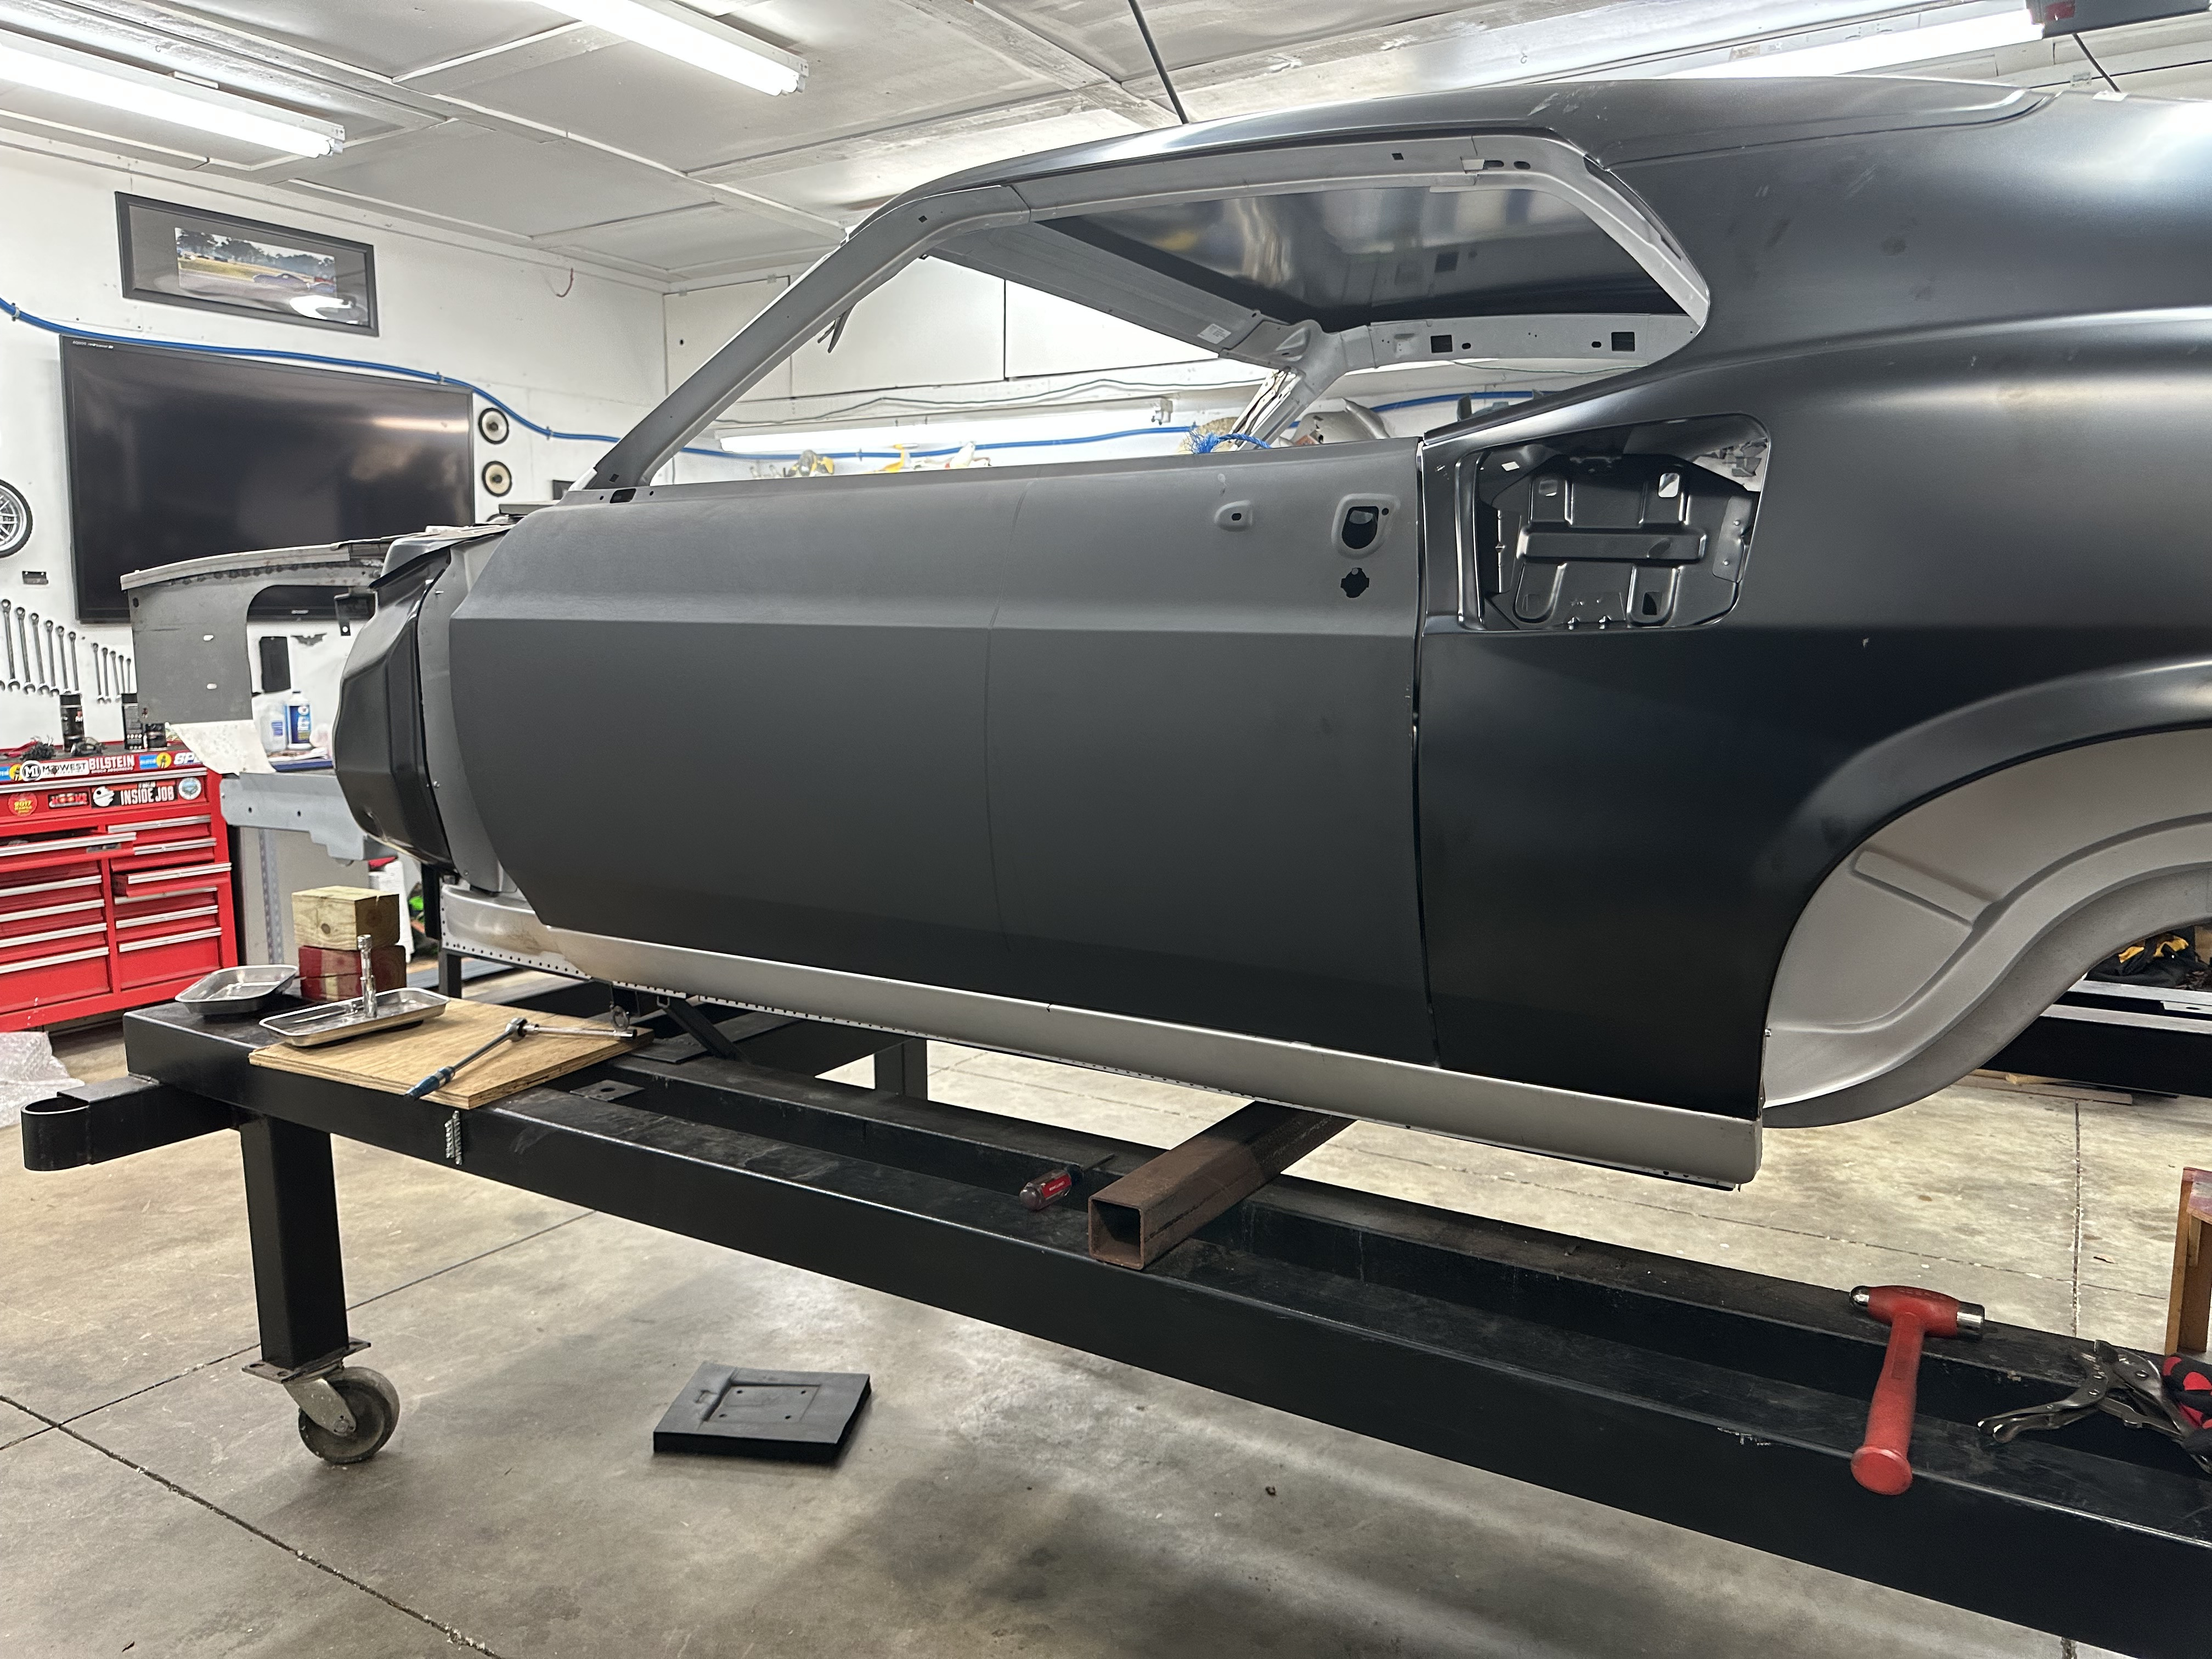
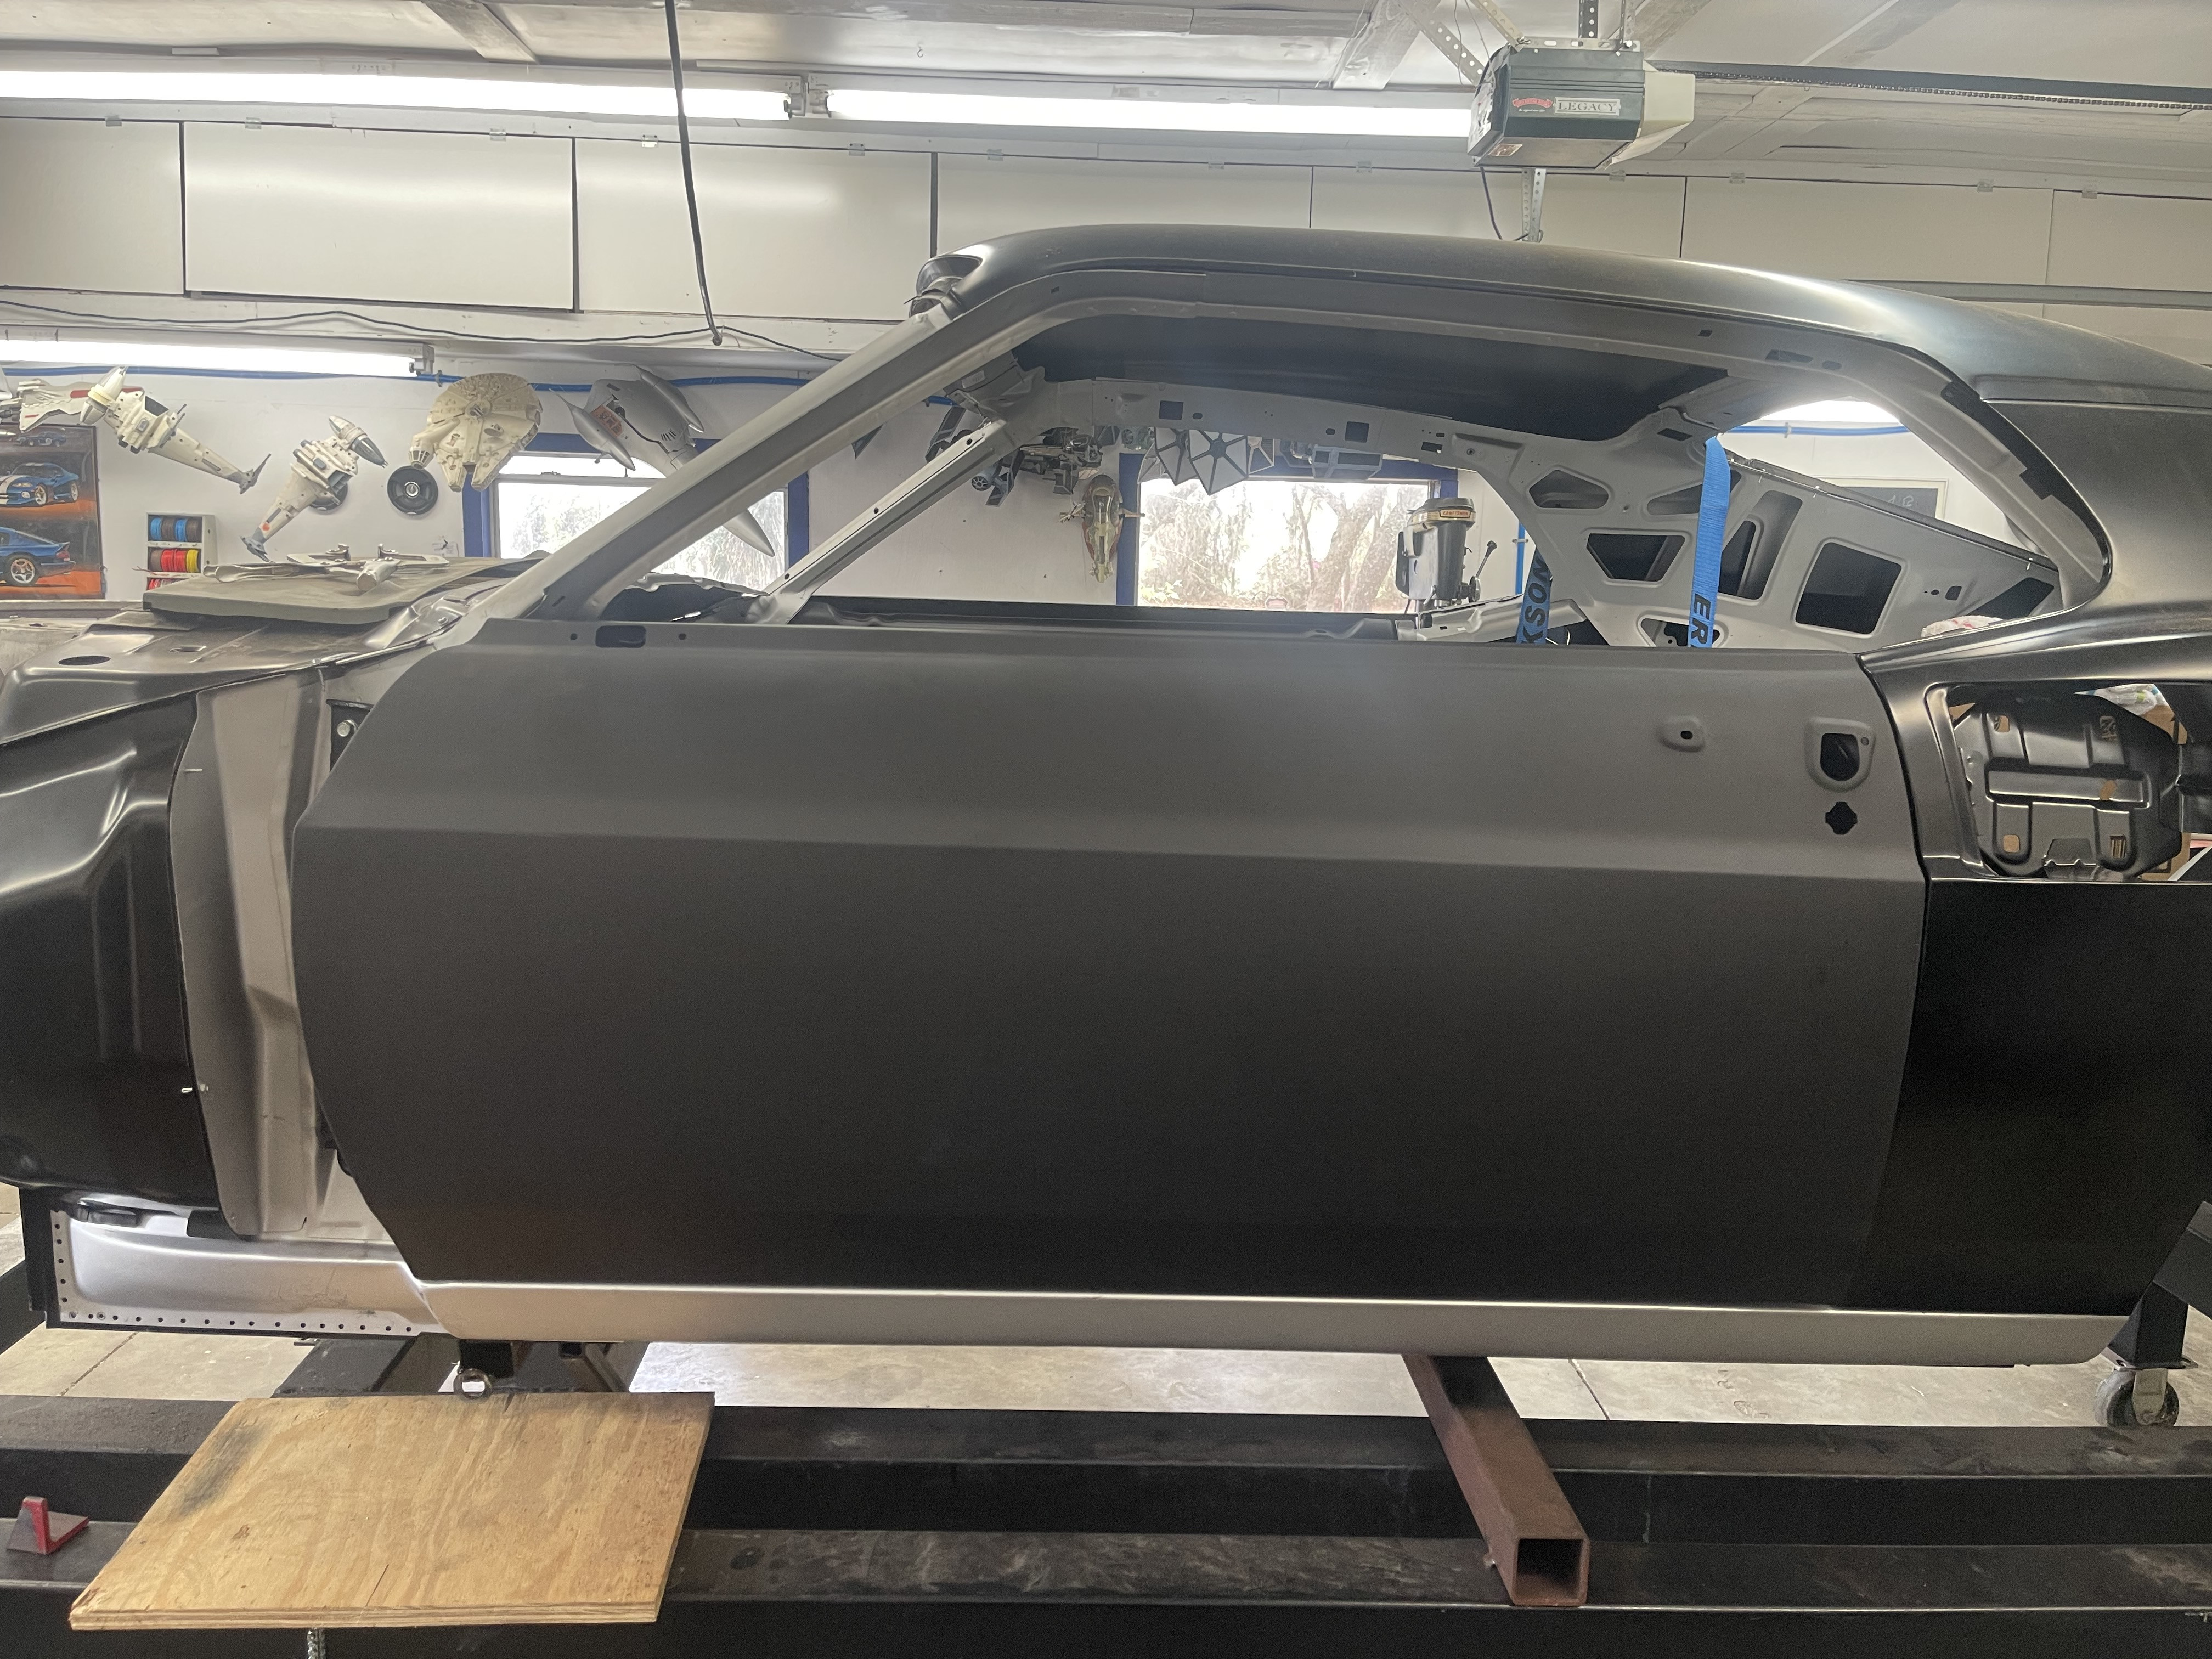
Update!
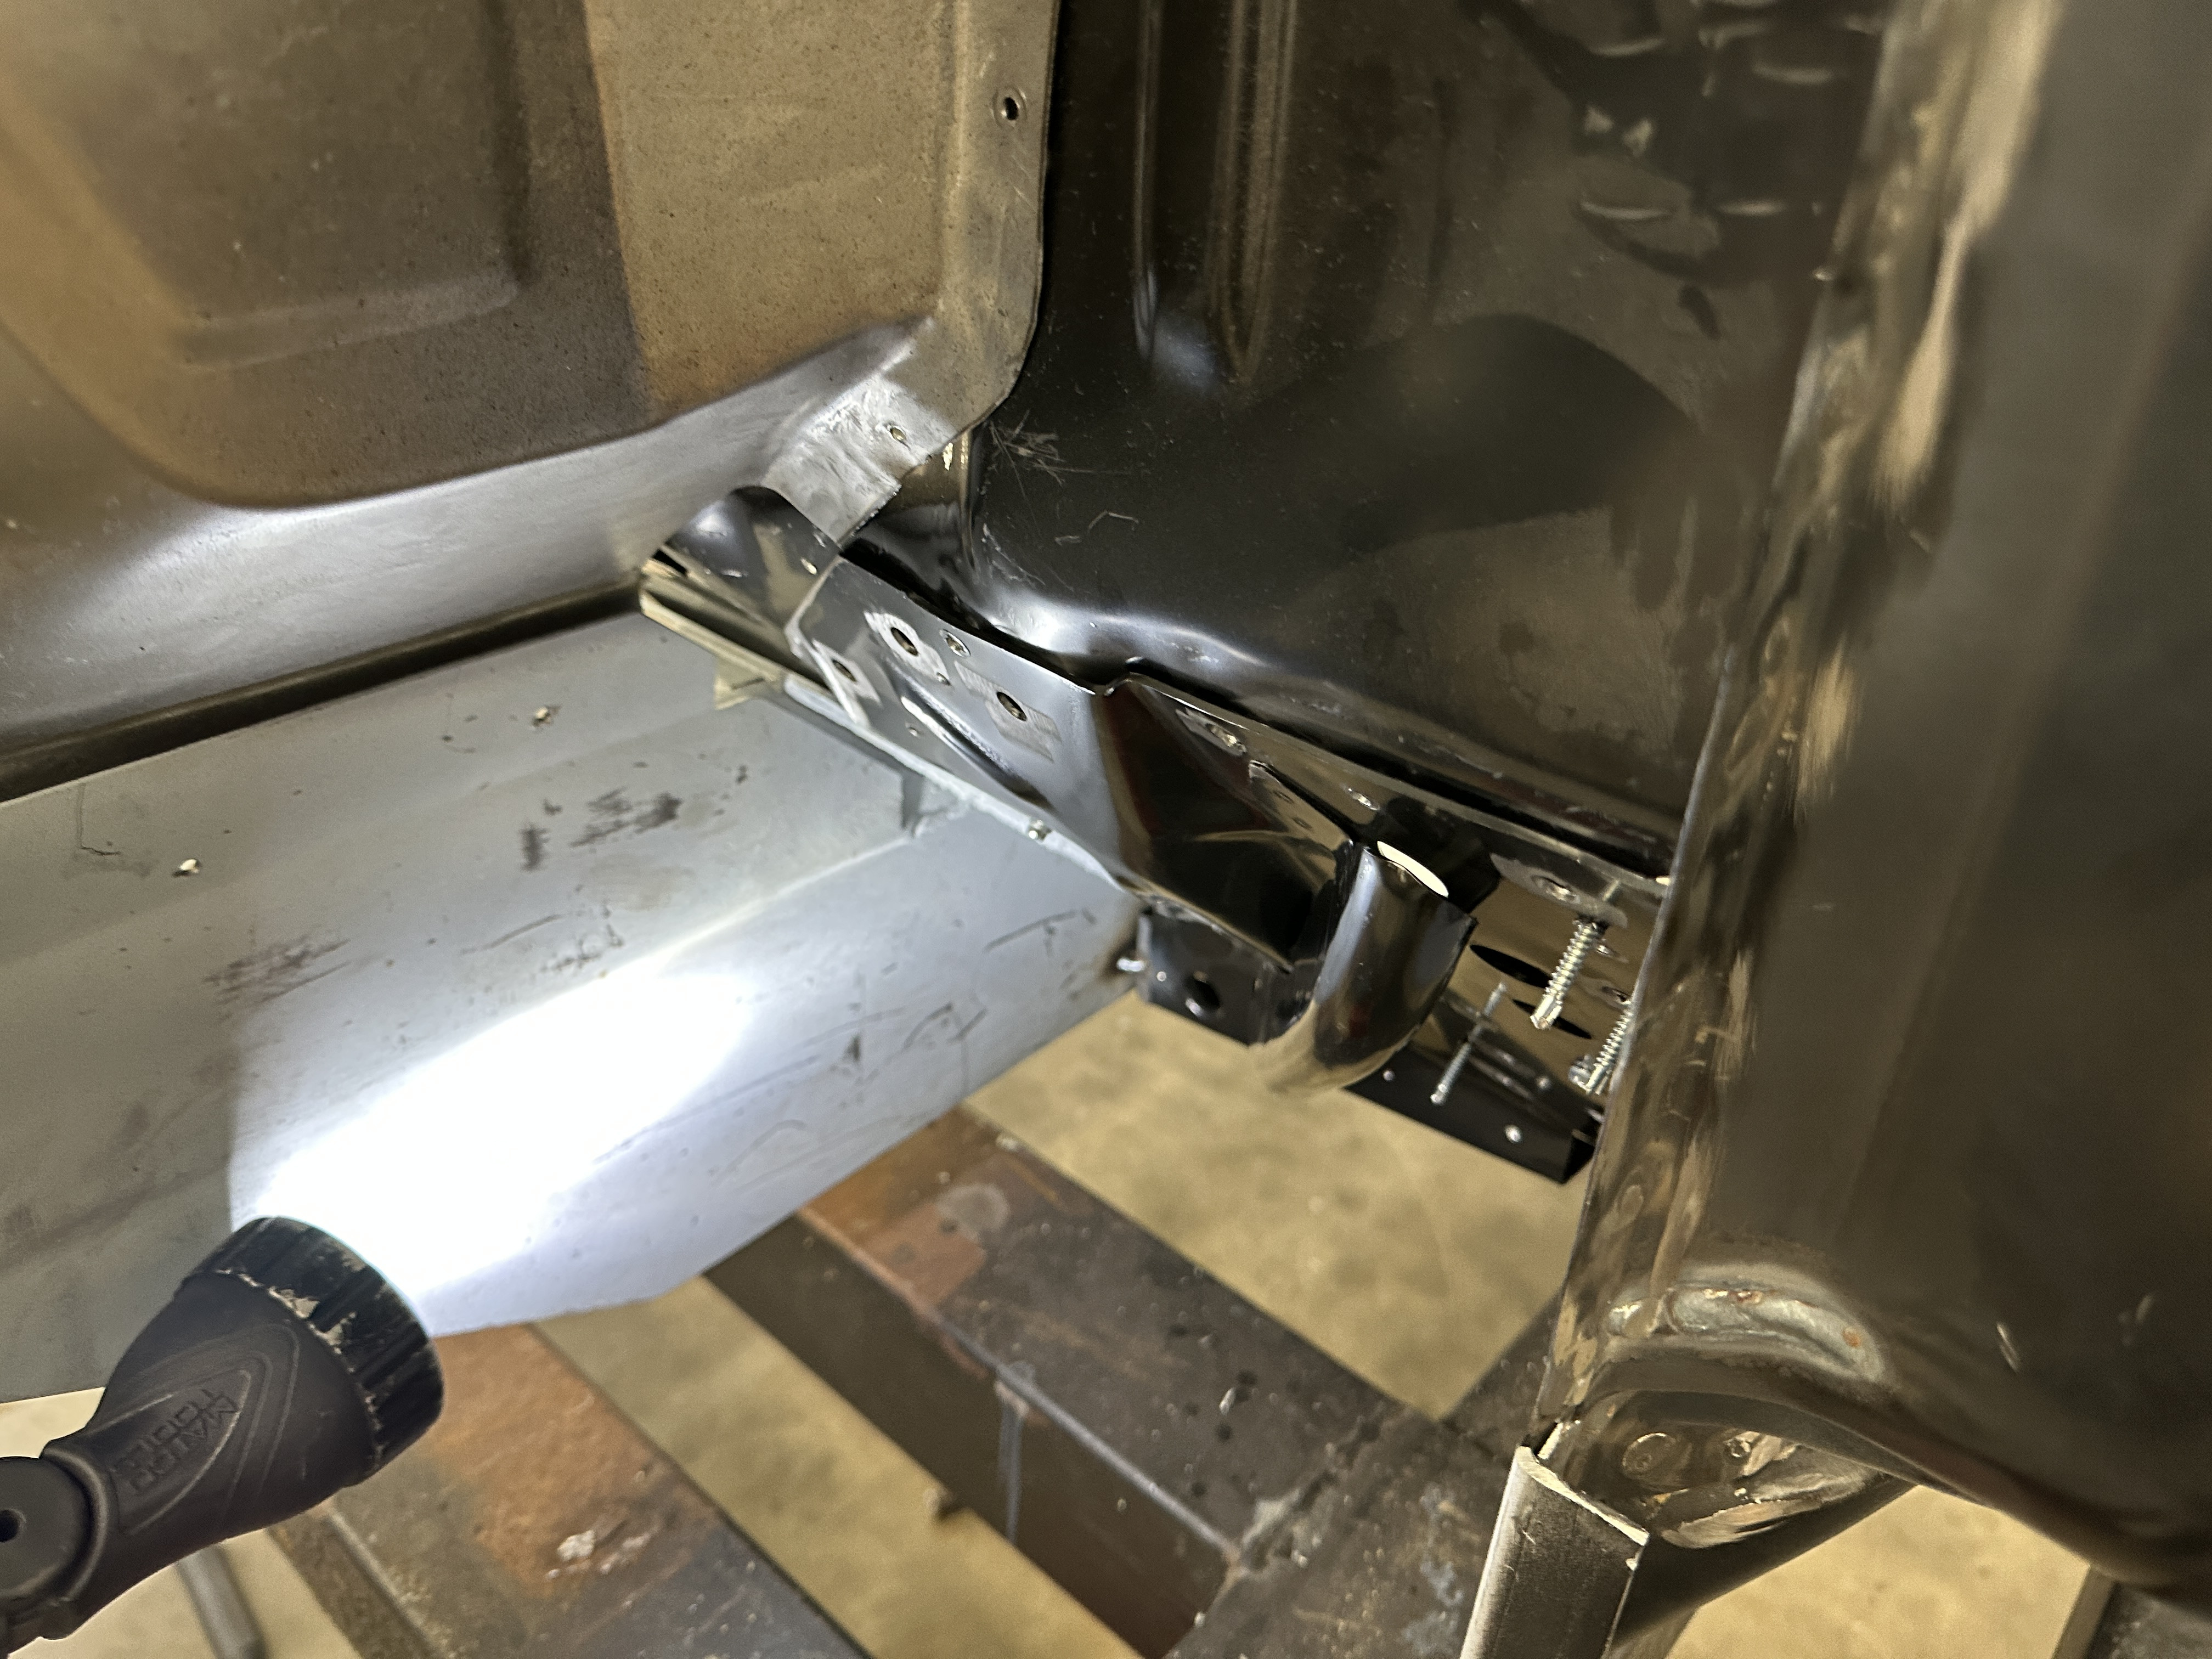
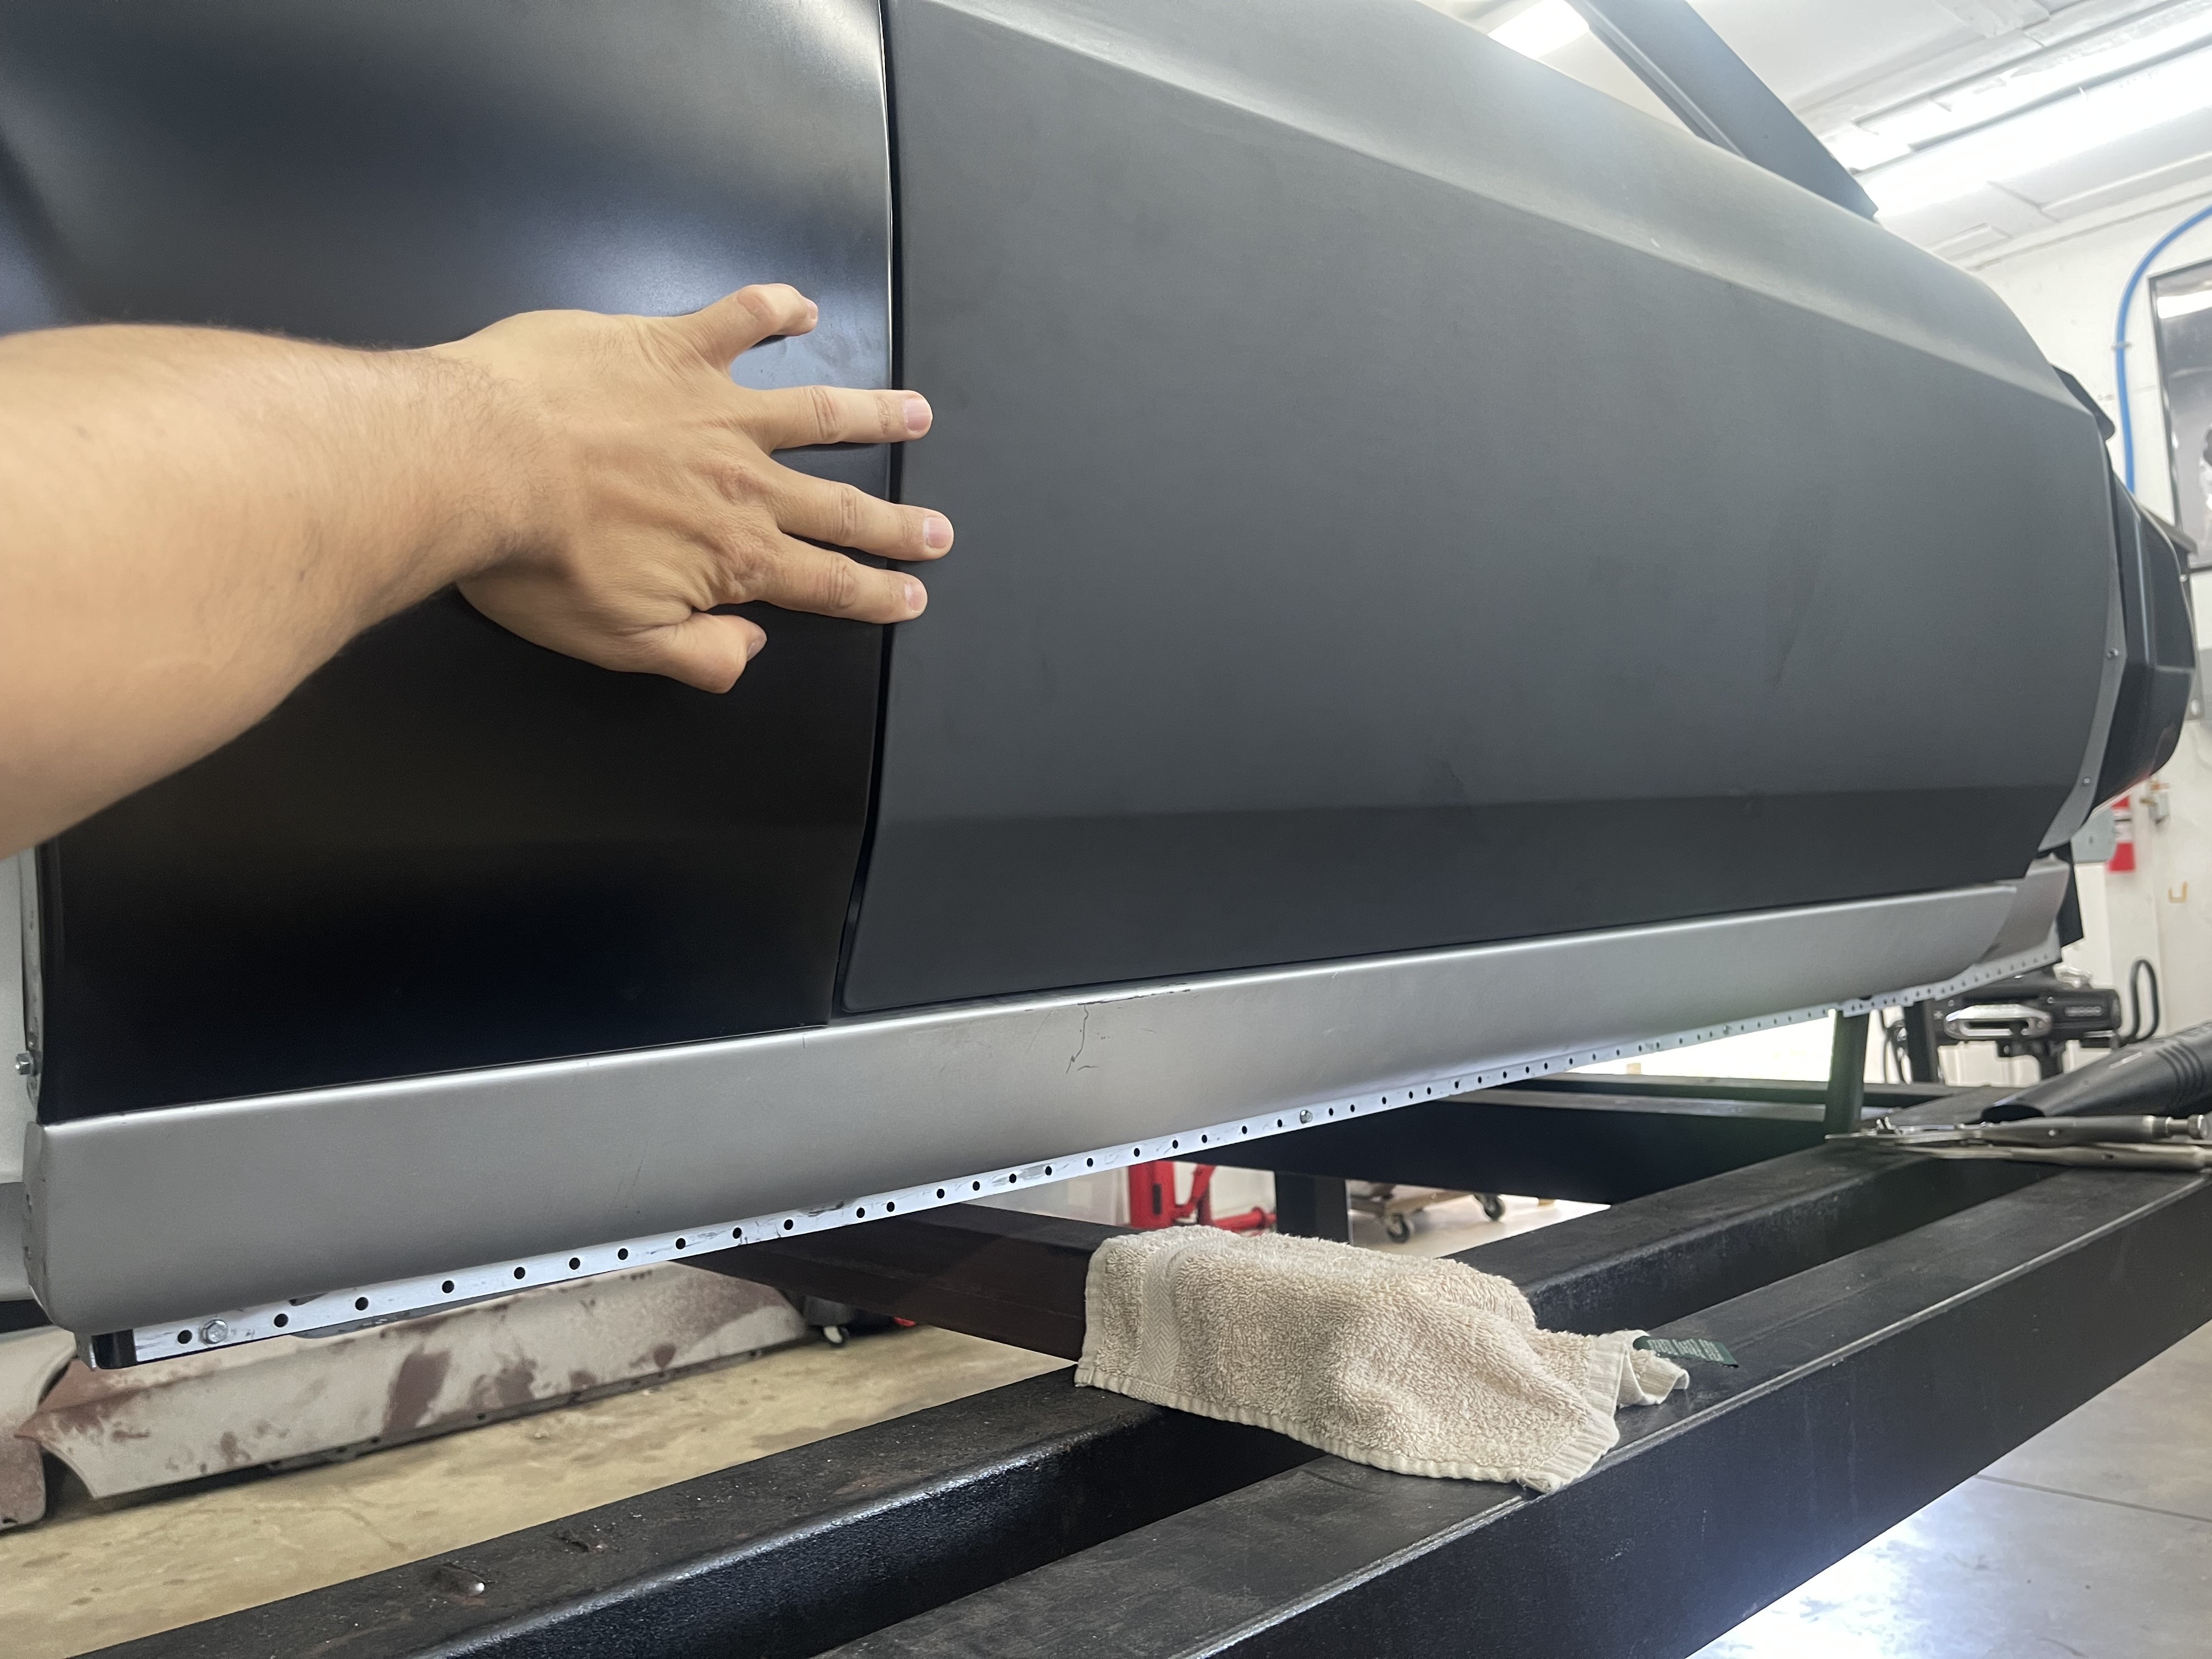
Installed the power windows and the seals and got the windows adjusted pretty darn good. I went through 6 pairs of door runs to find some that made the window arc correctly. The aftermarket stuff just didn't work well. I ended up using a combination of original and aftermarket door runs. The windows move FAST. Unexpectedly fast. Still cool Got the doors aligned with the seals in too.

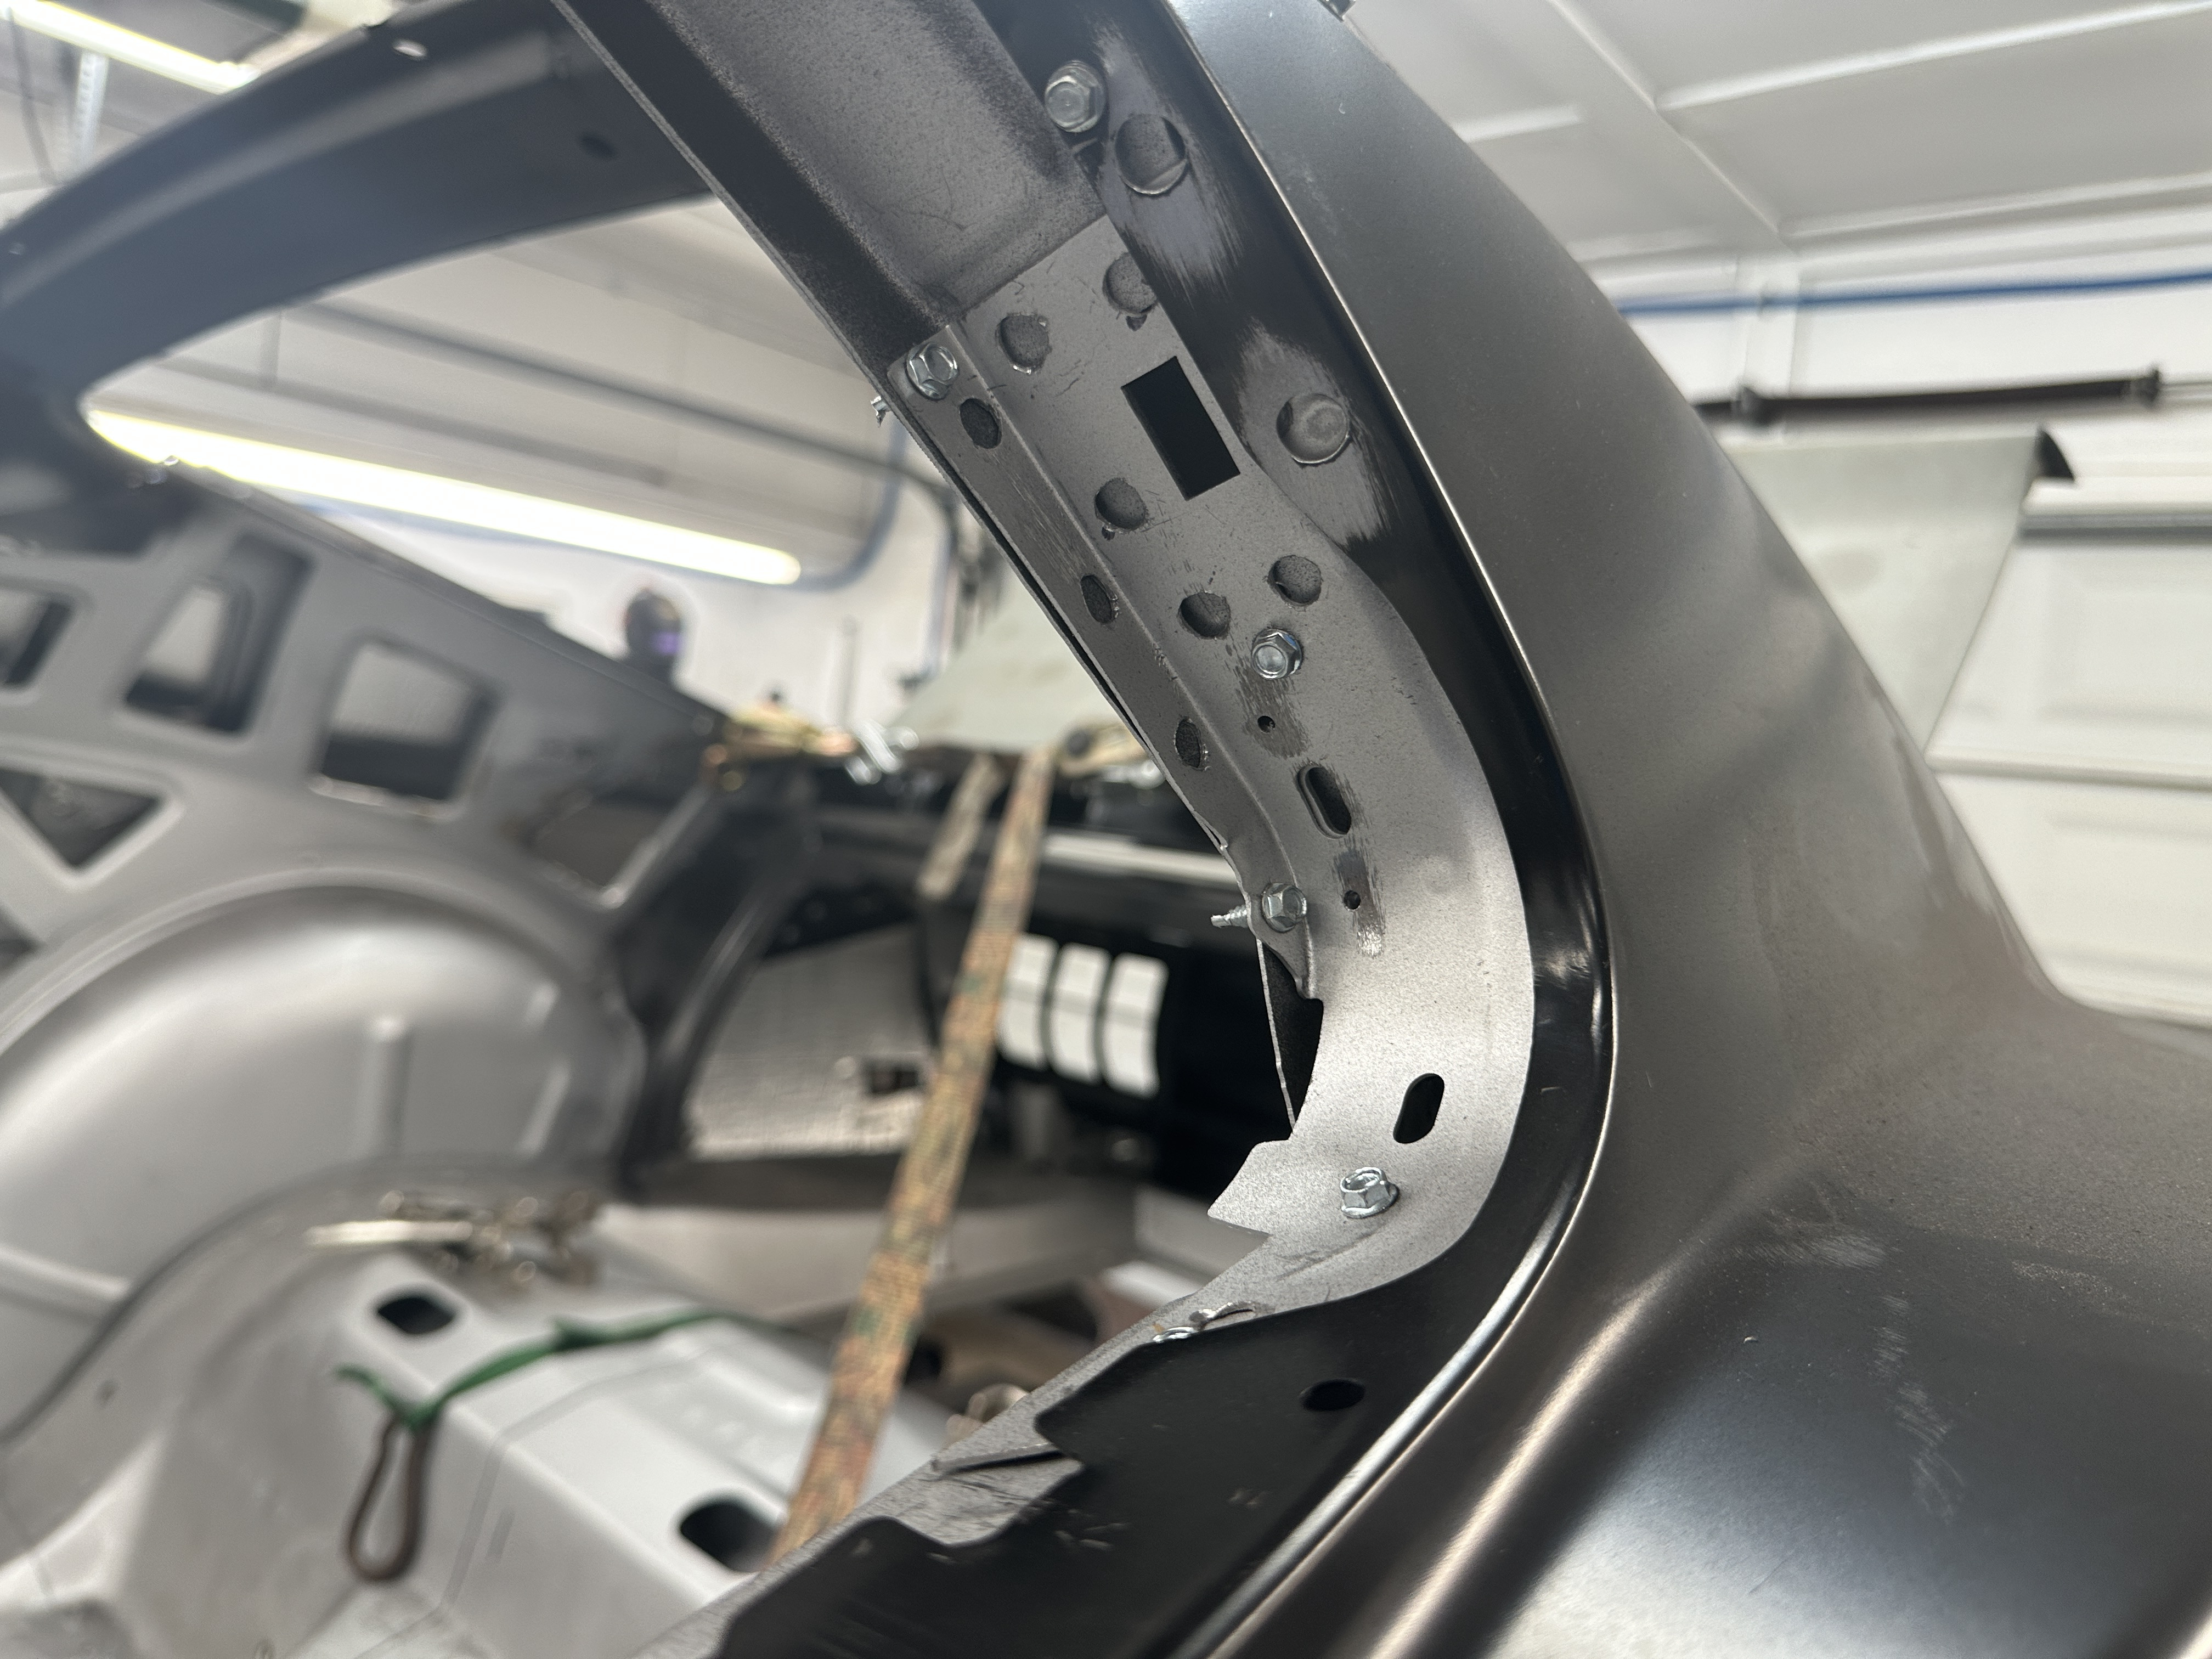
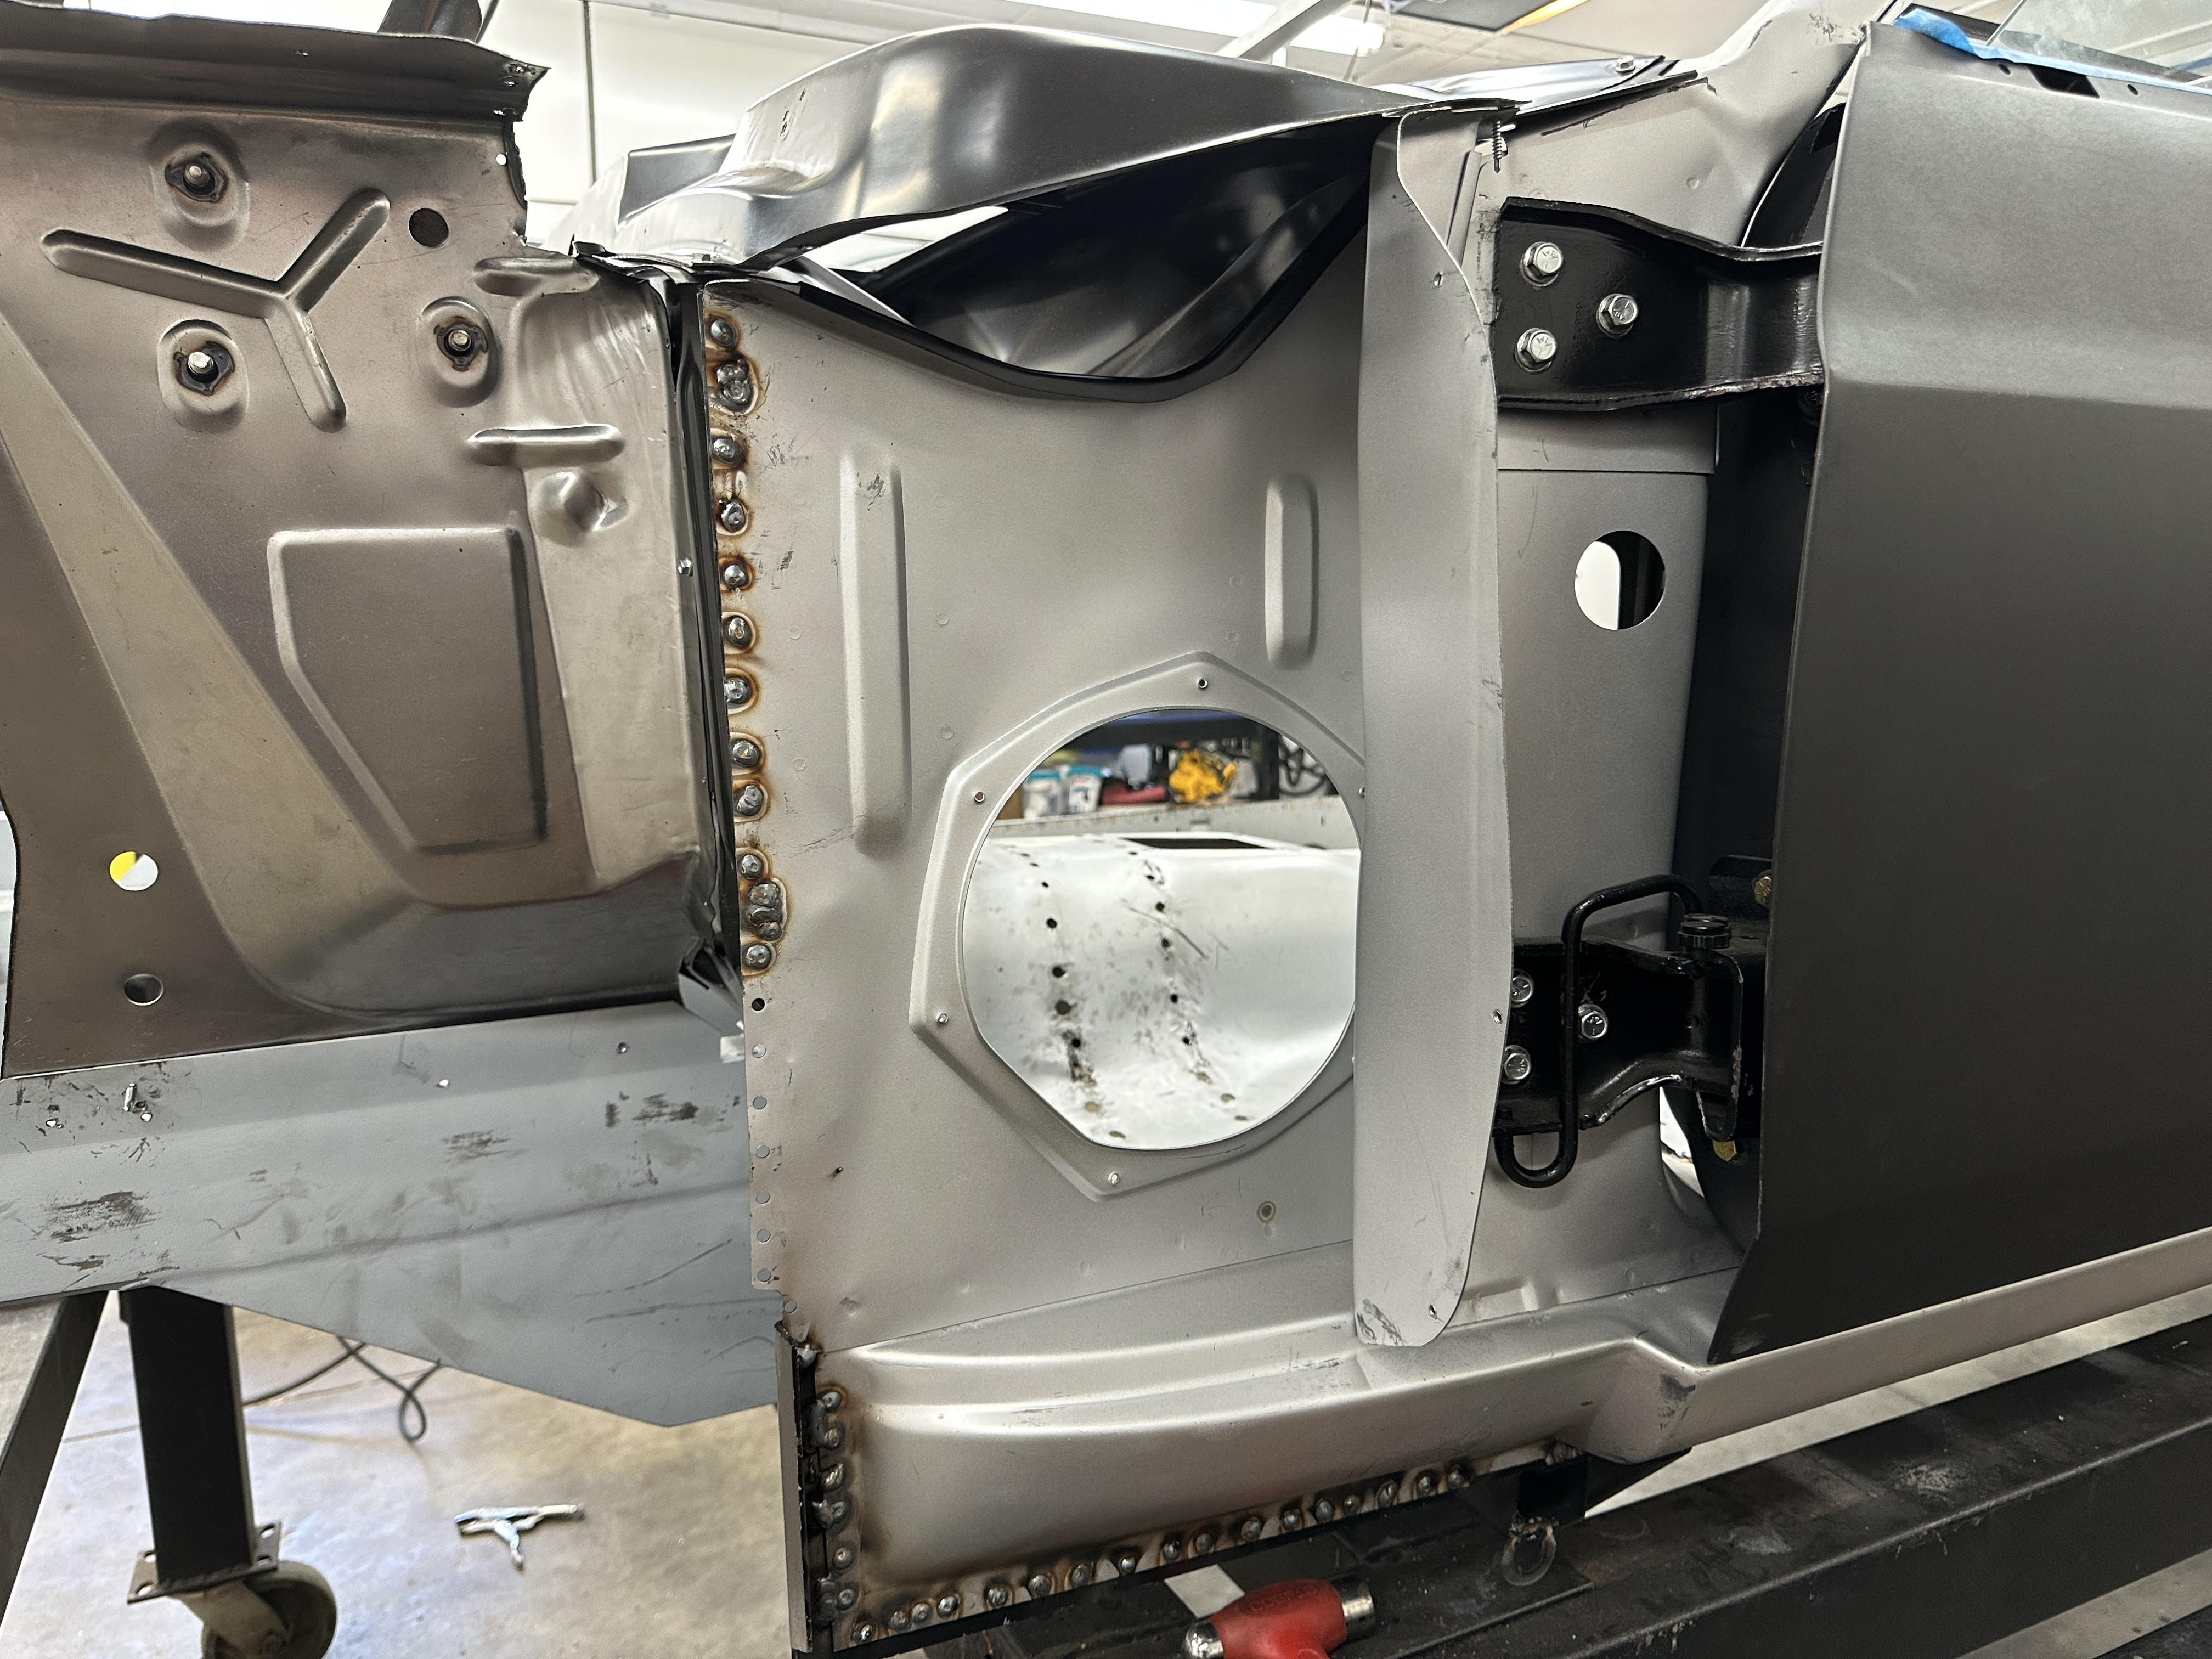
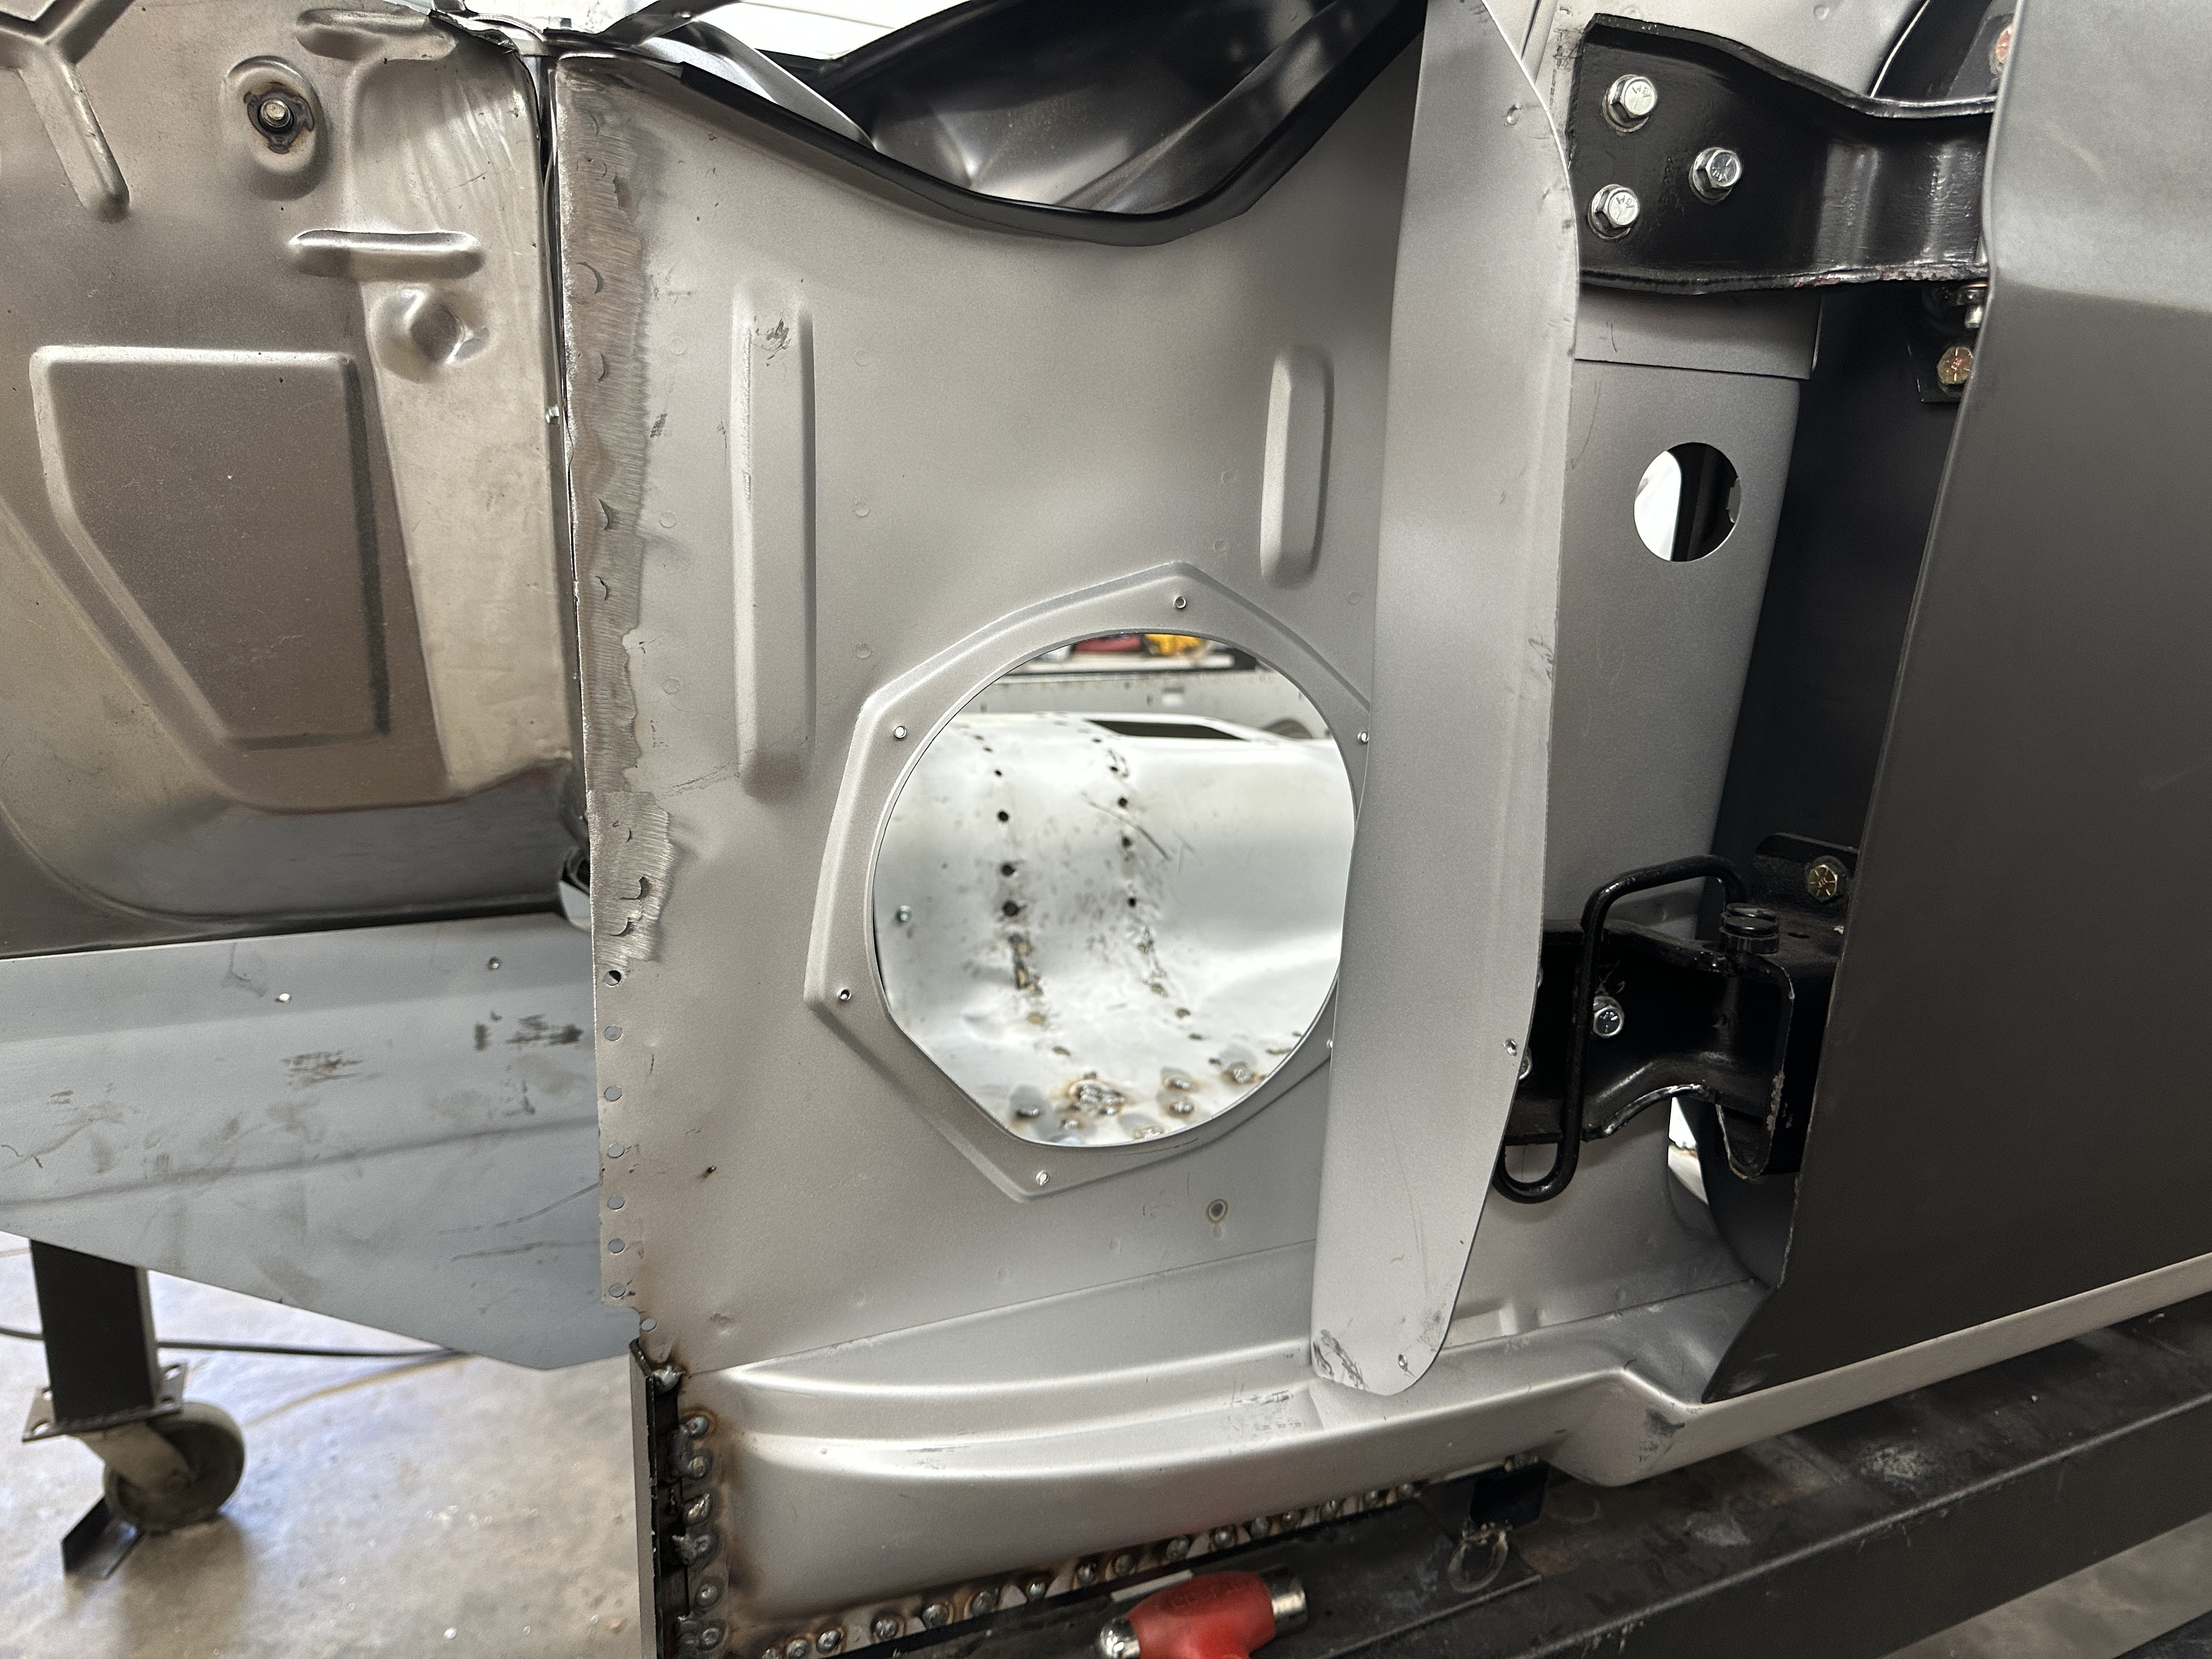
Test fitted fenders and hood for the final time before welding. I ended up buying another pair of new fenders. It didn't make much sense to me to have original fenders that need work to look new, when everything else on the car was new. The new fenders did require some removal of material on the inside support and I had to shave some of the side cowl to get them to fit nicely. Overall i'm happy with them now.
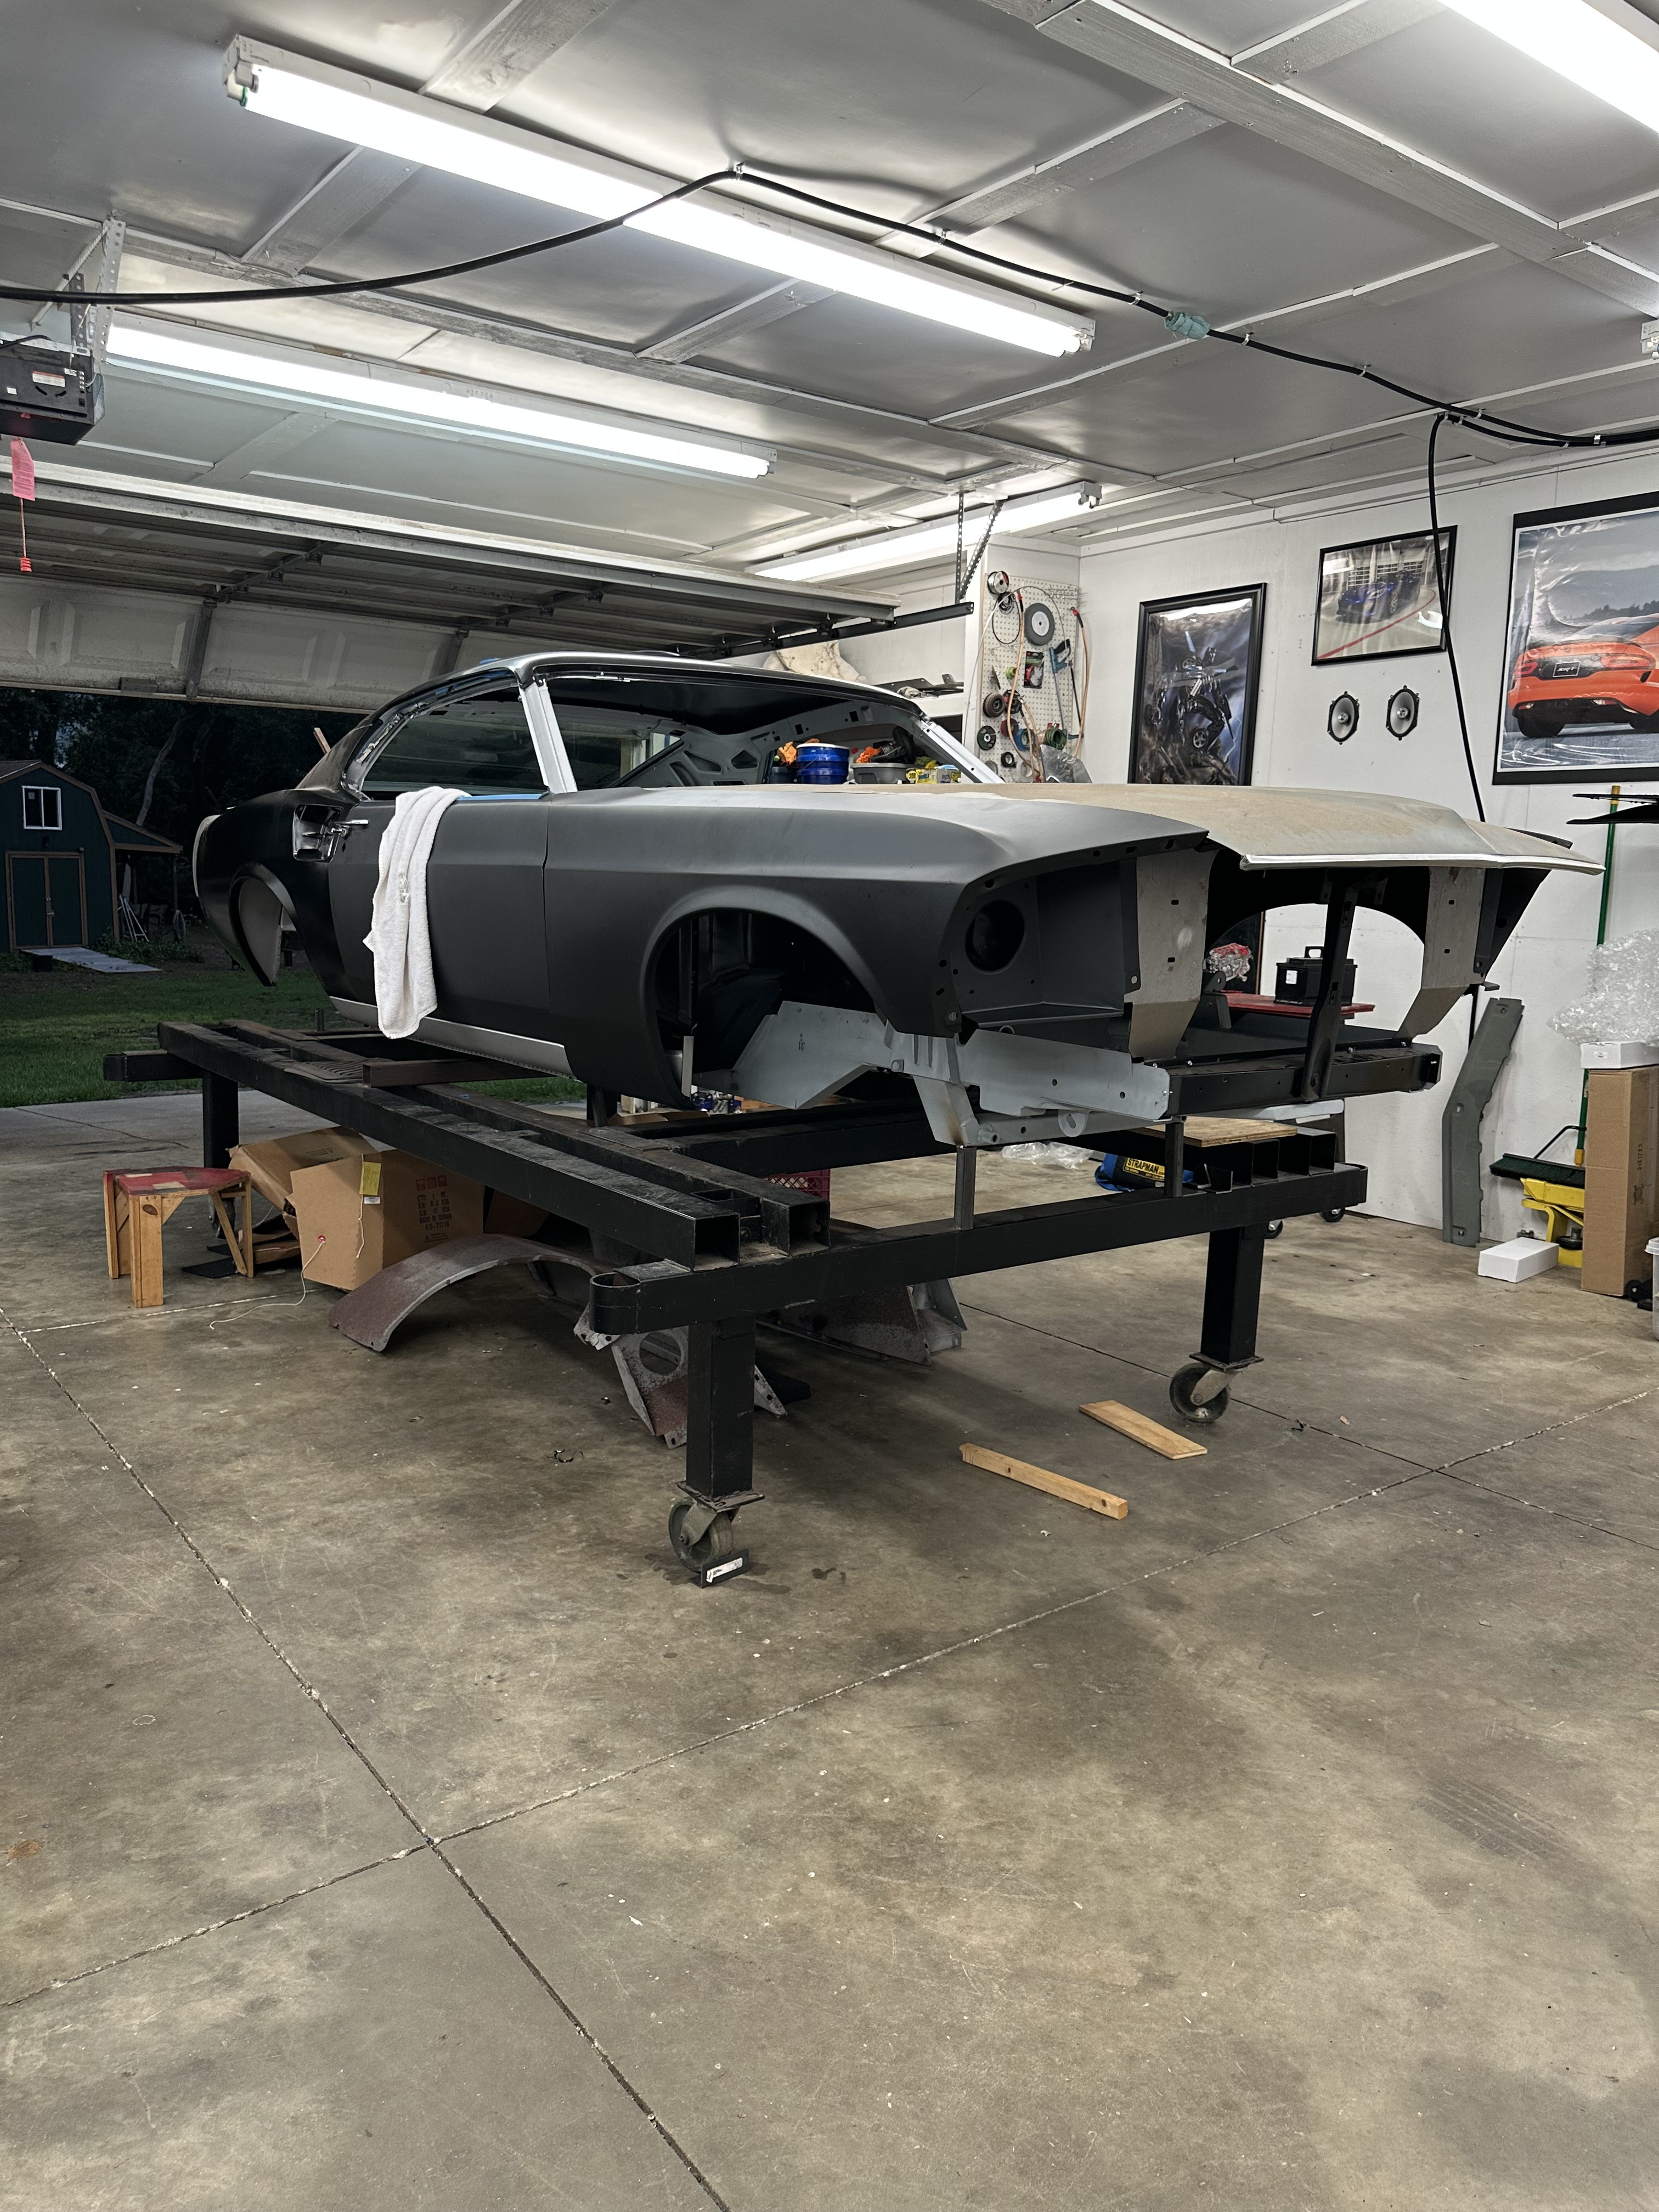
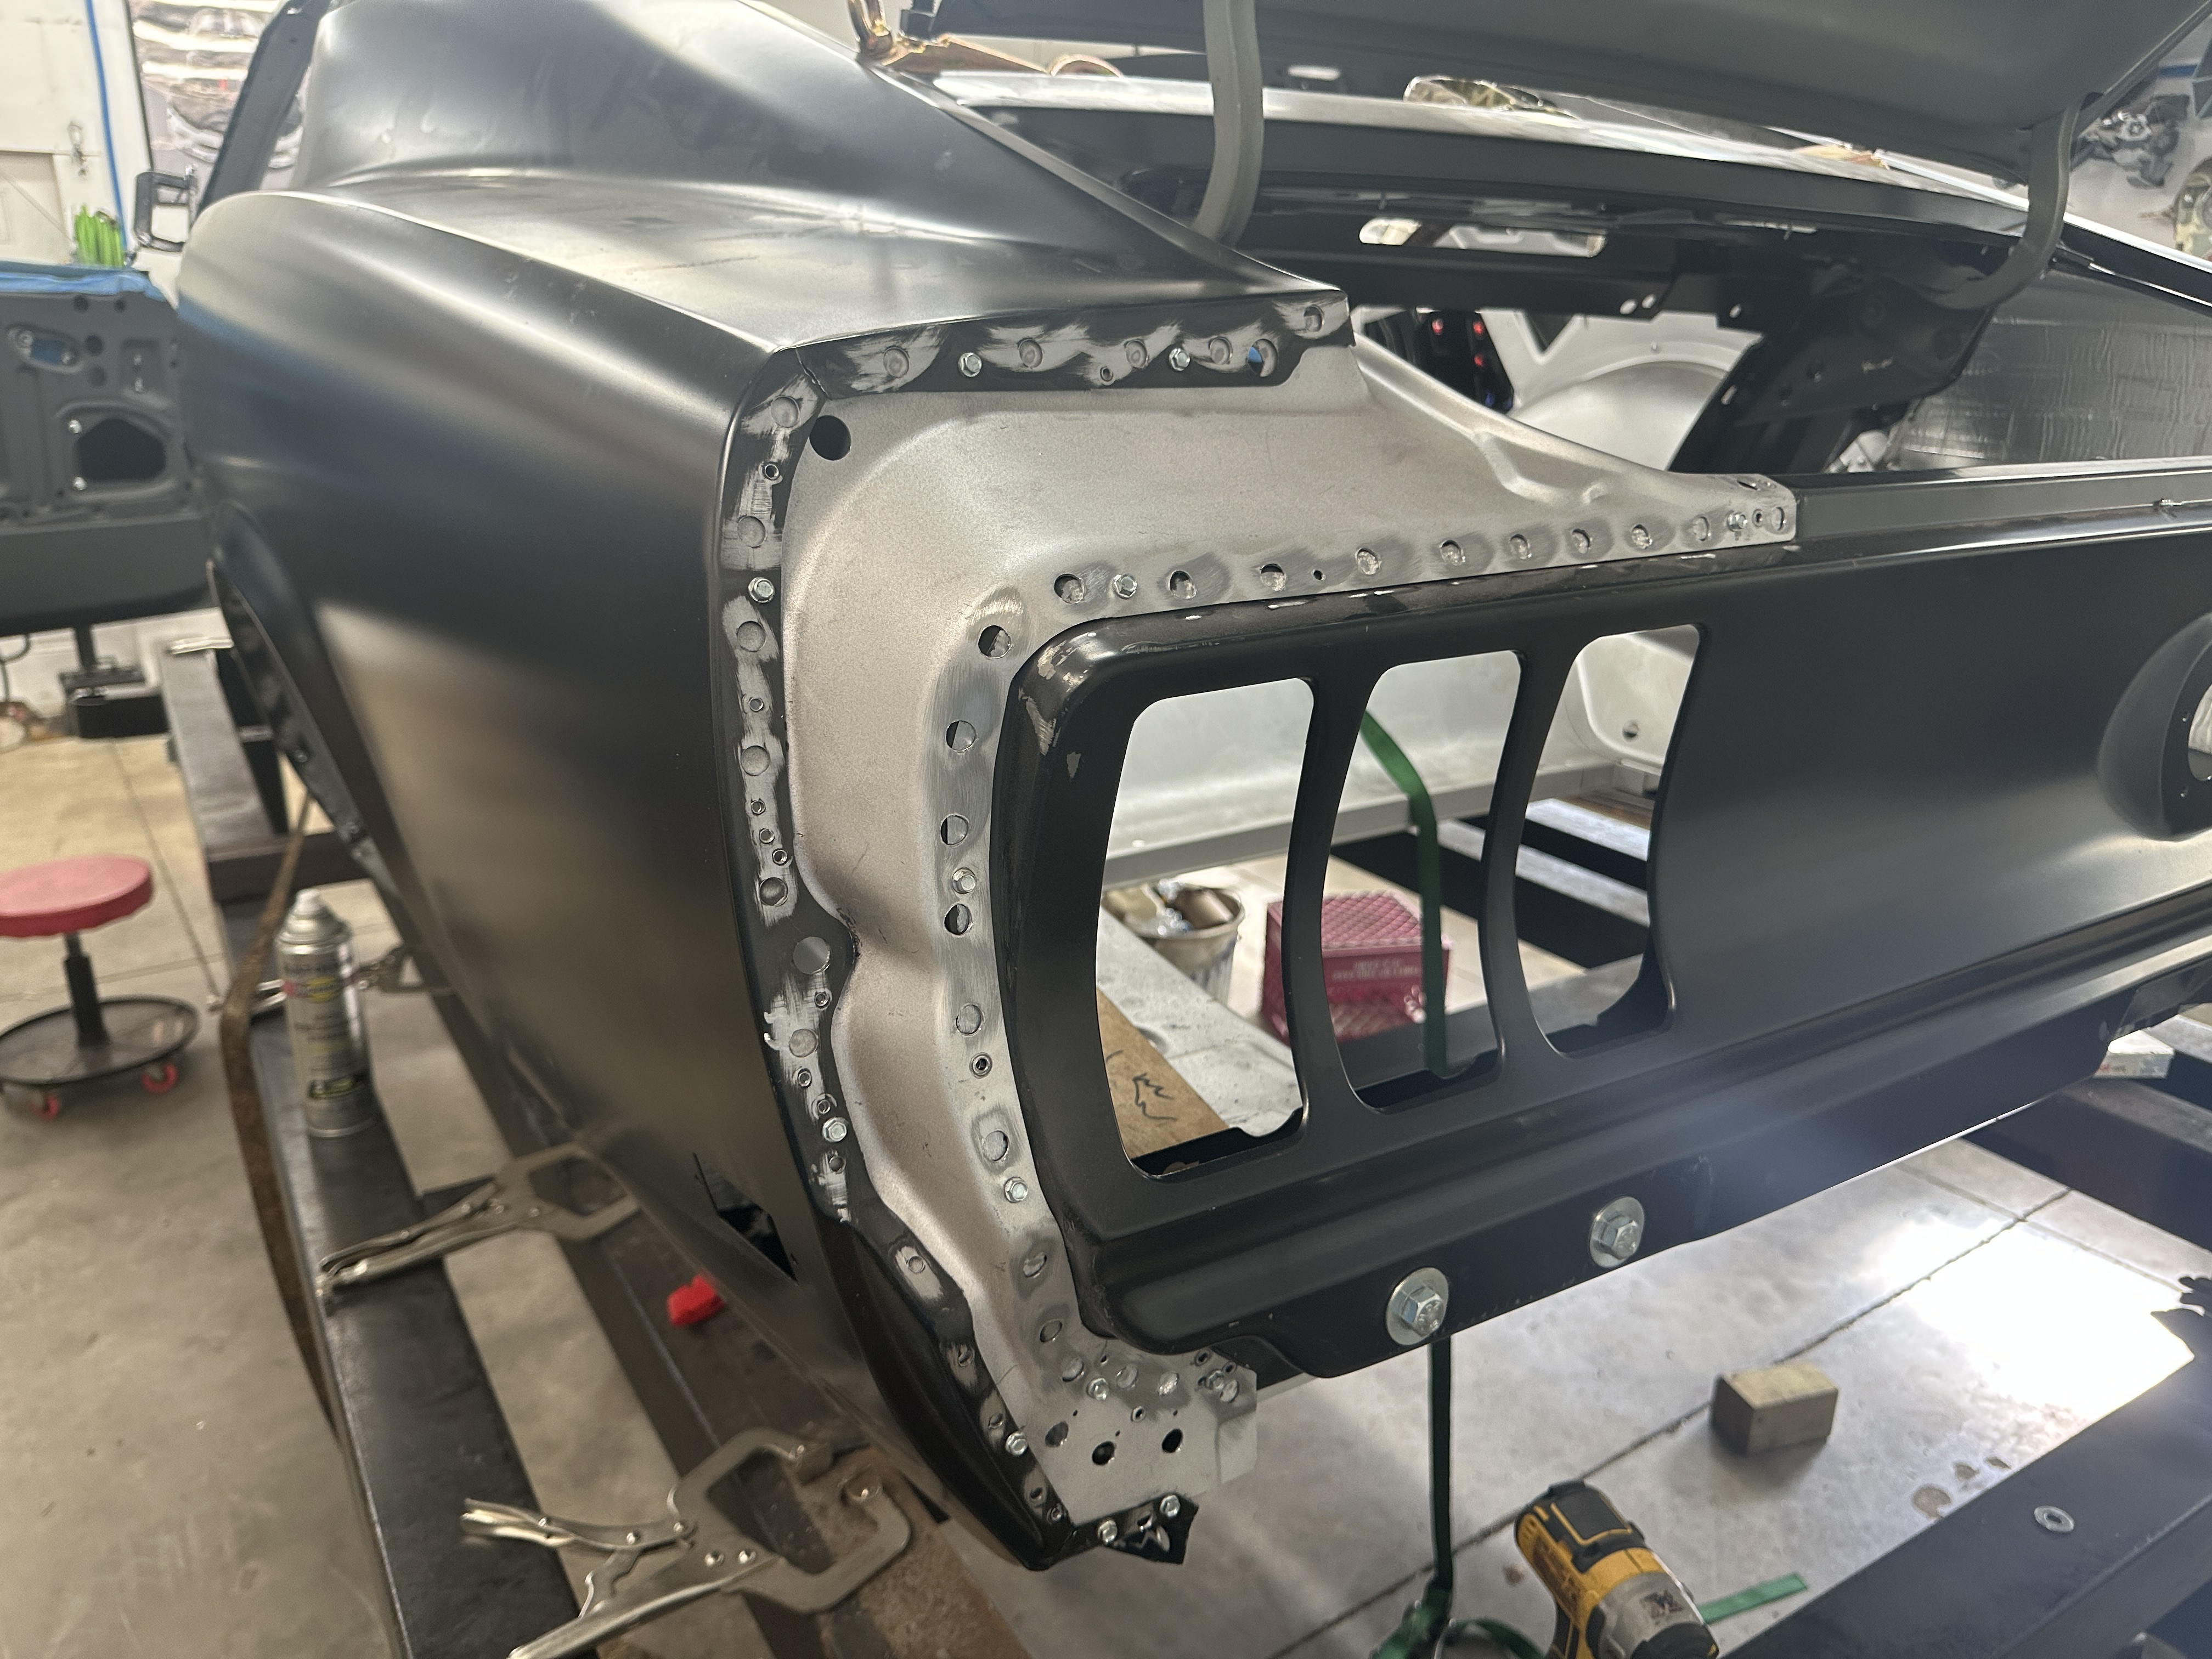
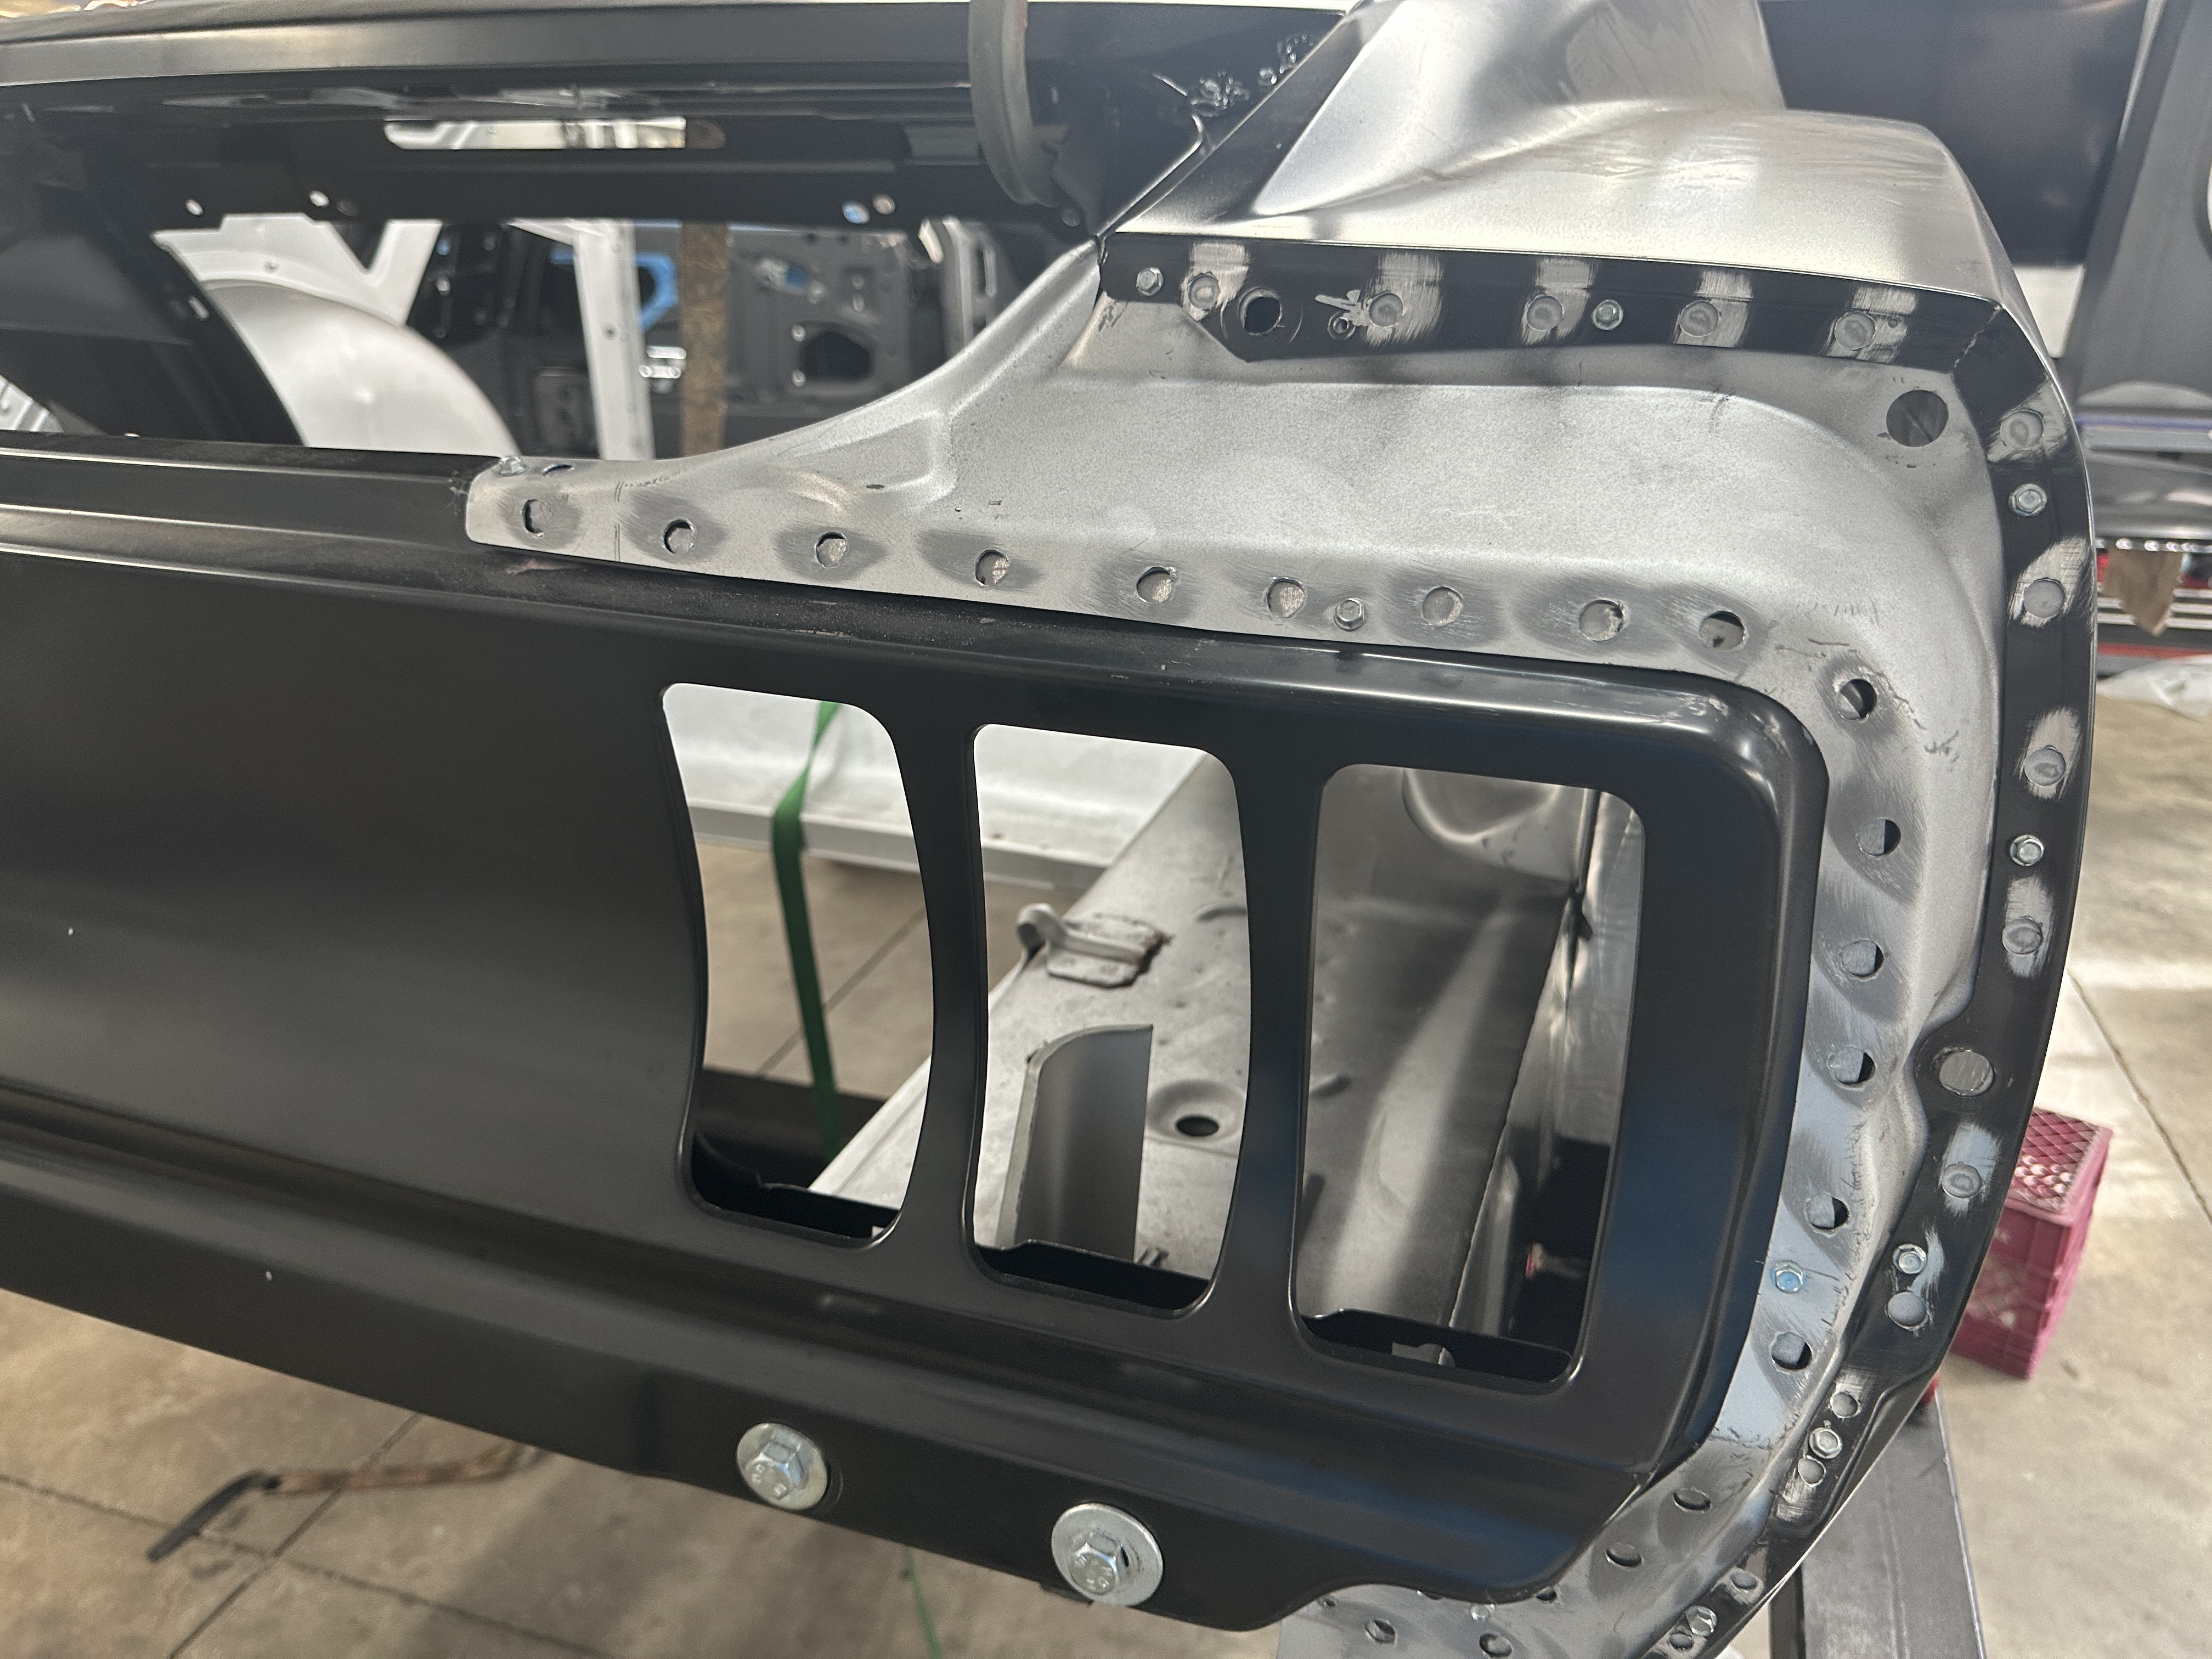
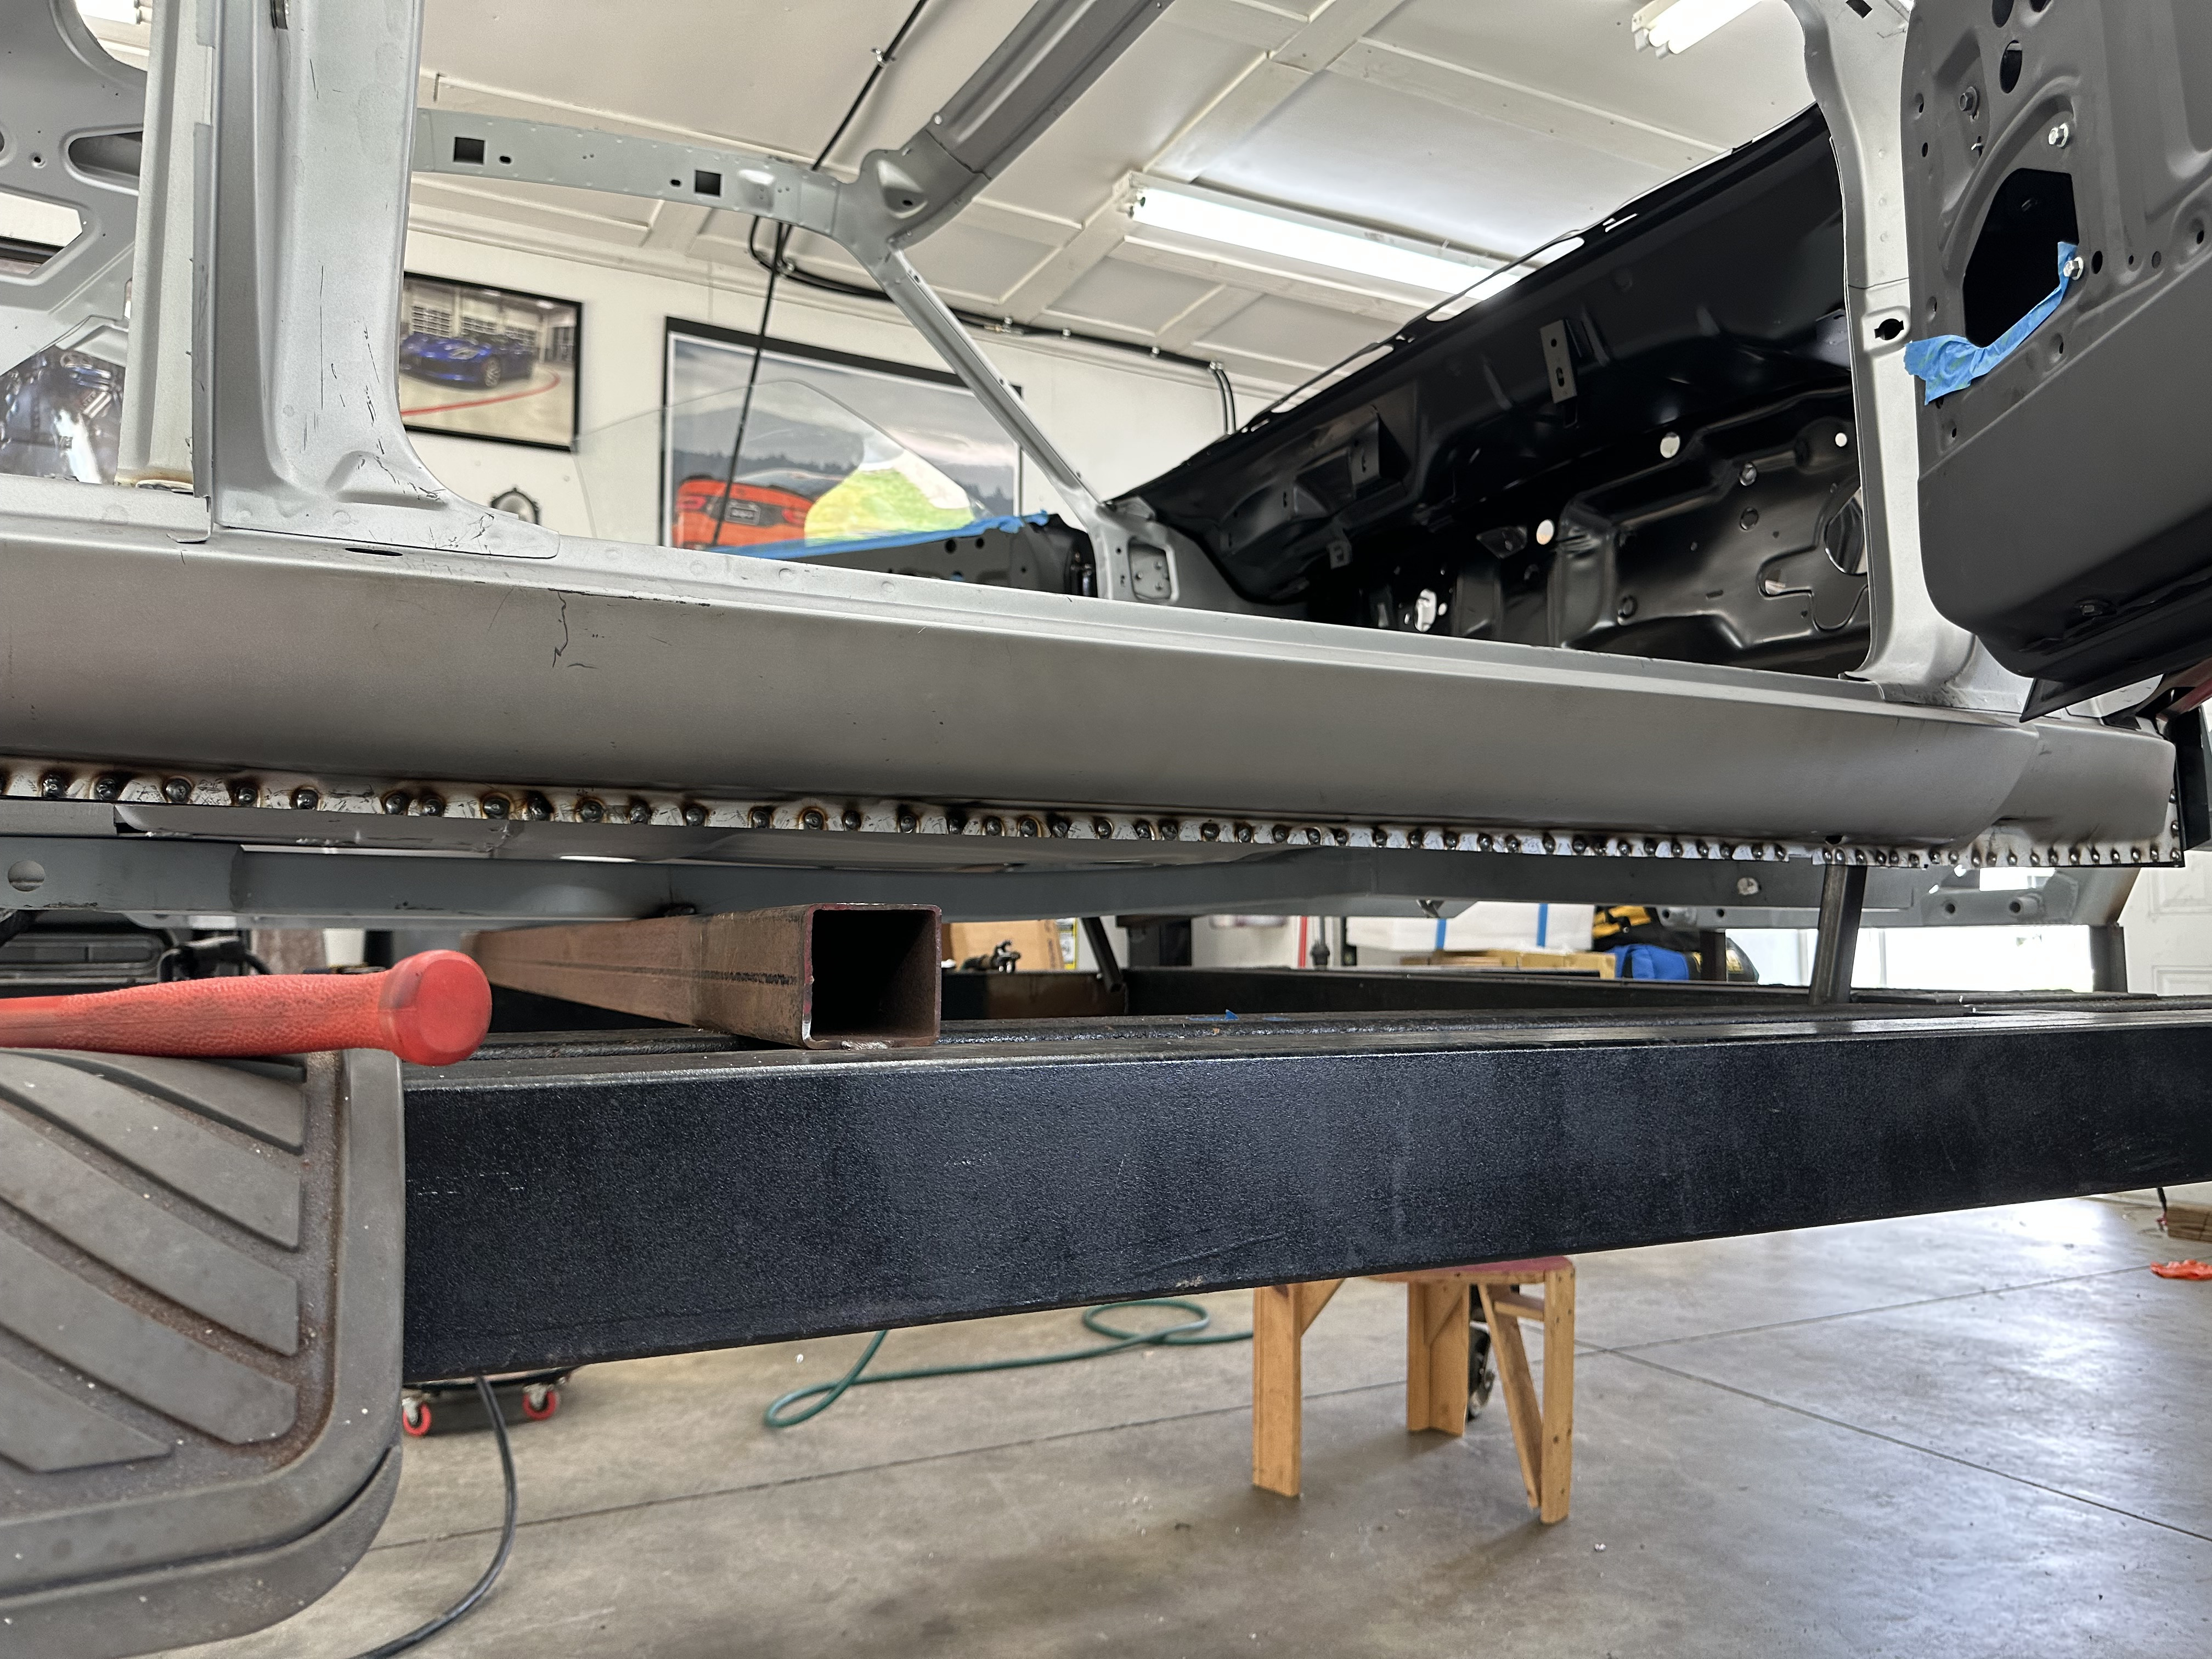
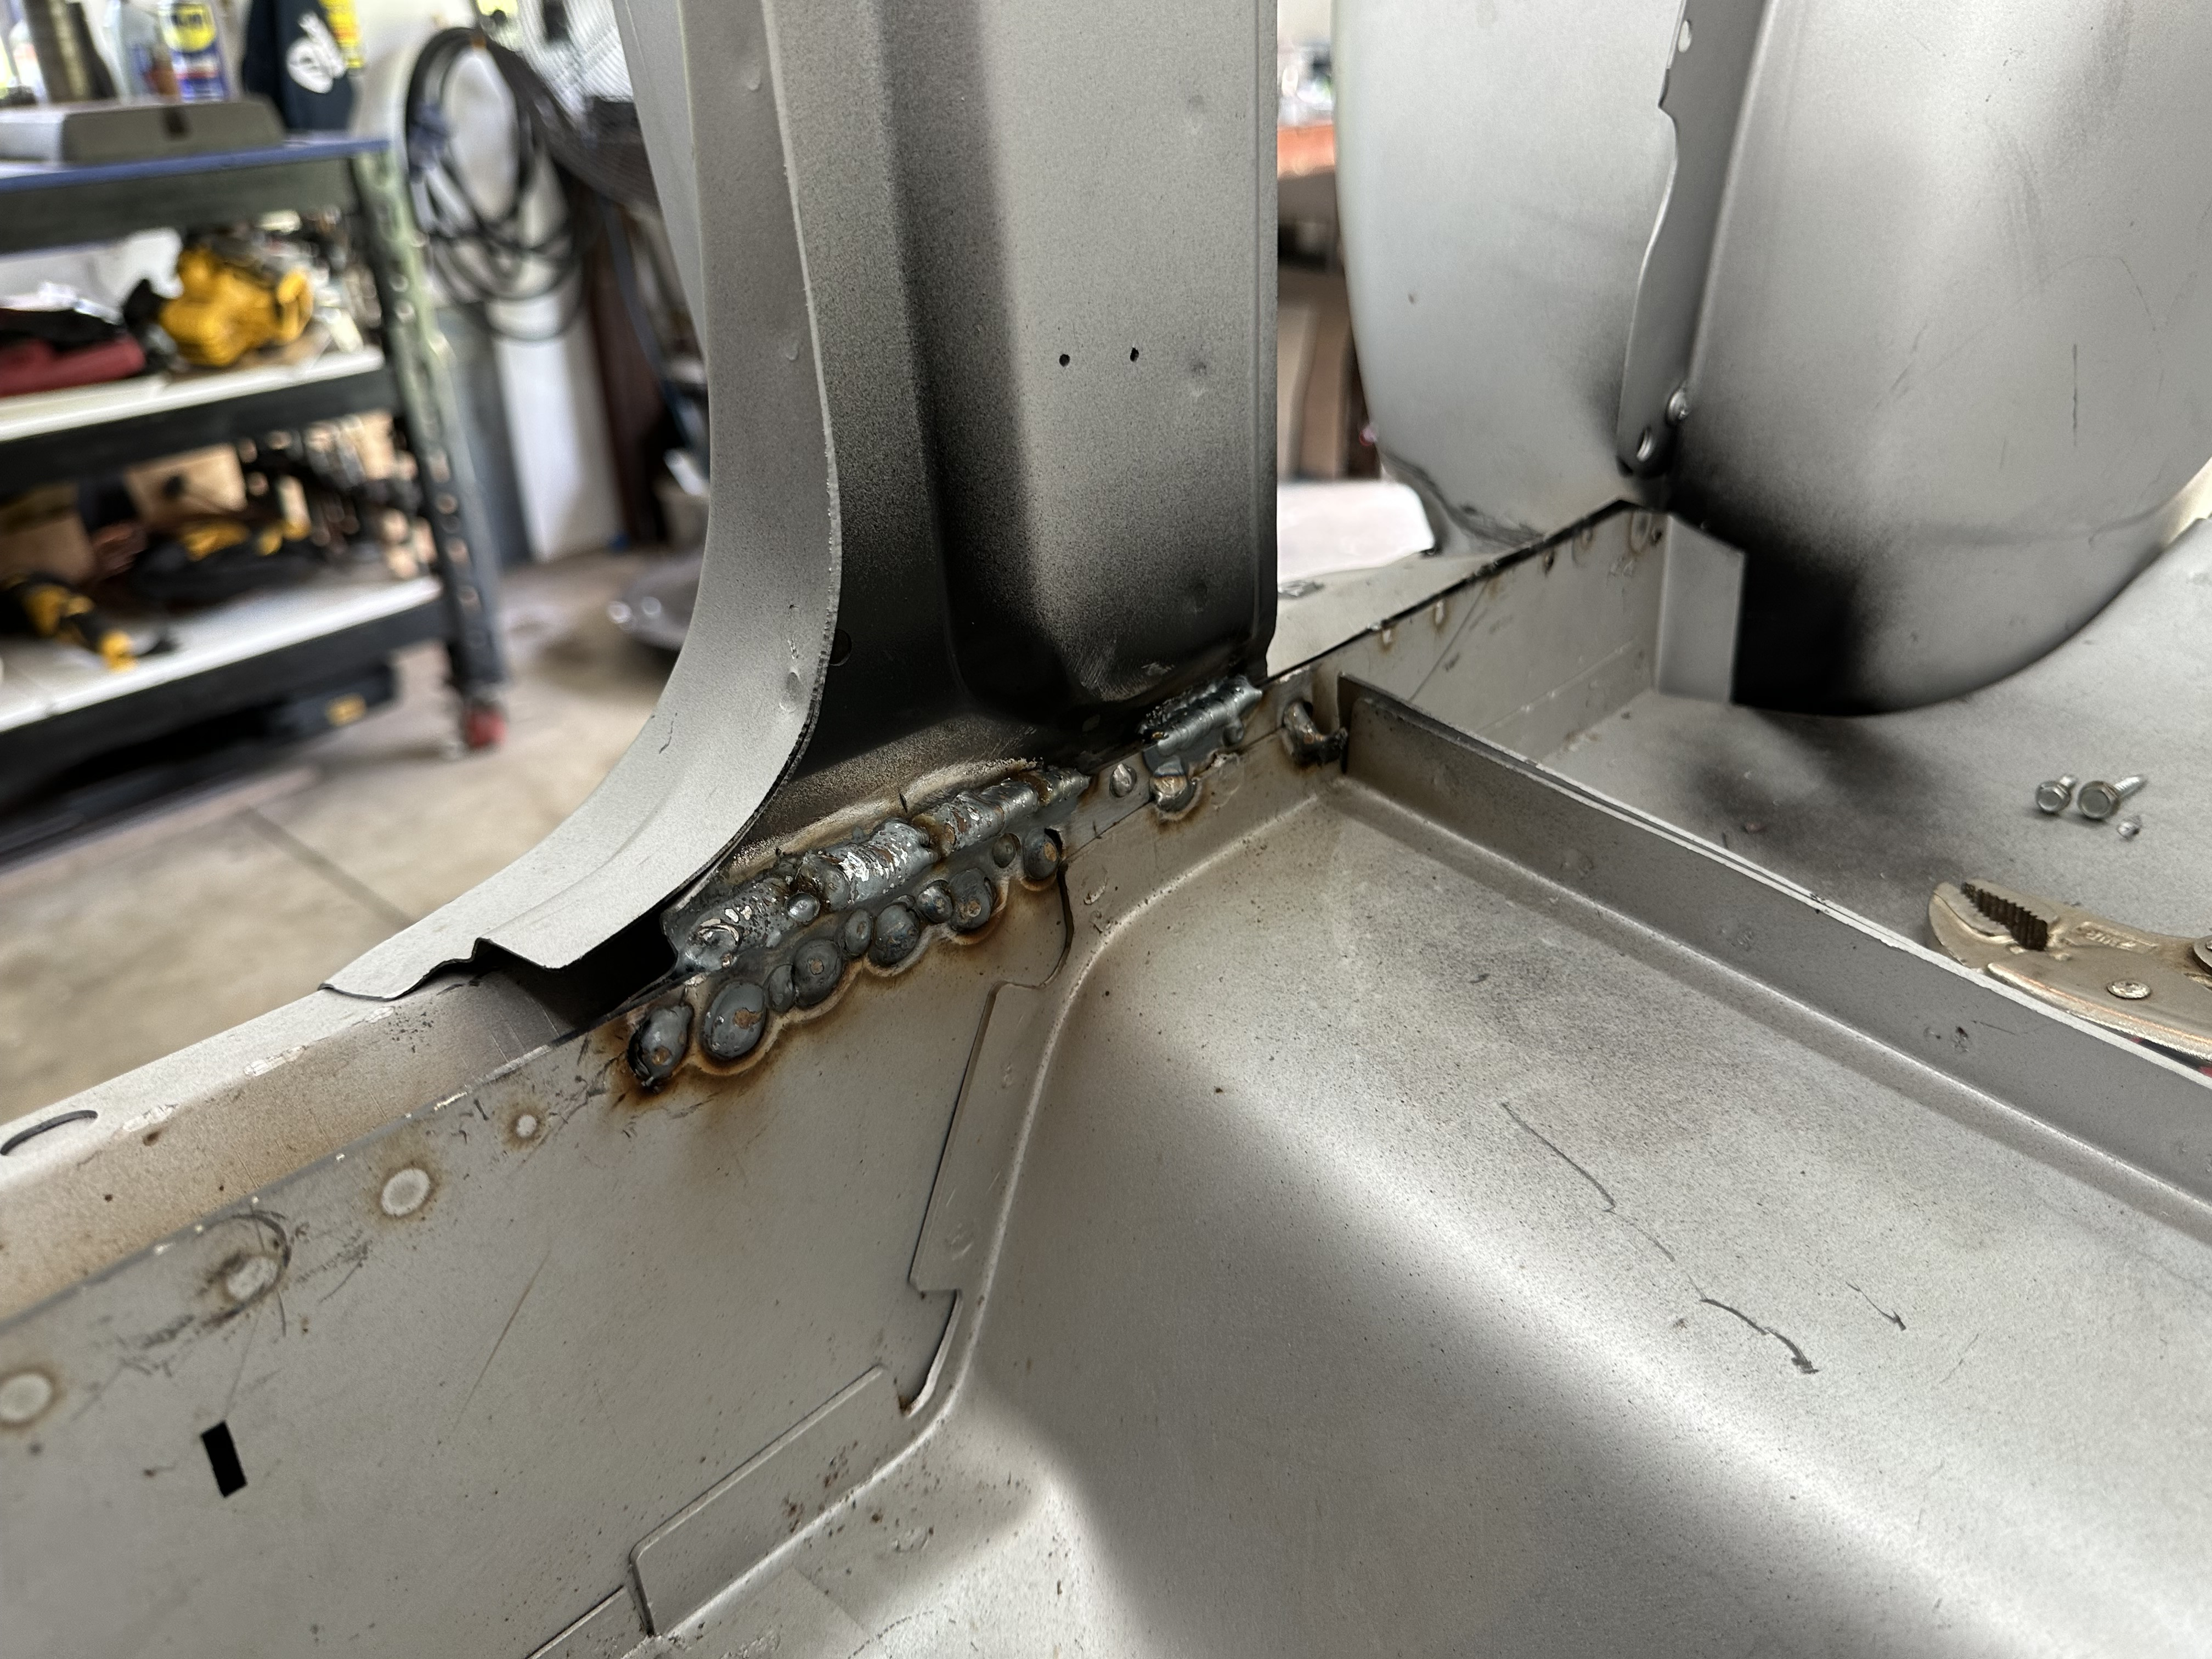
I've been doing a lot of welding. Hundreds of spot welds. Hundreds.... I unfortunately put too many holes in the outer rockers. I also don't really like how small the holes are. I would occasionally hear a POP when id move to another area to weld which means I didn't have great penetration on some of them. So, once I get the car on the rotisserie I will seam weld the rockers together for additional strength. I still have a lot of grinding to do.


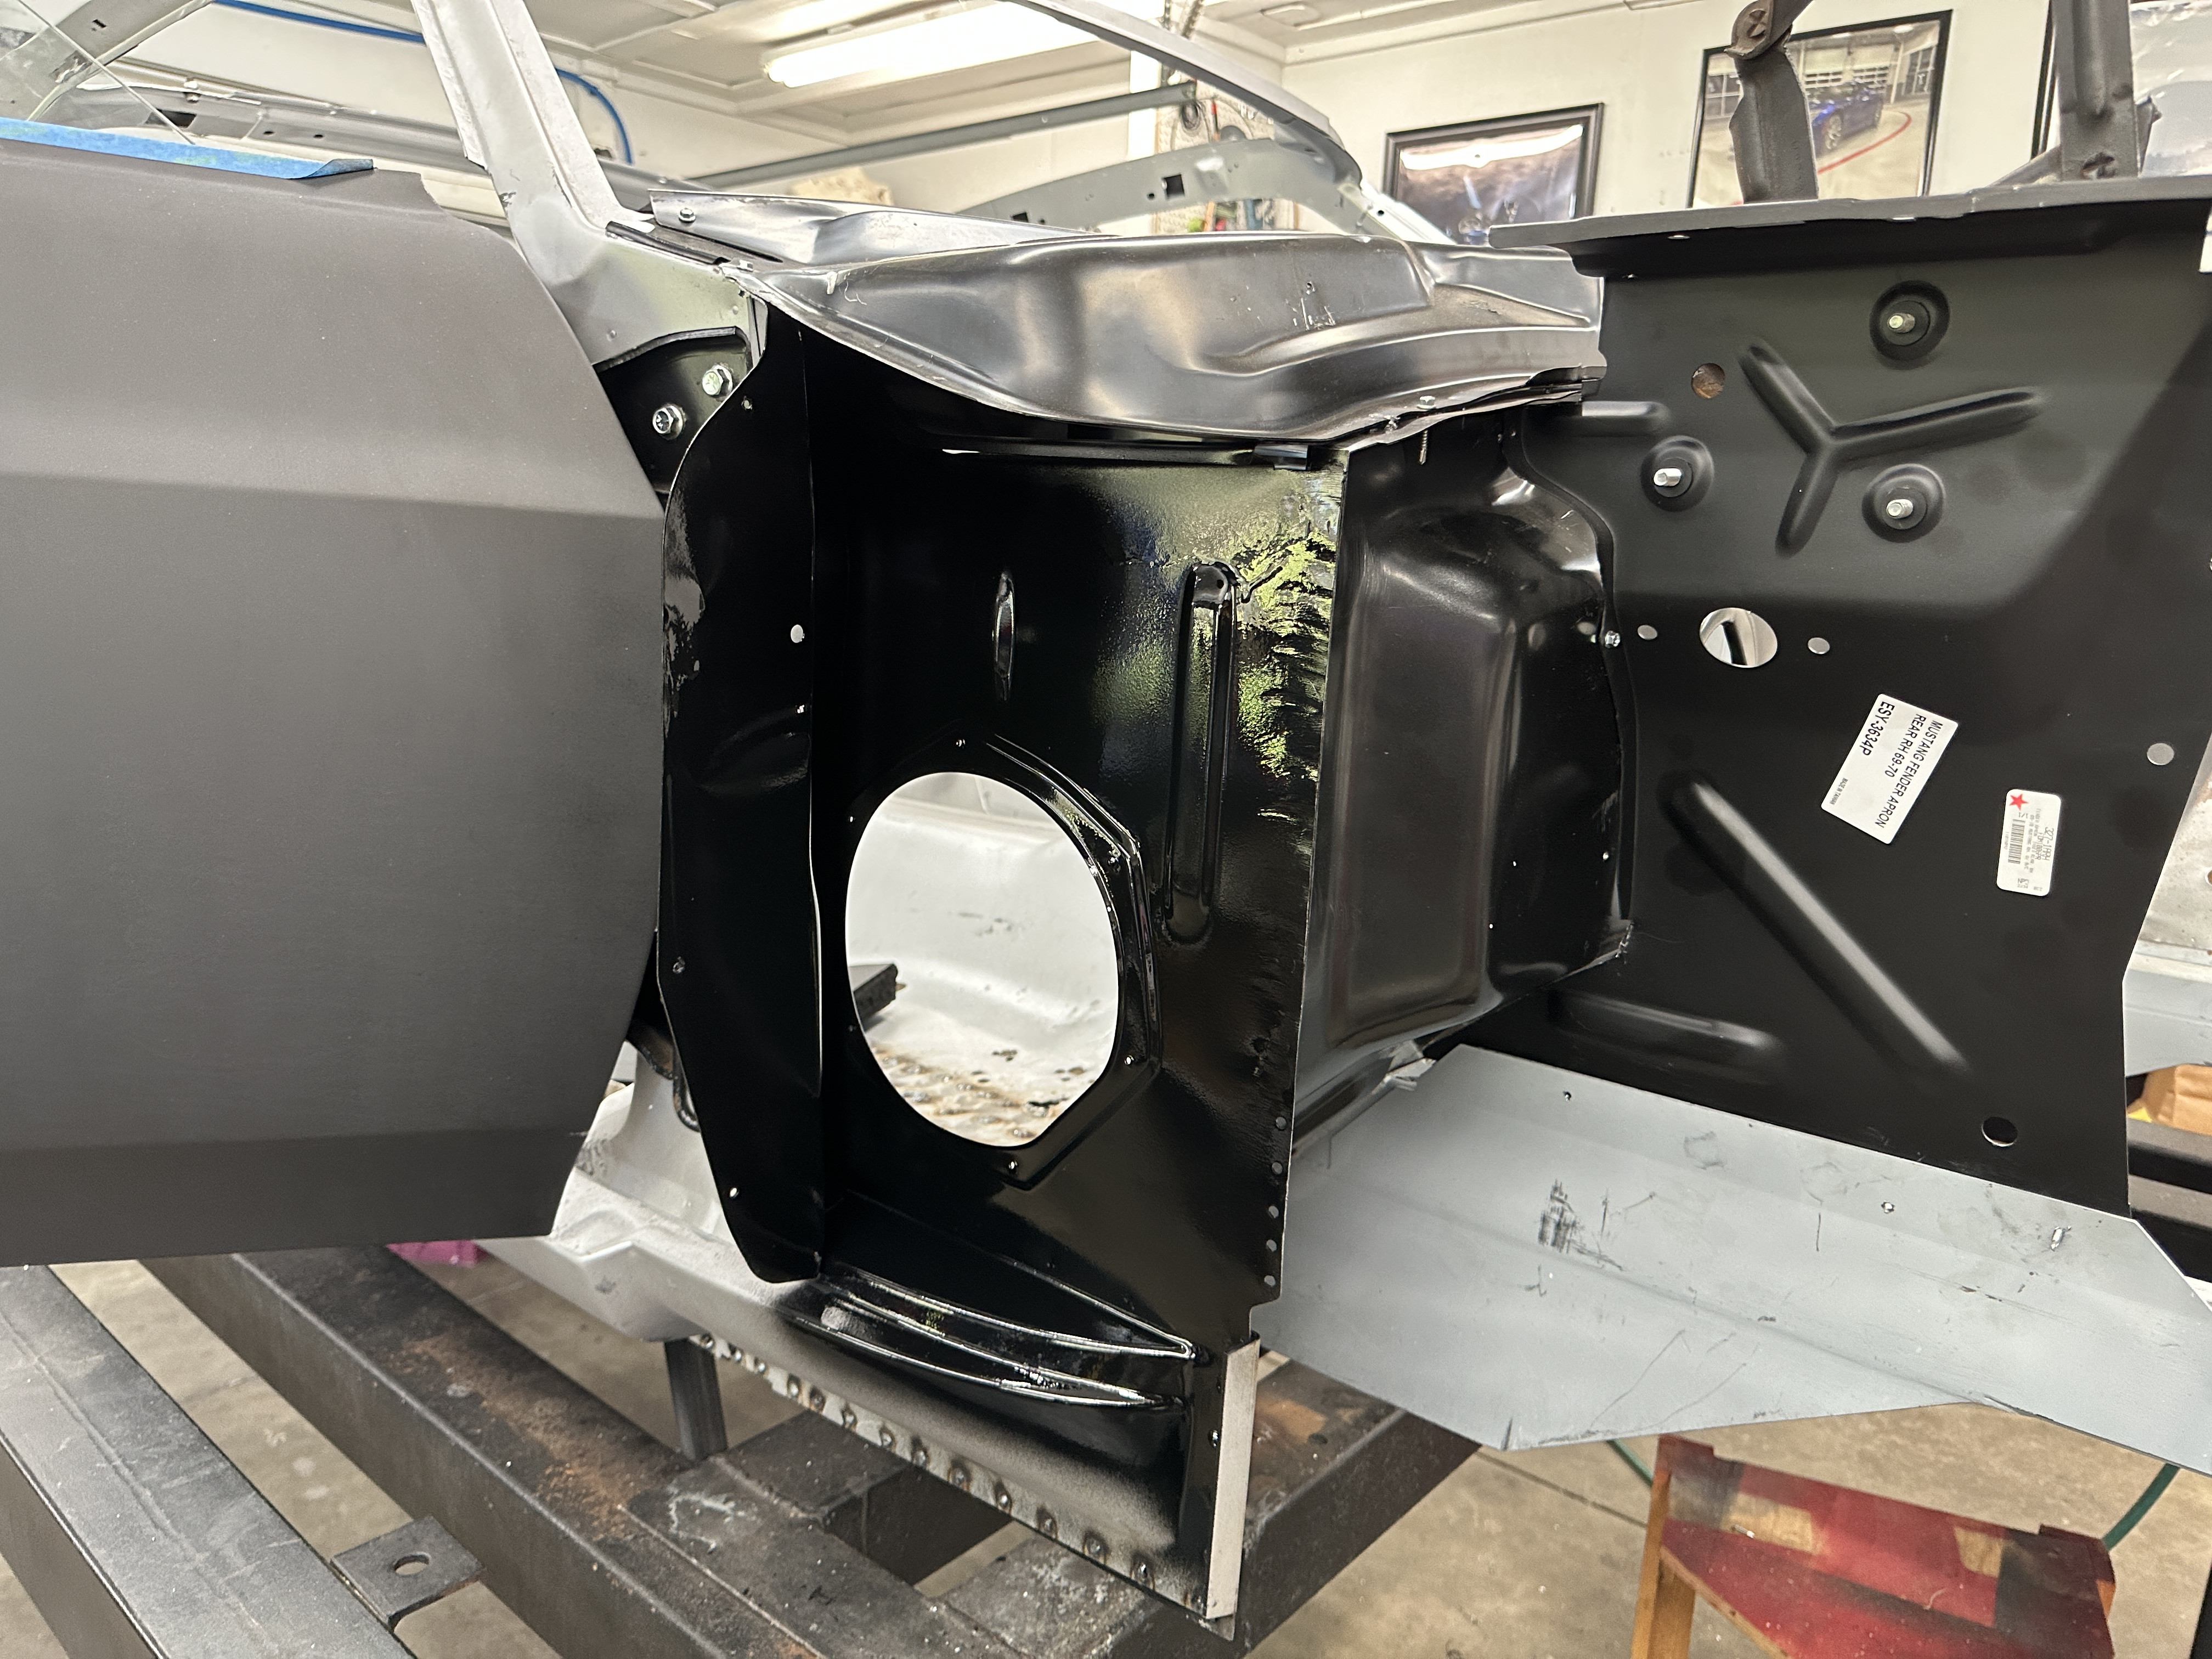
Made sense to paint the inner side cowls while it's easy.

I also noticed that the outer cowls have these 2 overlapping seams from manufacturing. I welded them up.
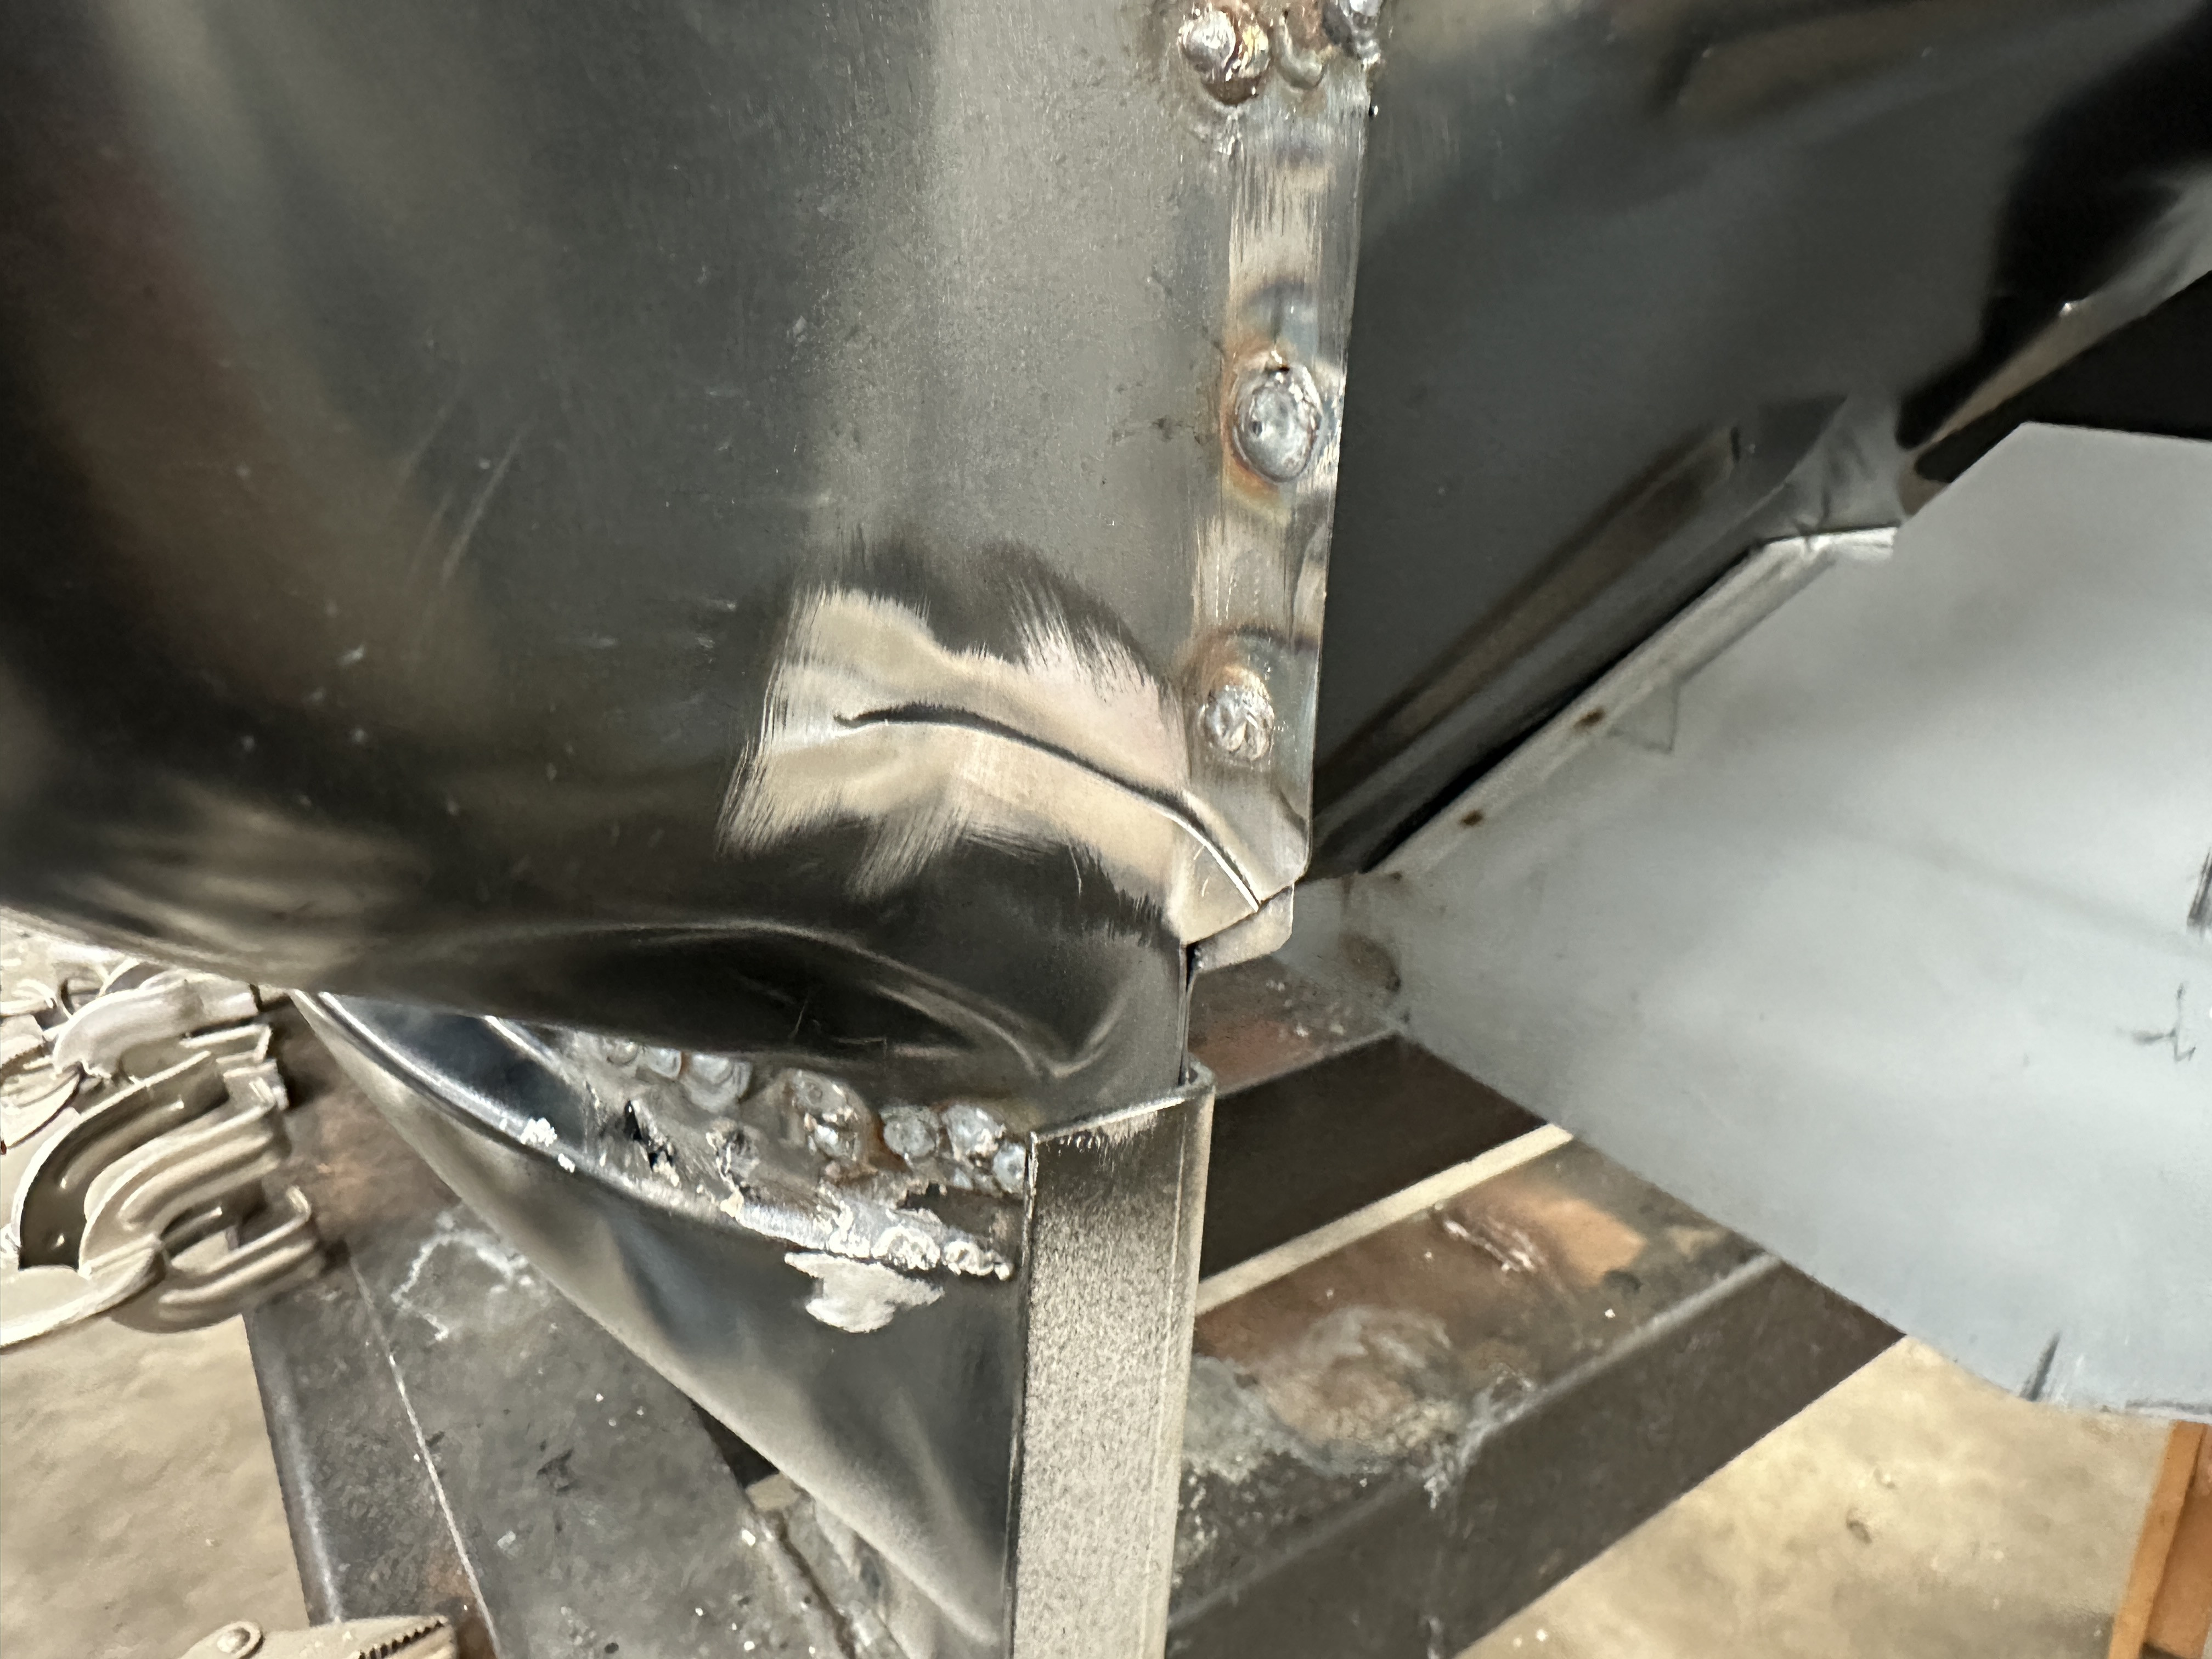
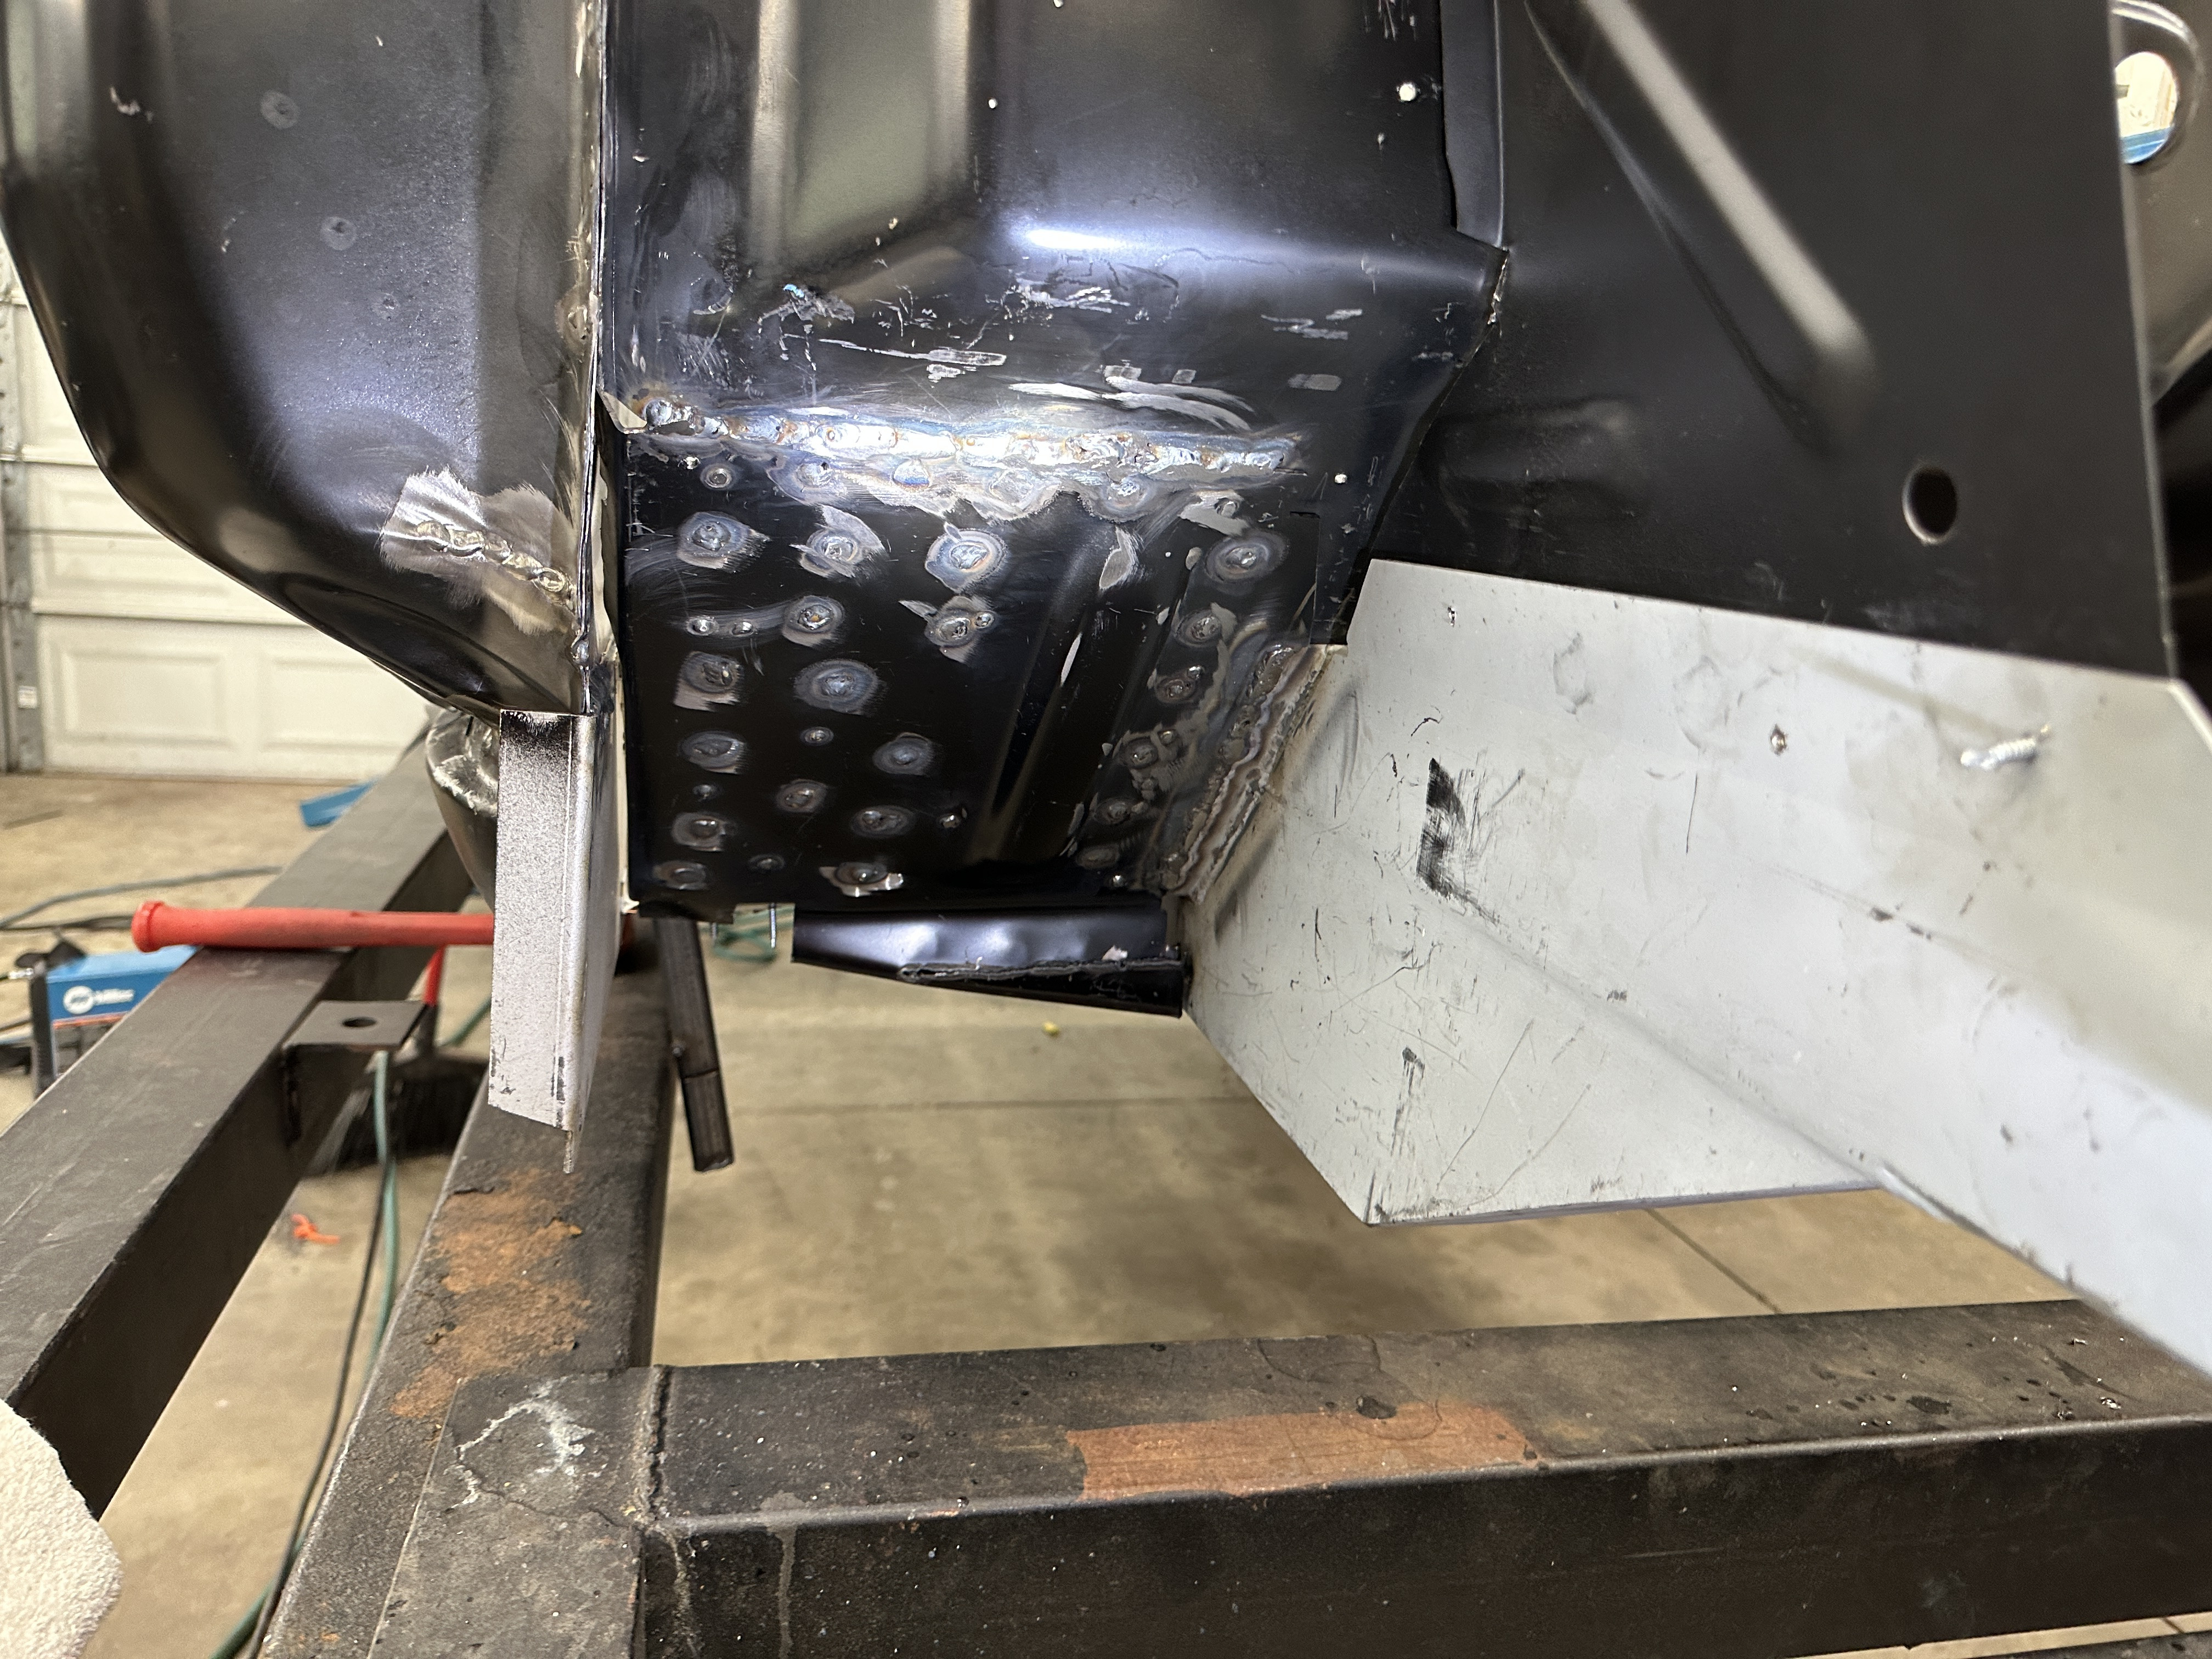
Passenger side torqued box was a pain. I had to slice the bottom of the inner torque box where it meets up with the frame rail because it was way too low. Could been a combination of a couple things. Poorly stamped firewall, or the torque box. Either way, I made it work. Welded it up and then painted.

Floor jack was very helpful to position the outer torque box and get it right against the firewall


Driver's side went in great. Minimal cutting or shaving required.

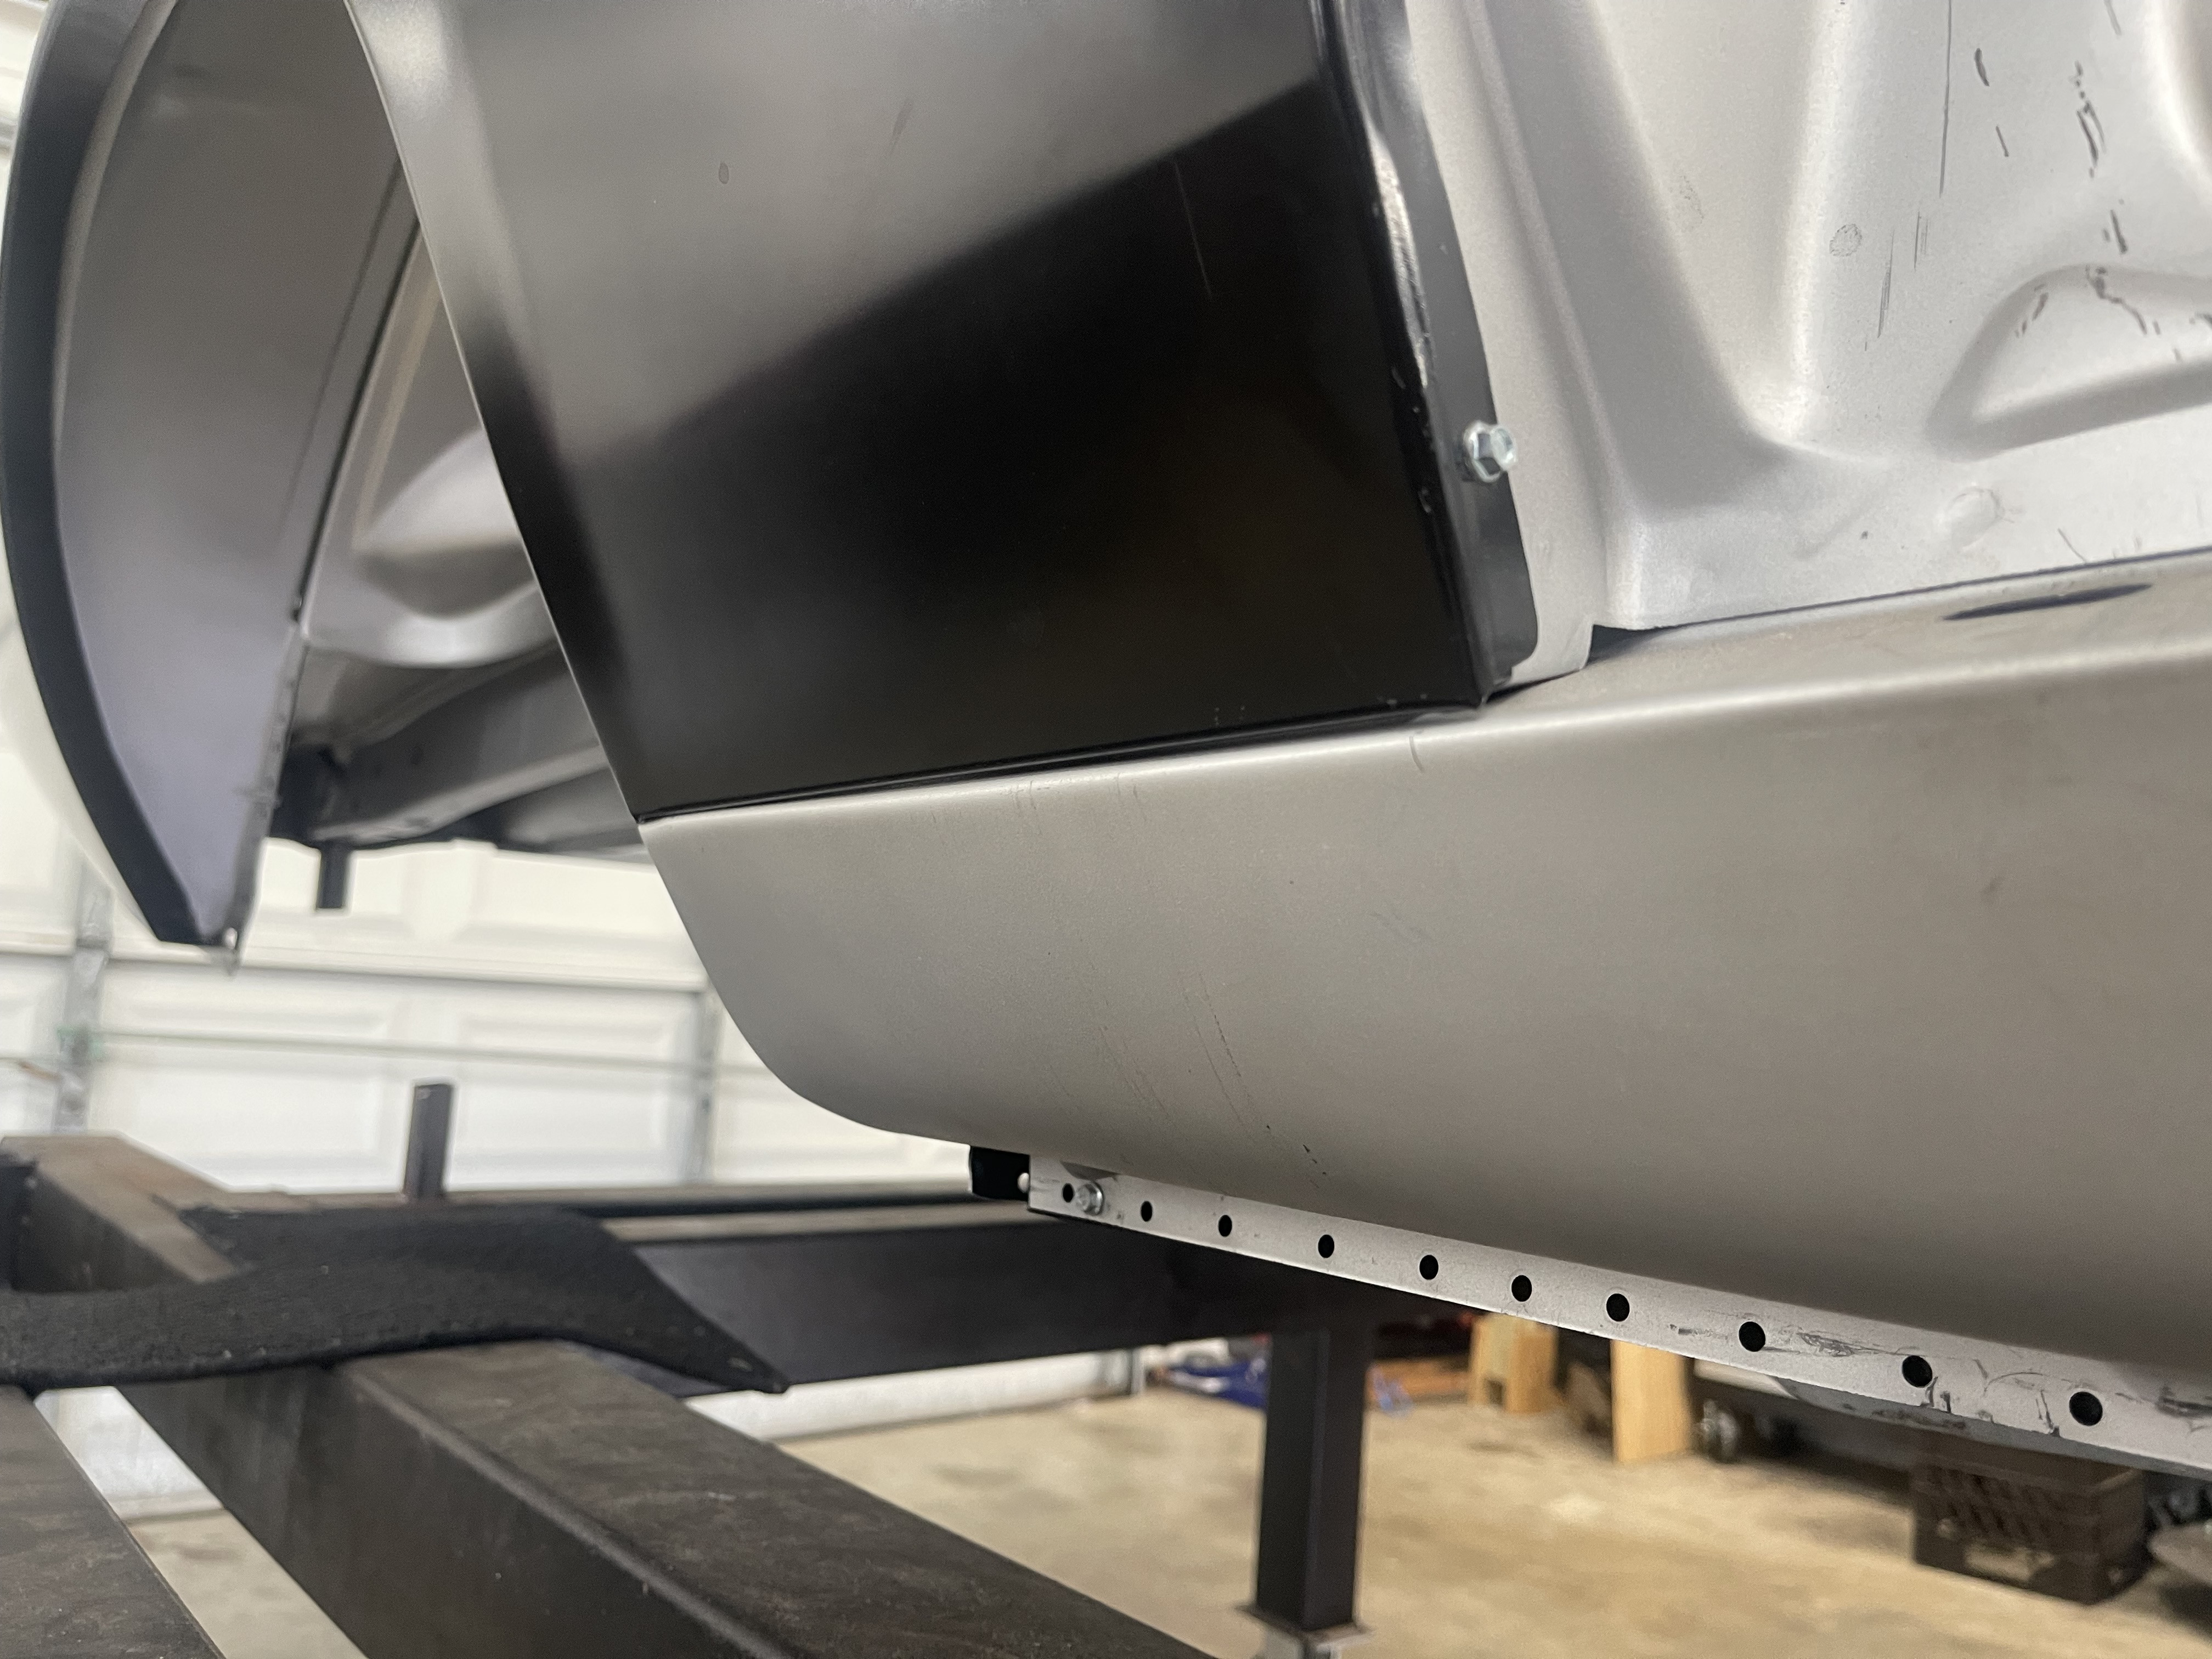
I also noticed that the front of the rocker had moved away from the frame rail and the outer torque box didn't butt up to the rocker. It was out by about 1/2". I used some tow straps (need 3 of them) to pull it back in, and then tacked in the torque box.

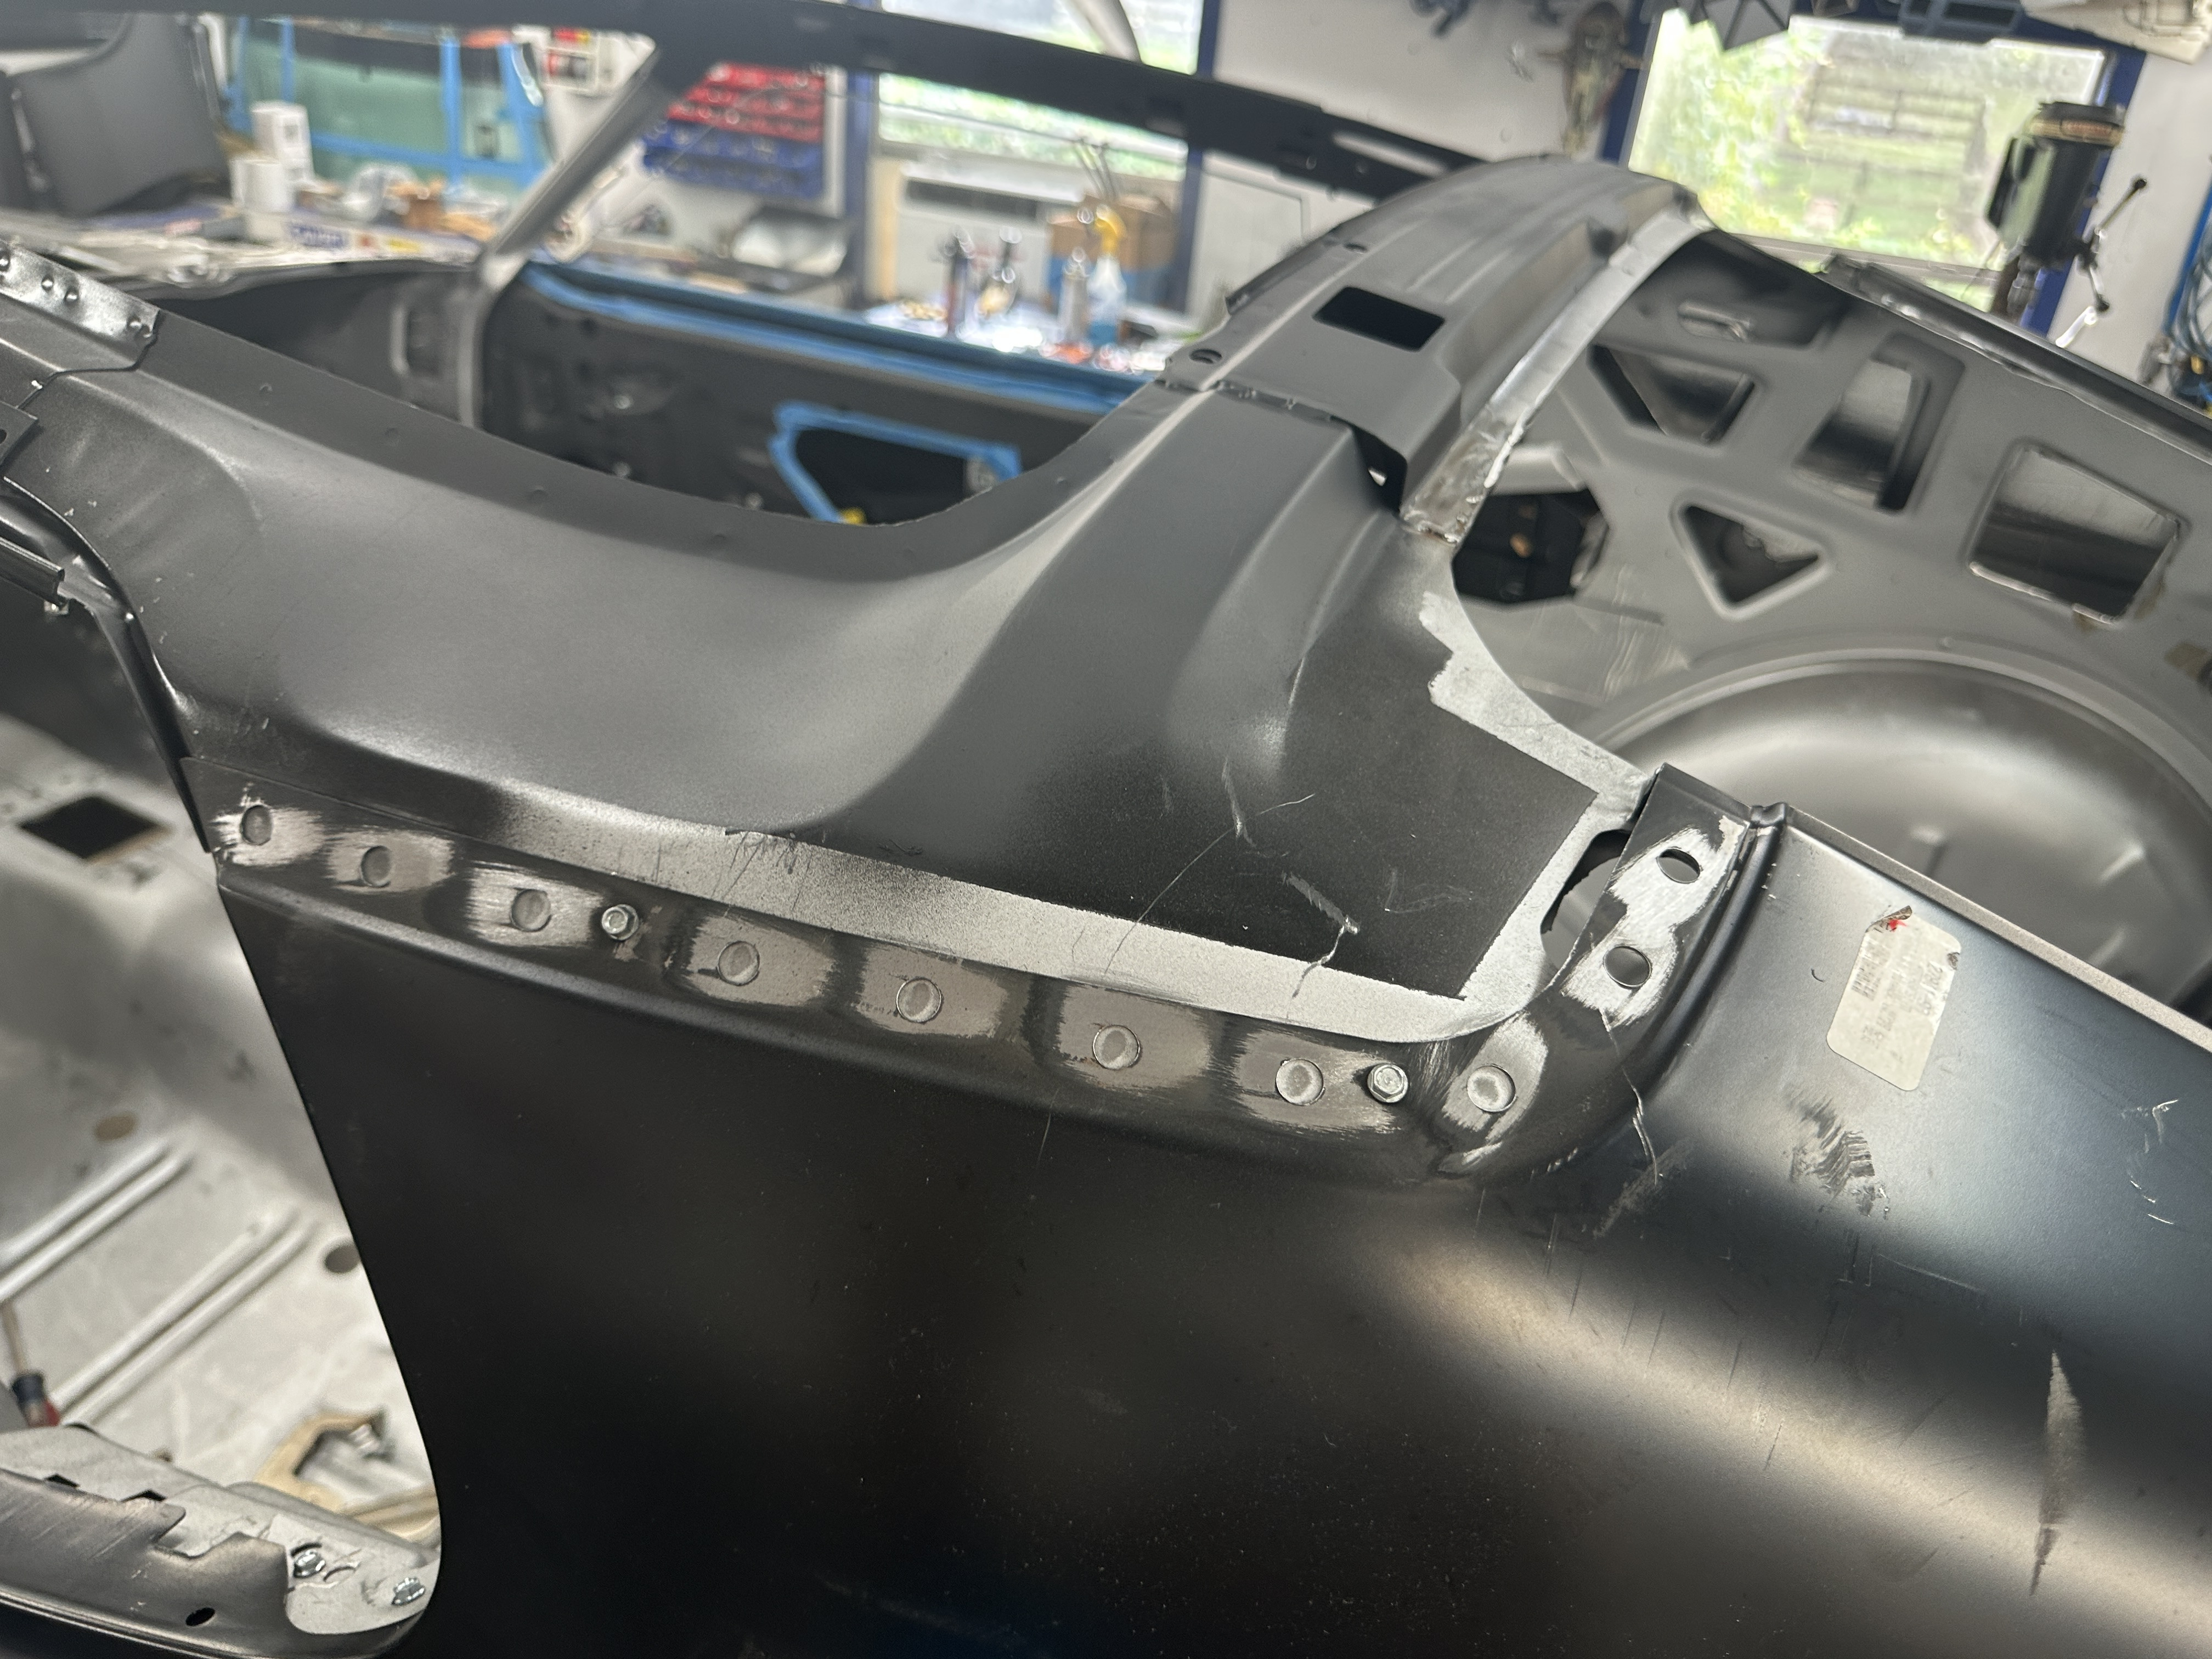
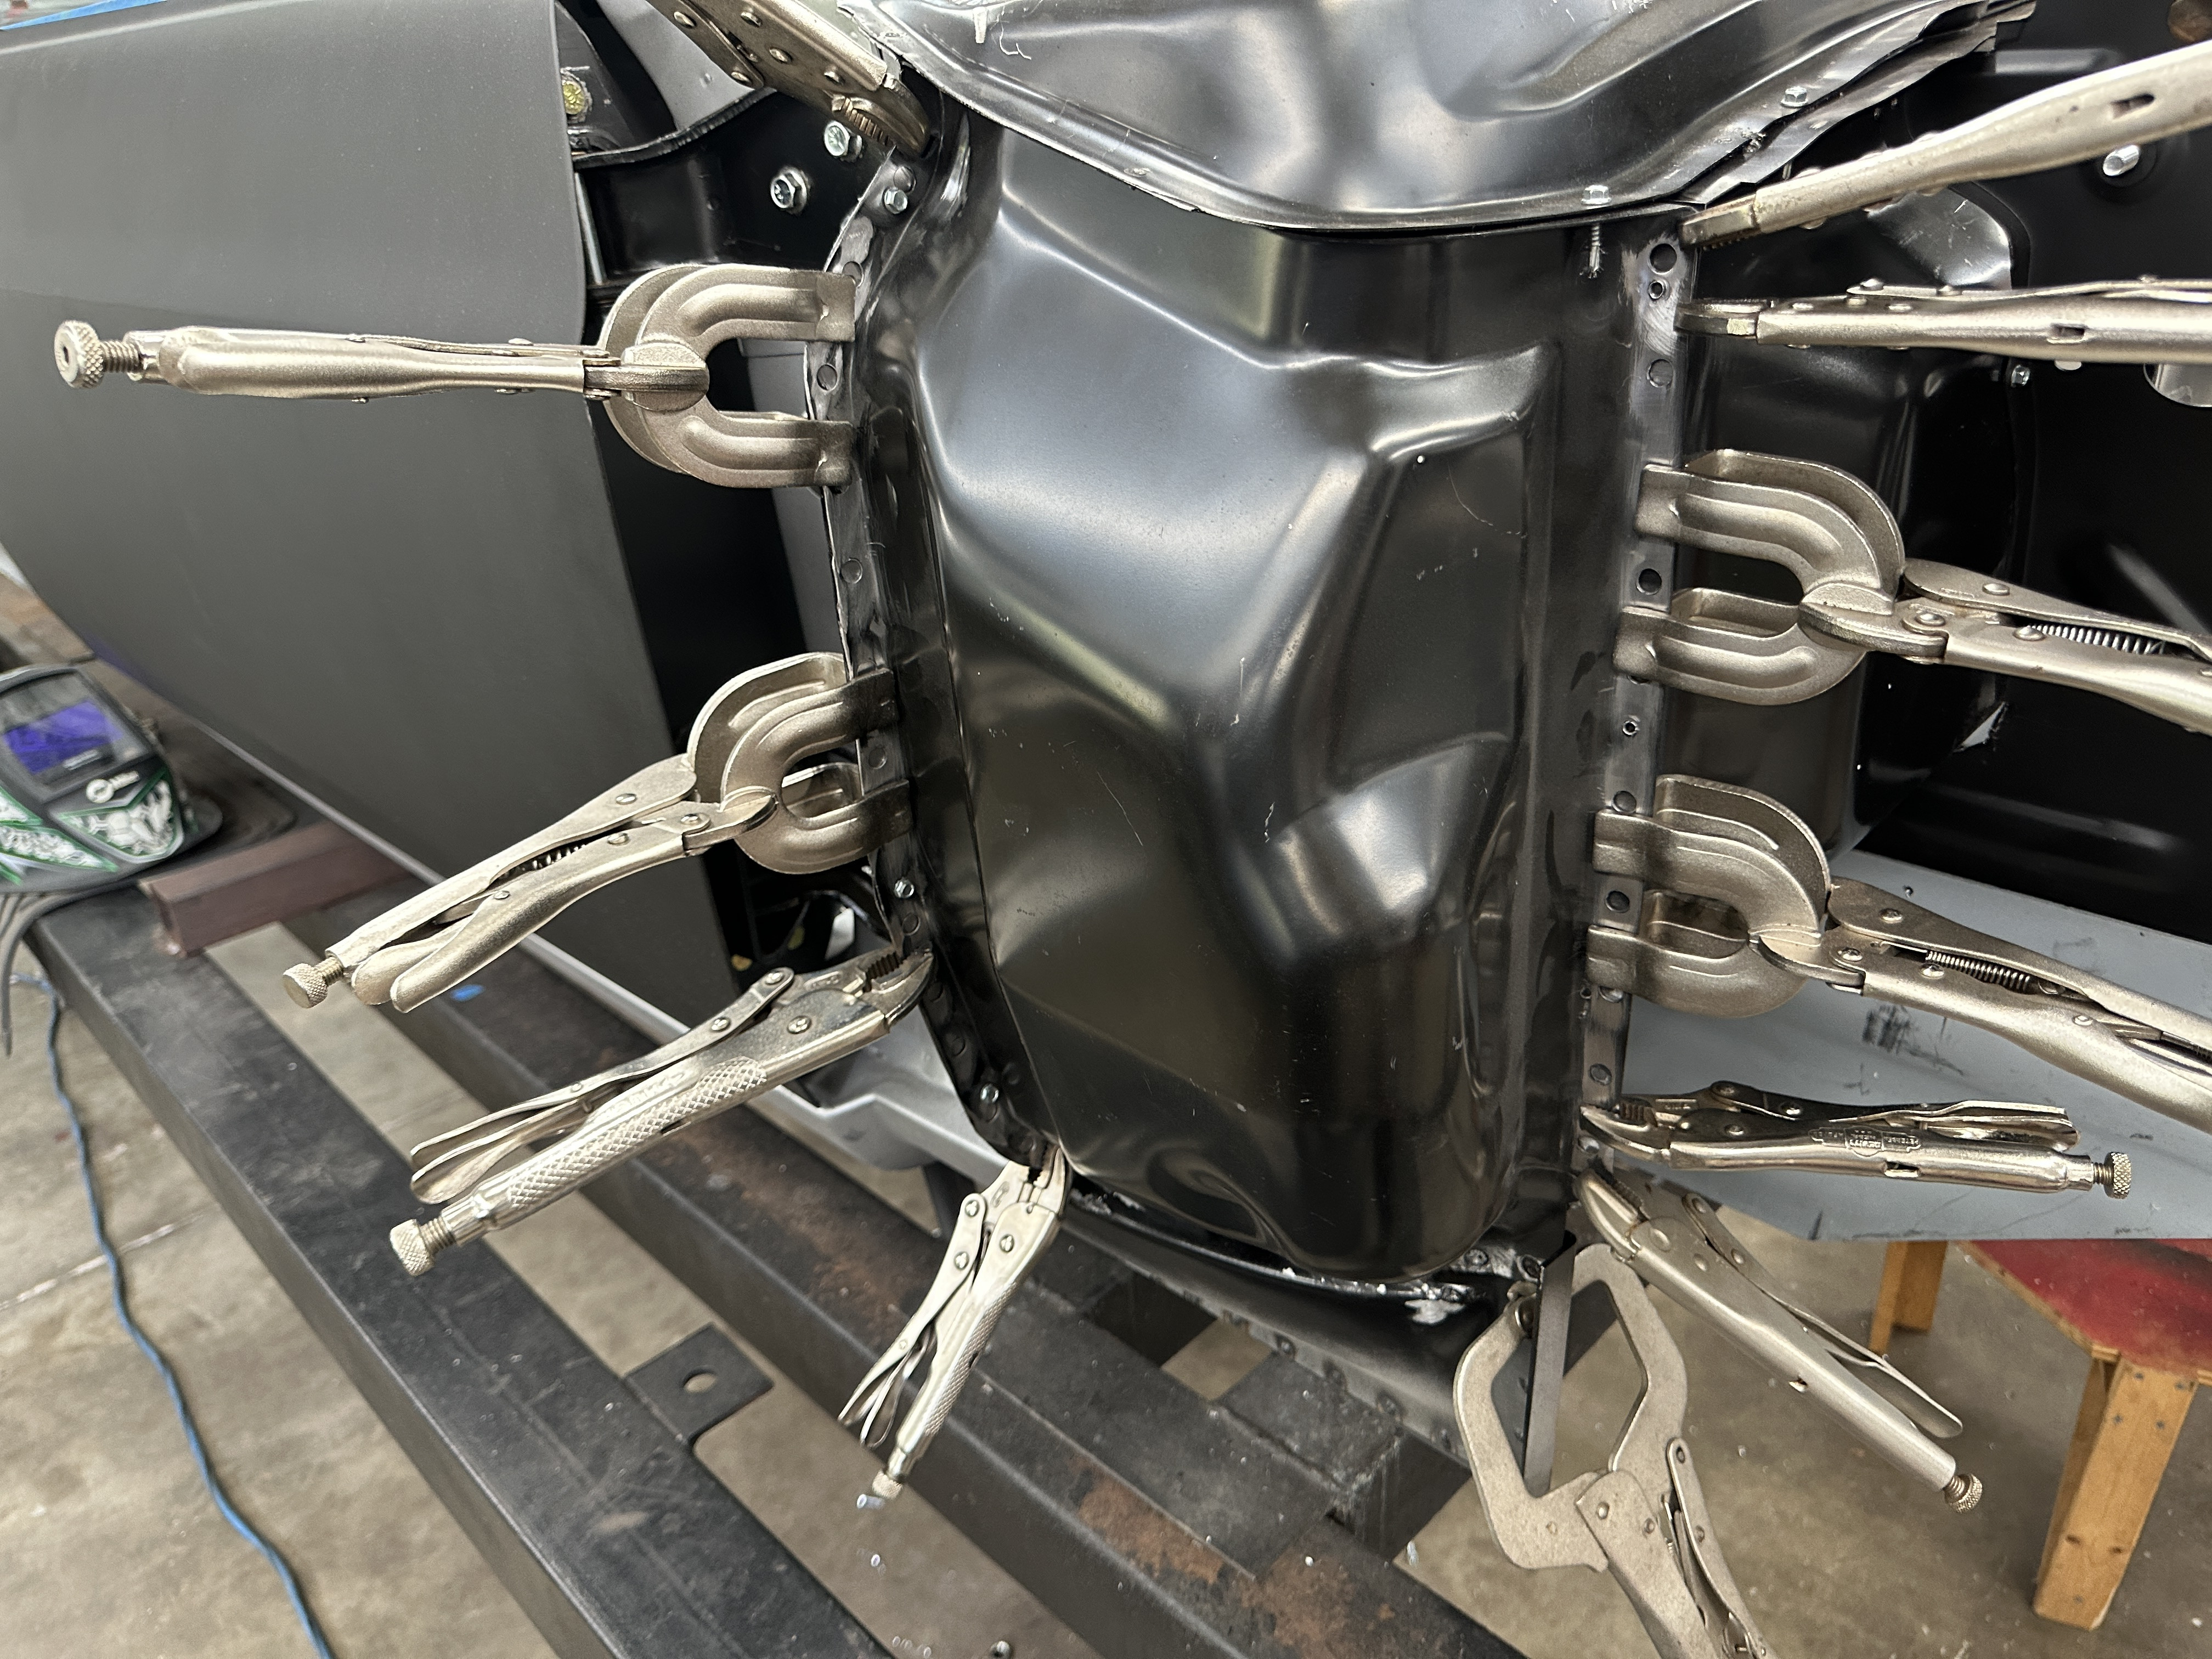
Been working on the lower and upper cowl. Got the lower positioned. Drilled the holes, welded it in then seam sealed and painted. Paint, seam seal, paint, seam seal, paint. Lots of layers of protection around the hat and also where the lower cowl was welded to the side cowls incase there were any pinholes from the welds.
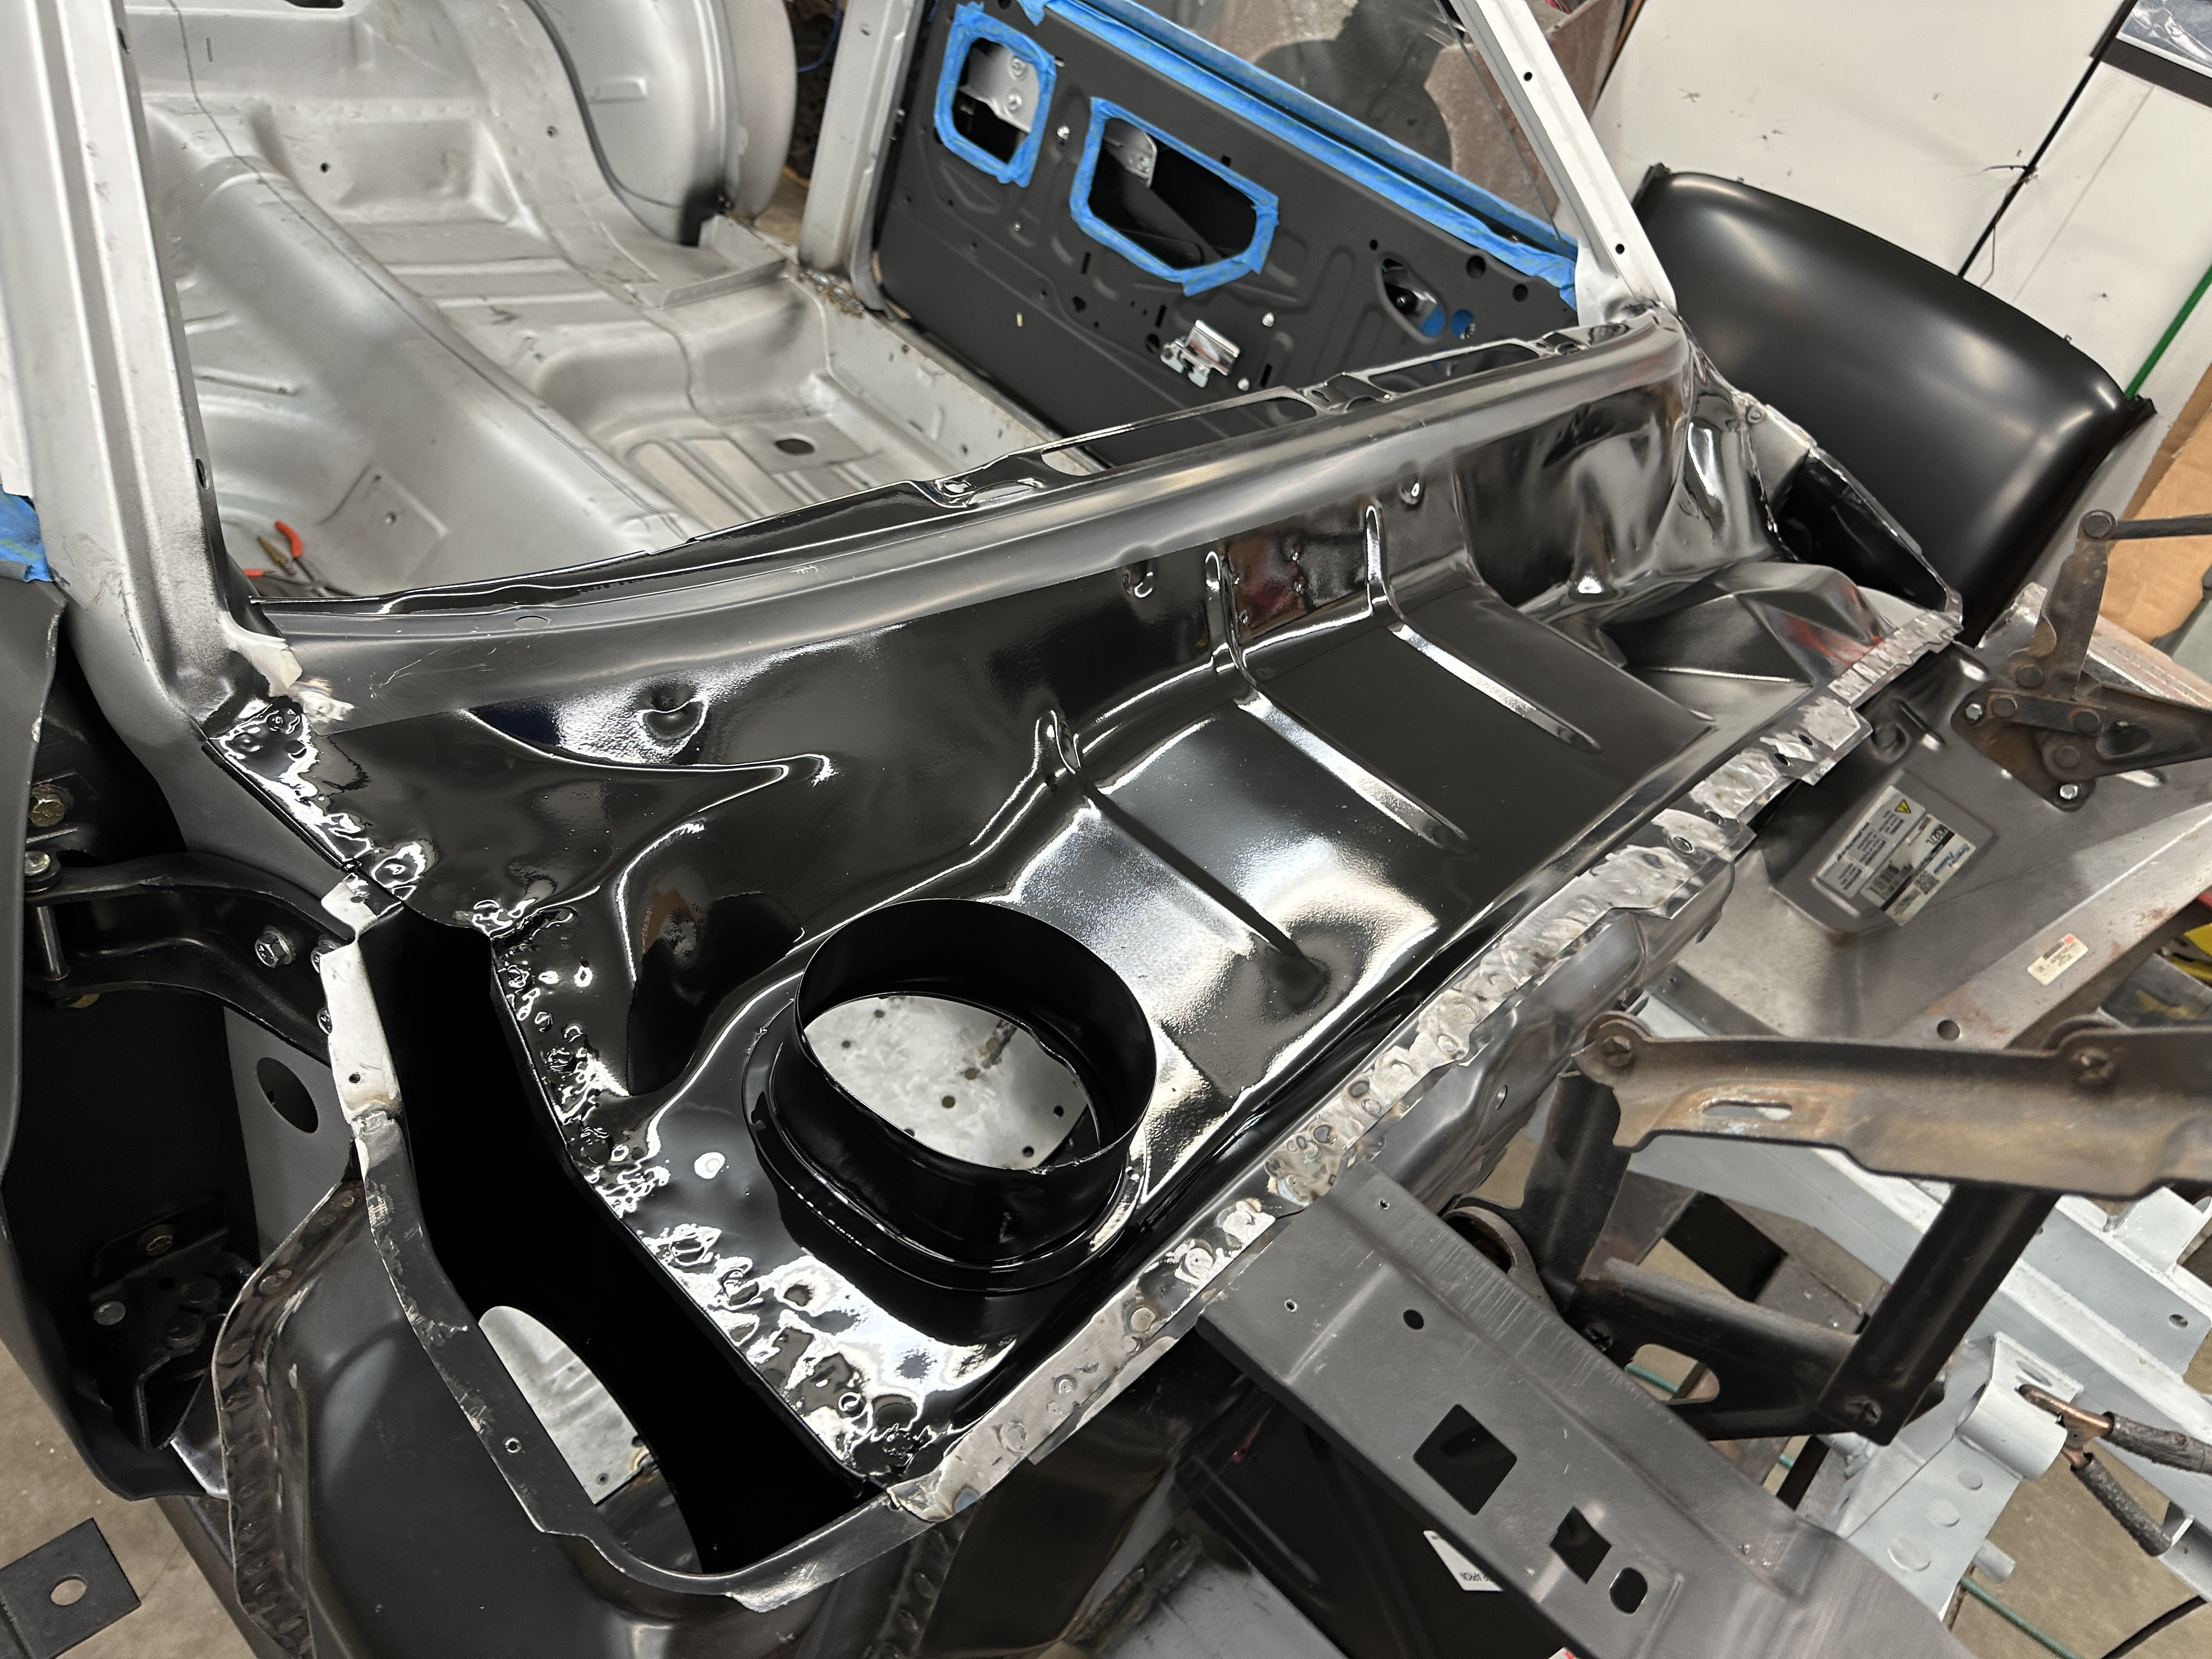
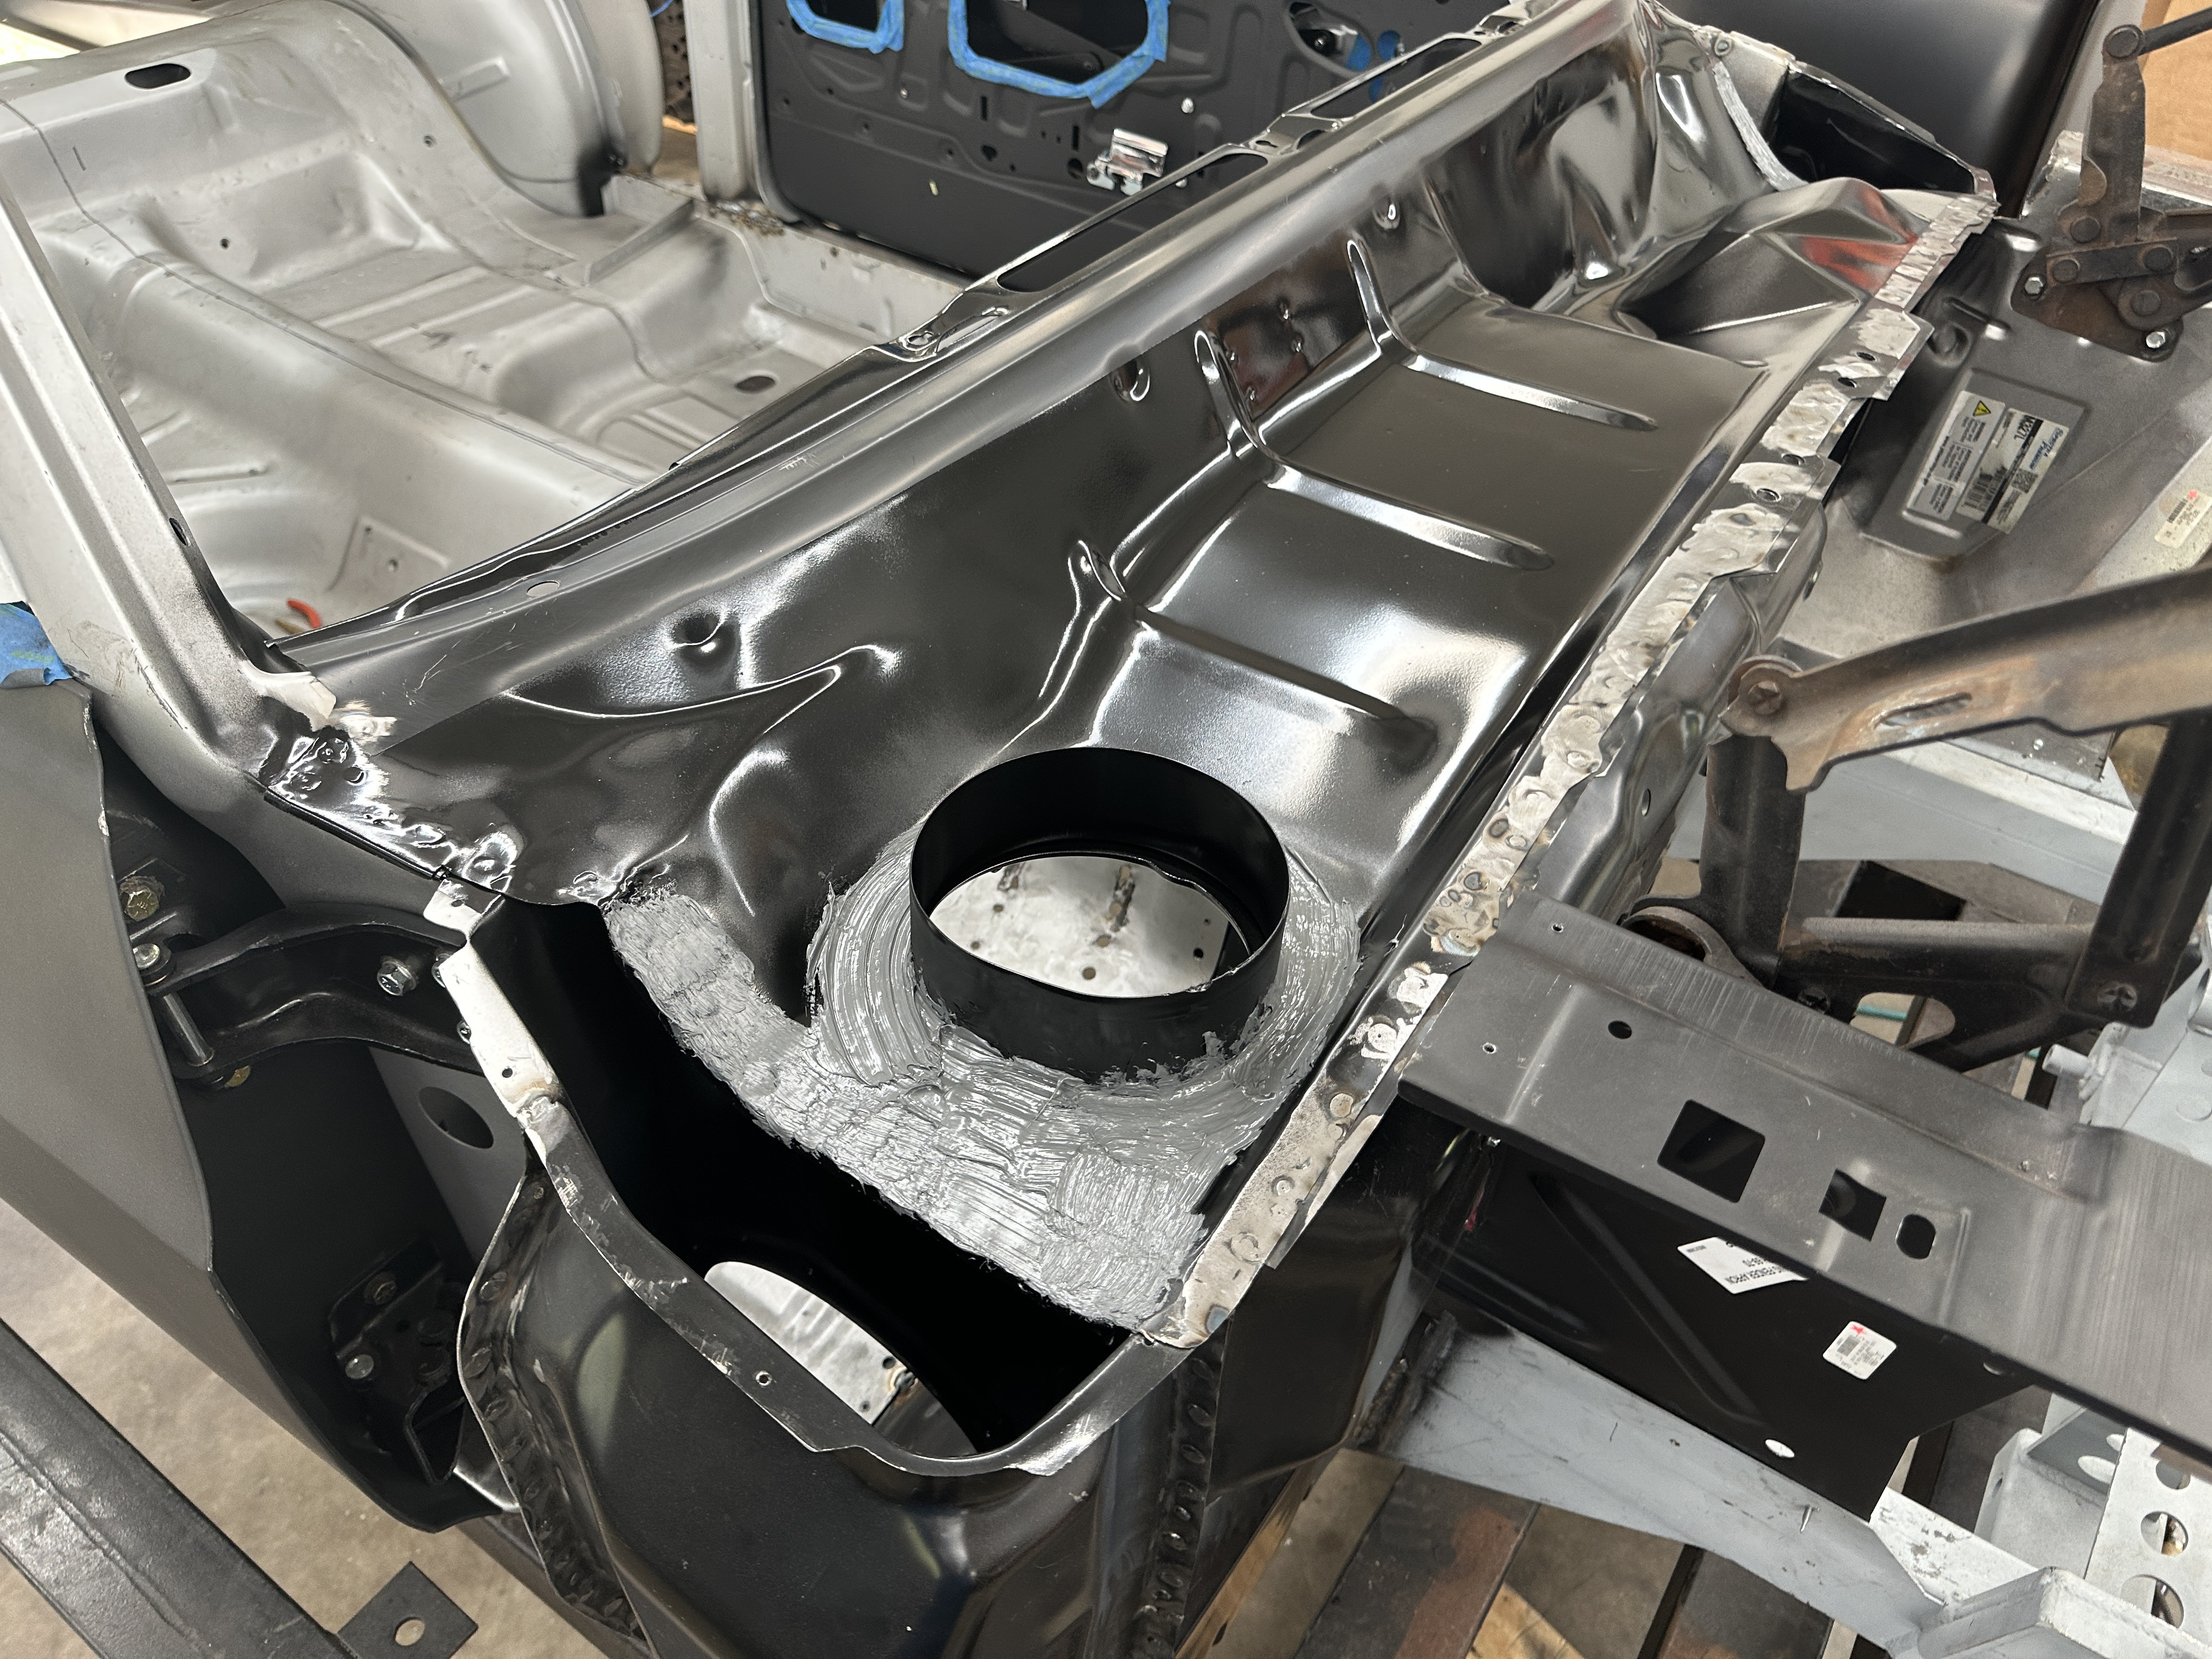
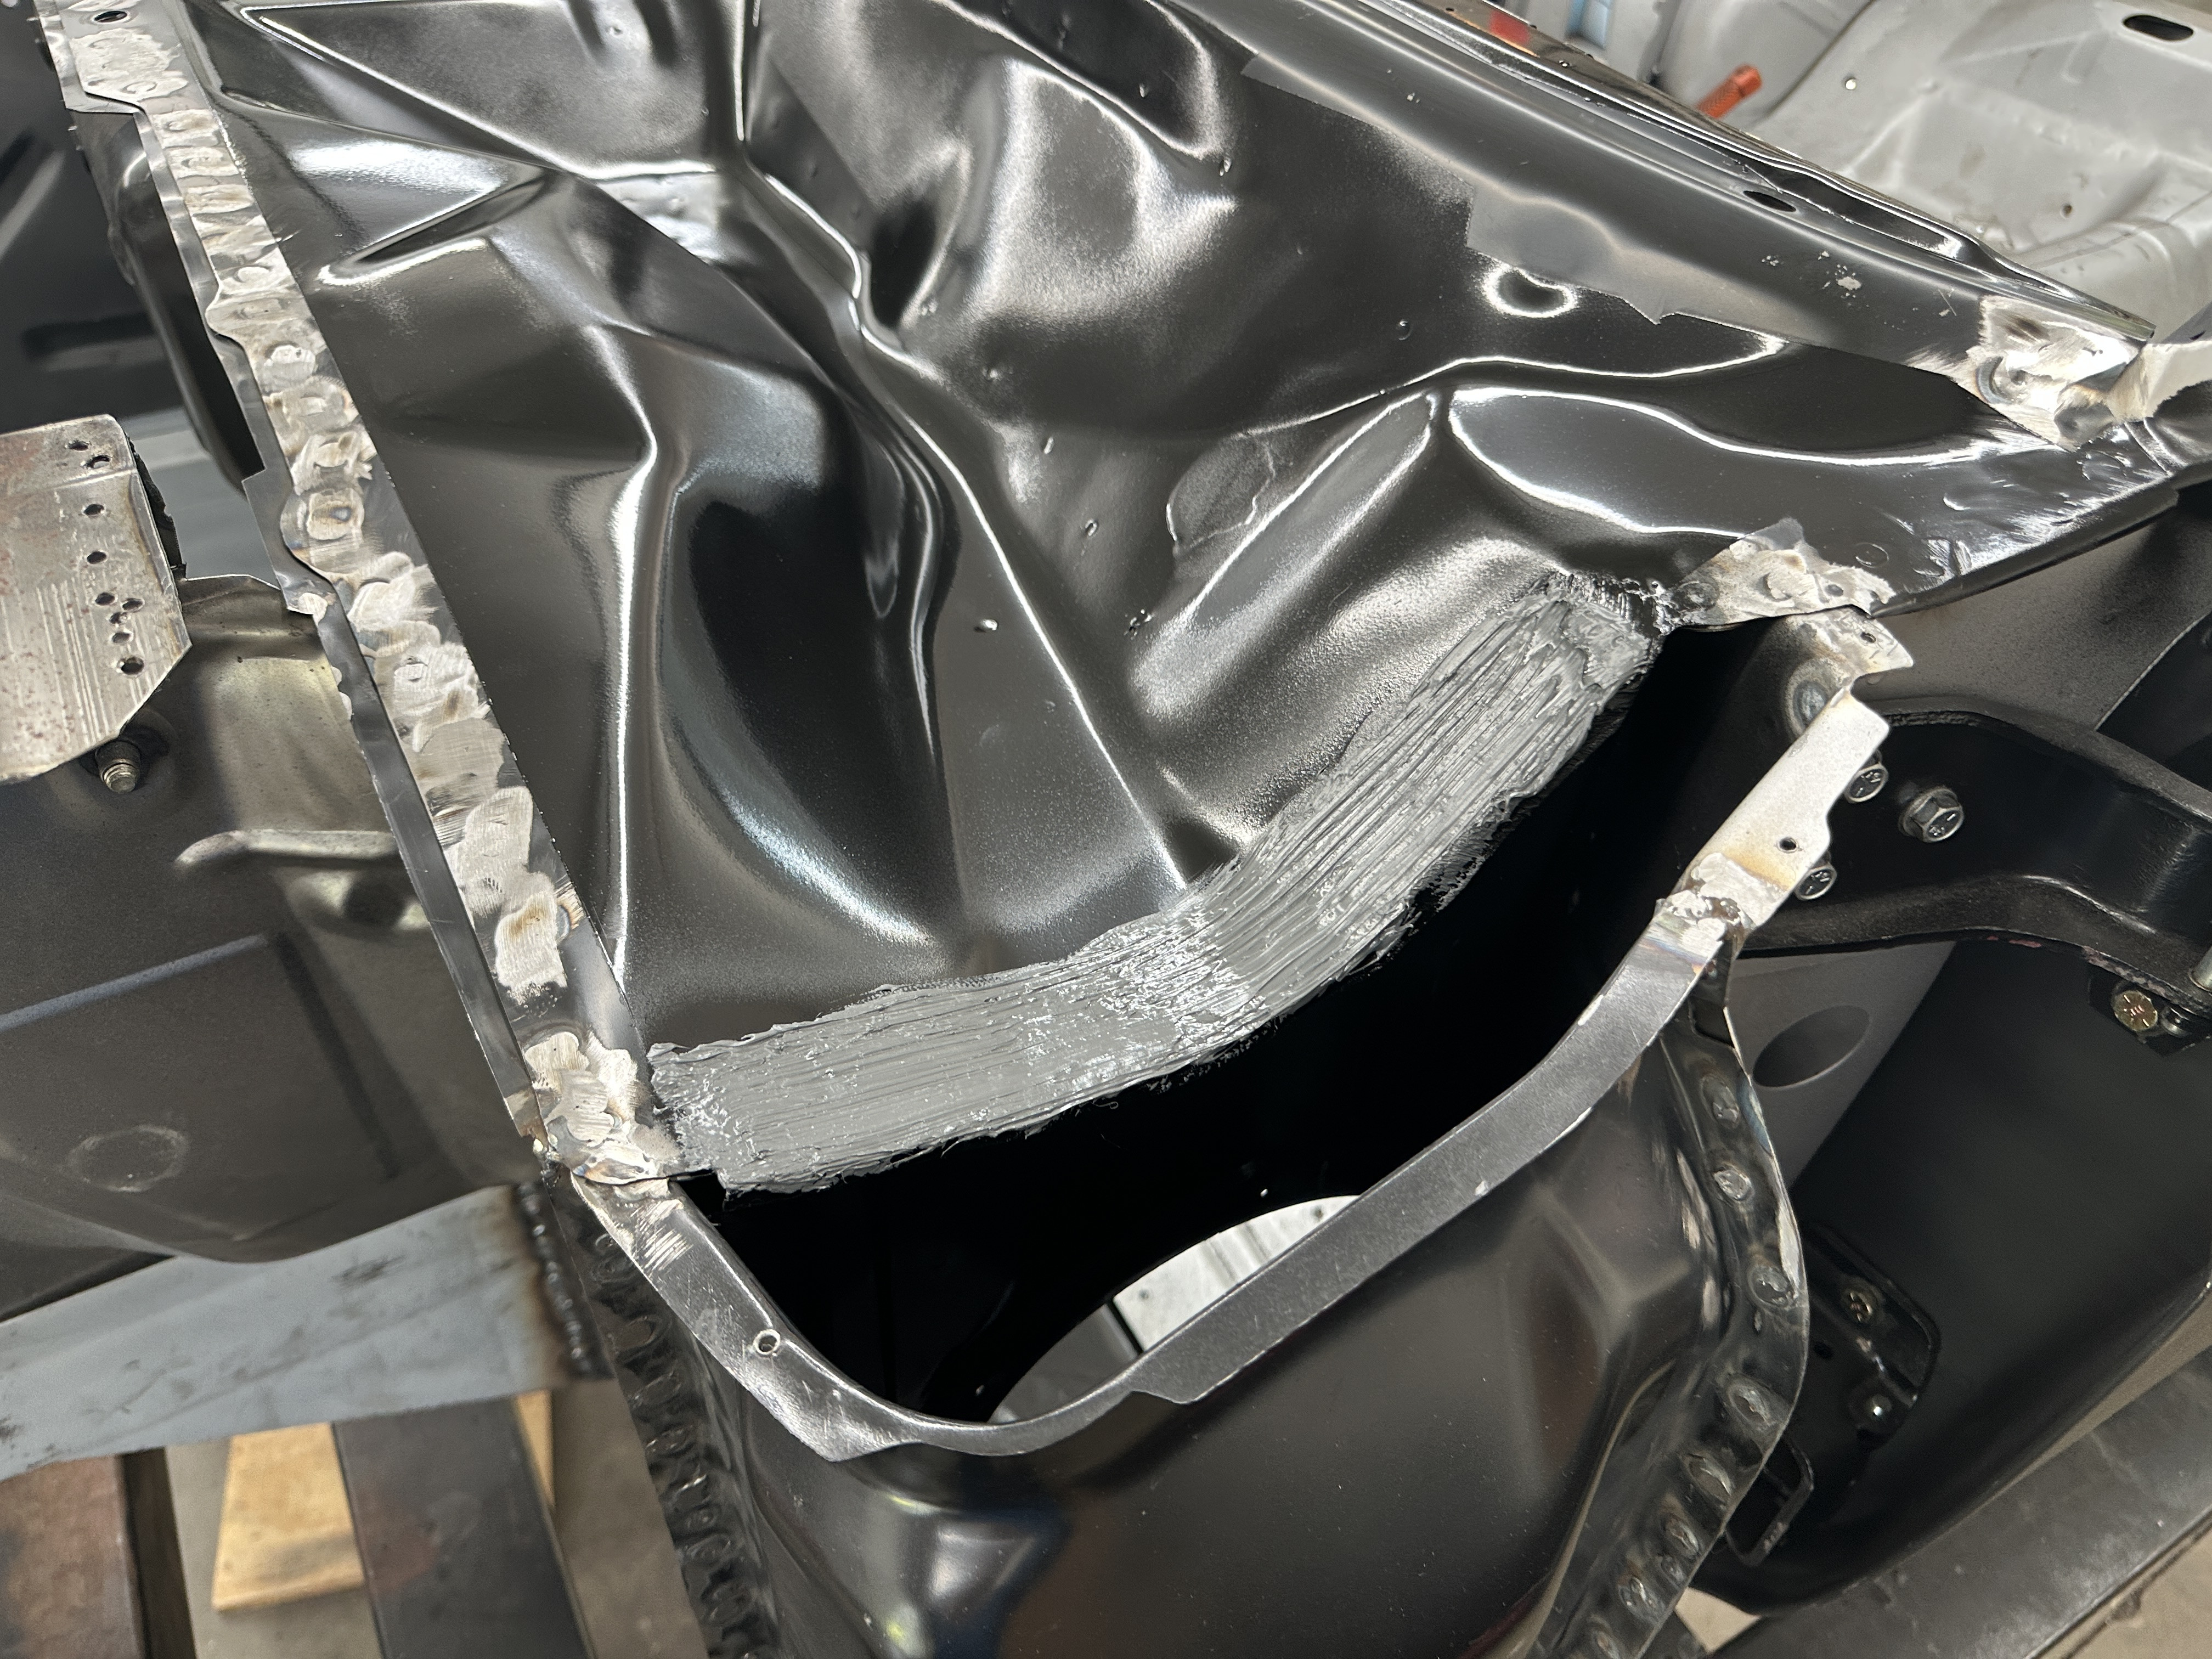
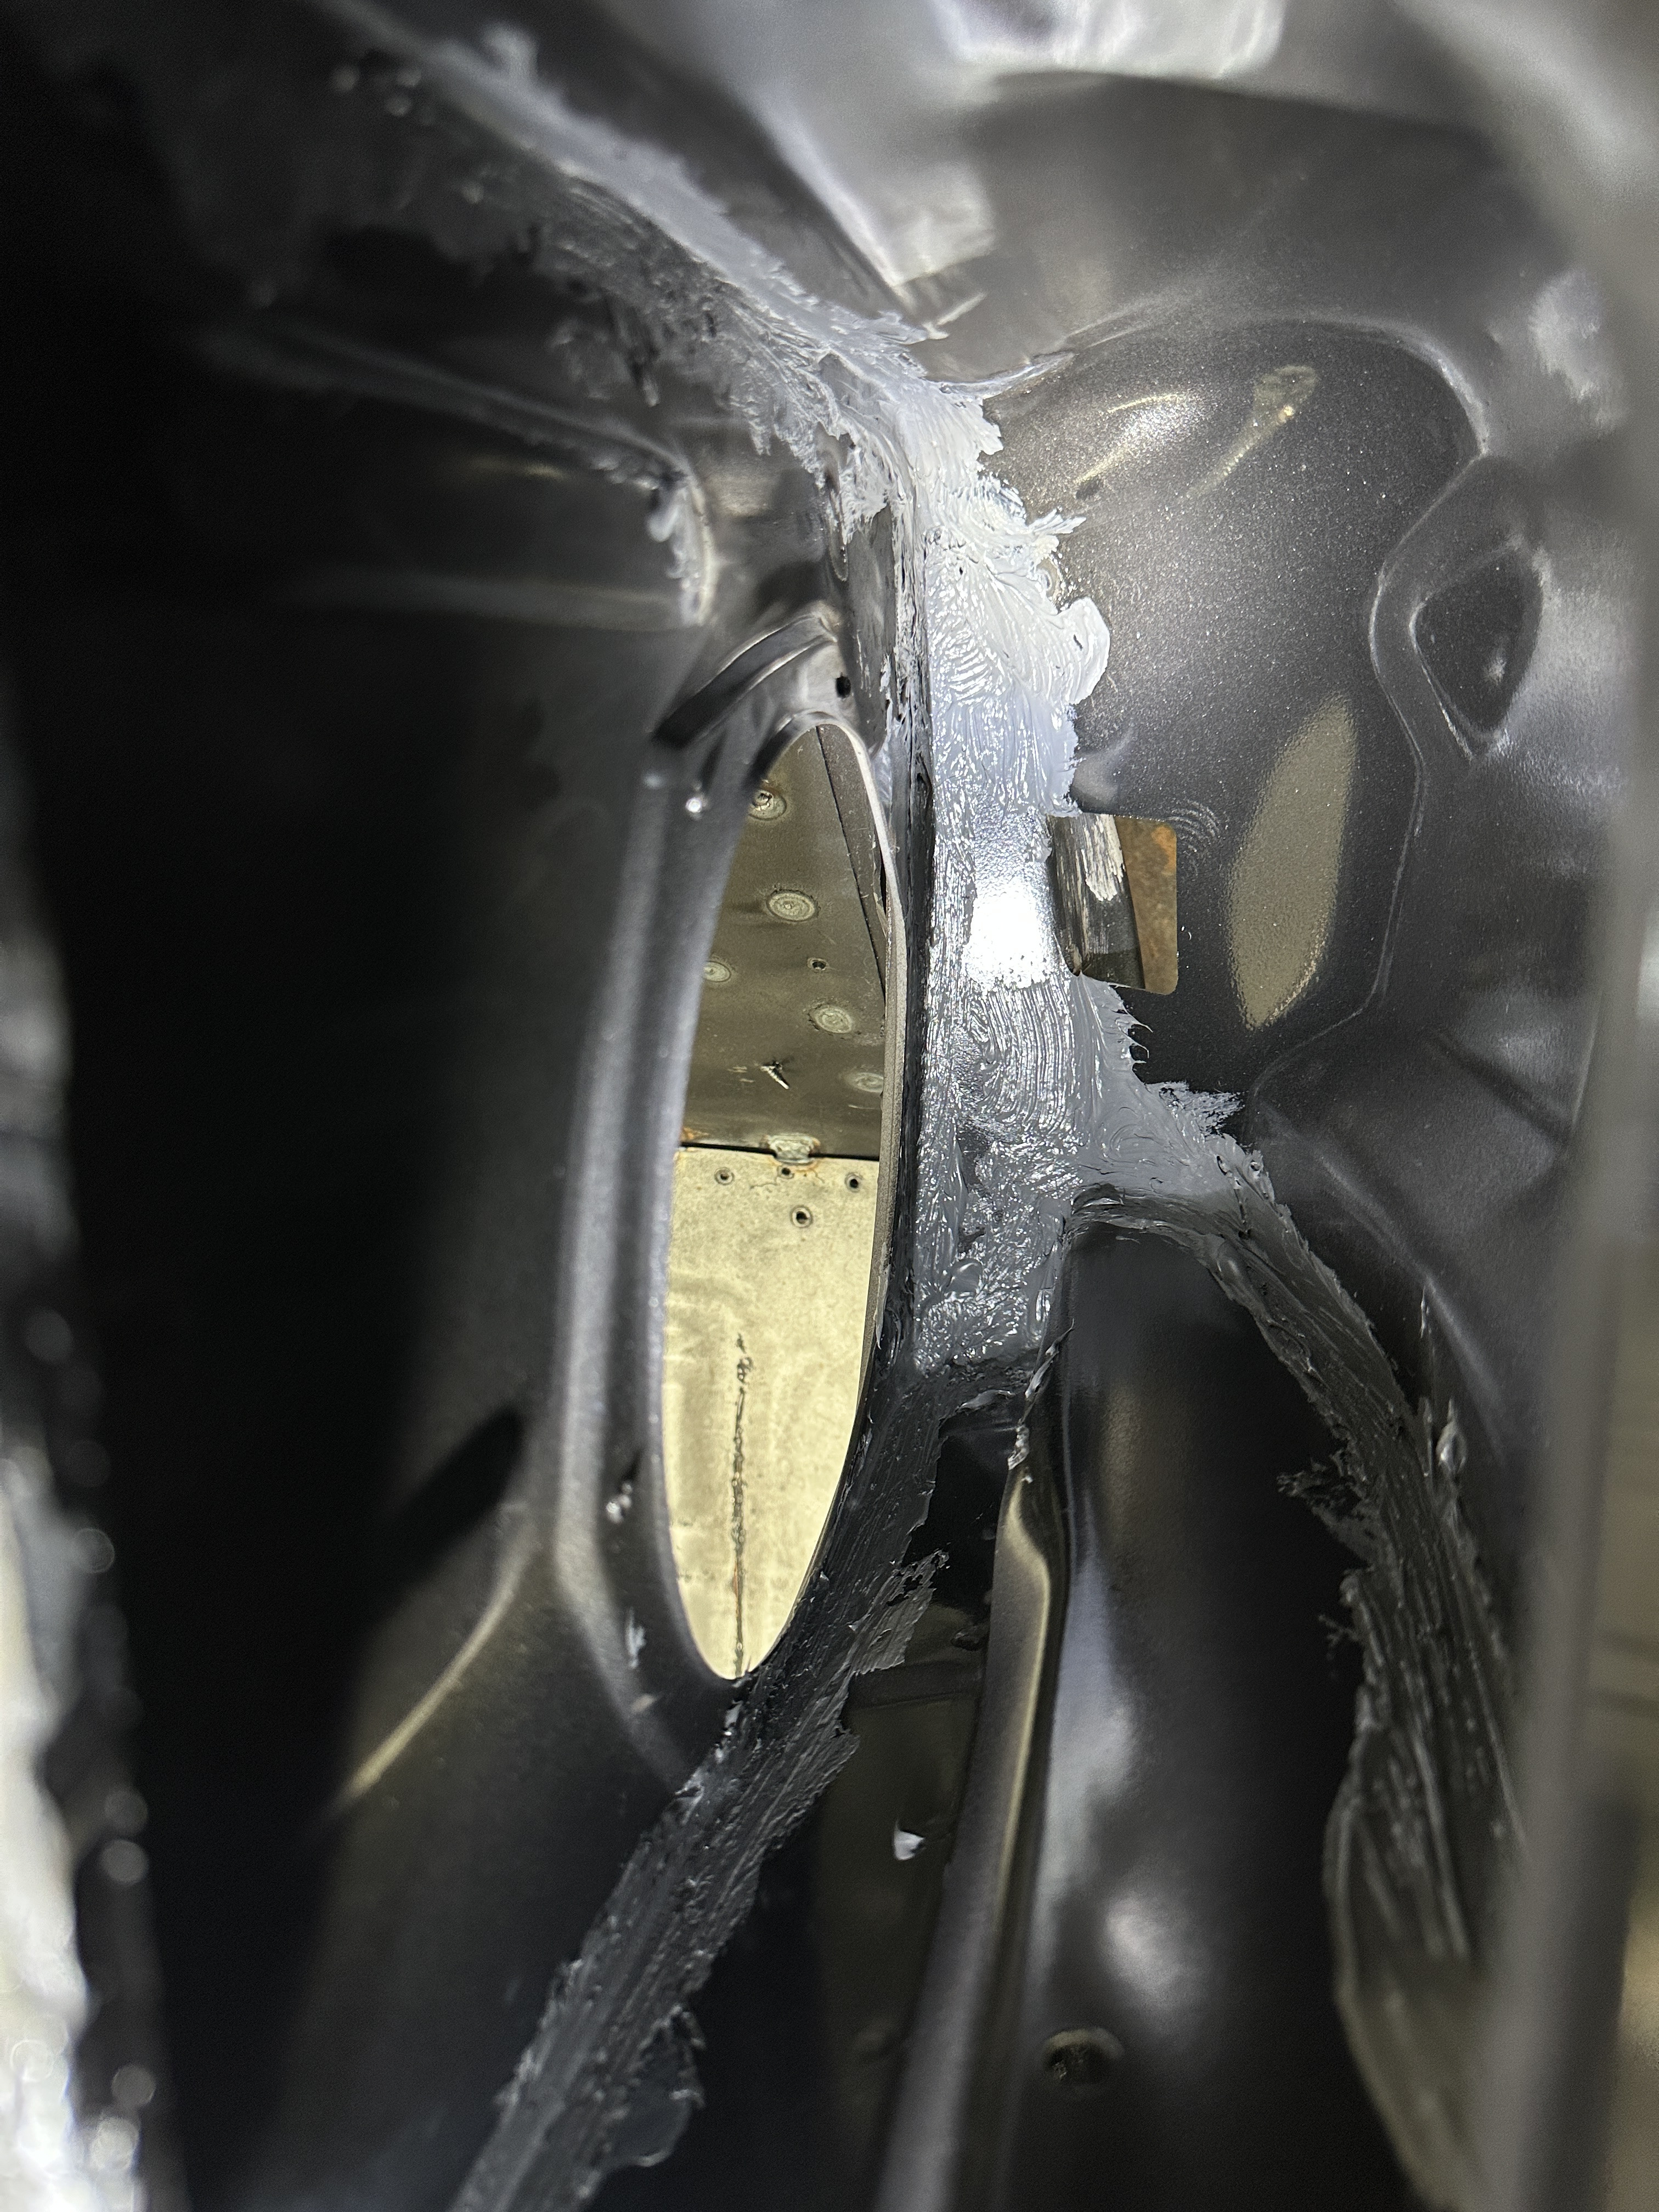
I also seam sealed and painted the gaps/crevices inside the side cowls. There was no way I could weld them from the inside. At least now though water cannot pool in the crevices and is as protected as I could make it.
Prepping upper cowl. Drilled holes, deburred the holes, and also gave the inside a couple more coats of paint.
Lower cowl prepped for welding
 mikee and Mach1 Driver reacted to this
 -
13 hours ago, Midlife said:I know my 2006 seats wouldn't work as one set of screws/bolts are horizontal, going into a cross-brace which the first generation Mustangs don't have.
I dont mean like straight bolt in seats. I know ill have to modify the risers but I wanted to see how they fit if they did. The tracks are very wide.
-
So i've been thinking a lot about what seats I want to put in the car. I'd really like something modern that are heated/cooled. My thoughts initially were for some 2015+ GT seats. I recently had an opportunity to drive a 2021 Shelby GT500. The seats are great. I took about 20 measurements off them and will compare to some stock seats. The seat tracks are very wide on those seats so I am not sure they will work.
Has anyone installed late model Mustang seats in their car? 2015 or later? I know previous gen seats fit.
-
Wow it's been a while. I've finally finished my winter/spring projects and am back on the car. The roof panel needing those cuts and the drivers side quarter panel where it meets the rocker having that gap has been bugging me since I originally fitted the parts. On a hunch I went to NPD and bought another new roof panel. Plopped right on with an excellent fit!


I have been told that I need to get my doors fitting very very well before welding and even go as far as putting all the window guts in and being able to lower and raise the window into the seal to make sure it has a good fit. So, the passenger side went really easily since the quarter panel fitted against the rocker tightly. I also realized through lots of cursing and wasted time that the door striker can be adjusted DOH! Wow that made a really huge difference in how quickly I could get the doors lined up. Once I figured it out, getting them aligned was a piece of cake. Now I am aware that once I assemble the door guts they will be heavier and I will have to re-adjust, but I am going to take this win because the gaps are great and the lines are straight.
I also took the opportunity while the quarter panel was off to pull both quarter's together another 1/16th-1/8" inch to get them as close to the factory glass opening width as possible. Pretty much nailed it.

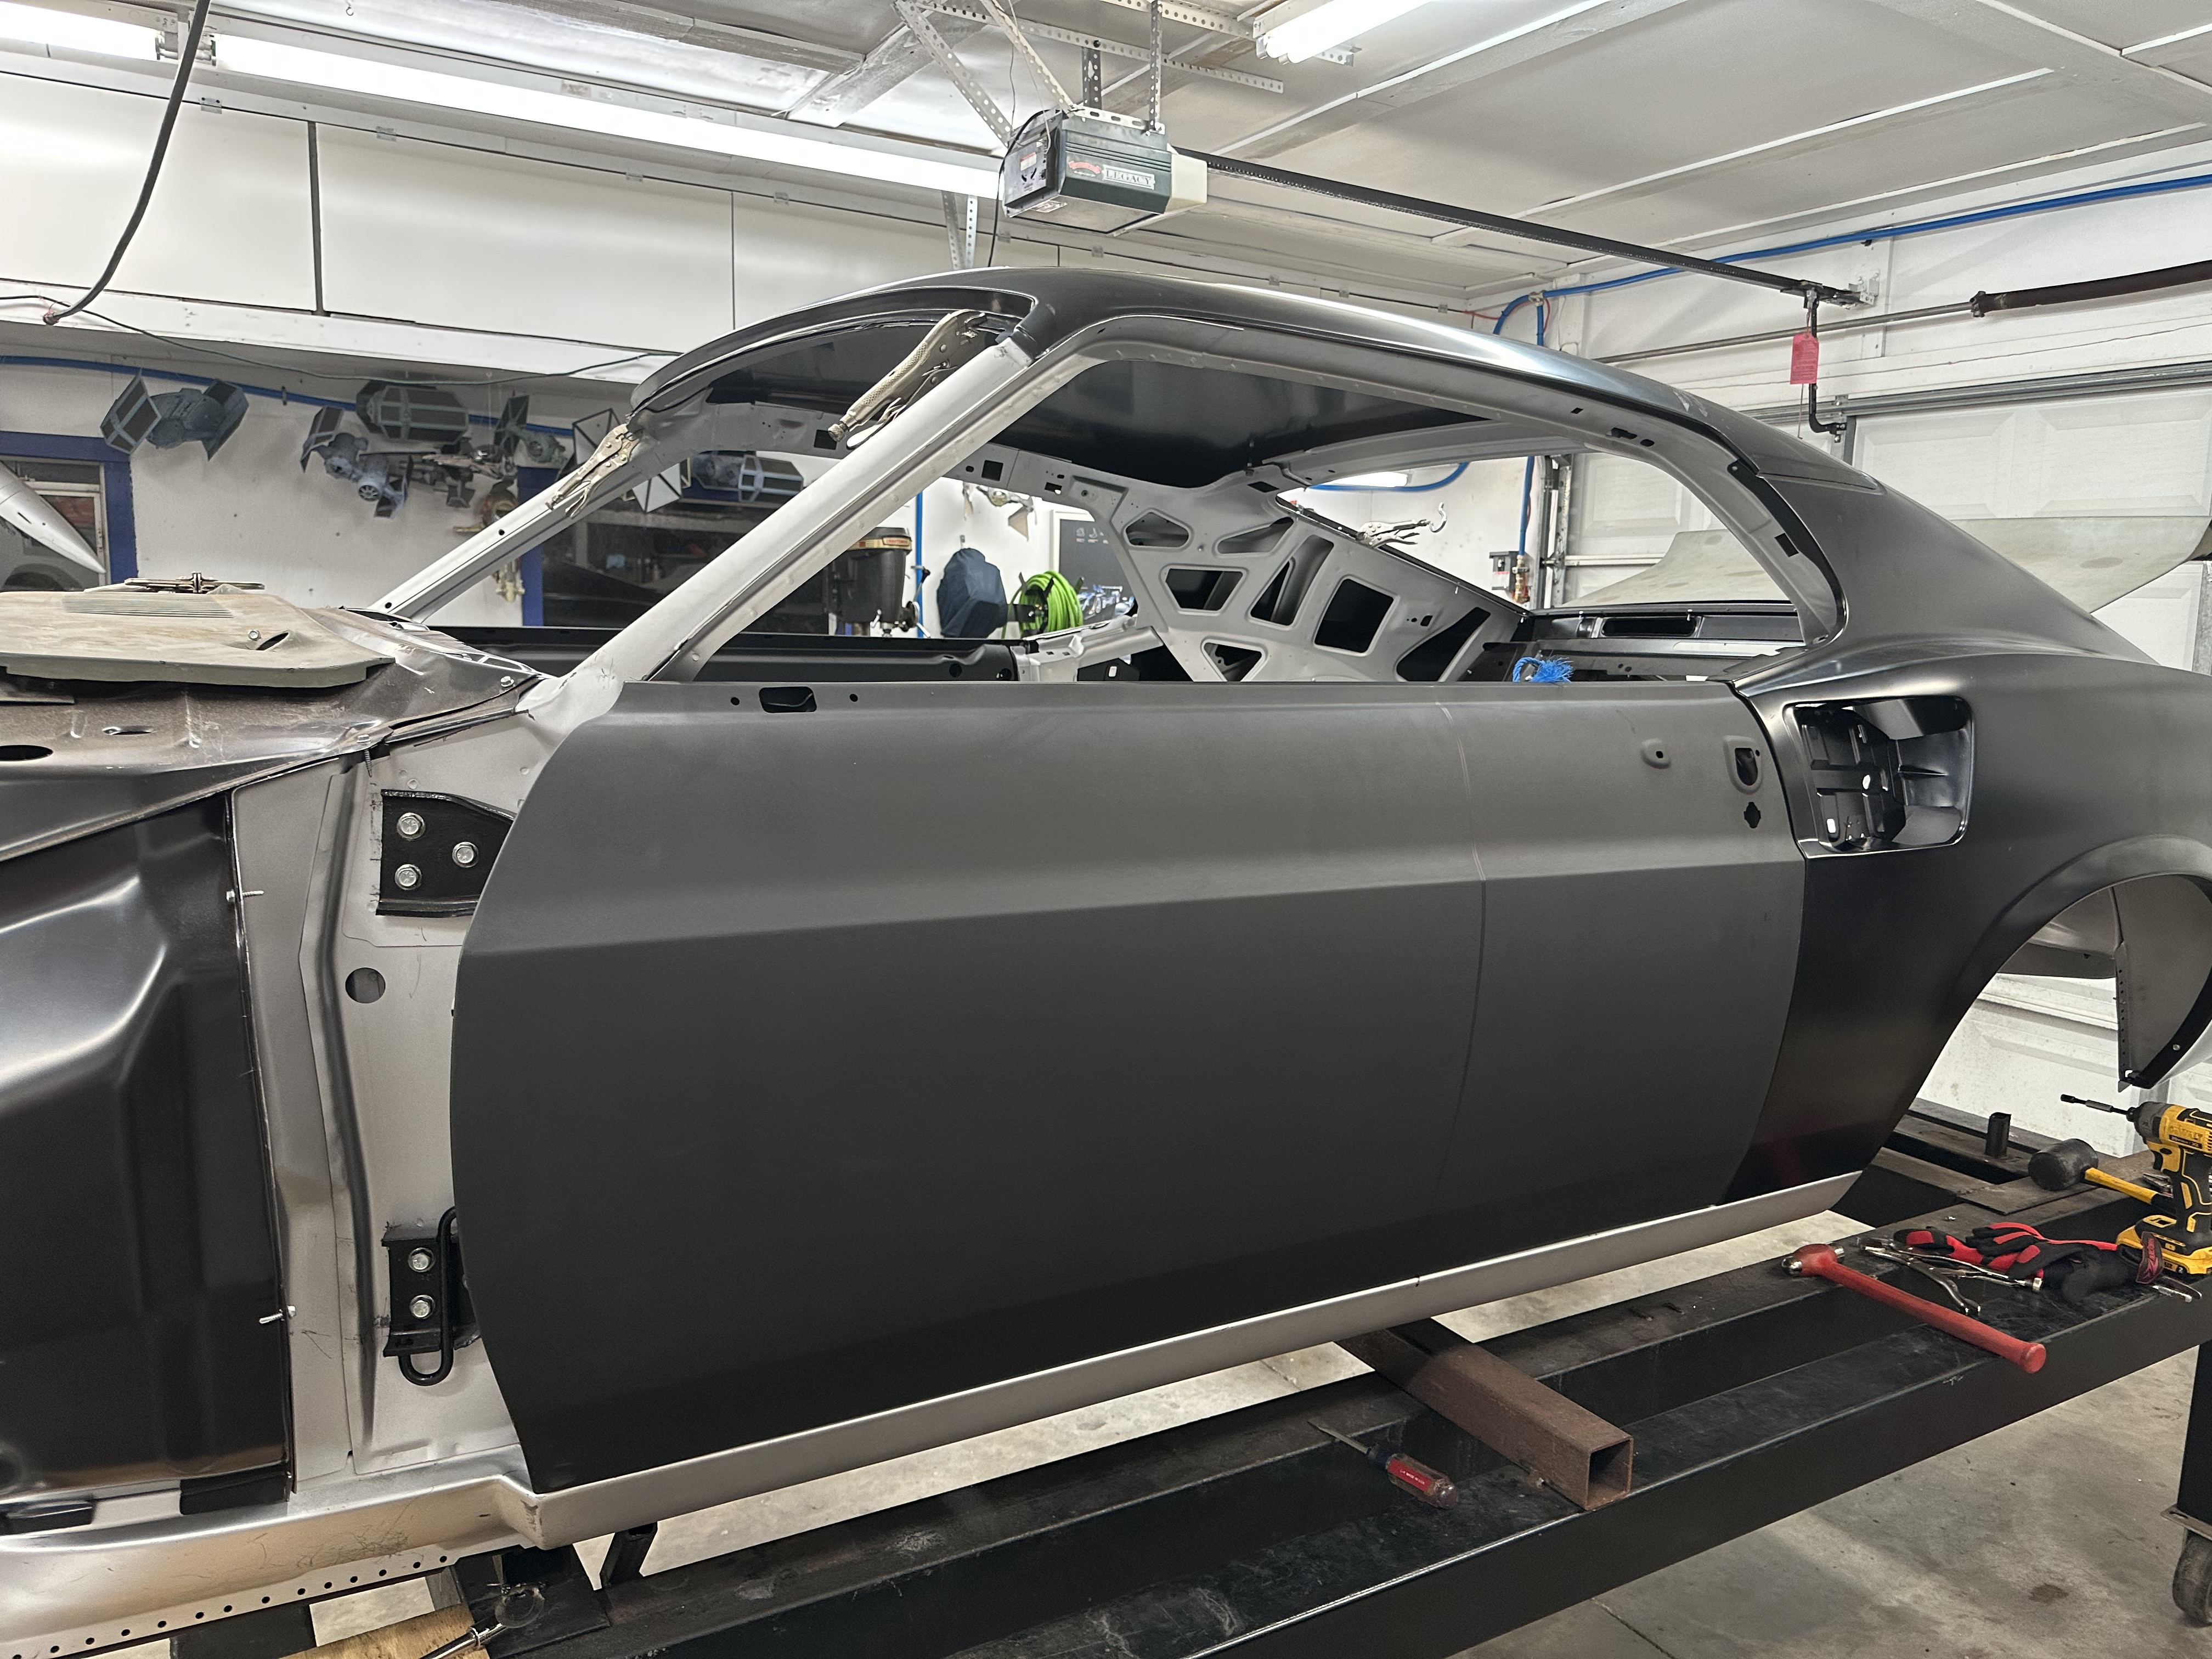


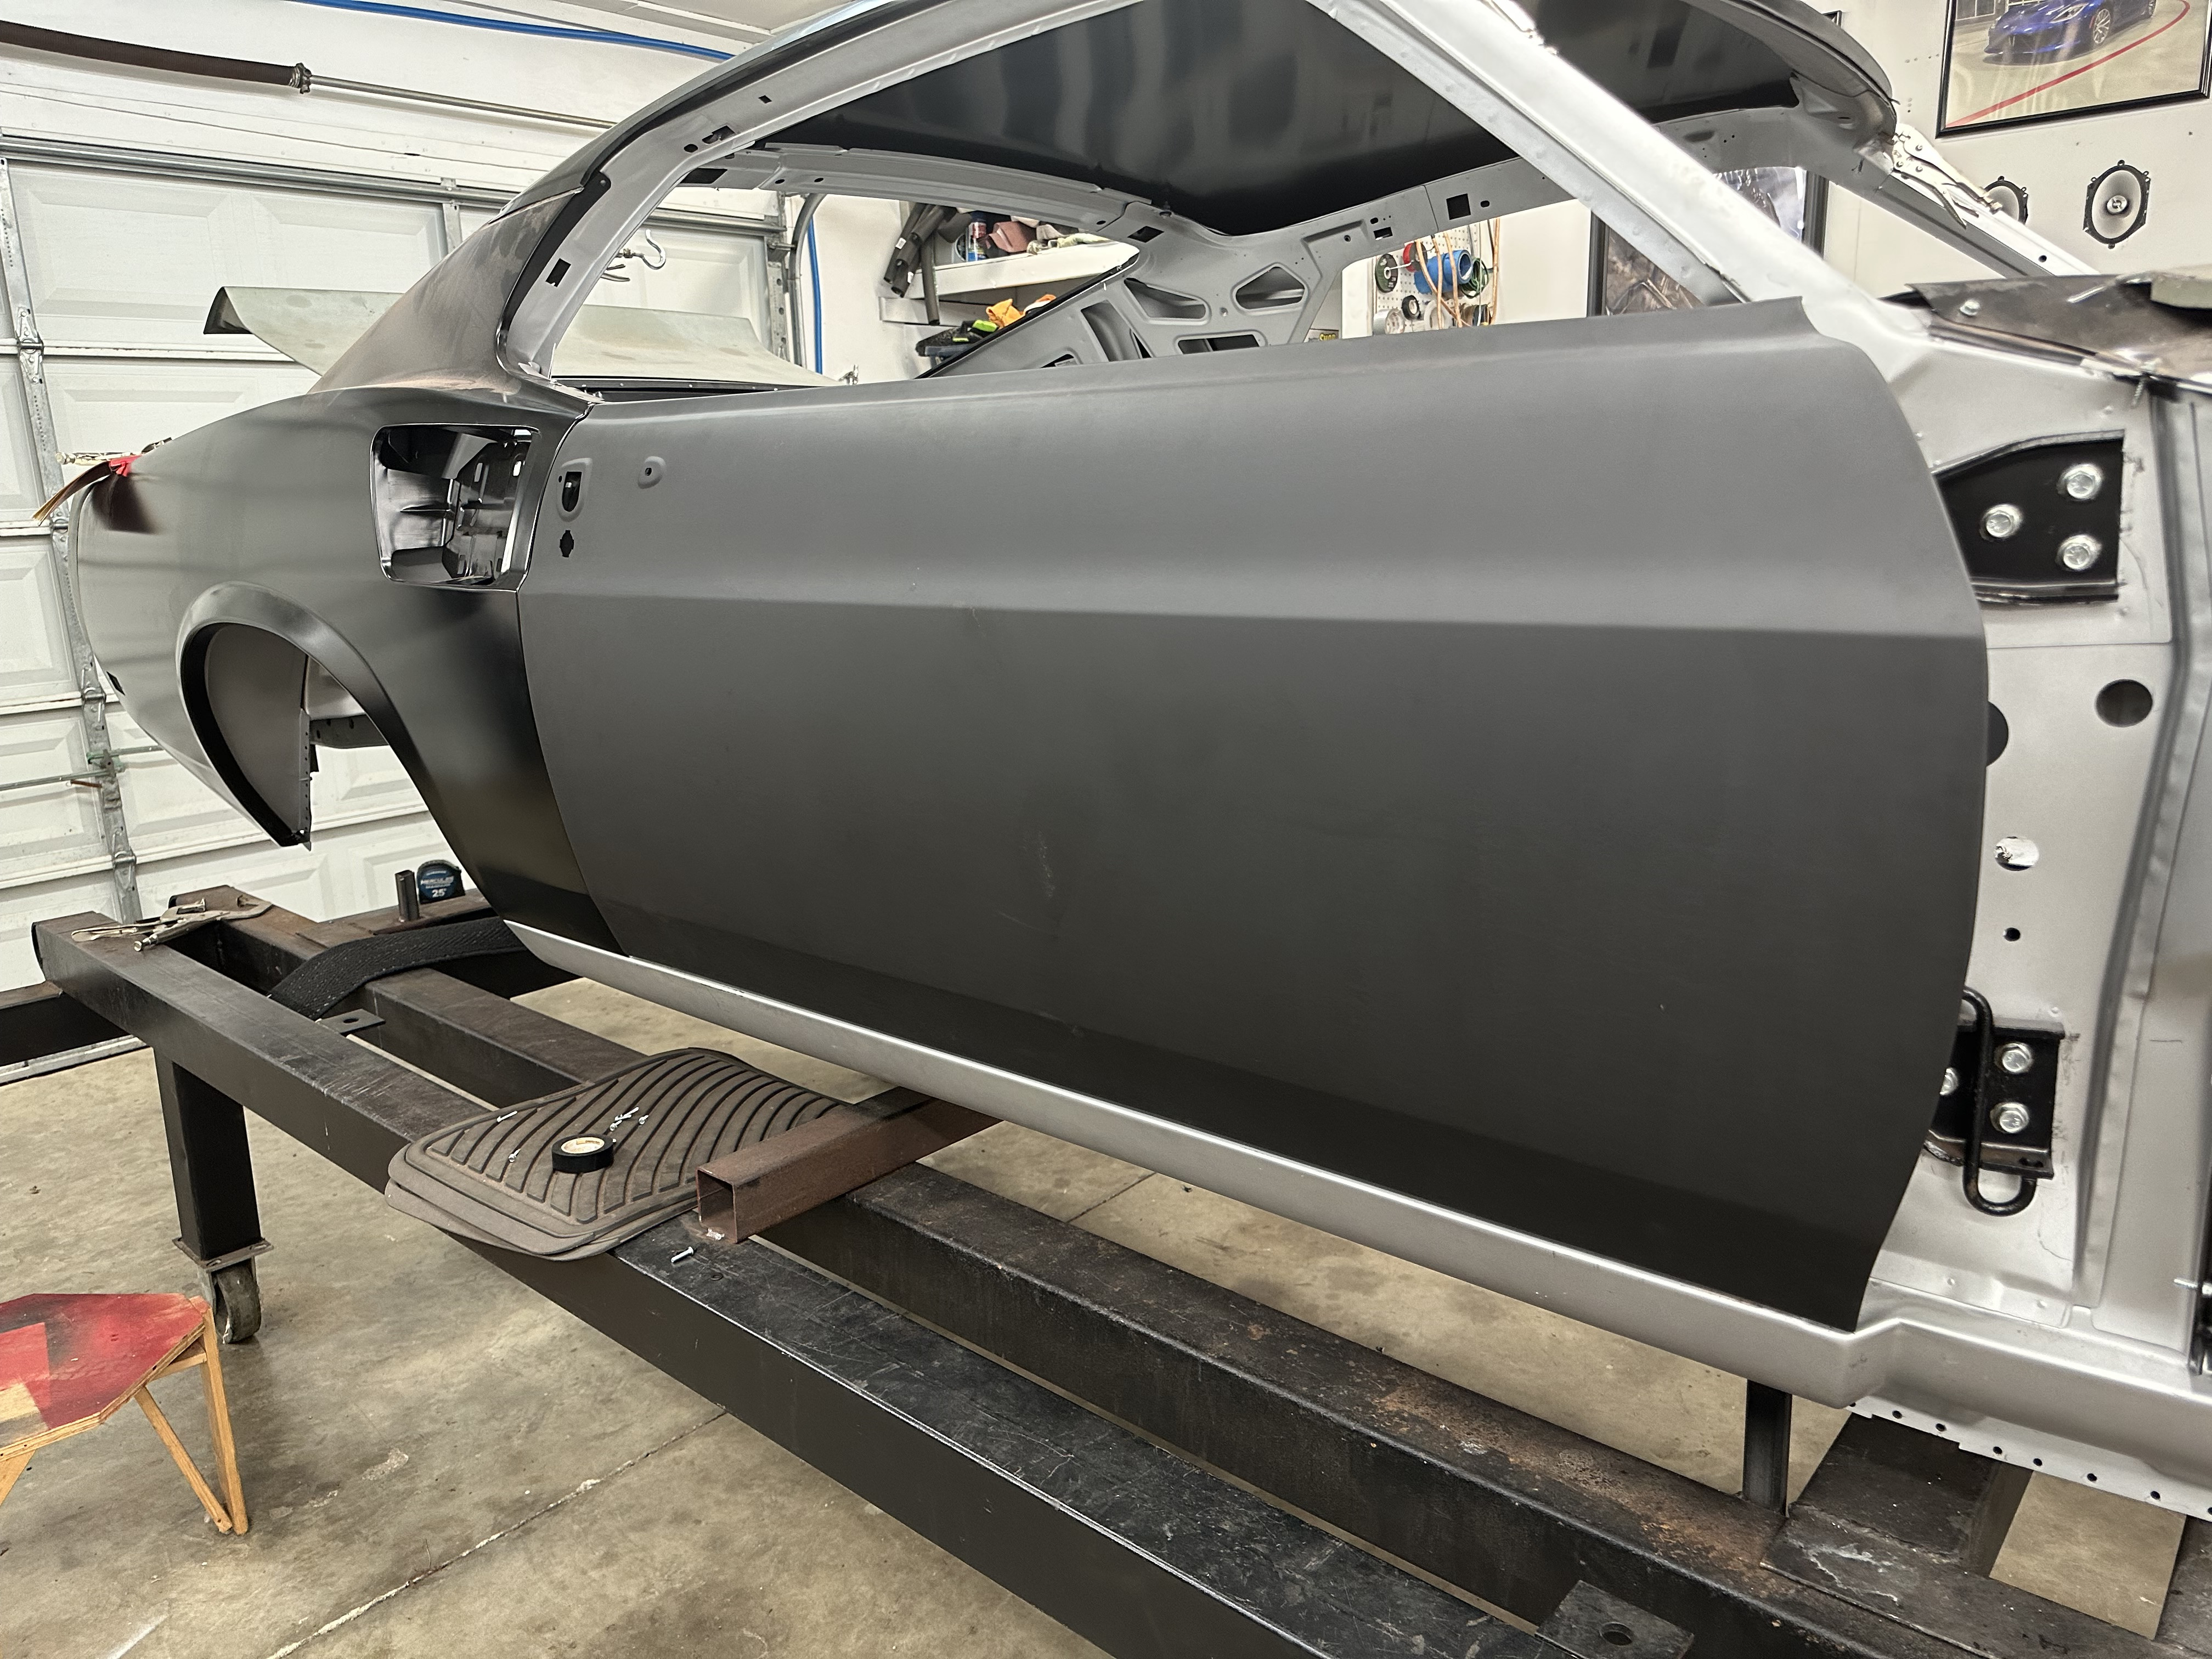
I am hoping that the door interior assembly goes smoothly and that the door glass goes into the door seal tightly. Once that is done I'll fit the fenders and hood one last time to make sure everything is straight before I take it all apart again to start welding!
stangs-R-me and RPM reacted to this -
You're a better man than me. Work with metal? Love it. Work with wood? it's ok. Work with fiberglass f'n can't stand it. It's too messy and smelly for me.
They look amazing!
-
OK I like the nu-relic stuff. Other than that kit, do I also need the scott drake guide kit? I think I have the run guides. I have to go through some boxes of stuff.
-
Hey everyone,
I need your help. I am at the part of my build where I need to be able to raise/lower the windows with the proper weight in them, to make sure they are lined up property (with weatherstrip/seals) prior to welding the shell together.
I want electric windows. I know that I will have to buy 70' glass (I have 69 glass but the electric conversion requires 70 glass) but other than the electric conversion, I don't know what other bits are necessary. Would someone mind going through the NPD catalog and giving me the part numbers of all the bits i'll need to have fully functional windows? I have completely empty doors.
Window:
https://www.npdlink.com/1965-1973-mustang/body-exterior/door-window?year=1969
Doors:
thank you
-
Excellent job!
-
3 hours ago, Ridge Runner said:Kind of looks like the quarters need to come up at the rear ,that would close the door gap at the top and level it to the rocker .
I bought one of those pull hydraulic rams at harbor freight ,hooked to my porta power along with a body clamp at the top of the lower rear window opening on each side it sucks those quarters up tight to that lower panel.
I don't think they need to come up. The wheel well arch is flush all the way around. I think it's just a poorly stamped piece. Gaps practically everywhere else are pretty good. i dont know how I'd use the ram tool you mentioned to pull the front corner down anyway. It rests on the b pillar and the metal definitely wont bend that way. I tried already and it just made it buckle.
-
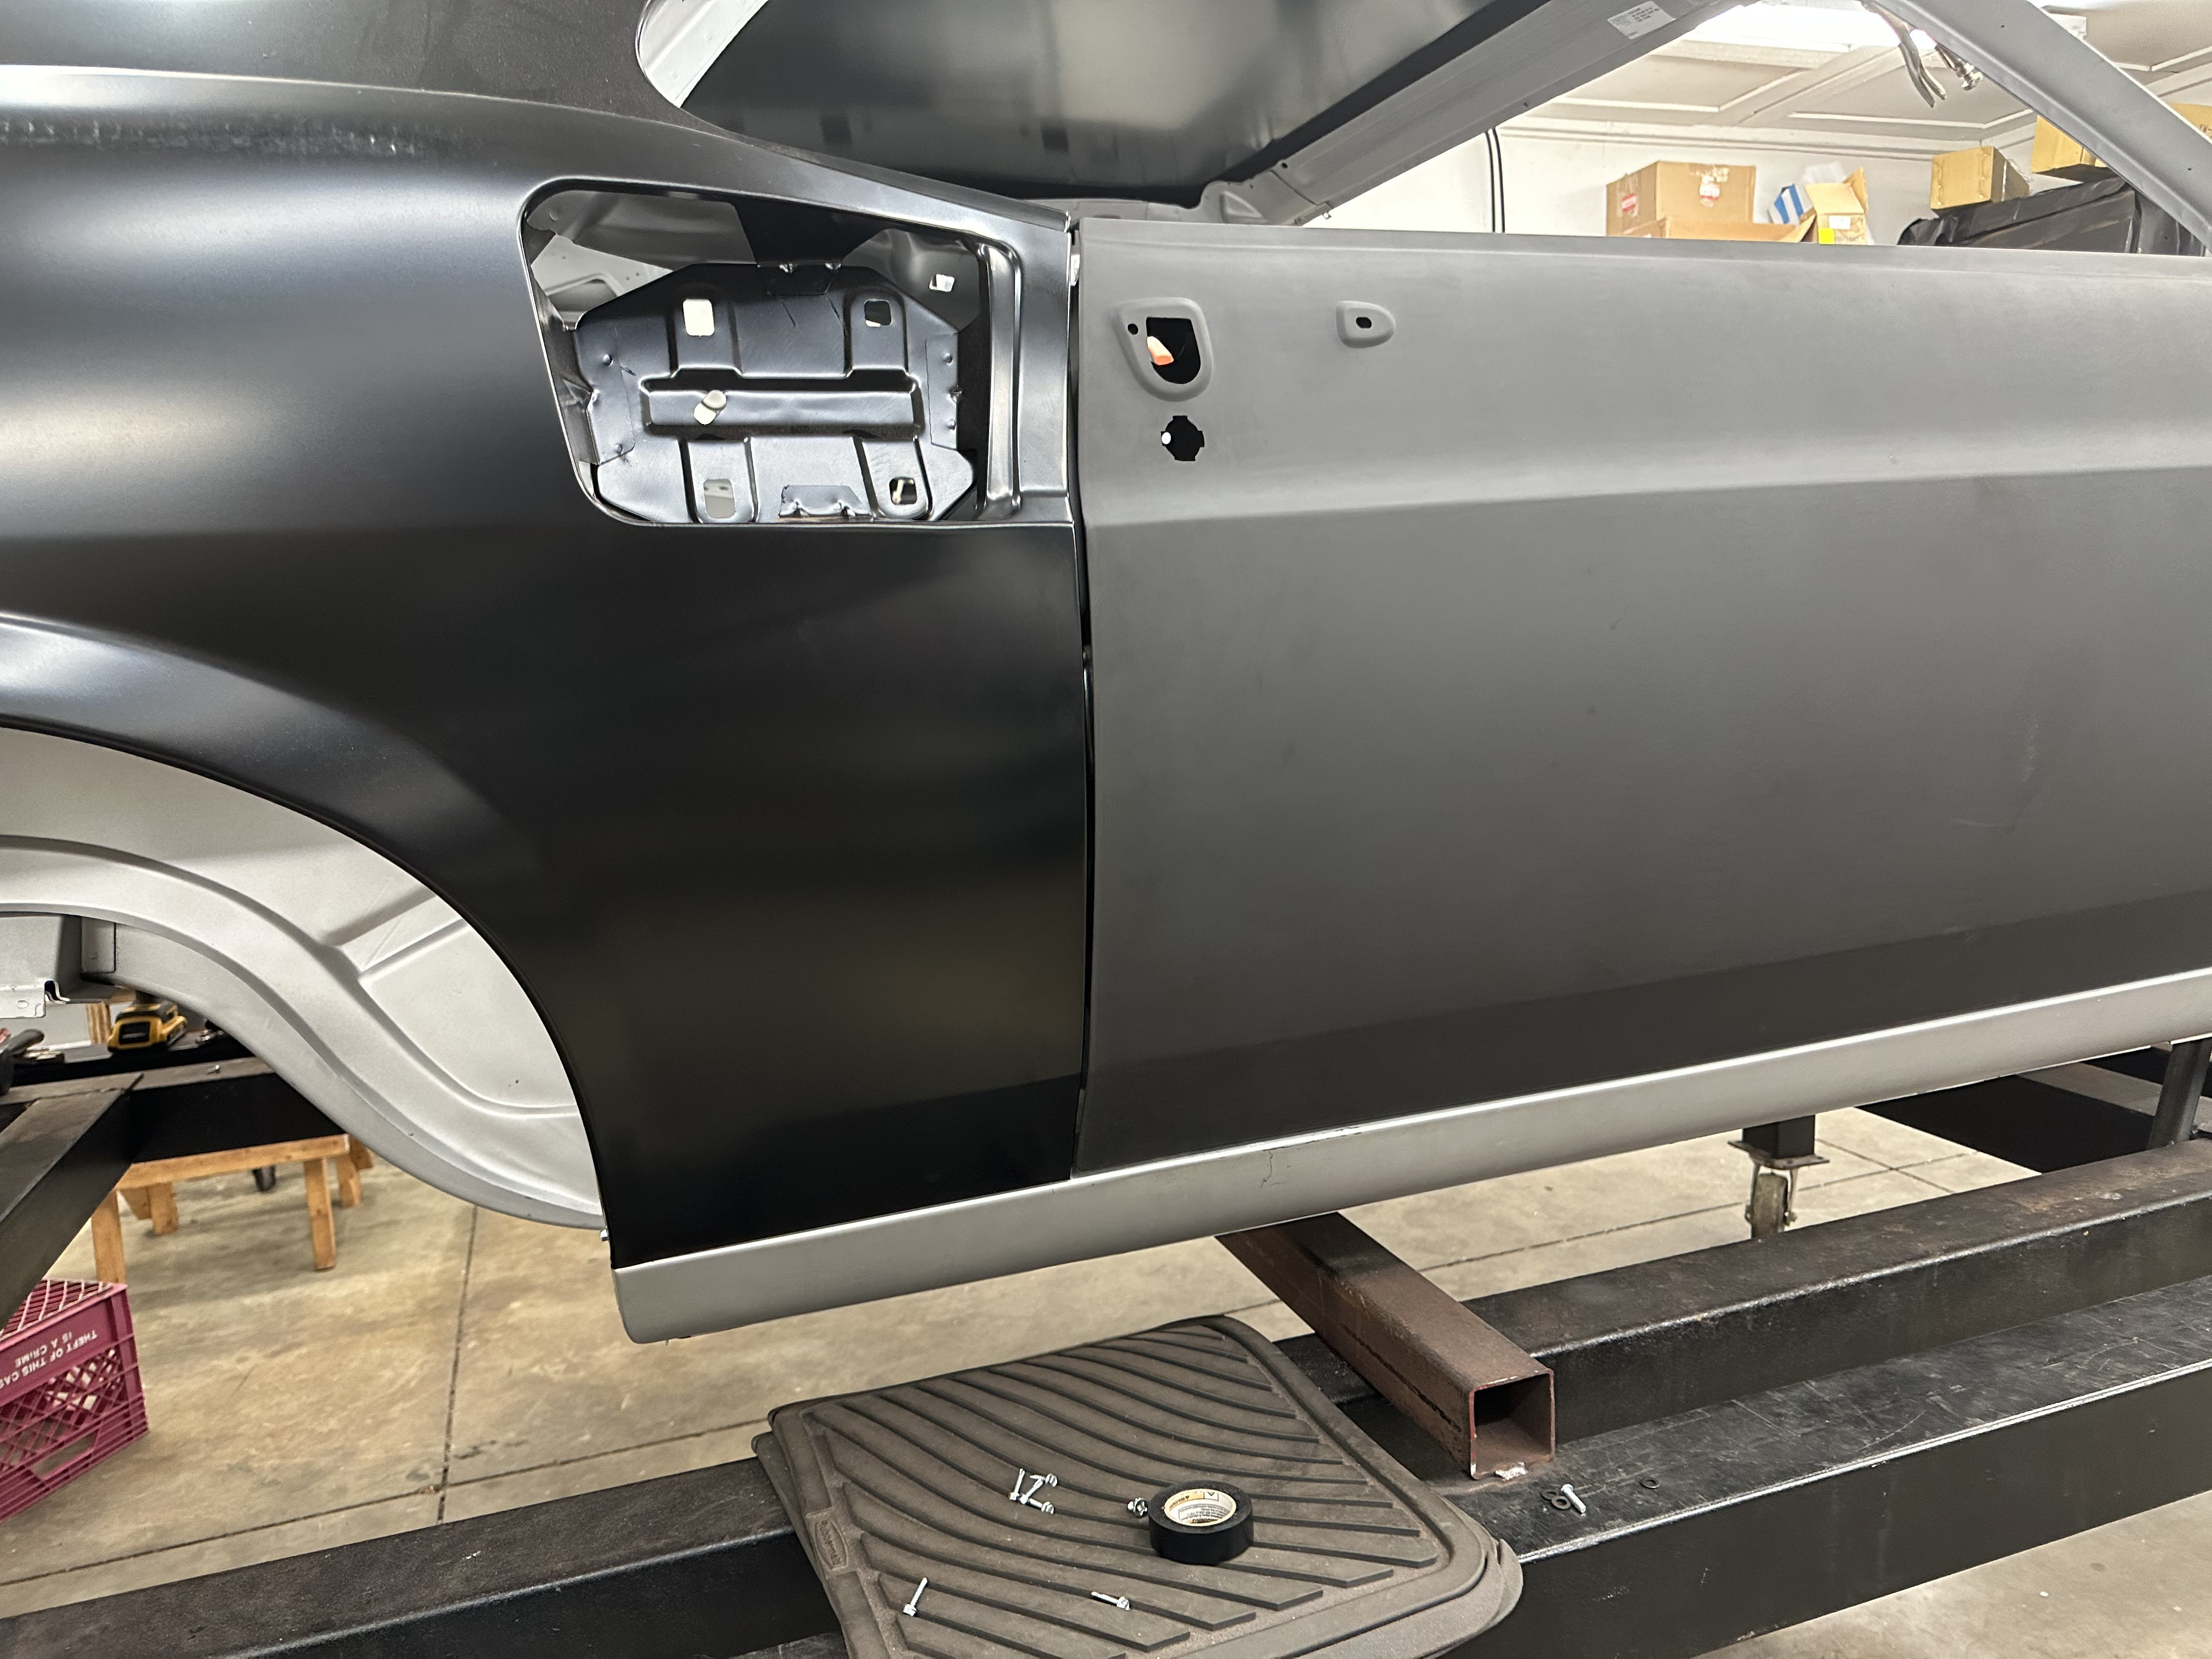
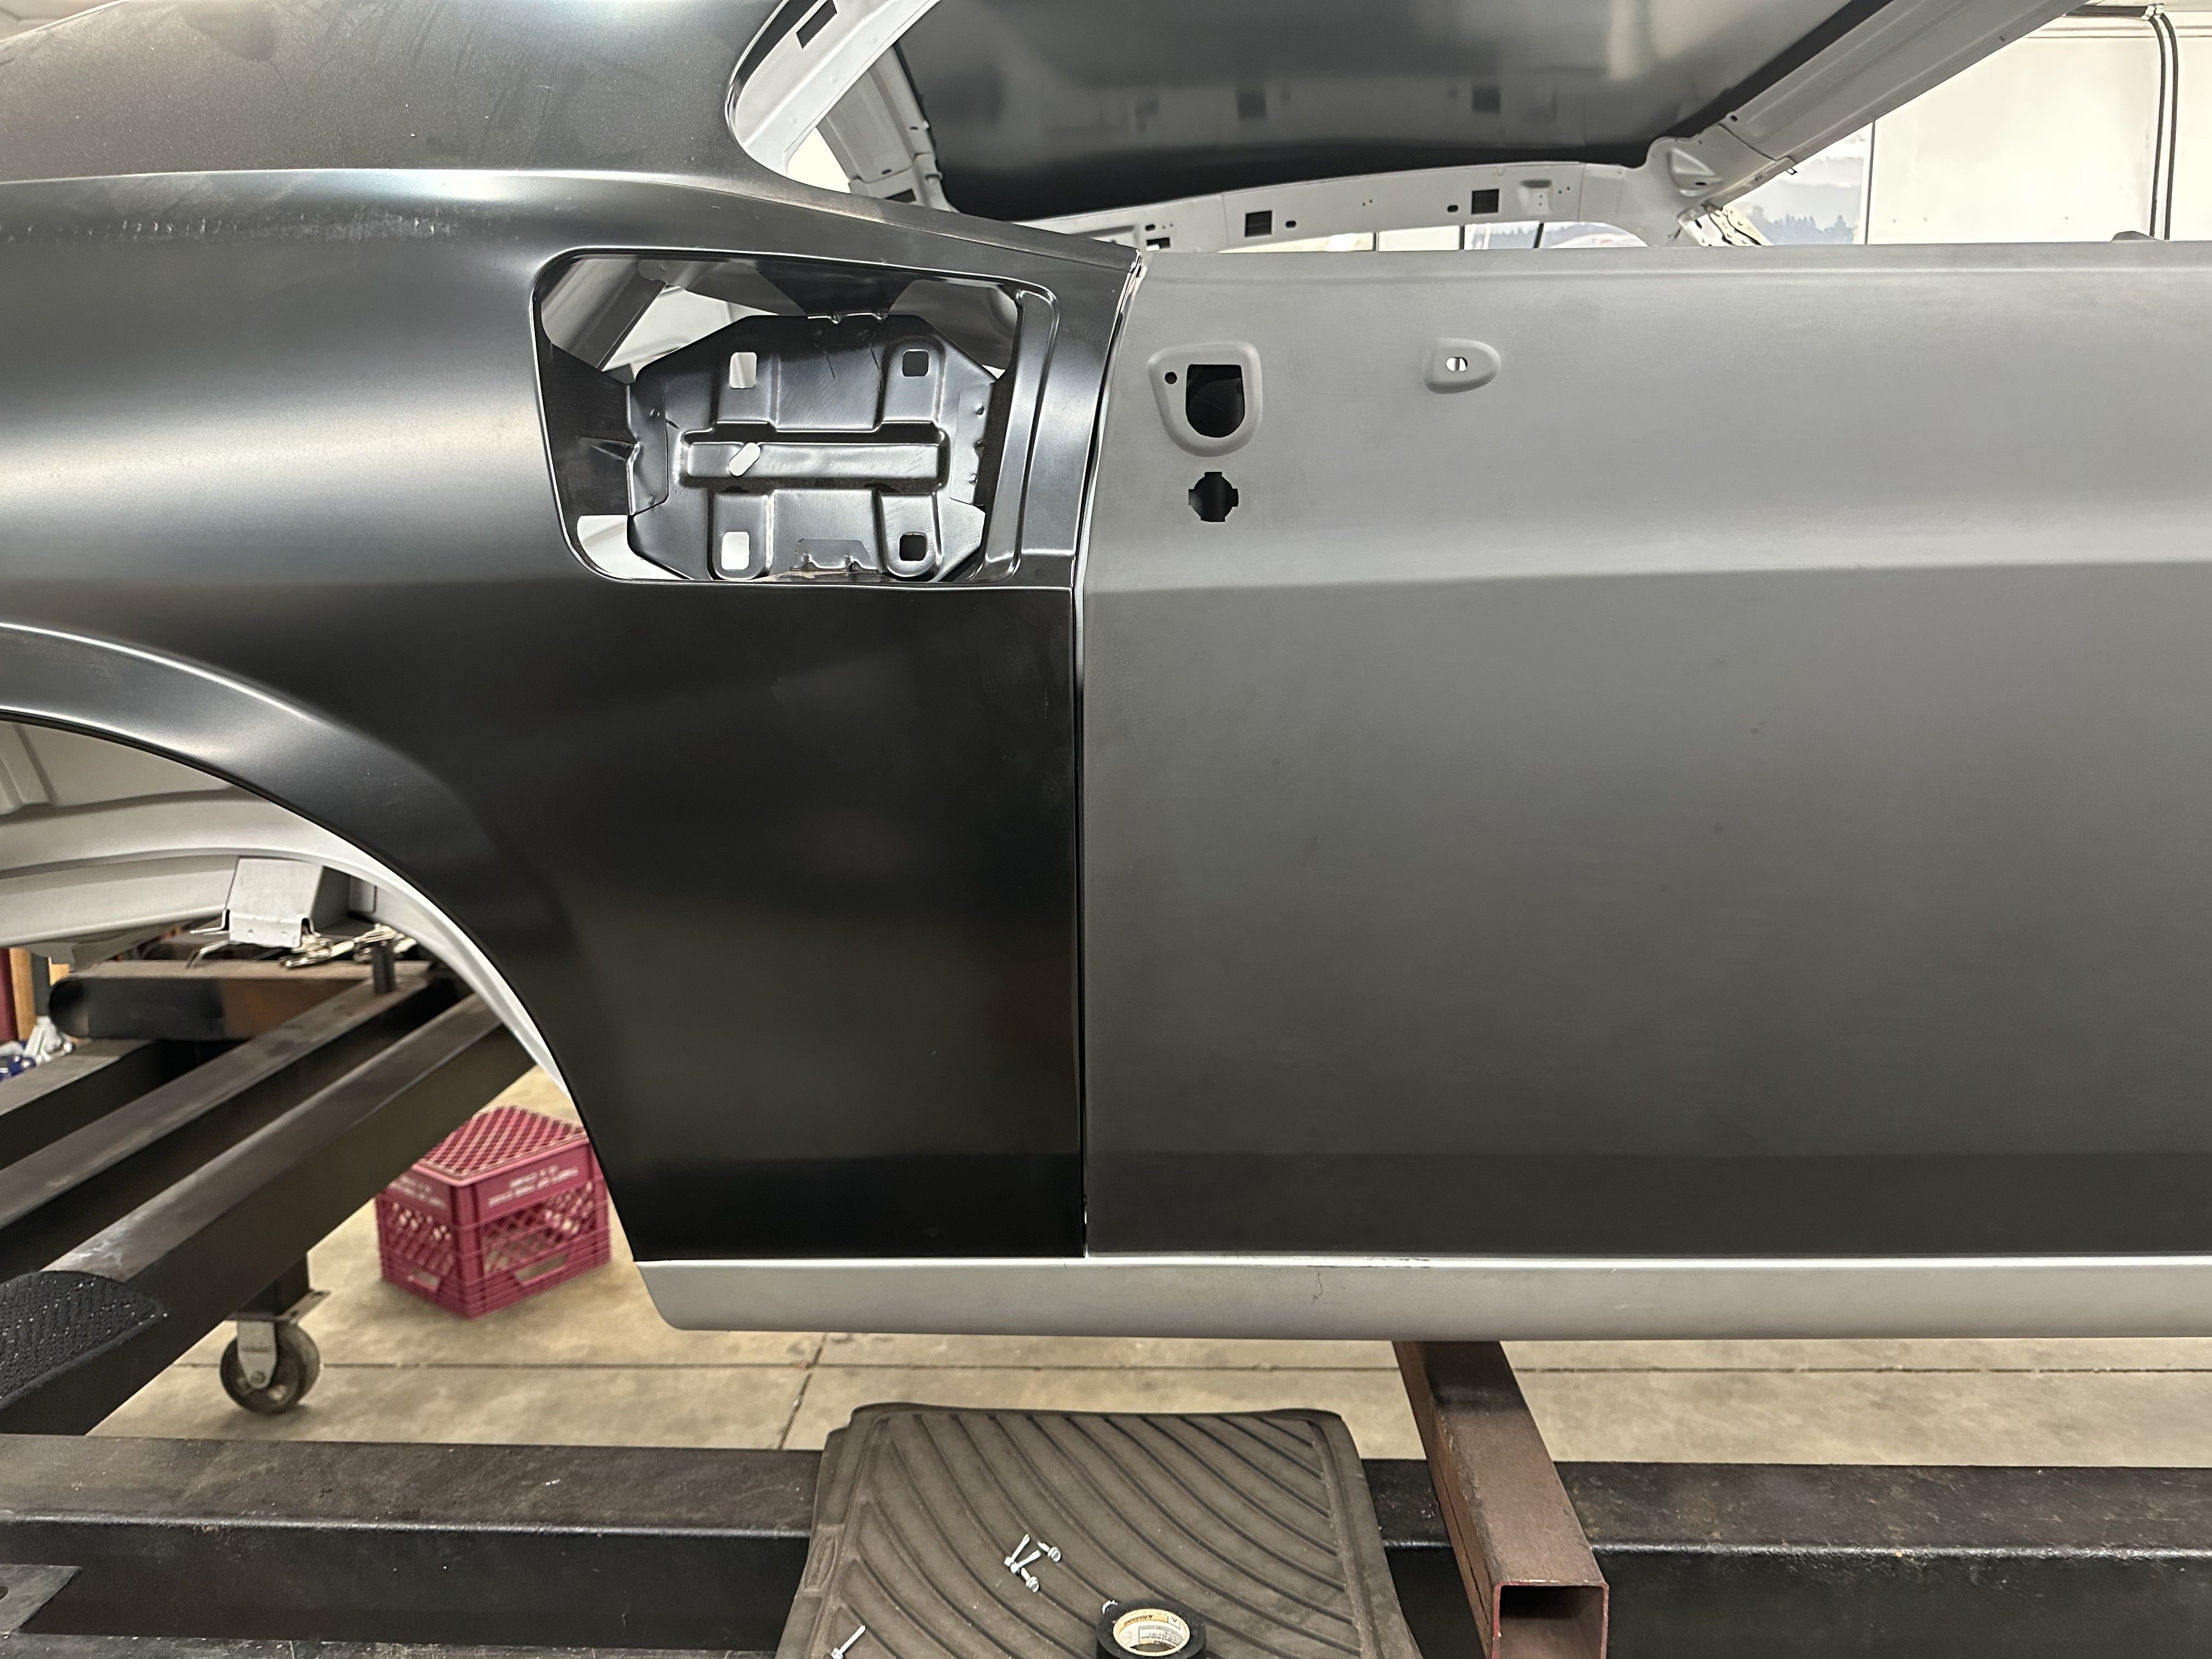
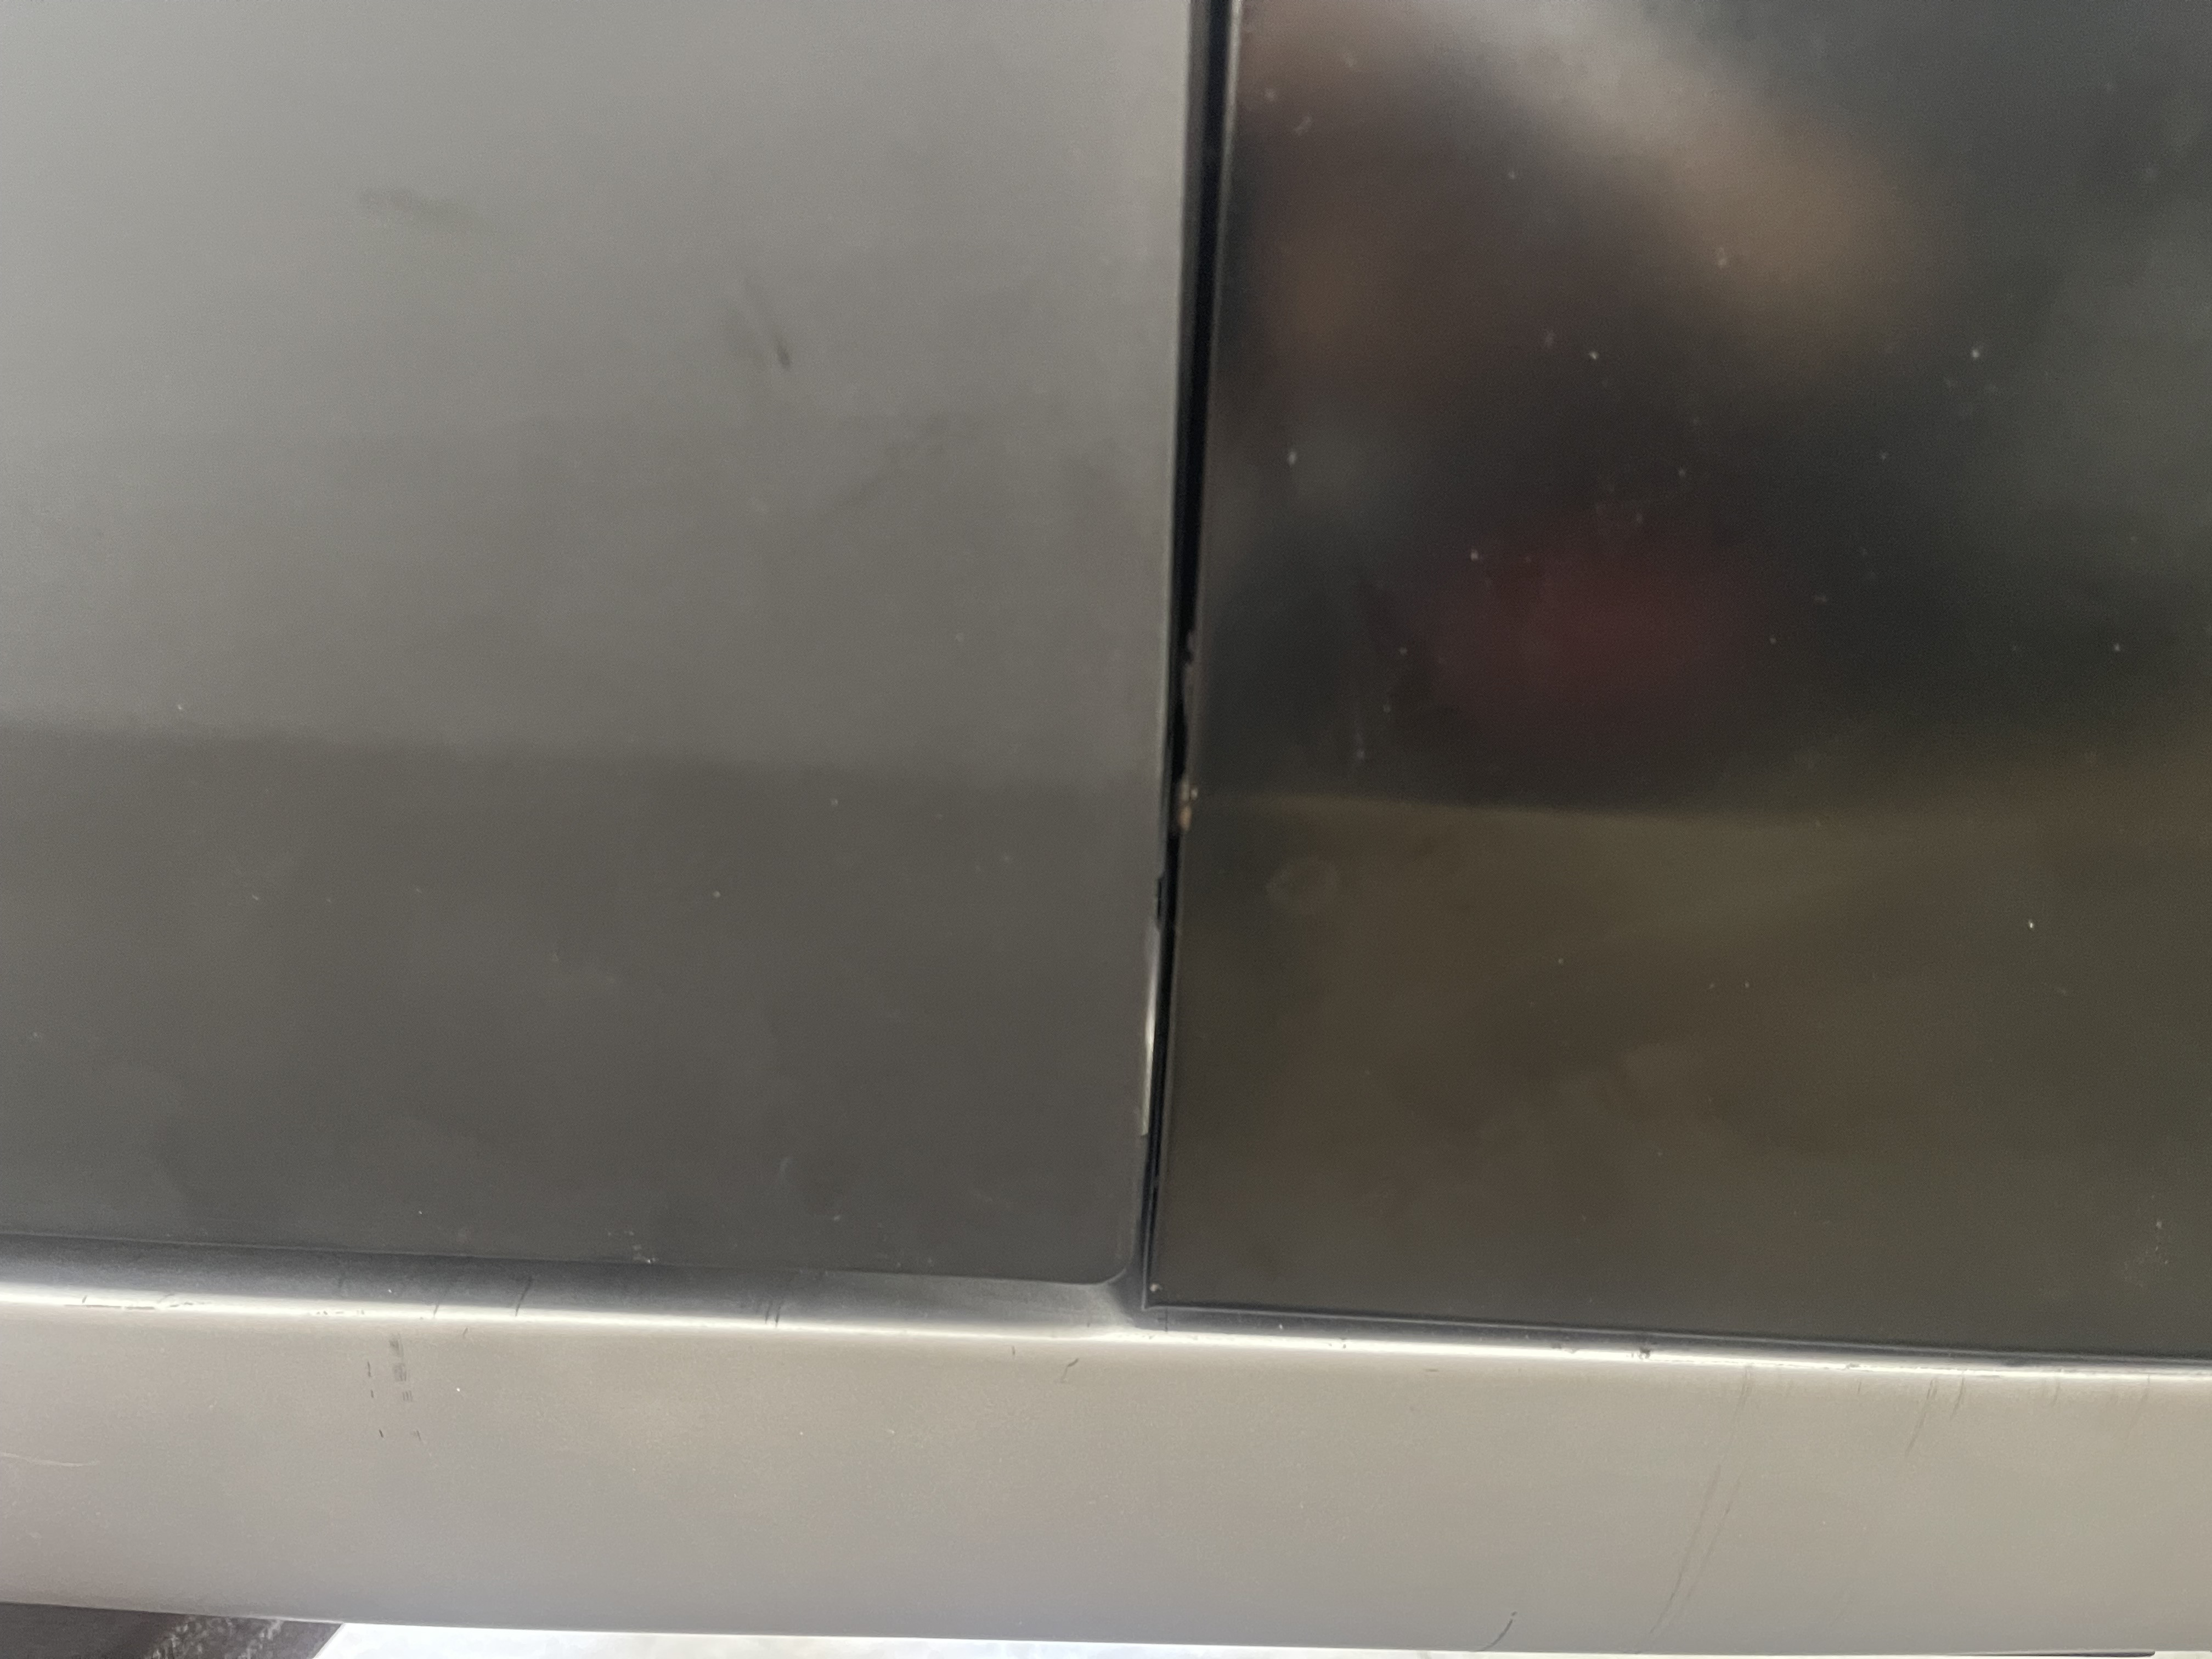
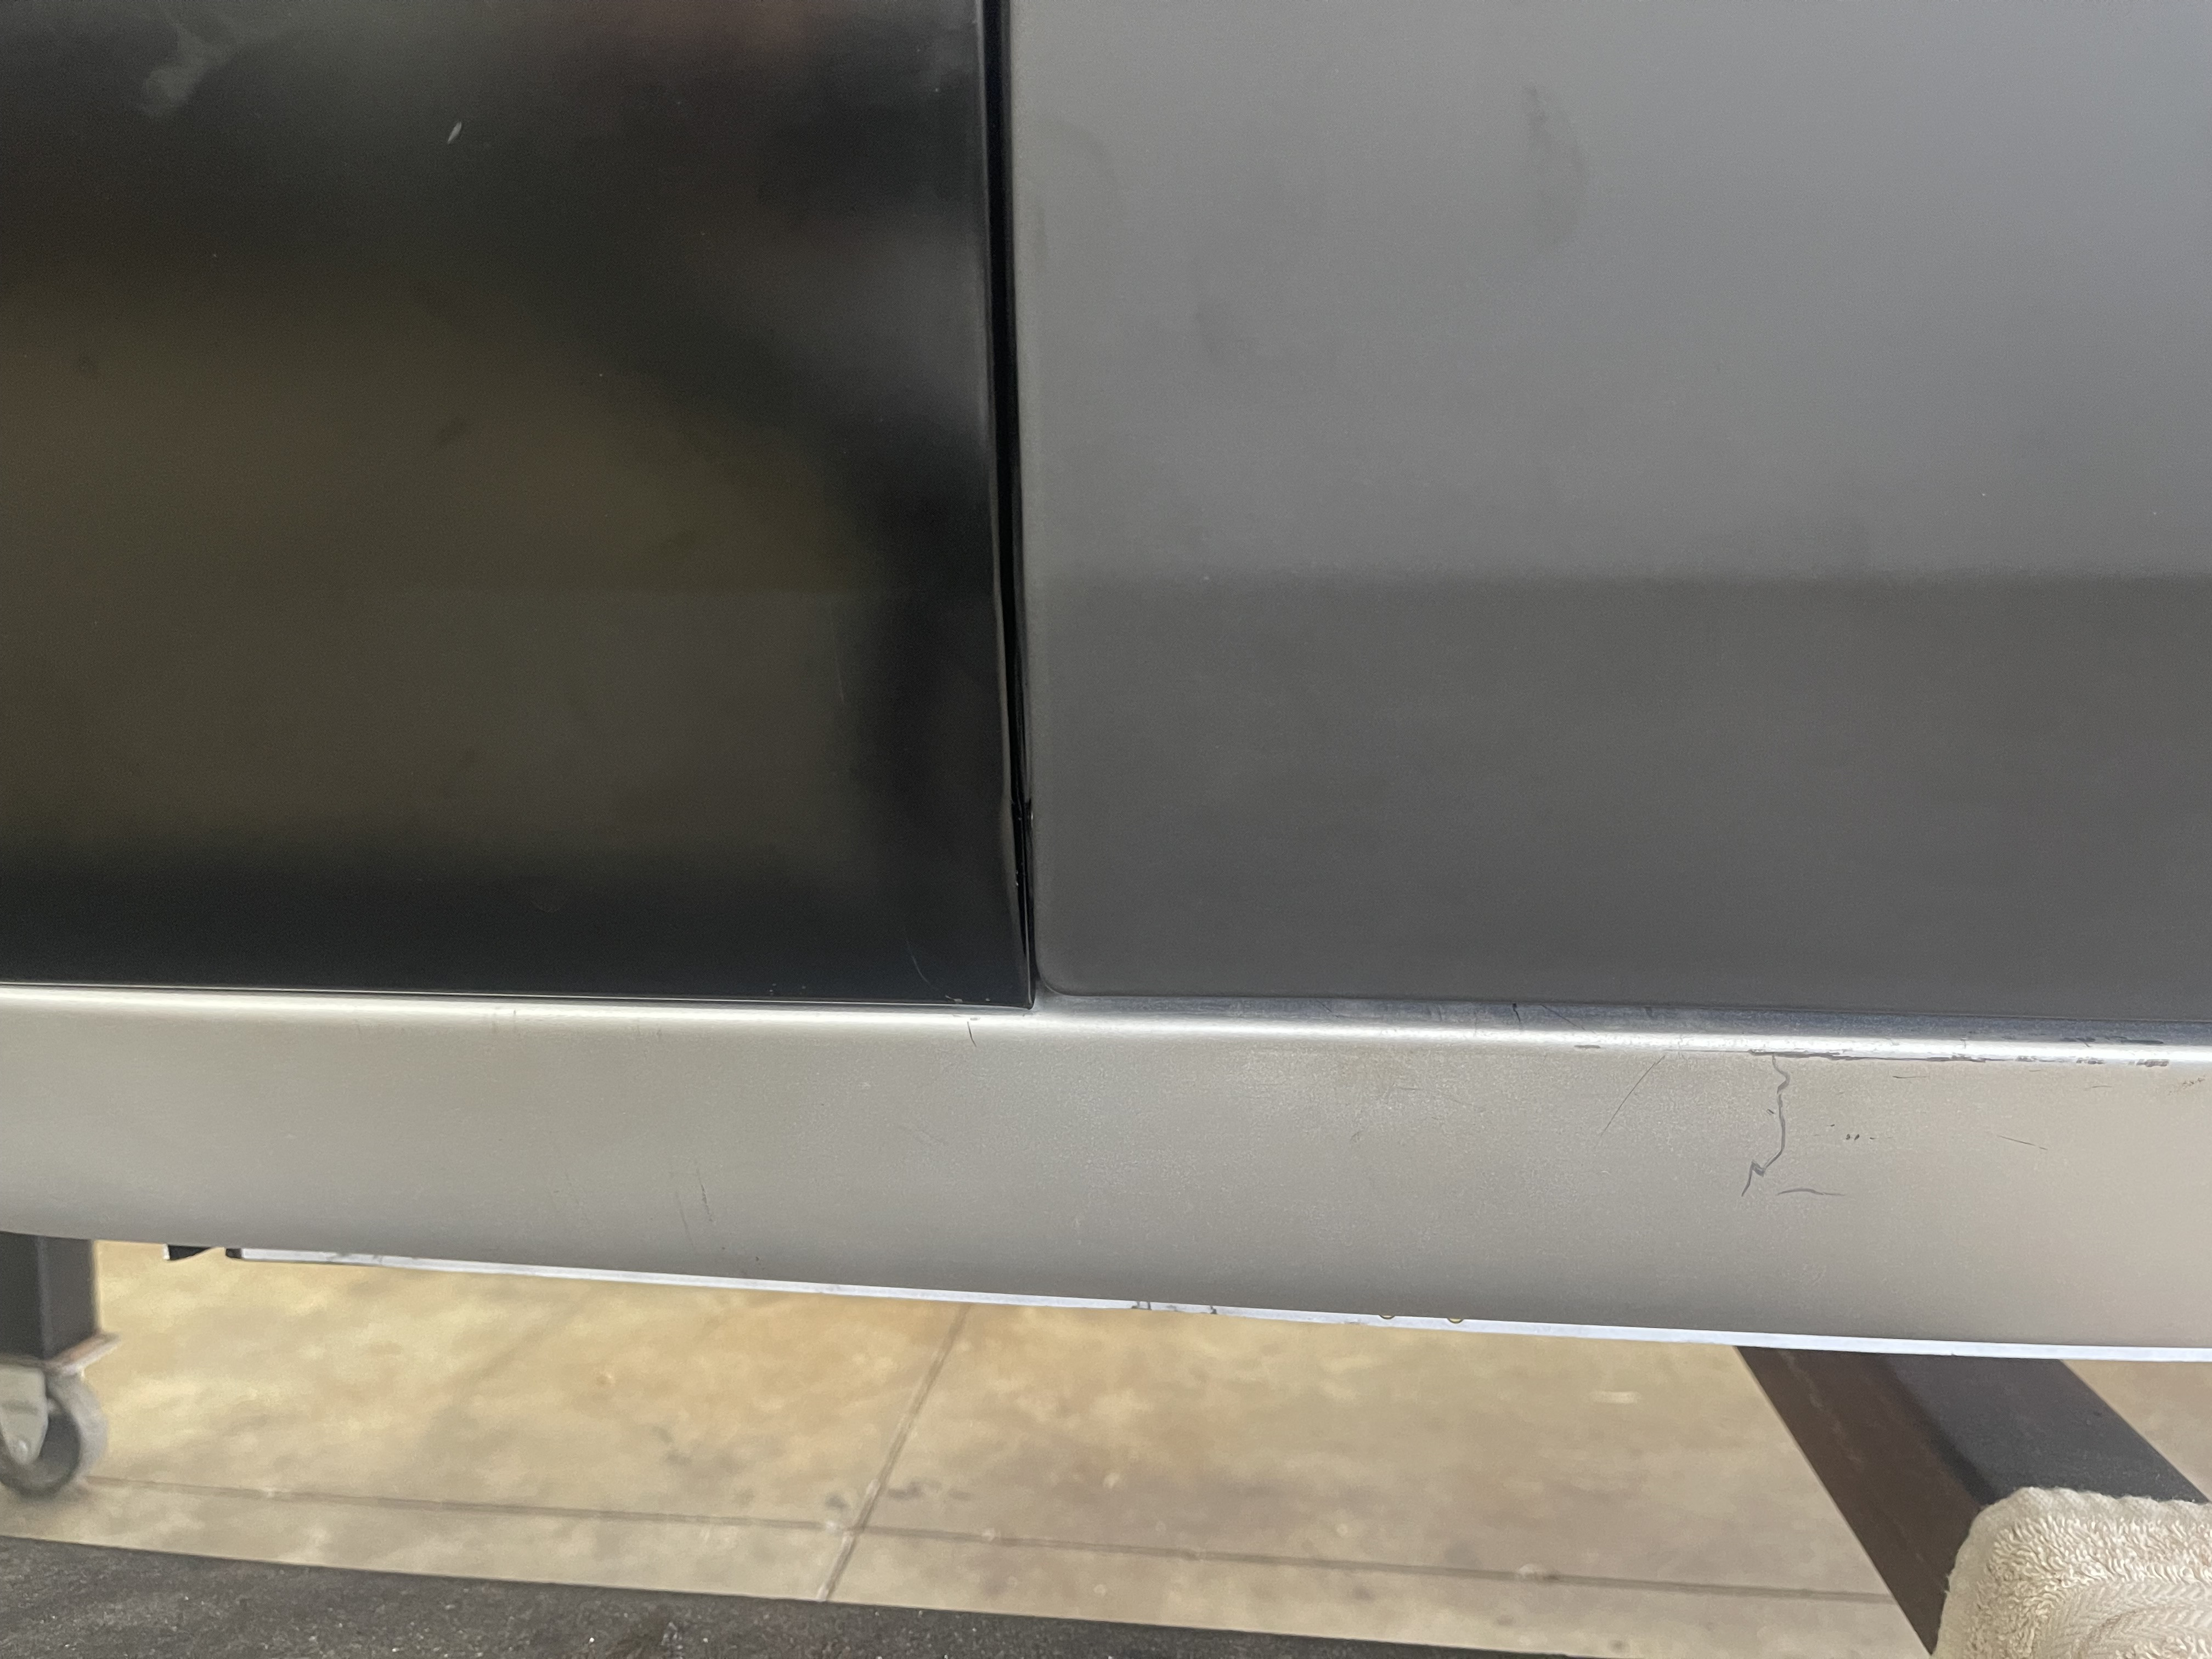
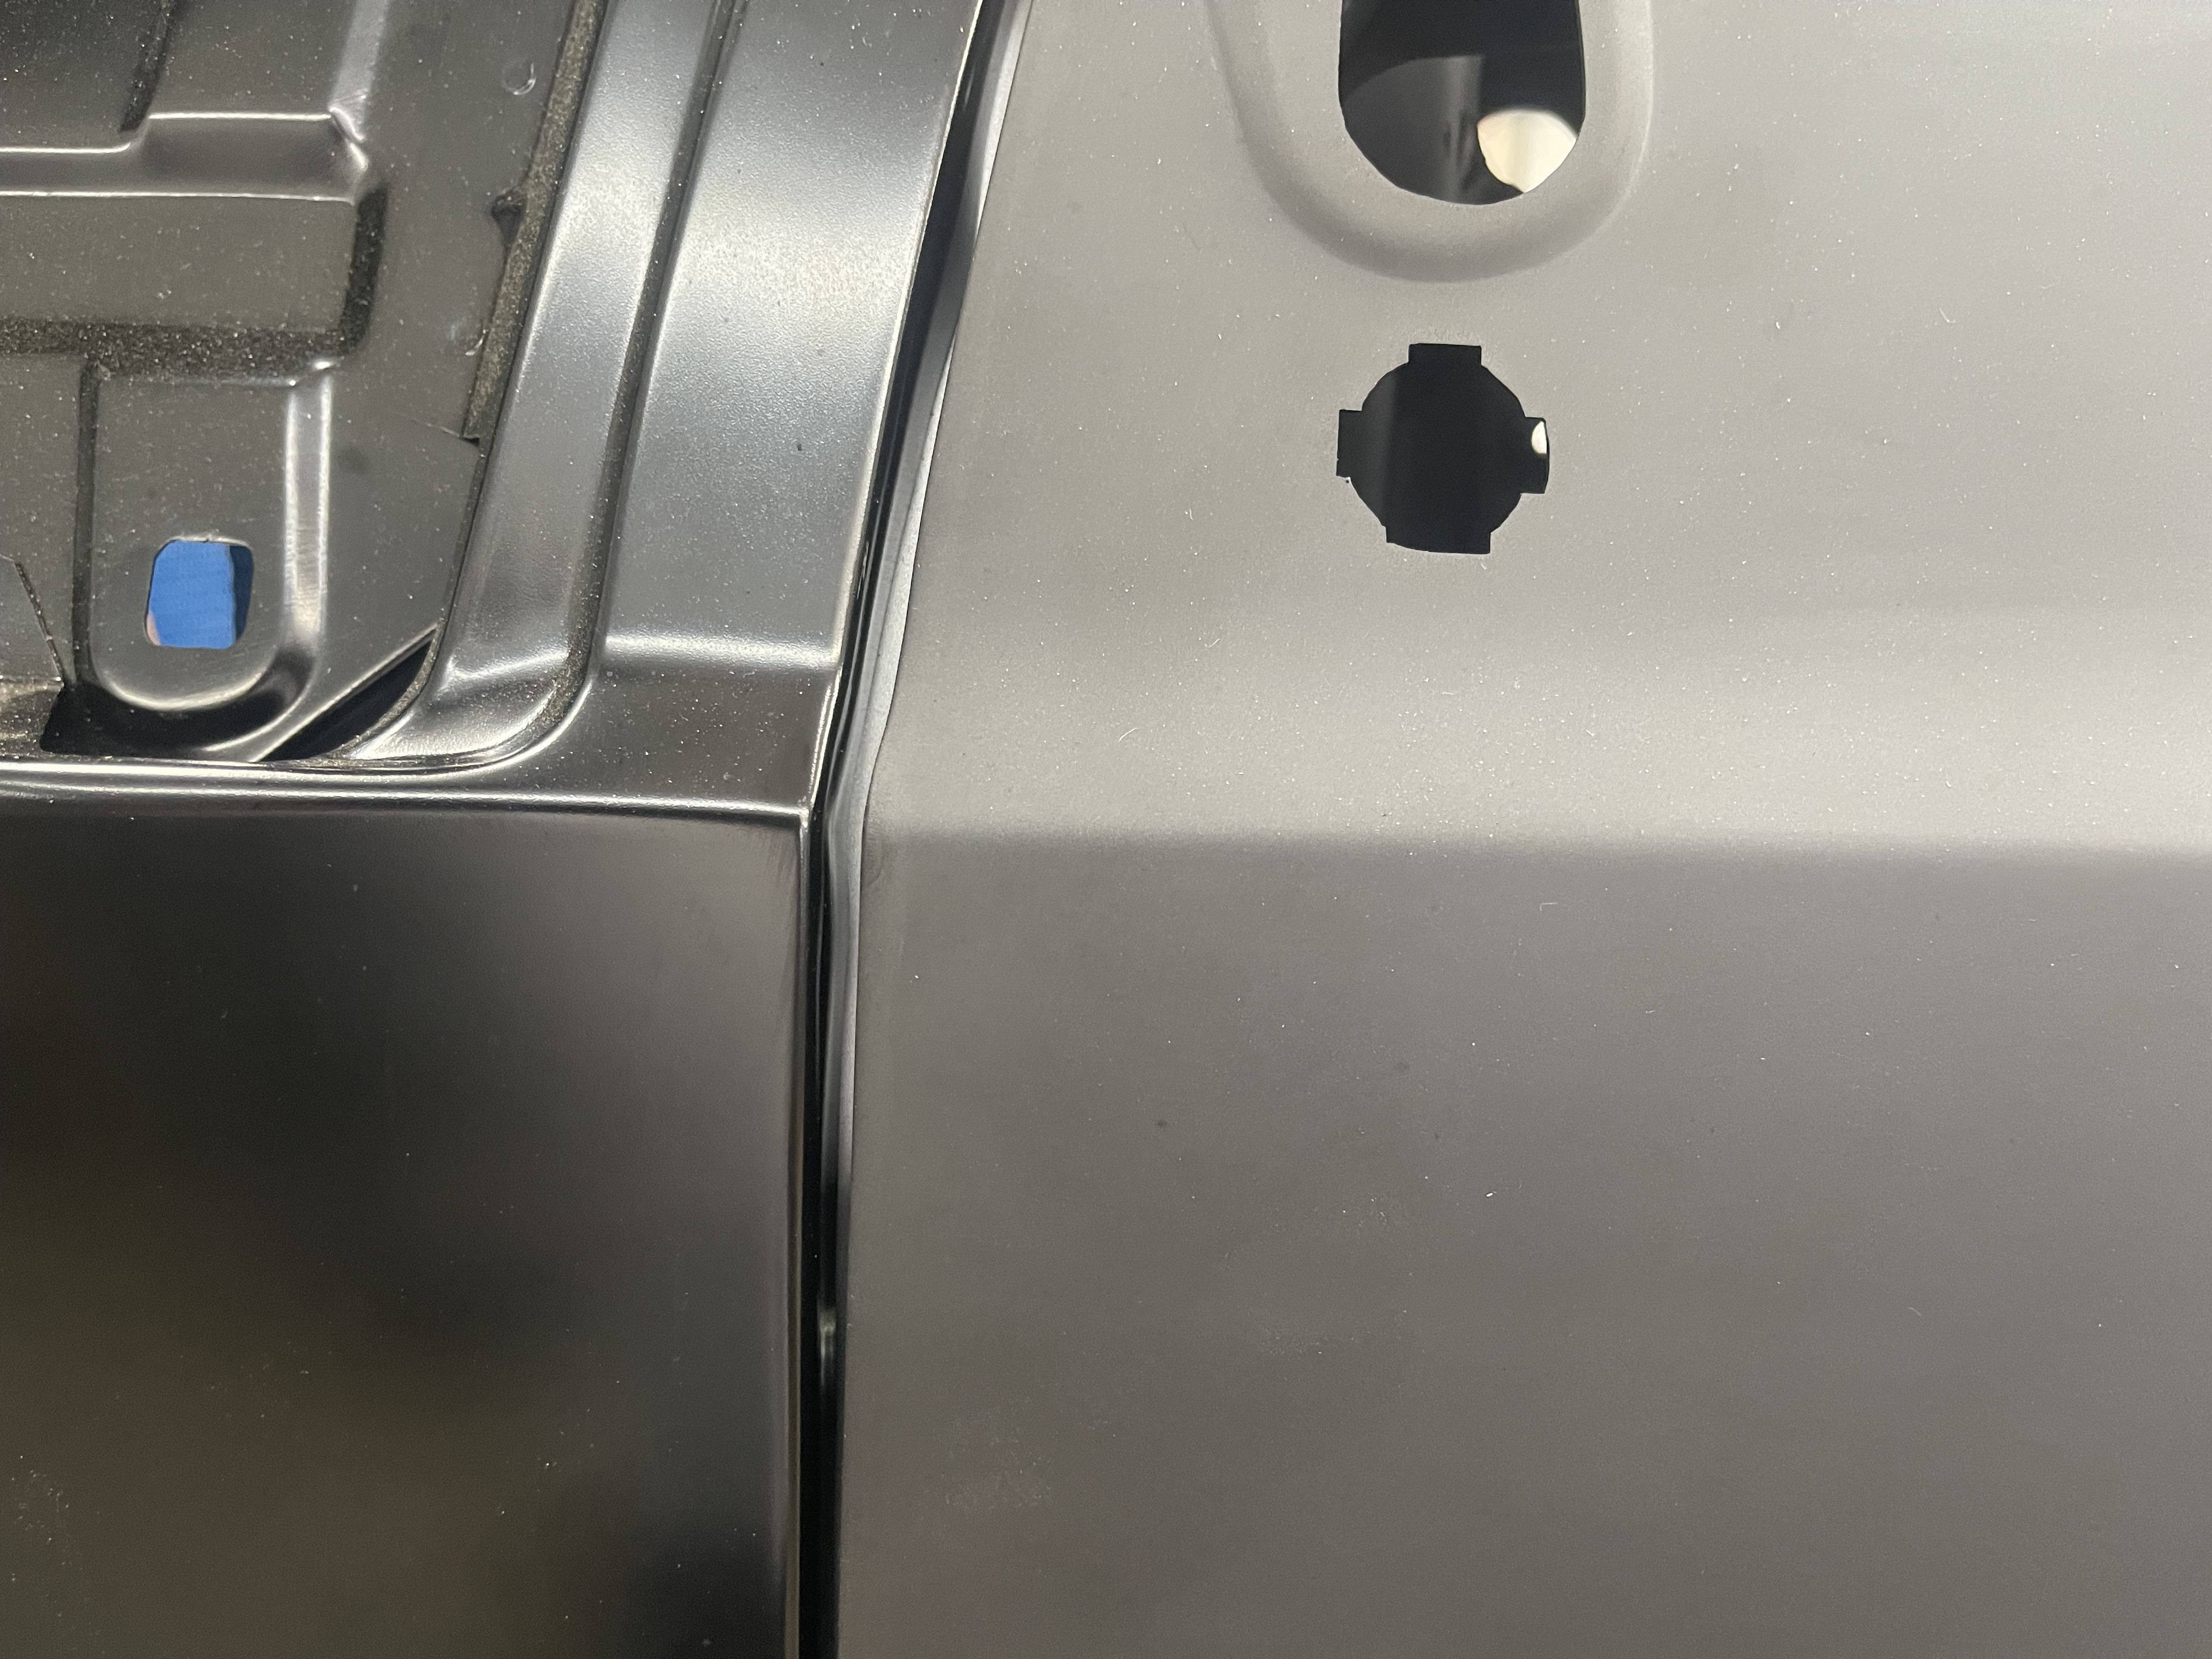
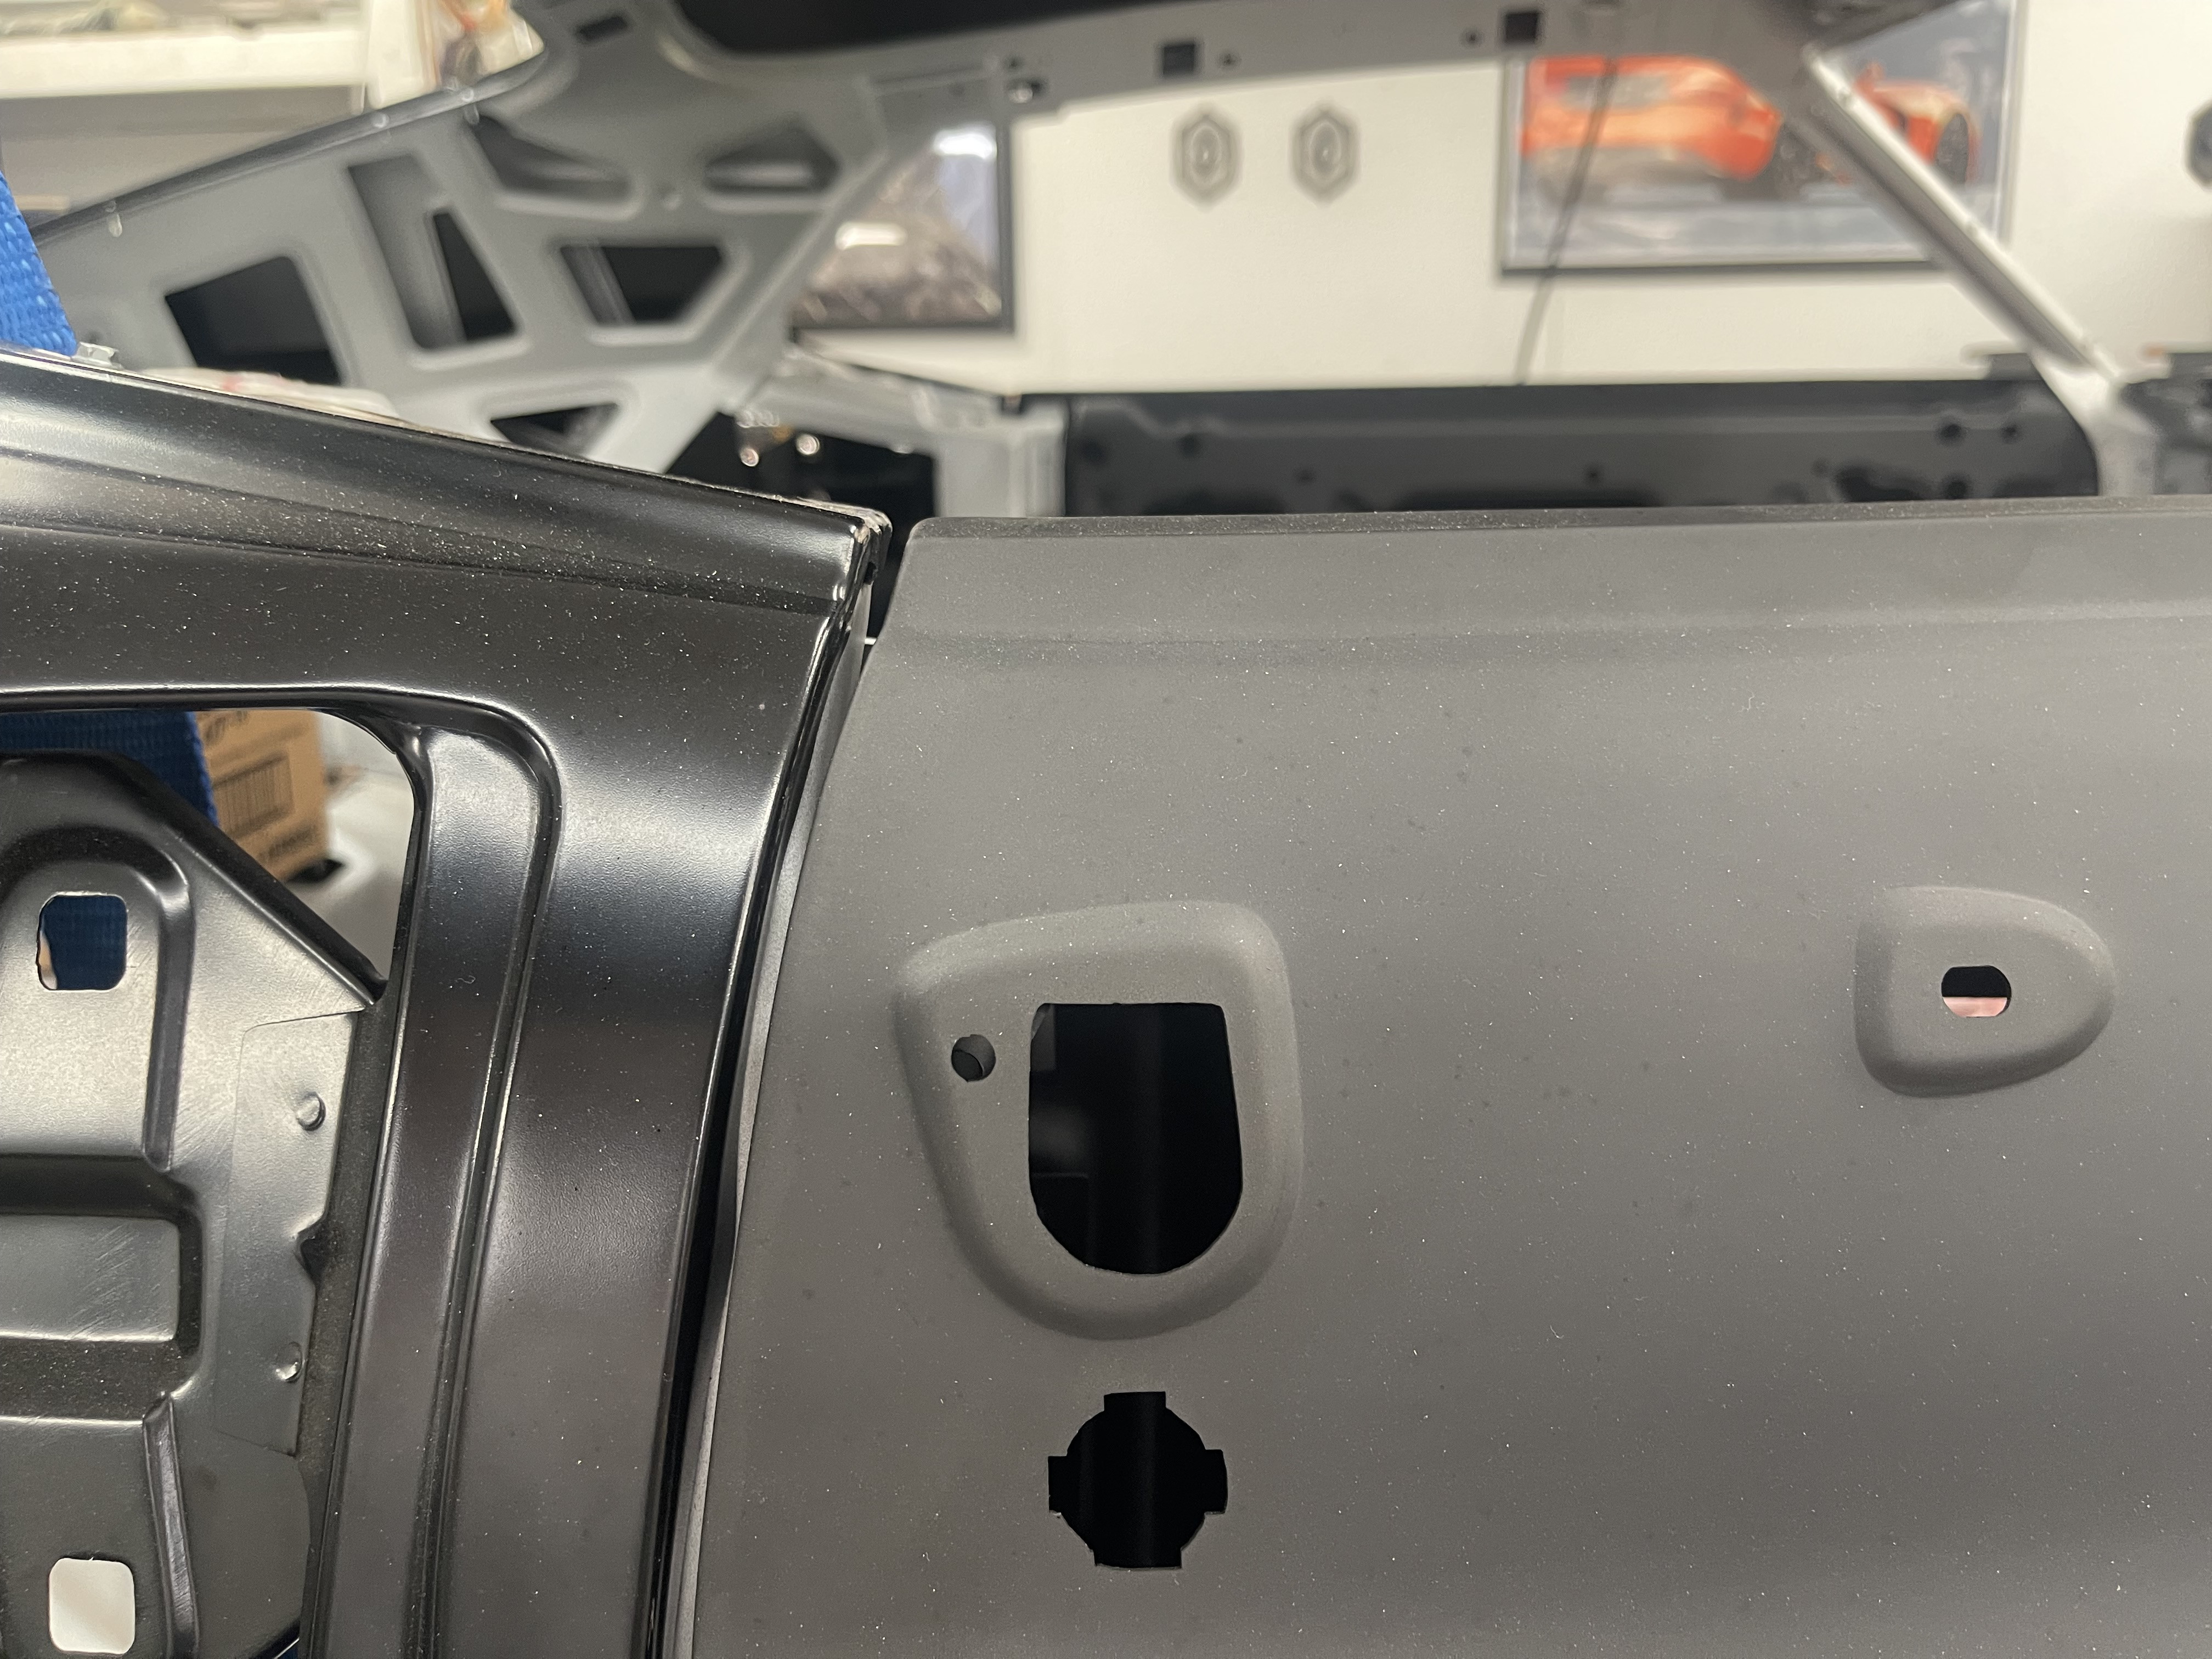
Finally got around to doing some work on the car. Fitted the new doors. They fit much much better. Not perfect but much better. The horizontal lines are great. They line up to the quarters just fine. The gaps though at the back of the doors aren't great. I can fix that with some steel rod later. The bottom of the drivers side side quarter panel doesn't fit perfect. It's kicked upwards. I think i'm going to have to slice the quarter panel, add some metal and bring that down so it meets the rocker flush. I'll also have to add some metal to the bottom of the door as the gap is too big. I think i'm getting close to the welding stage. I'm getting nervous!
Thoughts??
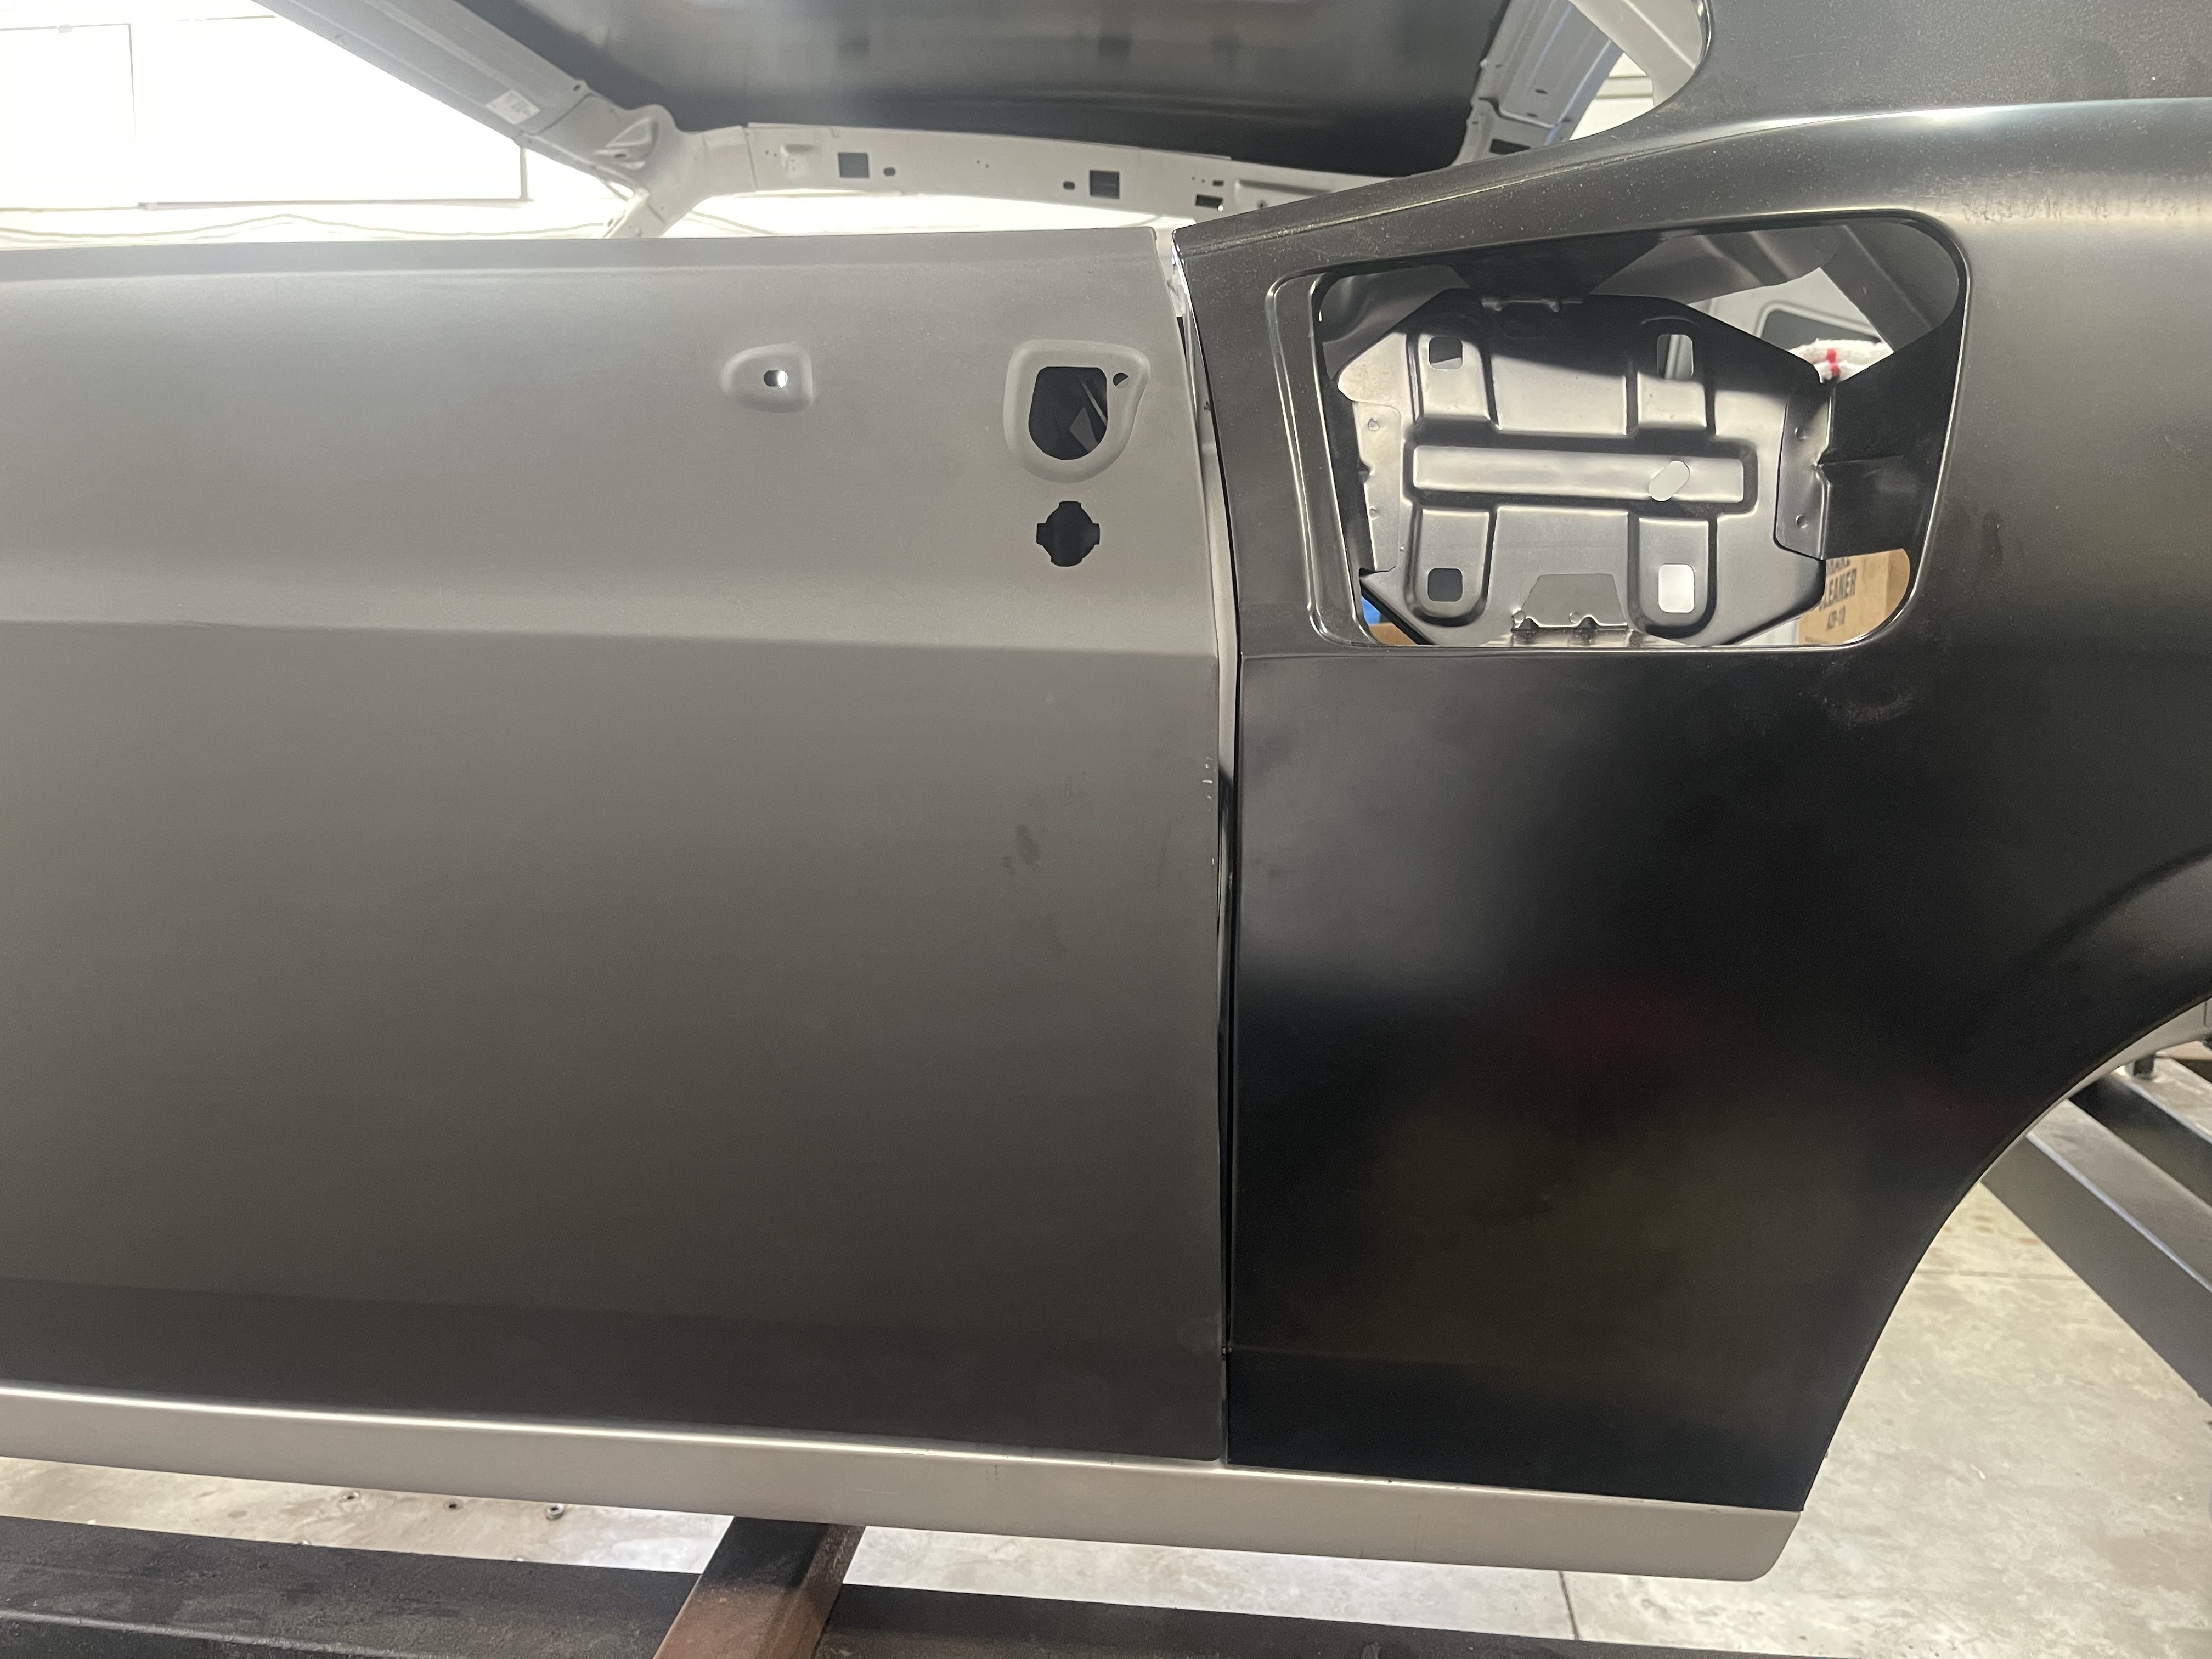
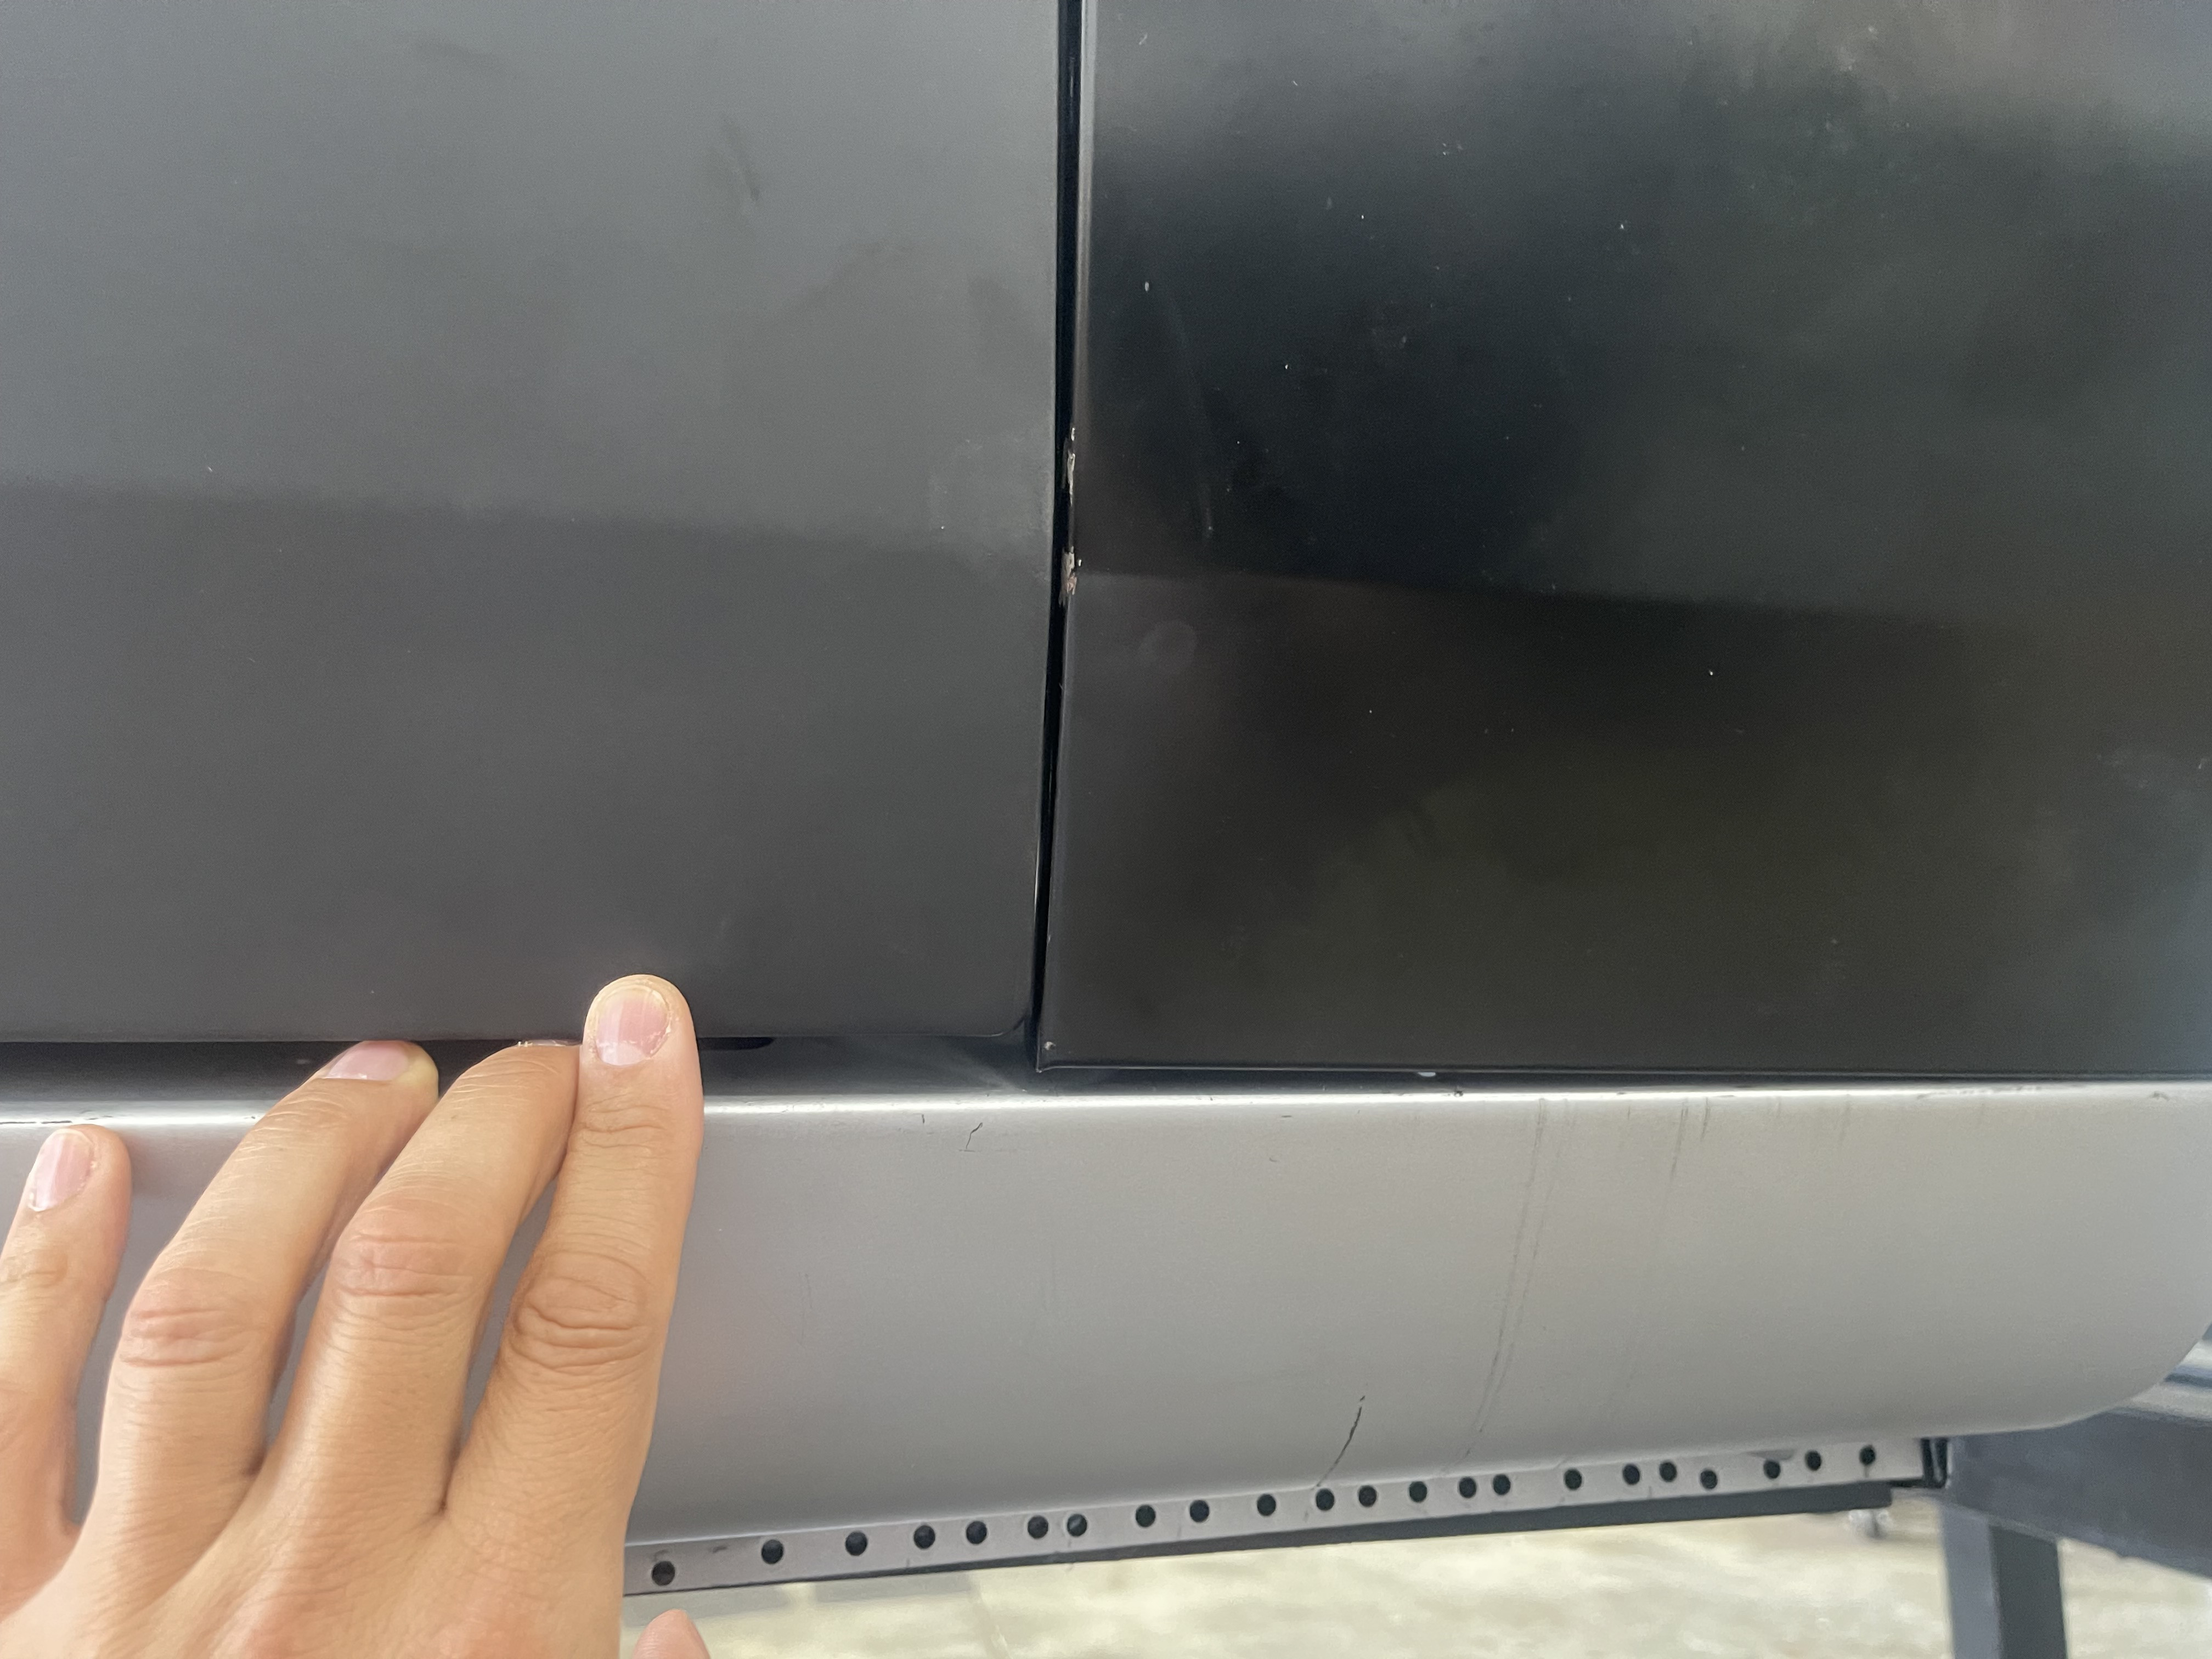


The passenger side fits better.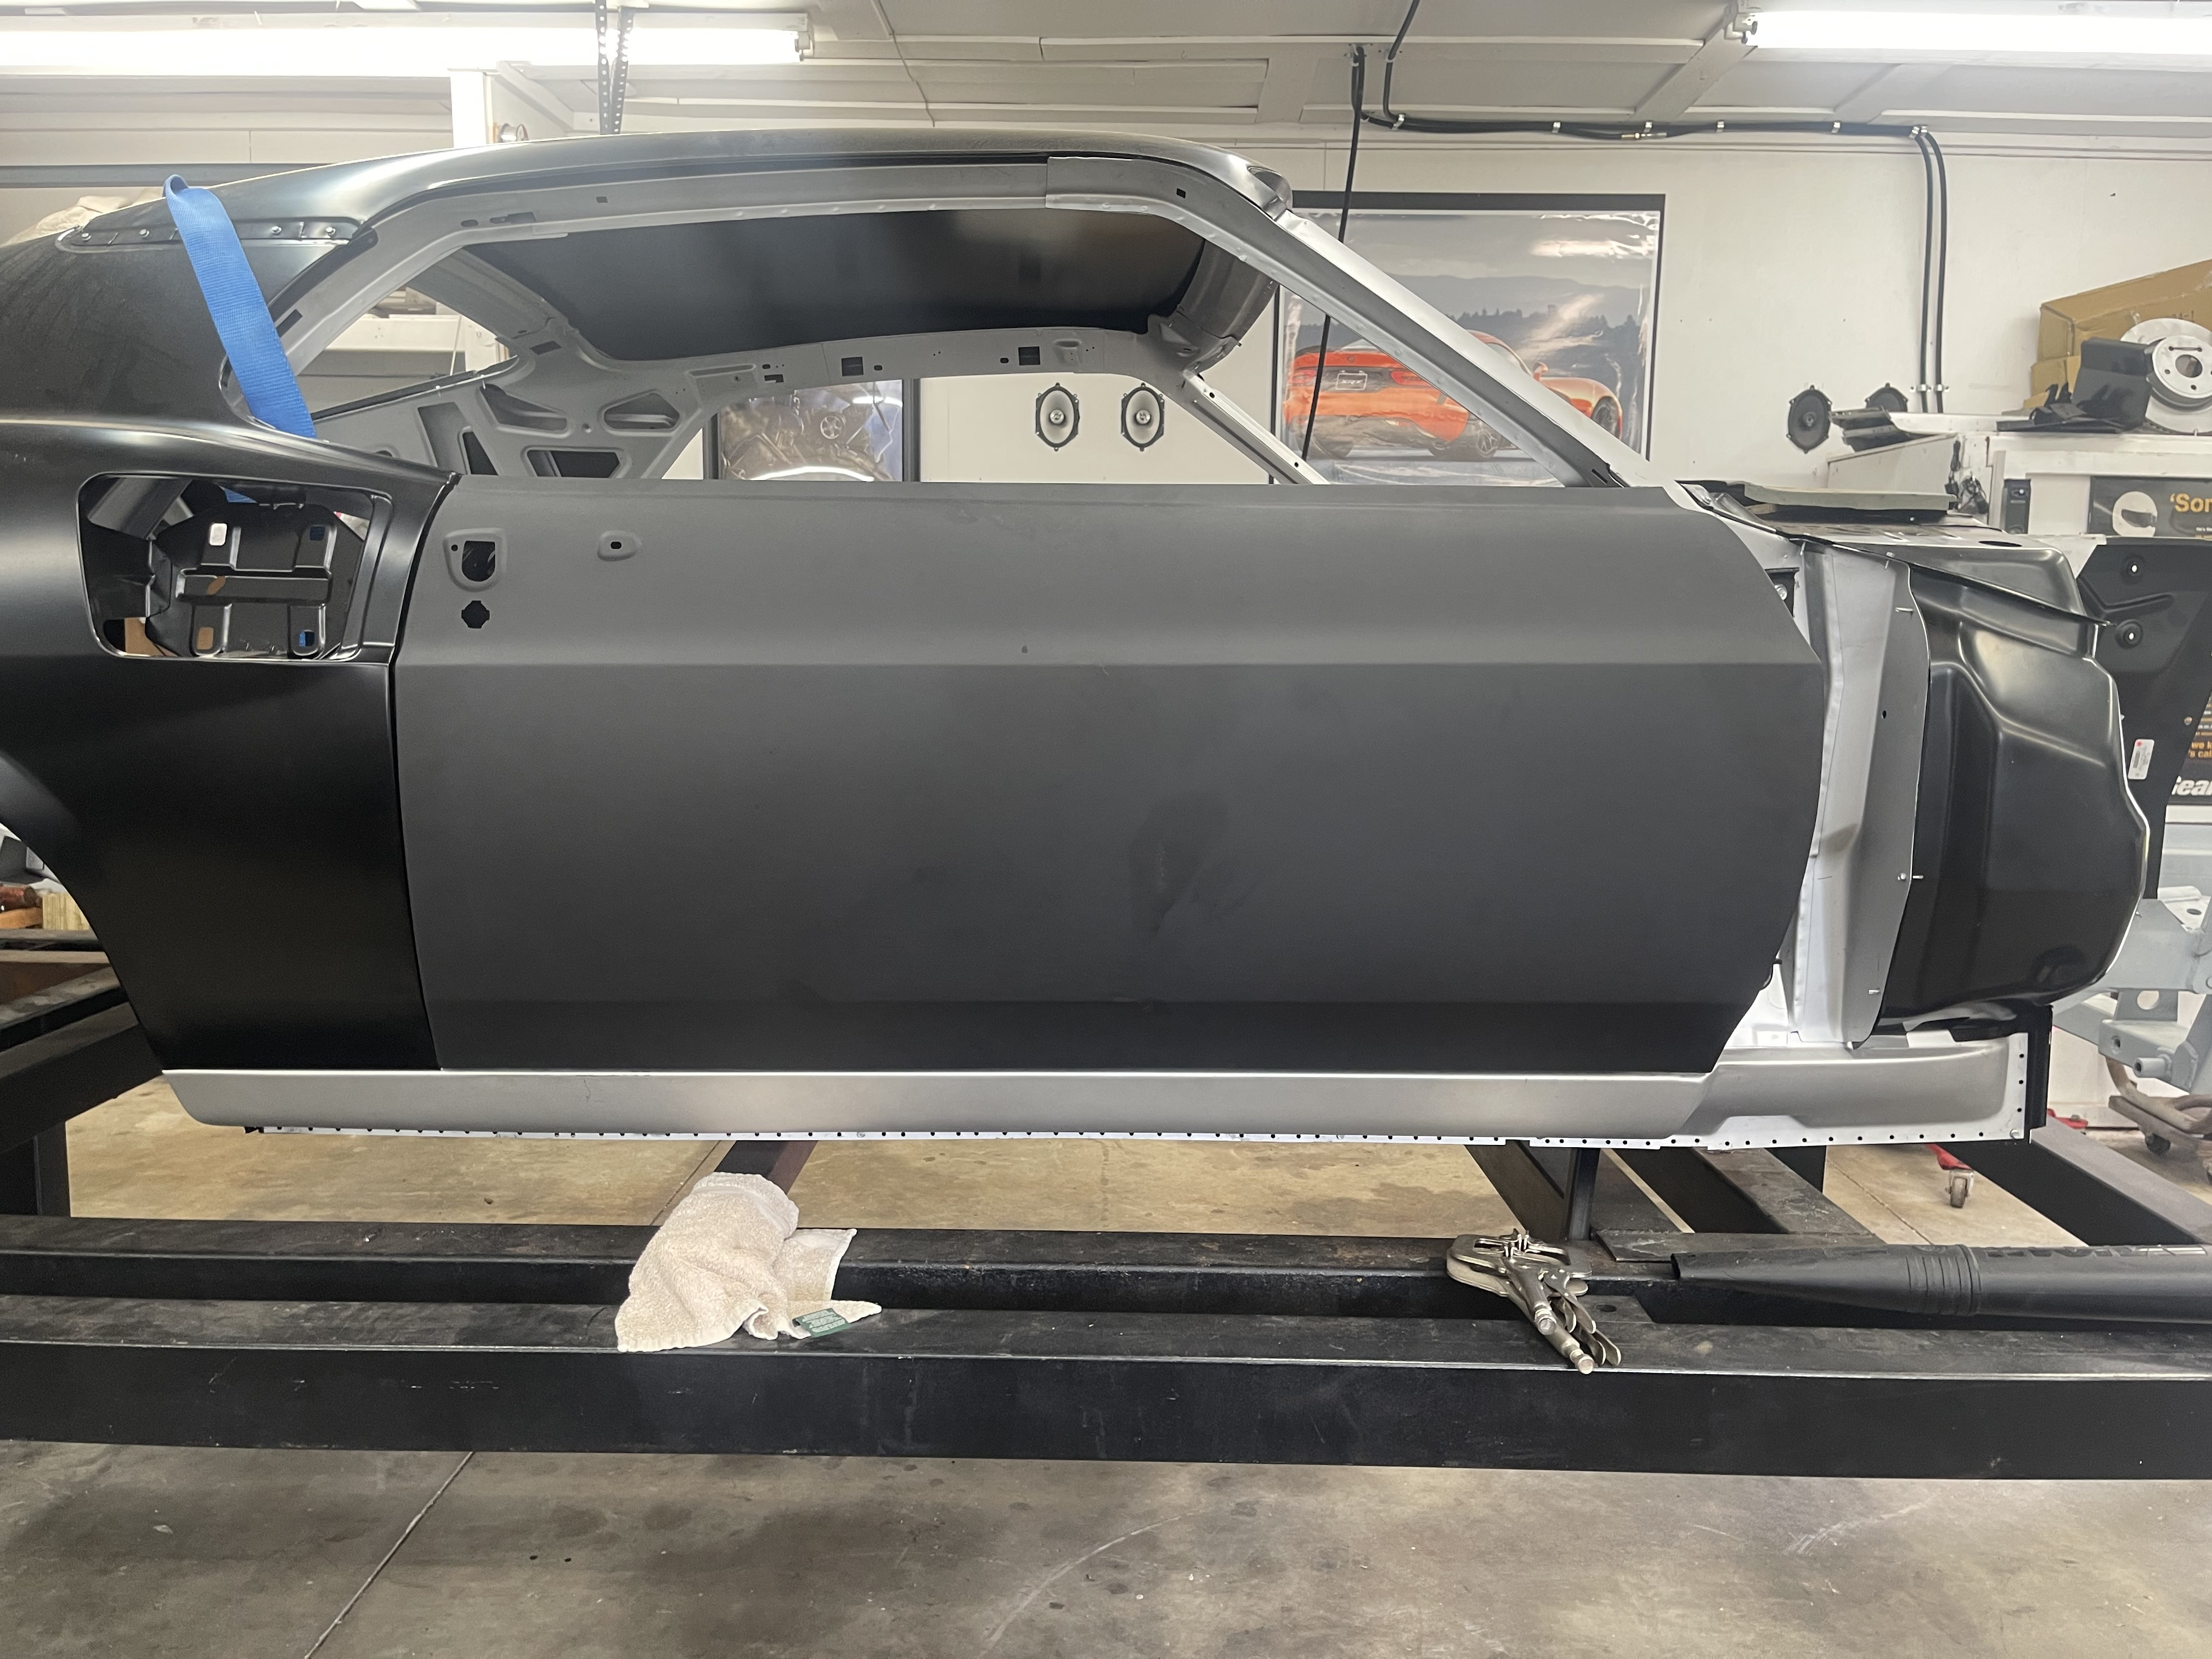
-
On 2/7/2023 at 7:53 PM, aslanefe said:Those rosette (plug) welds looks nice, almost no grinding necessary. A lot of times mine builds up and I need to do a lot of grinding, need to figure out what I am doing wrong to make them like yours all the time.
I always start on the edge and go around and end in the middle of the plug weld. Try experimenting with different wire feed speeds so that you can move the tip around enough and not waste so much weld on grinding.
-
Nice work Jim! Glad I could help
-
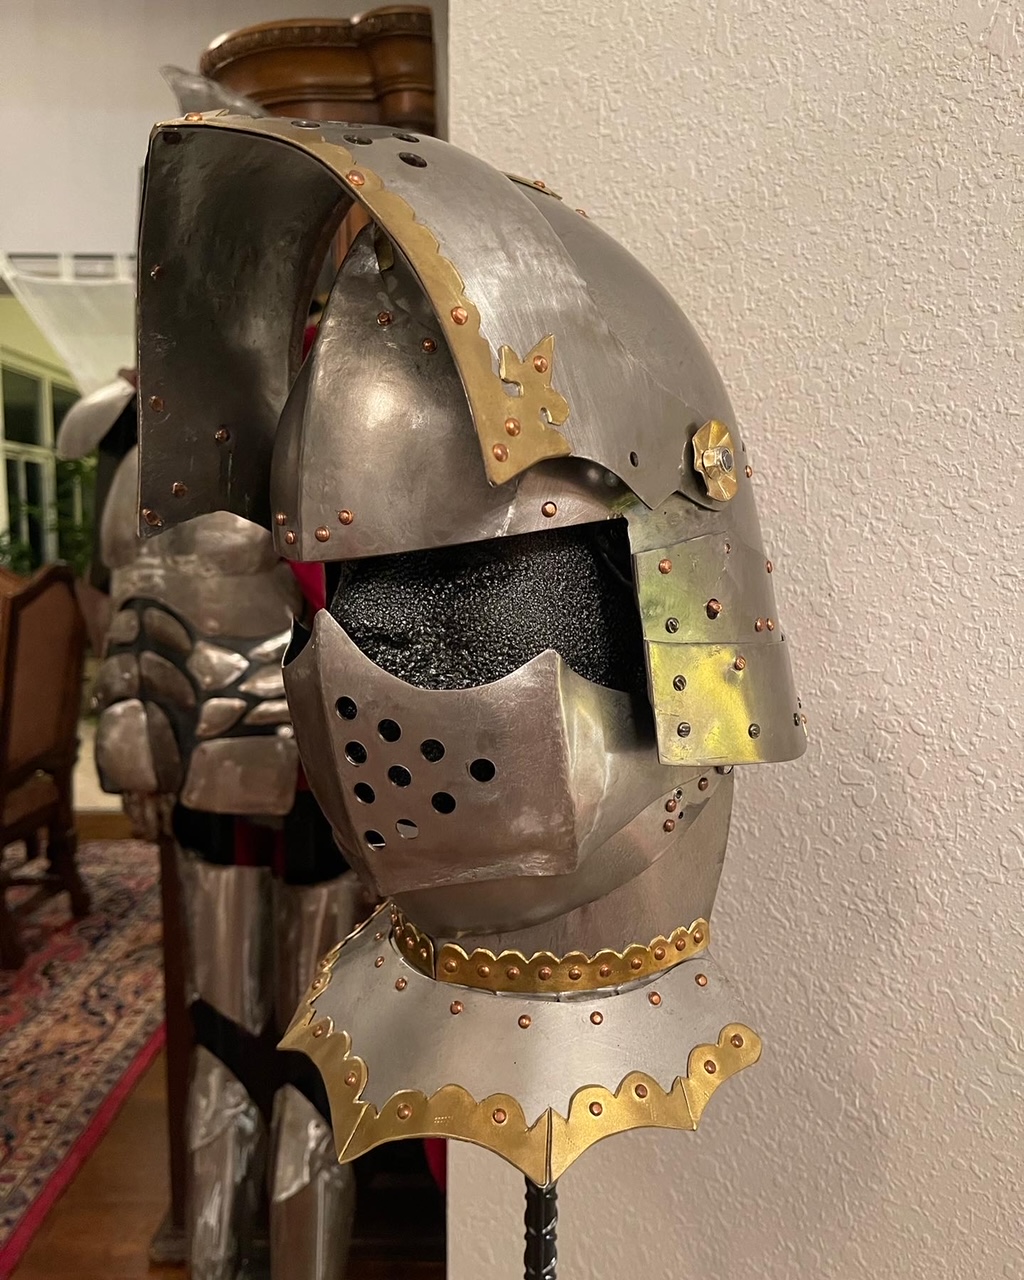
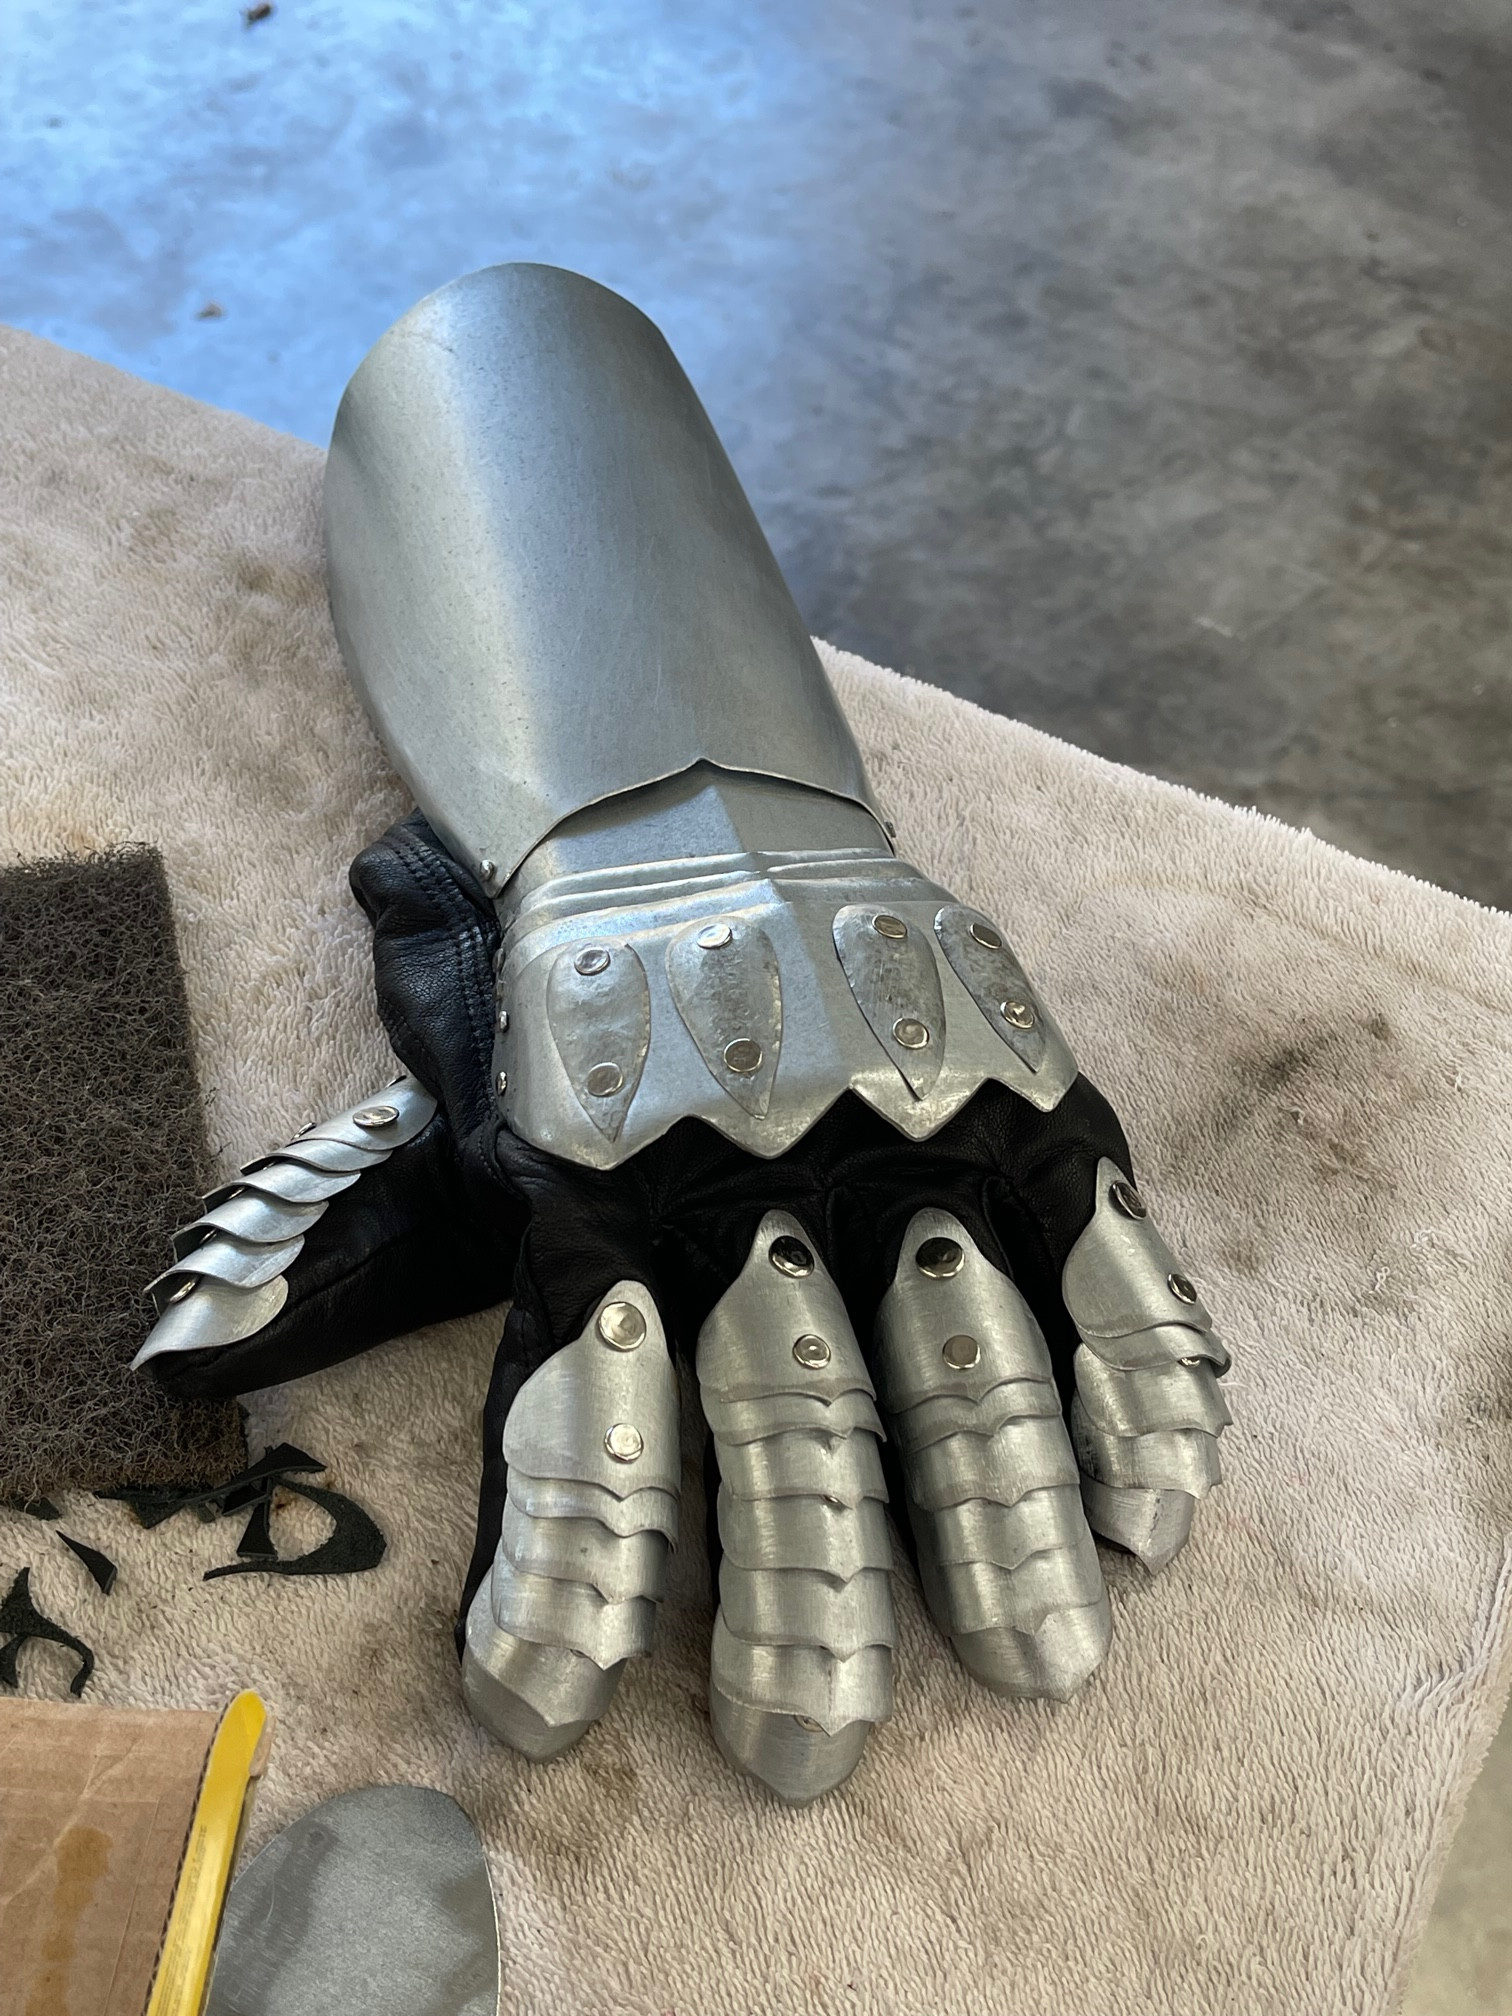
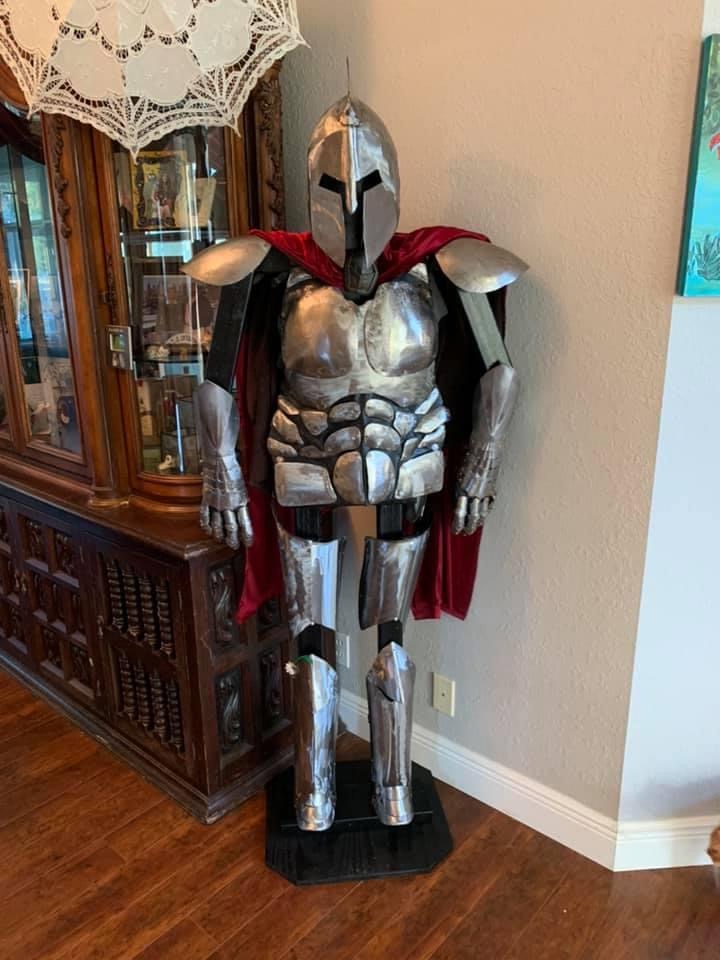
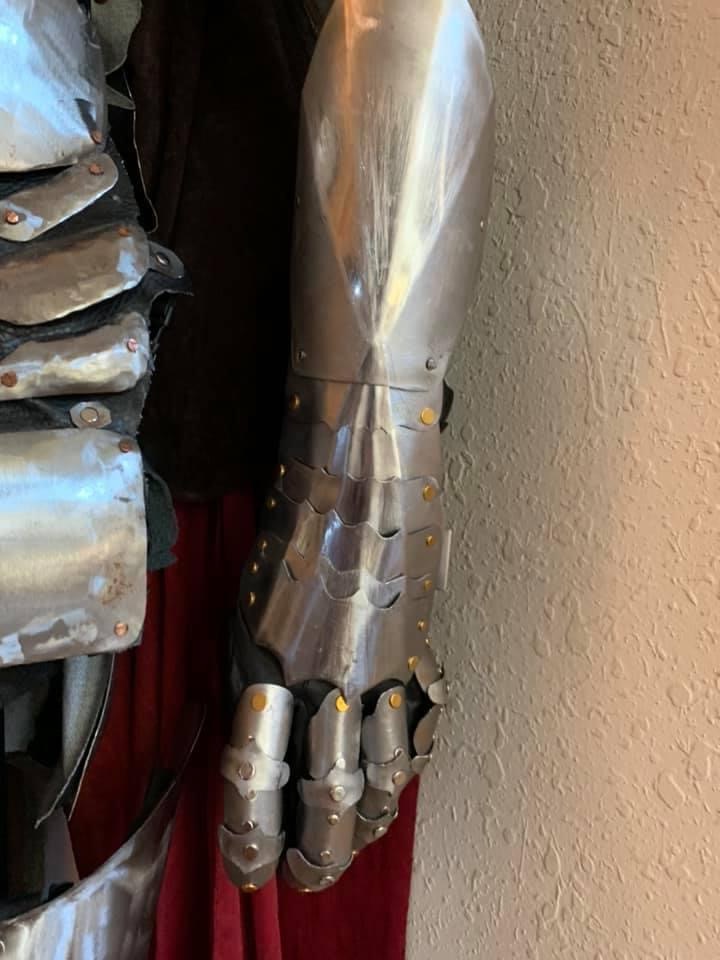
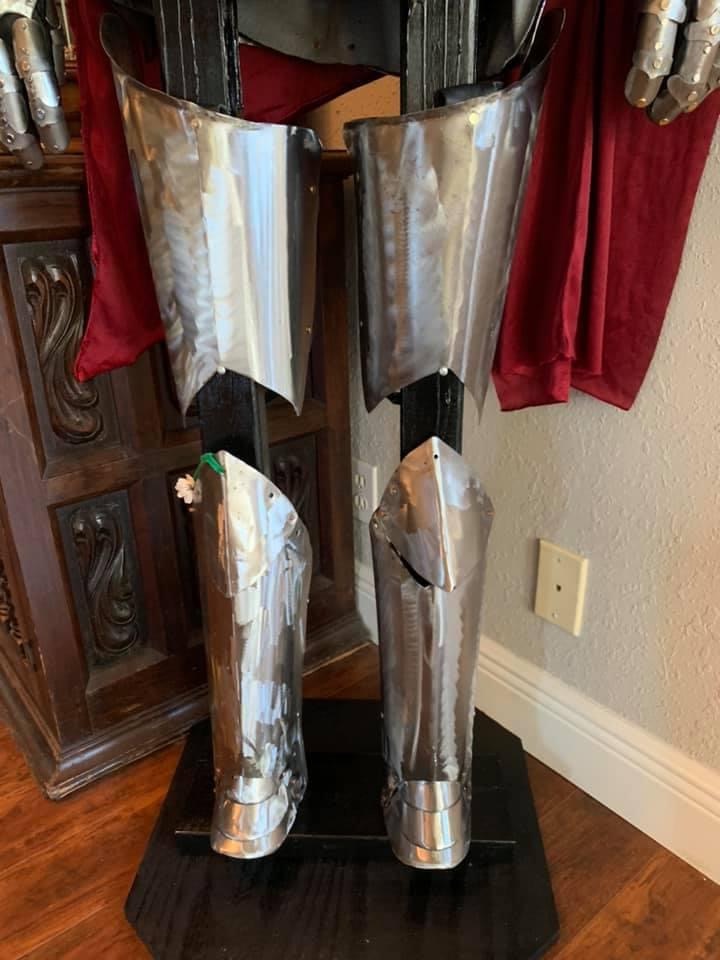
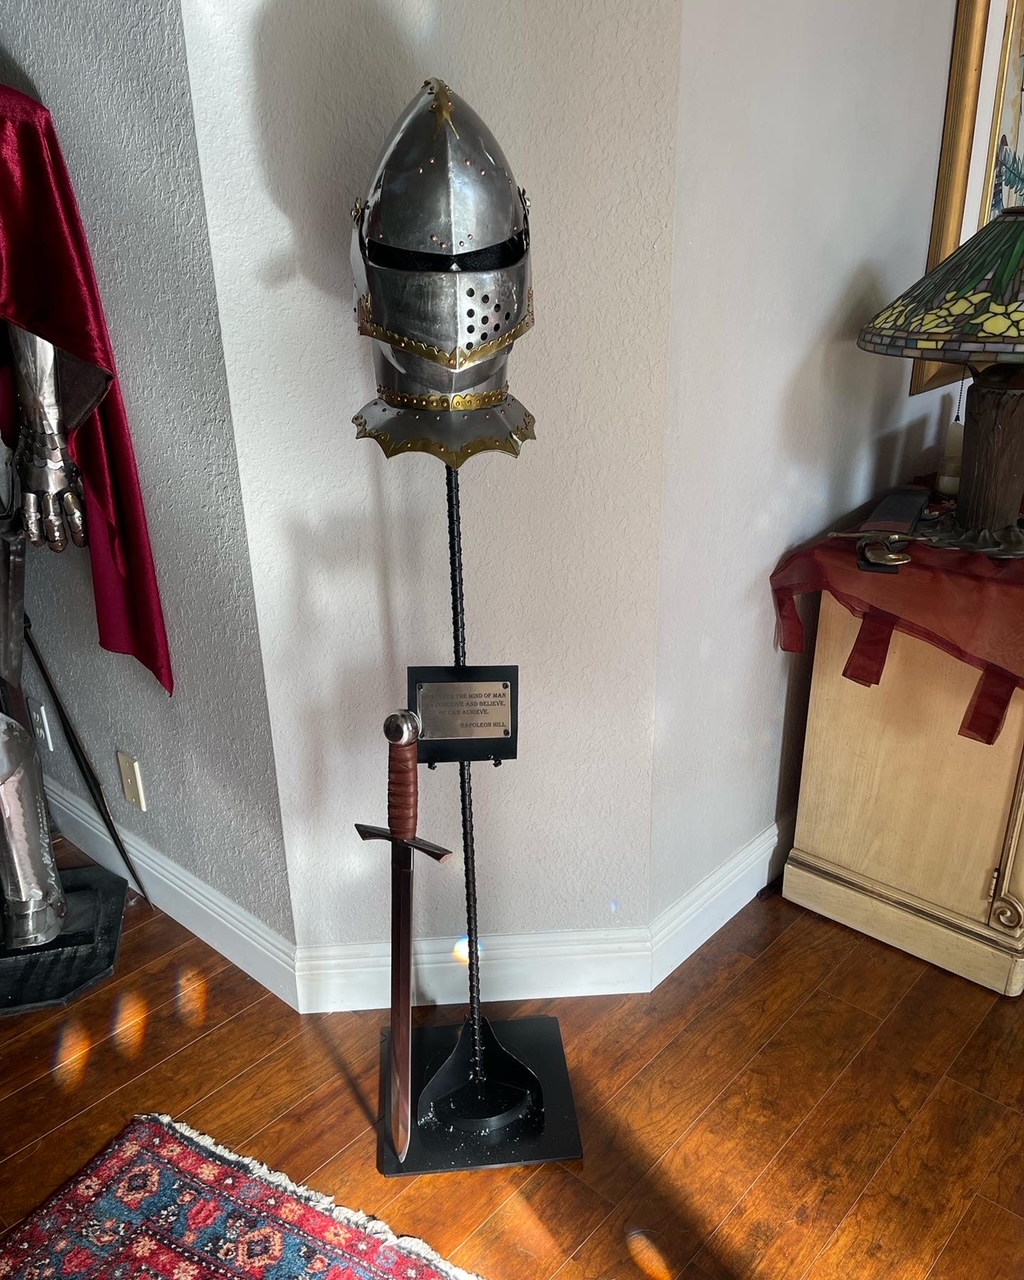
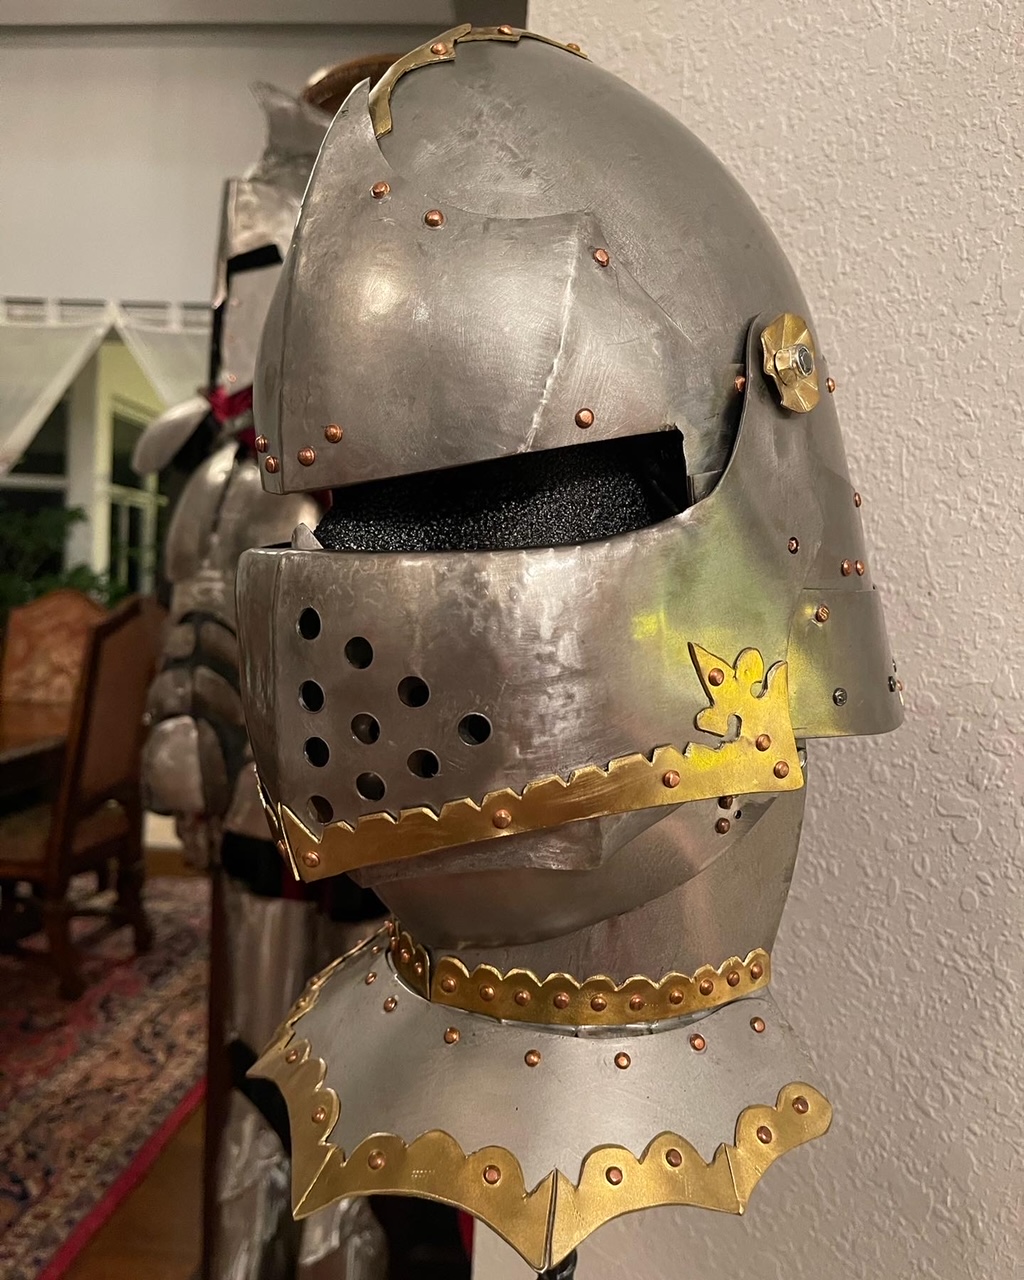
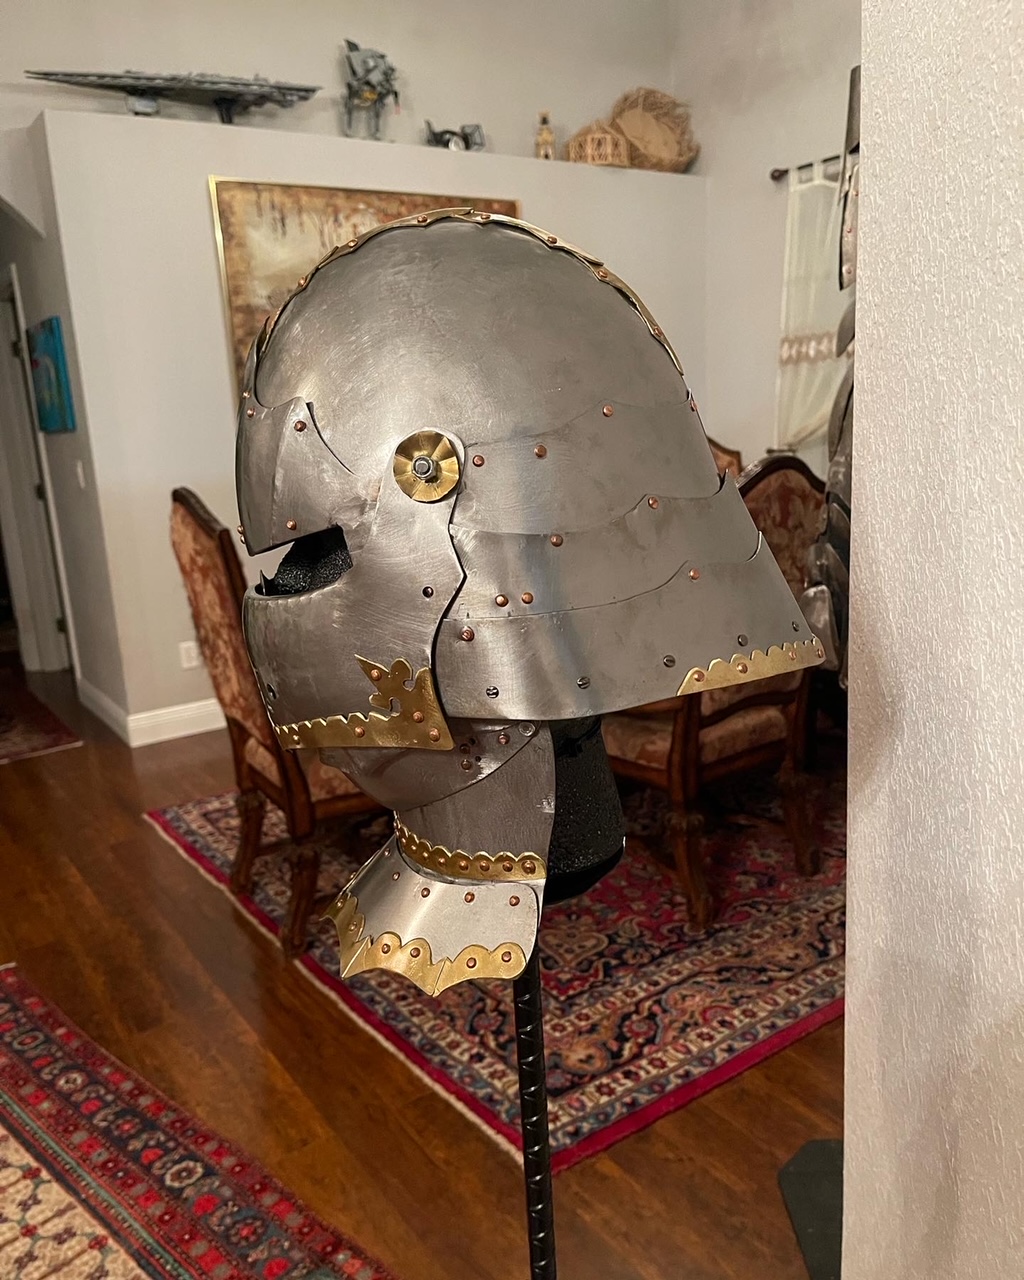
So this is what I have been doing while I was waiting for my doors from NPD. I taught myself armoring. Back story.... I built myself a complete suit of armor (a couple years ago) for fun. Then this year I wanted to give my bosses something special for christmas so I made a helmet and stand and a pair of gauntlets. Both came out great. I shape the metal by hand with no heat. Helmet took 43 hours and the gauntlets took 19 hours. The helmet is modeled after a 13th century French Sallet style helmet. It's very comfortable. The interior is wrapped in foam and leather. The Bevor portion of the helmet is fixed to the stand but both pieces are movable.
Hoping to get back to the car early next month.
-
On 1/14/2023 at 8:40 PM, Cantedvalve said:Eh. Nope, those screw onto the pillar to mount the quarter trim panel.
how’s your car doing? Haven’t seen much update lately. We started fitting the body sides today.
I was waiting for a new pair of doors for a few months. I got them, but while I was waiting i have been doing some armoring. Looking to get back to the build early Feb.


Boss 9 Tribute
in Project Progress Forum
Posted · Report reply
Time for an Update!!!
ok so a lot has gone on with the car since the last update. Roof is on, Minitubs are in, back seat brackets are in, doors are lined up, drip rails are welded in.... probably other stuff. Watch the vid!
https://youtu.be/tvYvJukCYxo
My obsessiveness with symmetry is really paying off.
Here are some pics of the progress:
I am ecstatic with how well the rear of the car came together.
Doors are finally properly aligned. This was a lot of work figuring out why the dr side would not mate with the quarter. Explanation in the video. (had to cut out some metal to make it fit property)