
ralt962
-
Content Count
249 -
Joined
-
Last visited
-
Days Won
1
Posts posted by ralt962
-
-
Looking for any tips on installing the oil pan in the car. 69 351W. I had to remove the pan to install a new pickup. First attempt failed. No drips on the sides, just at the rear. I believe the main seal is good. I had run the car at 2K rpm but unknowingly with low oil pressure (10-20). No leaks anywhere at that time. Fixed that issue, now 40-50. But using the Ford racing one piece gasket, I must have failed mostly on the rear end.
I know the front main seal is good. Rear seal didnt leak with the low oil pressure. After reinstalling the pan I get lots of leaking at the rear. Possibly a little at the front.
I cant tell if I'm getting oil at the pan seal or the main seal.
Just looking for tips and wisdom so I don't repeat. I have the pan off again cleaning up the surfaces.
-
Agree with Midlife (he is the expert here). Check the grounds. But also check the blue lens for each light. I used the dimable LEDs which are great, but I found that all the lenses were melted from the original bulbs. This made the cluster look like no lights at all. Once I changed to new blue lenses and the dimable LEDs I'm all set. They do dim correctly and have the original look in the car.
Plus thanks to Midlife, I have all my gauges working correctly.
-
8 hours ago, RPM said:Wow, so your low oil pressure was from the wrong pick up tube. I too have made the mistake of trusting folks to send the correct parts. With my Milodon 7-1/2 qt pan, I checked the distance from the bottom of the pick up tube to the pan with play doh. I now trust, but verify.
Completely agree. You cant trust even the new parts. My new Carter fuel pump I found out was putting out 15psi, mainly from a design flaw. Took a while to diagnose and switched to an Edelbrock. Need to double check everything.
-
Yes thats what I was doing. Not sure why they cut it down, but not I have the correct length dipstick to compare. The one I bought at NPD was wrong. It must be fore the 302.
Greatly appreciate the quick responses. I had a low oil pressure issue and found out the pick up tube was from a 302, very different from the 351. Add to this the dip stick tube issue ( it was too long so the dipstick would ride higher in the pan).
I fired it up tonight and the gauge now shows the correct pressure. Back in business. thanks,
-
Thank you this helps. The one that was in the car has the Ford part number and the oval stamped in it. But its shorter. Then I noticed its been cut at the end. There is only the the upper limit stamped in the stick. The rest of it has been cut off. I'll have to pull the one I now have in the car and see if it stacks up to the measurements you provided.
If you measure from the full mark to the start of the shroud is it 20 3/8"? I think the math works. Or atleast close to it.
thanks for the help.
-
Can someone tell me the real length for the oil dipstick tube and the dipstick for a 351W. I purchased the 13 11/16 tube which according to NPD is the right tube for the 351. It is very different vs the tube that was on my engine. Measuring from the point where the tube gets pressed into the front cover to the tip of the stick is about 3" different. The one in the car was farther down in the pan, which would tell me to have less oil. But I want to confirm I'm using the correct stick.
thanks
-
Free to anyone who wants it. Just pay the shipping. Original 69 head. I do have all the valve train components if interested. I will end up recycling it by the end of the year if no one wants it.
thanks,
-
I hooked up a mechanical gauge direct to the sending hole. Tested the gauge first.
I'm stumped now.
Rechecked bearing clearances.
Rechecked to make sure I had all three plugs in the front under the timing gear.
removed the oil pump. Likely going to just get a different one. Its a Melling from Summit.
Not sure where else to look.
The crossmember was already loose lol. I removed it and the oil pan pooped out easily.
-
Thanks Mike65, I'll give it a shot.
Was you car on the ground where the wheels had weight on them? I'm sitting on rollers so the the wheels can move sideways easily.
-
Trying to pull the oil pan in my car, (351W). The tube shaped #1 crossmember is in the way. Is it possible to pull that crossmember with out the car splaying out so it cant be reinstalled?
I have a newly fully rebuilt engine with low oil pressure, 10-20 psi. New pump, new bearings (measured the clearance), resized rods. I can only think the pump, pickup or I missed or didnt fully seat a galley plug in the front. Engine runs with no leaks, so its not the back.
My experience with new parts has not been good. Bad new fuel pump, bad new sender, etc.
Any ideas where to start?
-
I used to work for Ford but now work for Roush. I'm not in the crate motor area, (Engineering for Alt Fuels and Performance) but I was through the shop today. Like a kid in a candy store. Motors in all states of assembly and capability. The quality of work there is fantastic. Not a sales pitch, but you might want to check out what they have.
-
I ended up buying an Edelbrock pump from Roush. They have tested many units and exclusively use these on their crate motors. I also got some information on why the Carters have issues. So I'm sticking with what has been tested. Roush says they have had no issues since shifting to the Edelbrock pumps. I bought the street version since my engine is farily mild.
I'm going to install the pump this weekend.
-
Thanks, totally agree something must be wrong with the pump. I'm not on the road yet so I have some time and will contact Carter and go for a replacement.
The guys building the Roush crate motors recommended the Holley pump. Not sure which one, but I'm going to look into that.
Have never seen so many new parts give such trouble. Seems there is no more bolt it on and go. Need to verify everything.
-
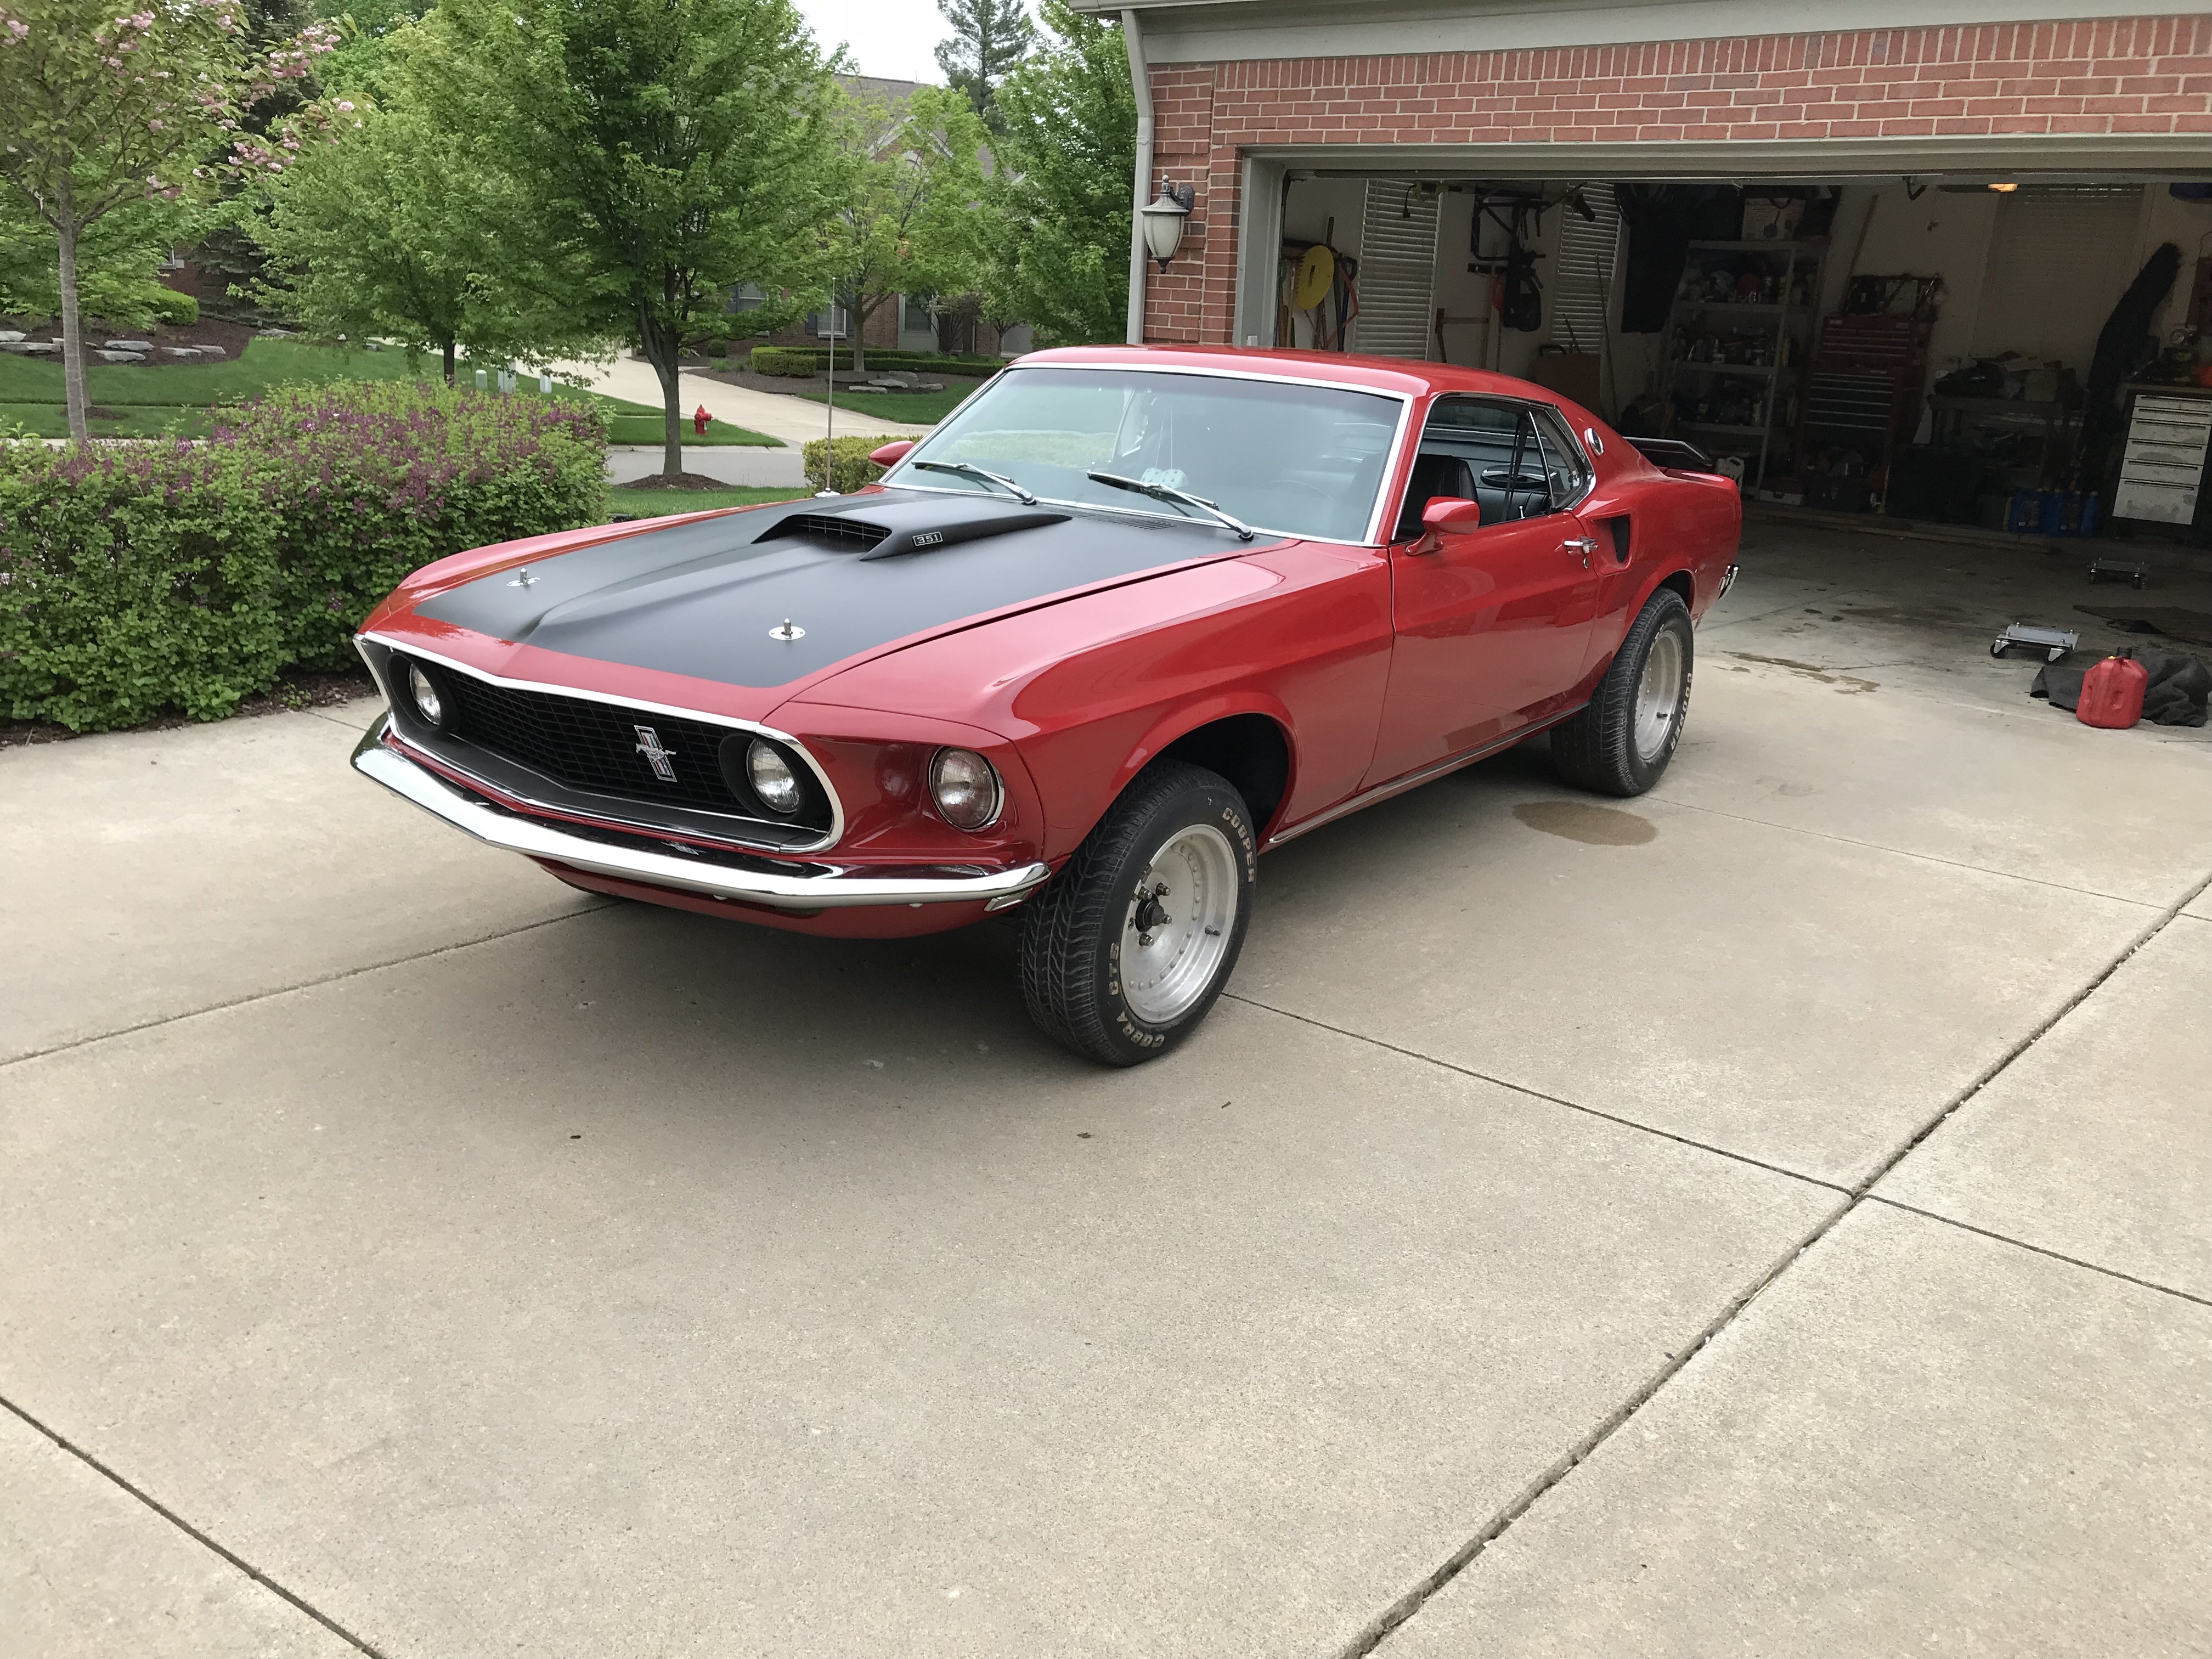
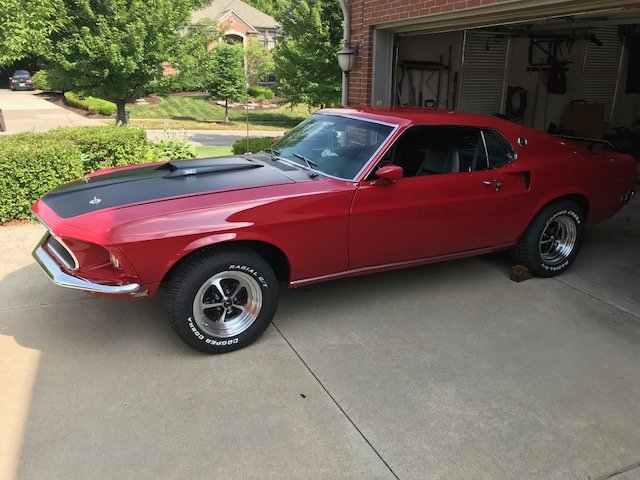
I had an original a crunched original 69 Mach 1 hood that had been tucked away at a dealership since 79. So it was original and not faded. I had my paint shop duplicate the pattern and color from that hood on to mine. Mine was a mess that was changed over the years along with cutting a hole in the hood....nice.
If it would help I can post a pic of my hood, scoop and grille.
-
I'm running a Carter M6588. spec'ed for 5.5-6.5. But running 15. I just installed the Holley regulator. That did the trick. Its running around 6.5 and the issues have cleared up.
But MN69Grande, you have a good point. If its running such high pressure, is it a failure waiting to happen.
Brian, thanks also good suggestion, I will get a hold of Carter. Certainly seems like this could be a different problem down the road.
I do have to give credit to the Holley regulator. Working as it advertised.
Thanks for all the quick feedback. Great suggestions.
-
I've done a complete engine rebuild with a mild cam. I wanted to see if others had an issue with fuel pressure. Finally getting to start the thing, running at break in around 2000 rpm. I started getting fuel coming out the vents. Tried all the float levels and cleaned the needle and seat. (brand new Holley 600). New Carter fuel pump. Today I installed a pressure gauge to see if that is the issue. Again at break in speed, I was getting up to 15psi. Pump is rated at 6.5 max. It started at about 8 or 9 and climbed to 15.
I have a Holley regulator I'm going to install tomorrow. See if that helps.
I cant run it more than a couple of minutes before the fuel starts coming out the vents.
thanks
-
If you haven't found what you are looking for I have a manual brake pedal from my 69. I did convert to power. Let me know if you have not found what you need.
-
Went back through the wiring, but retraced back to the grounded studs. I thought I had that one set but that dual gauge set was grounded when I went back.
Very touchy to get them just right. Once triple checked the gauge works. When you think you have those set, check again. I even took a thin slice of electrical tape and wrapped the bottom of the studs. They still grounded out. Gauge moves slowly, which is what is supposed to do.
Thanks again for your help and patience.
-
Very Nice and clean.
-
Hoping someone can help point me to where to look next for my issue with the fuel gauge. Basically it doesn't move at all. It stays on E. I have the dash apart at the moment. Midlife helped me resolve a number of issues on the cluster lights and gauges, but this one has me stumped.
I have about 4 gallons in the tank. - new tank, new float, checked the resistance before installing the sender. Its ok.
I get about 54 ohms between the sender and ground. Seems right.
Tank is grounded.
New CB.
Checked to make sure none of the gauges were grounded at the studs.
I get about 54 ohms at the connector going into the CB. (chased that one for a hour when I figured out the schematic i have was wrong).
I put 9 volts to the gauge and it moves. Heads toward full.
I tried to ground the sending wire with the ignition on, unless I'm doing this wrong I dont get movement in the gauge. I only touch the ground for a second. Maybe not long enough.
Still the gauge is on E. Doesn't move ignition on or off.
New voltage stabilizer. Could that be bad?
thanks
-
Midlife, thanks for clarifying. Elementary question on my part, but after trying a few things the readings I was getting were a bit confusing.
I wish I would have seen your website before I put this thing together. I like the looks of you cluster harness vs the CB design. I would have gone in that direction.
I do appreciate your time answering these questions.
-
Ok, sorry hopefully last question. The 14+ ohms is in place with the nuts tight against the cardboard strip as shown. Or is the 14+ ohms on the stud when the nuts are tight against the CB and holding the gauge in place?
Once the ground side nut it tight against the CB the measurement on the stud drops to 2 ohms to ground. The nut has to be in place against the CB to make the contact between the gauge and the CB.
Is it only the input side that should have the 14+ ohms if properly installed?
Seems like elementary, but I have no photos of when this was taken apart. thanks for being patient.
-
2 hours ago, bigmal said:Will this picture help?

Thanks Bigmal. Perfect picture. Exactly what I needed. I thought something wasn't right I can get something to work there.
Nice bench grinders! and what looks like the parachute guy in the background!
thanks for all the help!
-
And welcome to the forum. Outstanding place to obtain any info on 69 stangs. You have a number of regular members living down under also.

oil pan installation
in 1969-70 Technical Forum
Posted · Report reply
Yes, Used Ultra Black.
But others recommend the old brown stuff, Permatex 2B.
Found a small defect in the pan at the edge of the rear seal surface. Not sure if that is the issue. Sealant should have taken care of that.