

smh00n
-
Content Count
318 -
Joined
-
Last visited
-
Days Won
11
Posts posted by smh00n
-
-
the float actually goes across the tank so I am working with a 9 3/4" height.
So the float is at the deepest part of the tank. My assumption is that this is correct. And no video/guides point out anything as a watchout.
-
Thanks, I know what to lube but wasn't sure what bits you could buy.
Sounds like I have a wiper motor that could be gummed up. I'll reef it out and check it (after I fix the gas gauge)
-
makes sense. But, I have set the float arm and the rheostat to where it reads the correct full and empty Ohm readings based on the interior height of the tank. I did this using a ruler so it's not perfect but close.So at where I estimate the full level would be it reads correct Ohms. Maybe I am an inch out, but that should still show over 1/2 tank, not 1/3.
I will try moving the rheostat one way and another see what it does. I can't figure out why it only shows 1/3 tank when it has 2/3 of fuel in it. I work this out using a 9 3/4" deep tank, fuel level is currently 3" down from top = 2/3 tank of gas.
-
I have not pulled it down yet, but I suspect drag. They run smooth but slow. Just wanted to see if you could buy bushes between the links or silicone spray would improve it. And also if the motors themselves had known issues.
I can buy a new repro motor for $170. Not sure if they are typical repro cheapness and its better to rebuild the original.
-
Thats an unknown I am considering. All the videos I have seen cut them short.
But, I have set the sender up so that the float has the correct Ohms according to the specs; 10 at full and 73 at empty. So regardless of the length now it is reading correct.
-
My wipers run real slow.
Is it just a matter of pulling the motor and cleaning up?
Are there any bushes in the linkage that can be replaced or do you just buy one of the repro kits like NPD has?
-
No, its a full Tanks Inc tank. So it is a 22 gal tank with the universal style sender that you adjust for height, pictured below.

The only thing I can figure is that somehow I have not assembled the sender correctly but I have checked 3 times, watched videos, scratched myself and I am sure it is correct.
The gauge is OEM. I've never driven the car a lot so I don't know if it works proper, BUT when manually moving the float the gauge shows full to empty and points in between.
-
Thanks. I was hoping you'd pop in.
So is there an answer? It's just got me beat why it reads fine out of the tank but not in the tank.
No obstruction I can see, floating and it is dropping so something is happening
-
I have the Holley Sniper EFI 22 gallon fuel tank which is actually made by Tanks Inc.
The sender does not read full when in the tank. I currently have roughly 2/3 of a tank of fuel in it but the sender is reading 1/3 and is dropping as you'd expect with consumption.
I checked the numbers and its reading more than the 73-10 Ohms it needs. Full is well over 90 Ohms and empty is close to zero. So I'm unsure if this will affect the operation. Out of the tank, putting the rheostat to highest point the gauge just reads well over full. Empty, is well, empty.
Now here's the problem - I test the gauge out of the tank with the float fitted. Full on the sender gives full on the gauge. Empty gives empty. Halfway, roughly half.But when I install it it reads 1/3 tank with the 2/3 tank fuel level. I've driven it and as above it is dropping as gas is guzzled.
I don't know why it is reading so low when installed in the tank.
So far I have:
- Checked tank height and adjusted the float to min and max on the bench using a ruler
- Full reads 10.5 Ohms
- about 3/4" below the tank bottom I have 73 Ohms so I have some reserve gas when the gauge says empty
- The fuel tank is 9" deep, I have 3" gap to fuel level = 2/3 tank of fuel
- Rheostat is fitted correctly
- the float floats, both by itself and on the sender arm
- I tested the sender in a bucket of water. Floats, Ohms change as the sender moves
I emailed Tanks Inc about it. Their reply was quote Ford using 2 different kinds of 73 - 10 Ohm scales, one was linear where the scales changed equally across the sender range and the other was non-linear where the sending unit worked at 10 Ohms full, half tank was 25 Ohms and empty was 50 Ohms with everything else than 50 moving the gauge further below the E unquote.
He has a linear sender https://www.tanksinc.com/index.cfm/page/ptype=product/product_id=346/category_id=-1/mode=prod/prd346.htm which is a non-linear sender but it costs 98 bucks. Plus shipping, plus exchange rate for us, etc.
So, has anyone come across this and whats the fix? I see the logic in the quote above, but surely not every 1970 Mustang had 2 different fuel senders/gauges fitted depending on where they were built?
-
11 hours ago, Desertdave said:I've been trying to think of a great place for a killswitch.
Me too. I thought the chances of some lowlife wanting to light up a cancer stick while trying to boost my Stang was pretty low.
I wasn't sure it would work as a lighter is not the most precision instrument and I thought it may ground out, but it works really well. I've tested it engine off and try to start, engine on activate it and driving along pushing it in and out. All worked and it doesn't ground until the lighter is pushed in.
Desertdave reacted to this -
Put in a stealth kill switch.
Hooked the MSD white wire to the cigarette lighter. Push in the lighter, the engine cranks but won't fire. (Mustang thieves don't read Mustang forums. DO they?)
Fixed a rattle in the rear. Turns out it was the 3 light conversion for the tail light that was vibrating with the stereo. A bit of silicone sorted it out.
Desertdave and TexasEd reacted to this -
I replaced the whole front suspension. Some Klutz had put in 2 different height spindles and then spaced the arms to make it fit. It started out as a squeaking ball joint that needed greasing, ended up being a total rebuild.
Lucky for us Down Here we have Falcons for donor cars that are plentiful. So I took the front out of a 1991 model with rubber bushes on the top arms and disc stub axles. Sand blasted them, painted chassis black, put in new ball joints, lowered front springs and a 1 1/8" sway bar. Used polyurethane bushes throughout (only because they were cheaper than OEM rubber). At the same time I put 1/8" spacers in the front of the top arm bolts to give it castor and used local KMAC camber bolts to give it camber. Replaced some ordinary wheel bearings too.
Drove it first time yesterday. Seems to steer slightly better - I think the PS box is a bit wobbly - and turns nicer. Sure has some camber on it, it needs a wheel alignment. Sits about 1" above the 15" wheel which is disappointing. I had hoped to get the tyre at least level with the guard but that may still happen once the springs settle.
At least it's a job that is done and I don't need to worry about it.
-
I am using MSD 6AL and it has a ground wire. I'm hoping to wire it to the cigarette lighter, so you pull it out to run. Hoping the Mustang boosters won't notice a cigarette lighter pushed in when they come calling.
-
jmlay my thoughts too so I have just reinstalled and moved on.
-
Well I just reused the sleeves that were there. The photo one was the worst wear so good enough.
This is just a road car and as Australia doesn't allow fuck all modifications to cars all I have done is replace everything with new bits.
-
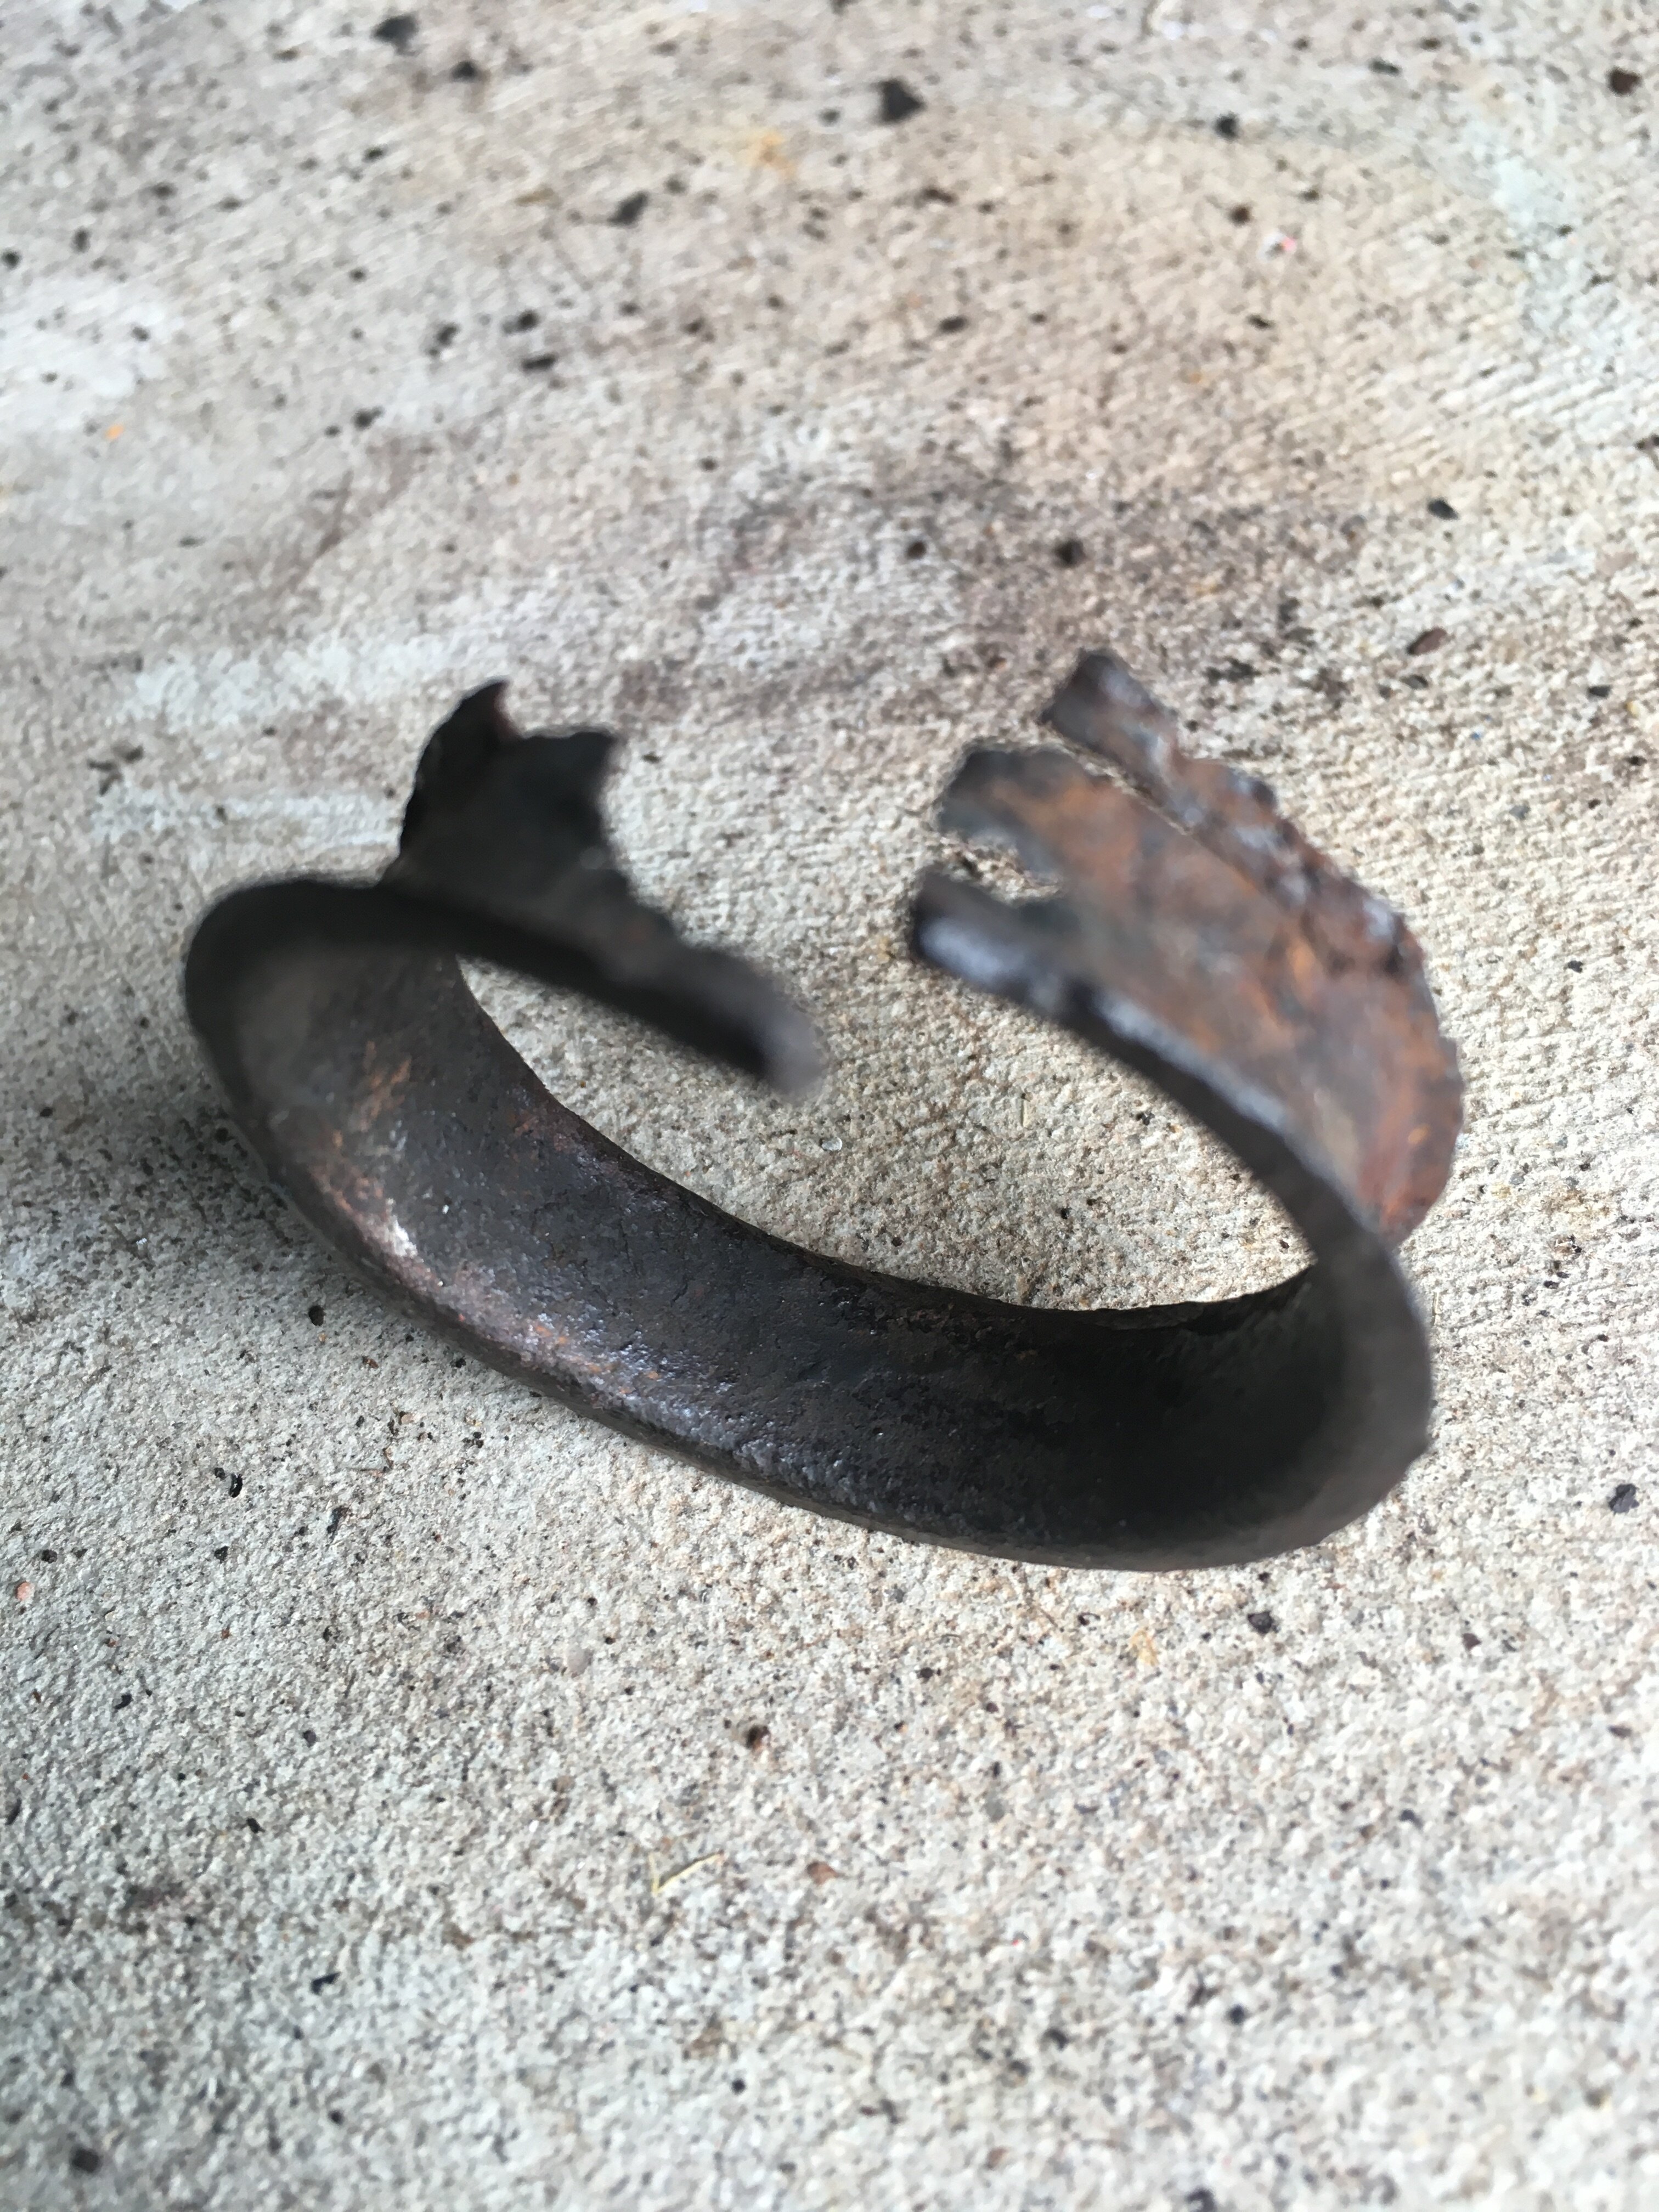
So this is the sleeve in position
This is the sleeve on the ground

And this is the poly bush fitted with and without the sleeve. There's not a huge difference in size but having spent $1,000 rebuilding the whole front end, introducing slack doesn't seem right.

-
My 70 has round 'sleeves' that are fitted inside the bracket where the lower control arm strut rod bolts to the chassis. Looks like they are on both sides and reduce the ID of the mount hole where the bushes go in. They are not the sleeves that go over the actual strut rod and are fitted into the round hole of the chassis bracket.
They are pretty thin. One has worn through and fallen out so the bushes are a bit loose although I've not tightened the bushes up yet.
I can't find a reference to them anywhere. Is this an original part or have I again been sucked in by some previous 'restorer'?
I'll post pics if needed.
-
If you can, don't bring in an investor. You will lose your personal touch and satisfaction. And you'll have to start paying the money they want.
-
13 hours ago, mustangstofear said:Getting this car to pass inspection is like nothing we have ever dealt with. They even needed pictures of all the welds.
Welcome to Down Under. If it was in Australia none of the fabricated suspension would even get past the front door. I have a Borgeson steering box that I will probably have to get xrayed before the Engineer(!) will issue a certificate approving it before it even goes to a registration inspection. The stuff we are not allowed to do - the dual driveshaft loop is an example - is a pain.
Be glad in the Land of the Free you can bolt in stuff with welds and rose joints and no one cares.
-
I need one of dem too.....
-
I would look at the fuel pump modules Holley has or other vendors where the pump and sender use the original tank. I bought a Sniper EFI tank which is just a Tanks Inc product and having the fuel fittings dead centre of the tank is a pain in the rear. If I were to convert mine again today I would stick with the stock tank and a fuel module inside the tank as per this thread.
-
-
13 hours ago, Dean said:Most likely a separate problem but I had issues with many of my instrument cluster lights and found it was the flexible circuit board that everything plugs into.
Over the years all the copper connections go dark brown like an old penny. I used a dremel with a polishing pad and some cutting compound and polished all the connections back to a bright copper look. Fixed all my problems. Not one of my globes was actually blown, just many bad connections.
I had the same problem but upped 1 by also smearing a bit of electric grease stuff from an electronics shop to make contact. Seems to be OK.
-
You are certainly the man. I forgot about CJ...
With the grille, I have the metal supports but looks like something goes from back of the plastic grille to this https://www.cjponyparts.com/grille-support-1970/p/G6S/


Wiper motor - rebuild or replace?
in 1969-70 Technical Forum
Posted · Report reply
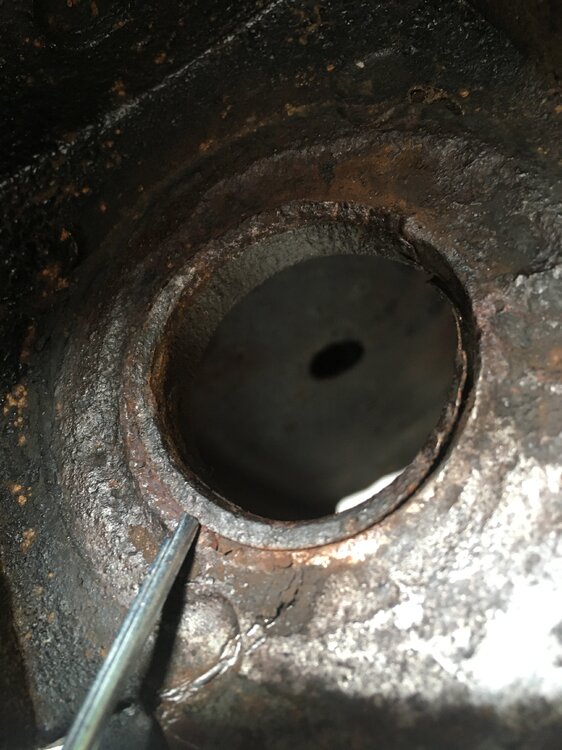
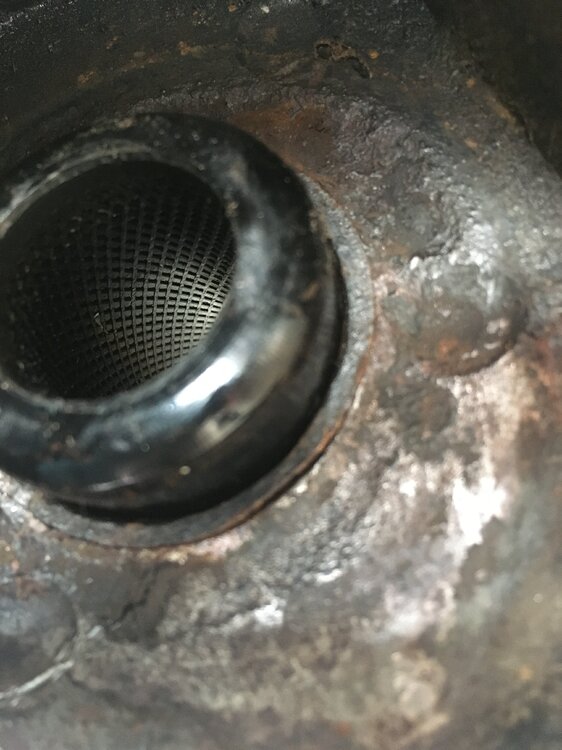
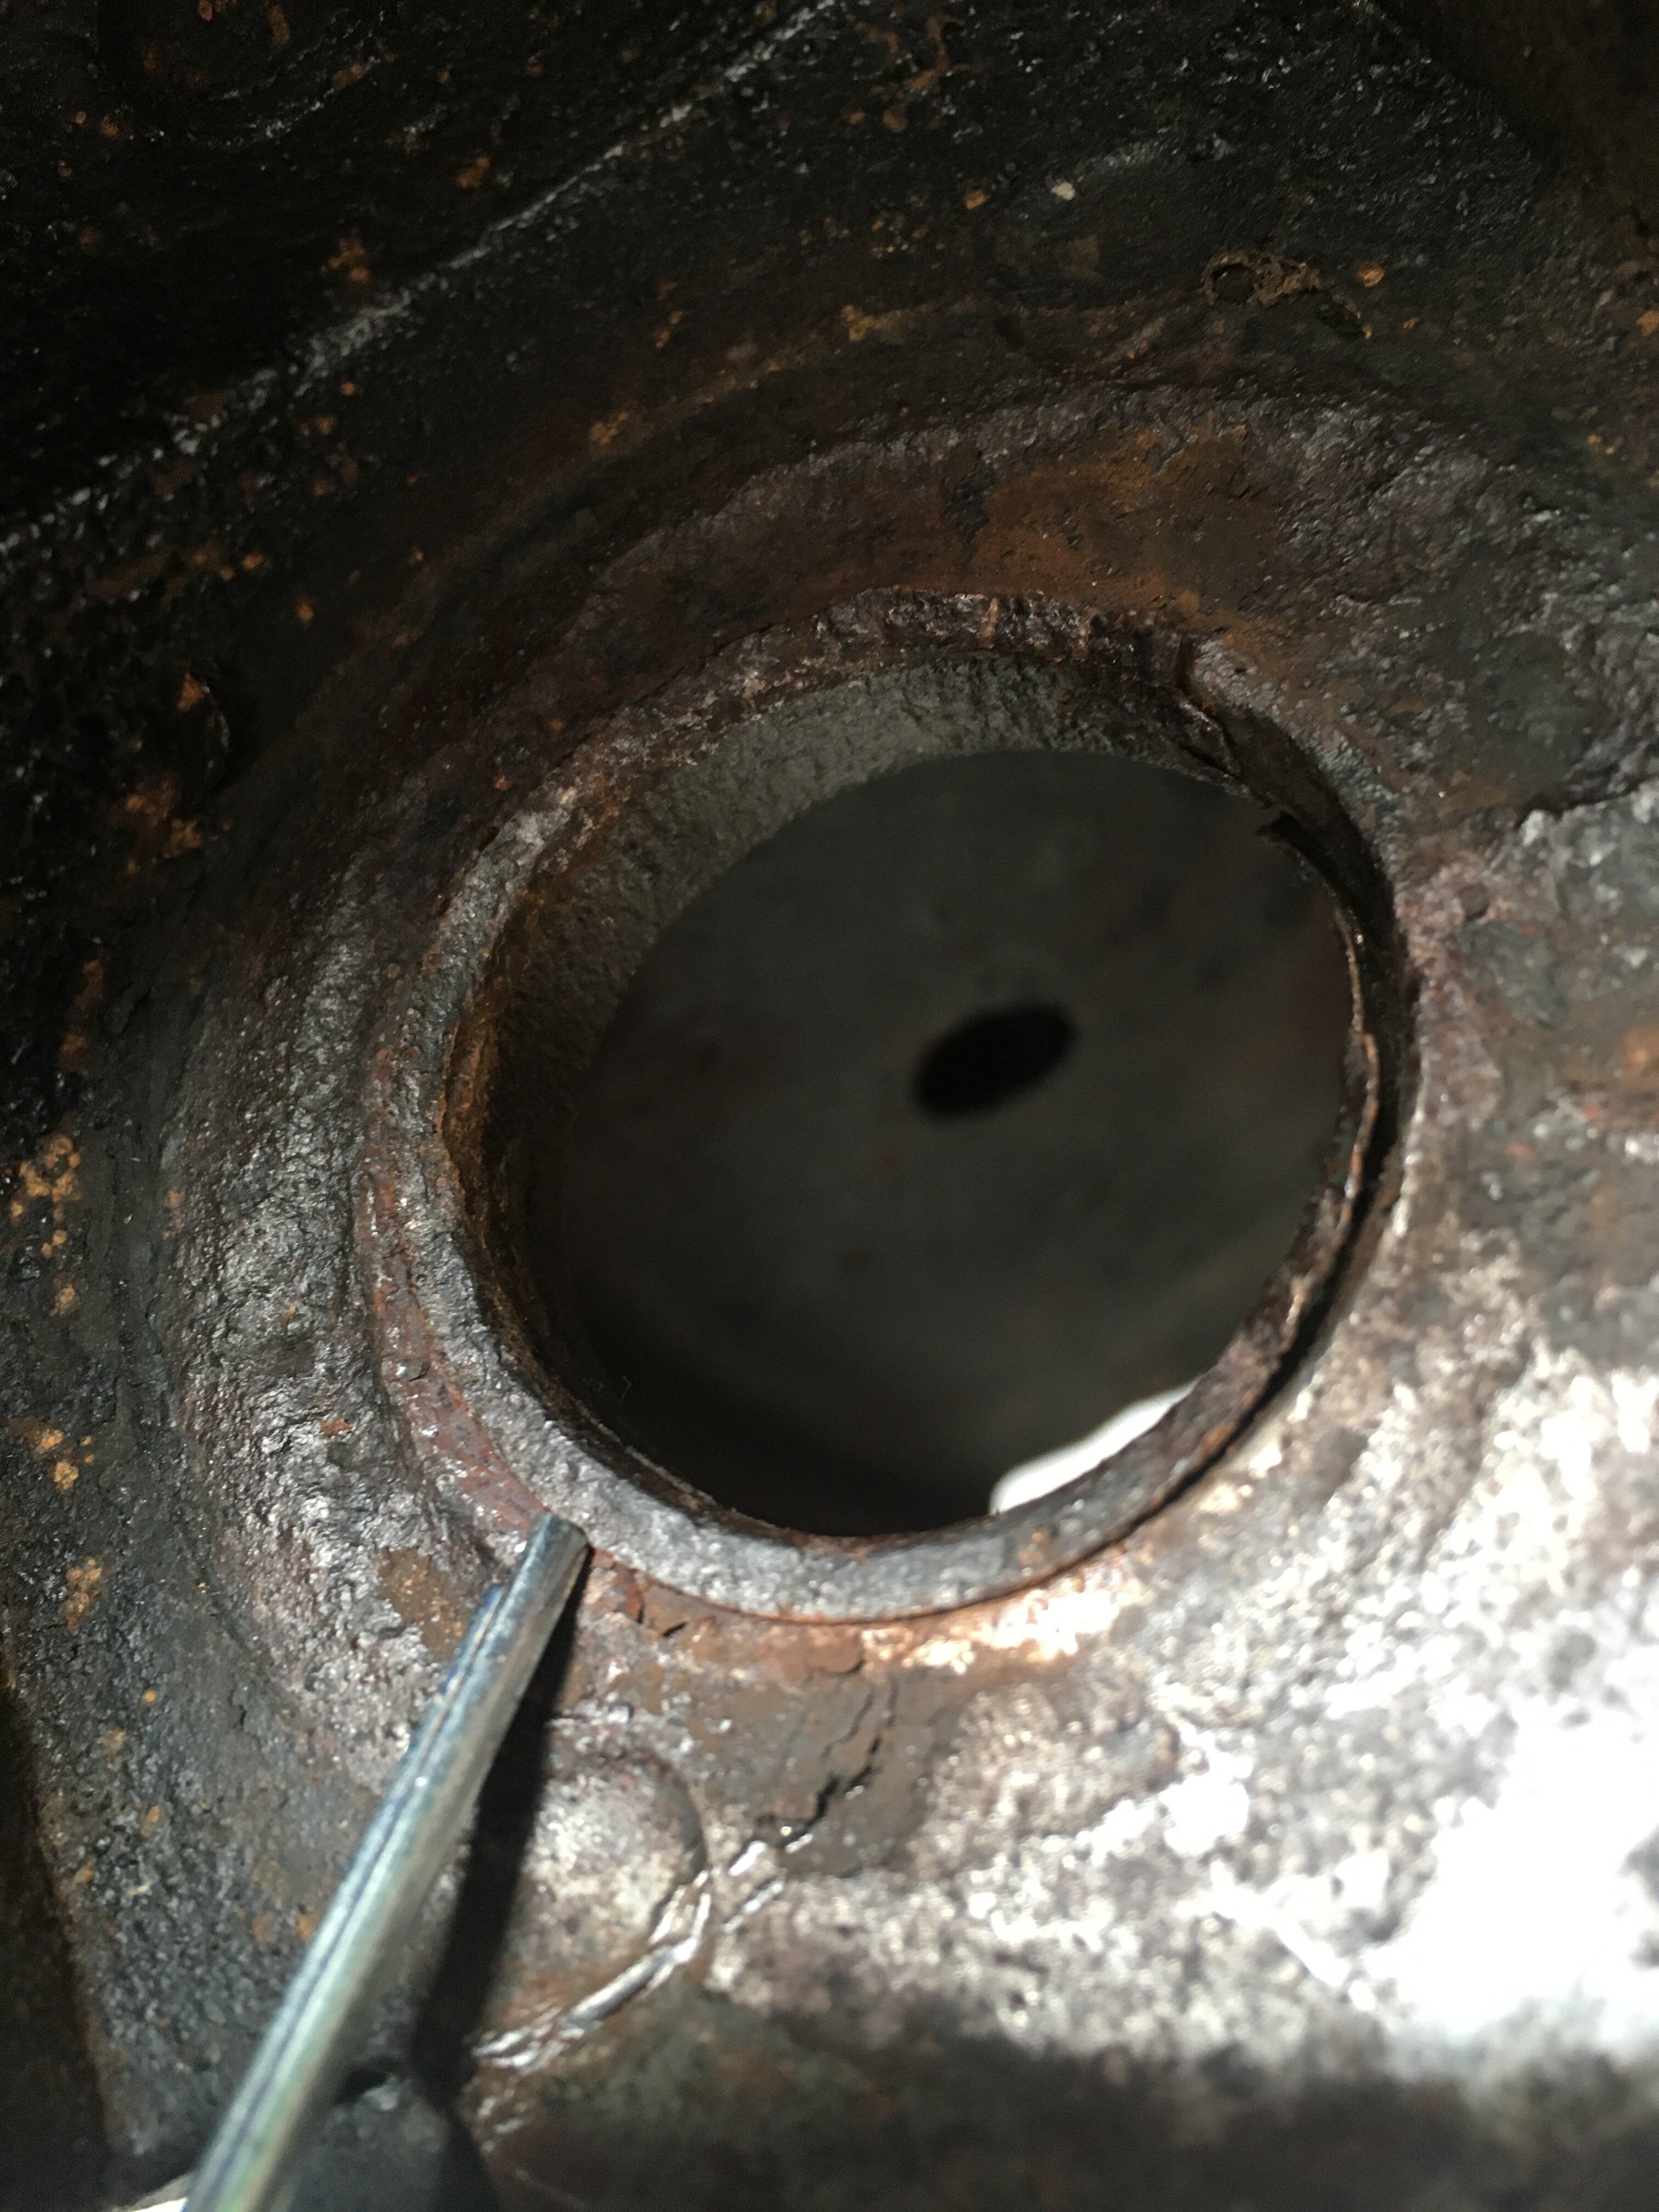
Well I have had a productive 2 hours.
Wiper motor is original to the car, built on March 24 1970. Still has the plastic cover over it, original bolts not been moved and the brushes still have a small bit of the original square ends on them; as in not even worn in yet. Also under the cowl is clean and original. No rust, no holes, no ugly. Funny, this car was built in Dearborn got sold up there somewhere and ended up in Texas.
So I pulled the linkage too. Passenger side was nice and free but the driver a bit tight. With a bit of work flushing out the crap it's probably 50% better.
Chucked silicone lube over all the joints, cleaned all the earths and put it back together. On a dry screen it was an improvement so happy about that.
Then I went for a drive to celebrate.